Thursday, 5 January 2017

"Creepy Girl" by Amanda Hartmann

Happy New Year, Colour Blasters!

Welcome to a New Year and my first page share for the year!

Here is my page


You can see the whole inspiration for the page, came from my daughter's Zombie face! I tried to replicate the cuts, bruises and blood of her face-painting, onto my background.

Here are the steps I took.


I used Heavy White Gesso on a piece of white cardstock. I applied it with a foam roller for an even finish.  Tip: I usually do 10 of these at a time. Then I have pre-gesso'd pages ready to go when I need them (without waiting for drying time).


I sprayed some Colour Shimmer Sprays onto the background: in Dusty Charcoal and Steel. A few sprays and then I used a heat gun to move and dry the colour on the page.


I used some Punchinella as a stencil, with some Colour Paste in Dusty Charcoal.


The added bonus is that the Punchinella takes some of the colour of the Colour Paste and can be used as a layer on your page. (Thanks to my friend Malinda for giving me this Punchinella idea!)

I also used the palette knife to swipe/cut some lines of Dusty Charcoal on the page also.


Next, I grabbed some Colour Spray in Roadbase (a perfect dark black), and using the wand, I added some extra black to the lines or cuts I had added in the Dusty Charcoal.


I also made some splatters in Roadbase with the wand.

I dried things completely with my heat gun before moving on.


I stamped some cute little bats on the background. Use a Solvent Ink pad so the ink won't run when you use water based paints like Colour Shimmer Dusts.


Then, I mixed up some water and Colour Shimmer Dust in Candy, all ready to paint and splatter on my page.


Holding the page up, I painted carefully along the cut lines and allowed some to drip down the page.


I also tapped my paintbrush for some splatters in Candy.


With the leftover Candy paint, I dipped a ribbon in, coloured to add to the layout.


Once dry, I placed the ribbon across the page, along with the "stitches" sticker. We bought these at Halloween to put on my daughter's neck for her Zombie look. I knew when I bought the pack of 2, that one would end up on a scrap page!

Now I finished off my page, with a few key embellishments.
Here is the final page and some close ups:

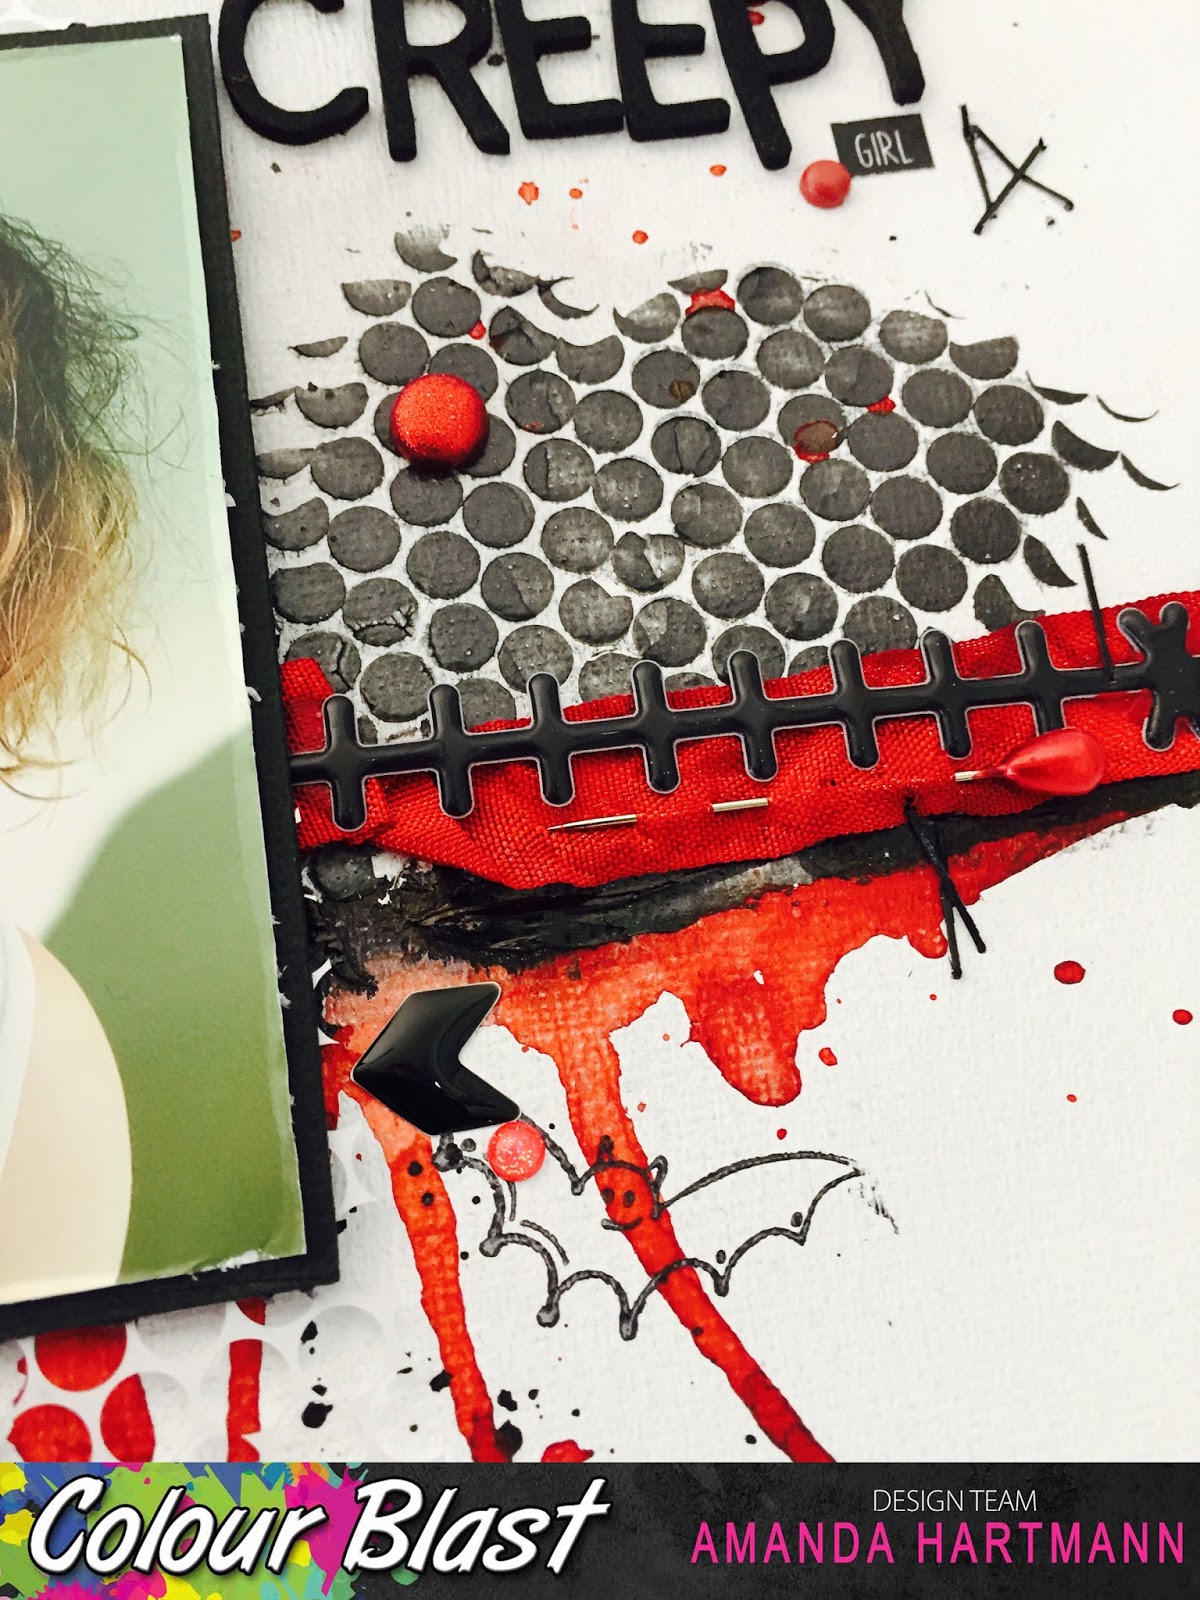


It is a bit of a creepy page, but such fun to create using perfect Colour Blast products!

Can't wait to see all the different ways you use Colour Blast this year!

Until next time,

Amanda


Tuesday, 3 January 2017

Queen of Hearts by Tracey Campbell

Hello and welcome to my post, I have been having a bit of a play with whimsy characters this year and I just wanted to share my latest with you. Now I do not claim to be very good at drawing the human head... I messed up big time on the lips for my Queen of Hearts....but I had lots of fun with her. Before you all shout "Off with her head!!" at me I will take you through my process and we can get messy together.

Draw the person onto some sketch paper with a lead pencil.


Cover the lead pencil with Masking Fluid - make sure that it is really nice and thick as the wet products can leak through the Masking Fluid if it is not thick enough. Let it dry.


Spray the image with Colour Spray working from the inside of the image out to the edges of the paper. The colours I used are Sunset and Love.
 

Let it dry a bit between each colour.


Apply Colour Paste in Fire Engine and Dusty Charcoal through a heart stencil over the top of the Colour Spray.


Let it dry


Sprinkle a little bit of Colour Shimmer Dust, Velvet, around the edges of the figure and then spray with water to active the Colour Shimmer Dust. Only spray enough water to create a thin outline of the figure, you do not want to over power the layers of Colour Spray.  Wipe off the excess that will not dry on the Masking Fluid and then let dry.


I left it dry completely over night and then peeled and rolled off the Masking Fluid, as you can see there are some blends of colour on my figure as I did not apply the Masking Fluid thickly enough.


Mix up some Peach Nectar Colour Mica Powders with some White Heavy Gesso and a small dash of skin coloured acrylic paint. This mix of products together creates a beautiful hue of a flushed pink shimmer skin tone, which is perfect for fairy tale or whimsy characters.


Paint the shimmer skin tone over the figure. I found this mix of product is thick enough to cover the bleeds of colour that came through the Masking Fluid.


Using a damp brush I dipped it into the Peach Nectar Colour Mica Powder and used it as highlights for the facial features. I did this while the shimmer skin paint was still wet.


 Here you can see where I put the Colour Mica Powder to give the face some depth.


Using the Sunset Colour Spray as a water paint I dipped my brush in and painted the hair my Queen of Hearts.


I then used the Love Colour Spray and did the same thing on the dress.


While the Colour Spray was drying I created a stencil of a crown and used it to mask the shape onto the top of her head using Bling Colour Paste.


While it was still wet I stamped a grid pattern stamp into the Bling Colour Paste to create some texture.


 Last but not least I used a black paint pen to line the details on to the face. Before doing the lips I painted a red heart shape onto them with the Love Colour Spray.


 As you can see, she isn't perfect she is whimsical which is why they are so fun to create. Using the Colour Blast on this type of creation is the perfect product as they complement each other so nicely and they can be used in a wide variety of ways that allows you to come up with you very own piece of art.
For you ease of viewing I have popped up the finished image here again so you don't have to scroll all the way back to the beginning to see how she turned out.


Thanks for dropping by, please pop in again tomorrow and see what another Design Team Member can create using the Colour Blast range.
Hugs
Tracey


Monday, 2 January 2017

Welcome - Our New Design Team 2017 (Term 1)


Hi Colour Blast Fans!

I am extremely excited to introduce to you our NEW Design Team Members for Term 1 2017.  

Yet again, Colour Blast received a range of talented applicants in response to our ''Design Team Call Out." While we feel honoured to receive such applicants, it certainly makes it hard for our selection panel.  However, our team of selectors agreed upon this team and we are looking forward to seeing what these talented ladies create for you all in 2017.

Congratulations & Welcome!


Sunday, 1 January 2017

Don't Forget to Fly - Art Journal Page by Farrel Tailor

Hello and Happy New Year!!!! 

To start of the new year I thought I would share with you all one of my art journal pages. I loved creating this page and I hope it inspires you to create during the holidays.


I started off by adhering a music sheet that I found at my local swap meet and using my fingers I rub a light coverage of Heavy White Gesso all over.


Once the gesso was dry I then added Saffron Colour Spray and Sunflower Colour Shimmer Dust to the corner of the page.


I then drew on my stamp with a distress crayon and spritzed with water and then stamped onto my page.


Next I used Midnight Colour Shimmer Dust with water to cover the page. Because the distress crayons are waxy the Colour Shimmer Dust dries around it and the outcome is amazing. 


Next I used Road Base and Grape Colour Spray with water and let it run down the page.


I added some random stamping using black archival ink


I wanted to add more dimension to the page so I used Steel Colour Paste with a font stencil.

After the paste was dry I rub some black and white gesso around the edges of page of also rubbed the Heavy White Gesso over the stenciled area. I used Tangareen Dream Colour Shimmer Spray to compliment the distress crayon I used. Next I stamped onto some tissue paper and adhered it with Matt Gel Medium to my page.


I added some glitter using Matt Gel Medium to the dress and the hair. I thought the dress needed more depth to it so to finish it off I decided to use Road Base Colour Spray onto the dress.


Here are some close ups of the page and be sure to check out the process video below


Thanks for dropping and Happy Scrappin xx