Showing posts with label Lime. Show all posts

Sunday, 12 July 2020

Fly High, Dream Big by Tracy Jackson

Good morning Bee Arty fans...

Today I want to show you a card that I have used many stamps from 5 different Bee Arty Stamp Sets!


For this card I wanted to add a bit more detail to the flower set from Floral Delights 1.
So firstly I stamps a background stamp from Textiles Stamp Set. At this stage I really didnt have a clear idea on how many flowers I wanted so just stamped a few extra.


Next I stamped the 3 different sizes of flowers from Floral Delights 1


At this stage I could have coloured them in with Bee Arty Colour Artists Inks, but decided to fussy cut first and put them to the side - confession time... I still had no idea in mind on what I was doing!


This next stage is when an idea started to form. 
Firstly I selected two Artist Ink colours - Lime and Spice. splattered them both on a card and added some water at top to make it run down and around the edges.
Next I selected 3 stamps for the boarders from Confidential Stamp set and stamped these with Archival Ink


I just had to add the Bee stamp from Make Me Happy Stamp set. 
Then mounted card face on black cardstock to make it "pop"
I then coloured the flowers in the same colours as the background using the Artist Inks and watercolour pen


Finally before placing all together I felt like something was missing - there was too much space on the background for me, so I added the wire stamp from Life Is Tough Stamp Set
I also stamped another bee - fussy cut, coloured in copics then stuck down on top of stamped image. I


Finally happy and all glued down I mounted onto a white card.
I added some stickles to wings of bee and white pen to highlight flowers.


This was a real mix and match card using all those different stamp sets, if it works why not? Your only limited by your own imagination
Until next time... Happy crafting

Monday, 18 May 2020

'Grunge Cards' by Amy C

Hi All!

Amy here with you today - sharing handmade 'Grunge Cards'.


Being a mum of boys, I like to have handmade cards in our cardbox for my boys to be able to go with their friends' gifts.


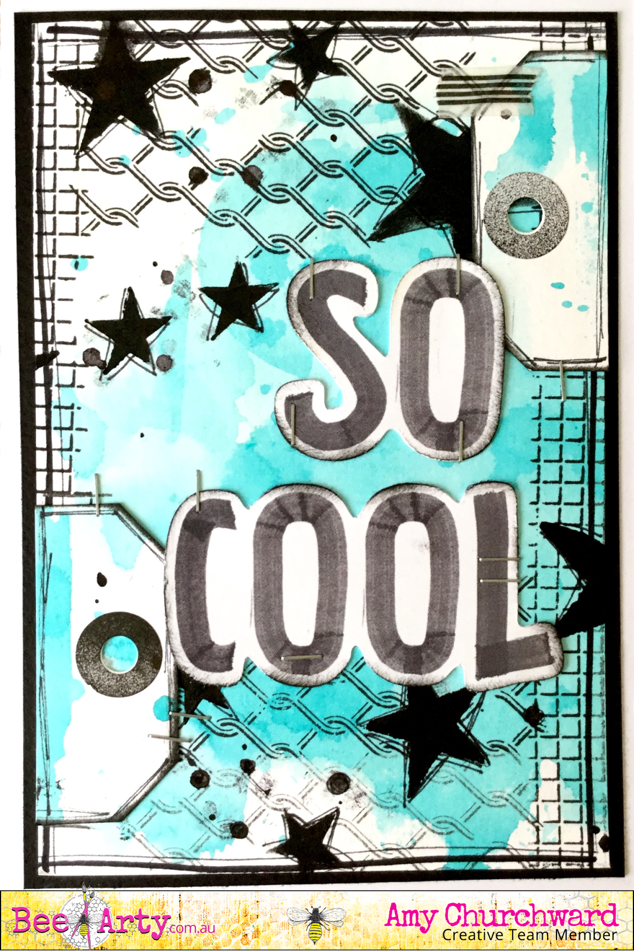
For these cards I used some Colour Blast Colour Spray in 'Lagoon' and Colour Artist Ink in 'Lime' for the background.

After both of the backgrounds had dried I did some stamping.

The 'Life is Tough' stamp set by Colour Blast was the perfect set up for my grunge theme.

I used the sentiment from this stamp set on the lime card as pictured.


I used various images from this stamp set on both cards.


To add more detail over the stamped background I used a make-up sponge to smooth some Black Heavy Gesso through the 'That Way' stencil over various parts of the cards.


Finally, I added a few splatters of Colour Spray in 'Road Base' randomly around the cards.

Once dried, I added a few embellishments fro my stash. 

Here are some close ups of the finer details.


Thank you for stopping by. I hope it leaves you feeling inspired - happy creating!

Amy ðŸ˜Š


Monday, 4 May 2020

'Get in the Picture!' by Amy C

Hi everyone, Amy here with you today. 

I have a scrapbook page to share with you made using lots of amazing products from Bee Arty.

This month's challenge was the inspiration for my page - 'Get in the Picture'.

Take a look at the challenge...


...and this is my take on it...


To start, I took a sheet of 12 x 12 heavy white cardstock. Using a grey lead pencil, I drew a square - this was going to be my working space for the background.


Next I used a brayer to apply some Black Heavy Gesso. As pictured, I applied the paint inside my square. 
The black Gesso here primed my page in preparation for the wet mediums to be applied next.


With some White Heavy Gesso I went over the black lightly with the paint brayer.


To add texture to my page I used the Devotion A4 Stencil and applied some white modelling paste from my stash with a spatula.


It was important to ensure the Gesso was dry and then carefully move the stencil around the page so as to get a consistent floral arrangement over the black and white background.

Next I added colour to the flowers with some gorgeous Colour Artist Inks. With the Lime I painted all the leaves and then painted the flowers with Slipper and Oasis


Once the background was complete and dried again it was time to prepare some of the embellishments for this page.

To add colour over the white doily I dipped my medical gauze into a small droplet of Oasis mixed with some water and set aside to dry.


For the layers behind my photo I made some tags as pictured using the papers from the 'Three Six Five' Paper Collection and then adhered my photo down over the doily, coloured medical gauze and the prepared tags. 

Finally, I set to work on my title: 

1) I coloured a strip of heavy white cardstock with Colour Spray in 'Saffron'and allowed to dry.


2) I stamped it with the Colour Blast 'Textiles' Clear Stamp Set.


3) I used the Three Six Five 'Alphas' Metal Die Set to cut the letters out as pictured and them adhered them to the page.


After I adhered my die-cut title the page I added some embellishments from my stash, including a Charms Creations star with flowers.

Take a look at these close ups.


I hope you have been inspired  - happy crafting!

Amy ðŸ˜Š
  

Friday, 13 September 2019

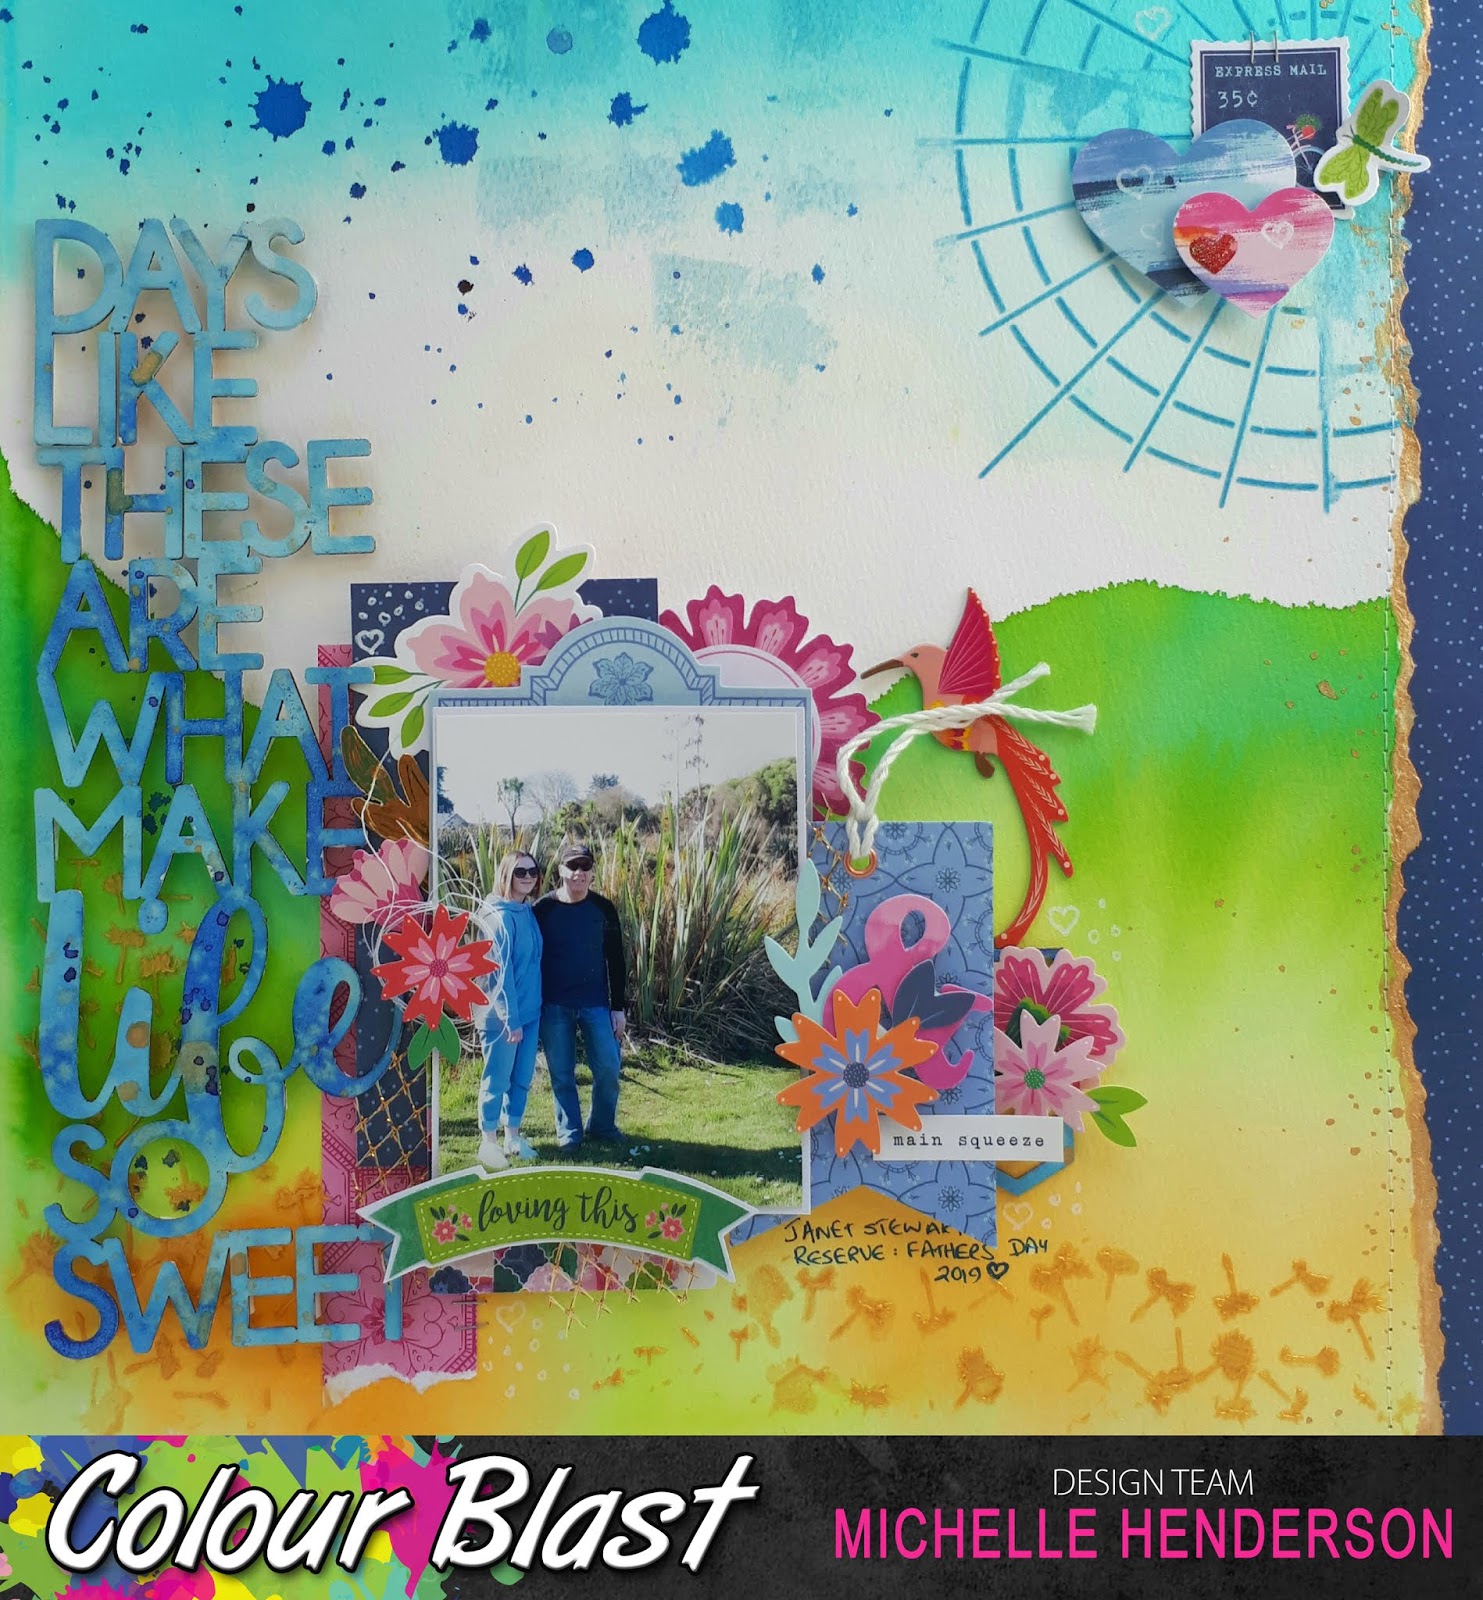
Days like these....by Michelle Henderson

Hello and happy Friday everyone! I'm at a retreat so busy working on my next projects as well as some things just for me 😀
I have a watercolour page today using a little bit of everything - here's s little hint...


  My background was done on watercolour paper, and I used the wet on wet technique with Colour Artist Inks in Lime, Mermaid, Grass, and Barley. By wet on wet, I mean I painted the edge if my hills with water only to start, then went over it with thinned colour so it would blend down the page.


I then did the same thing at the top of the page with Calypso Colour Artist Ink.


While that was drying, I prepped the chipboard title with Heavy White Gesso.


I mixed a little Colour Shimmer Dust in Duke up on my (very!) messy mat, and then swiped the title through it, patting it into the colour again where I needed it. This gave me the lovely mottled look I was going for.


I wasn't keen on the way the right edge looked, so I ripped it off and added some navy paper, after edging the rip with Light Gold from the Shimmery Gold Watercolour Pan set. I also splattered a little of it down this edge, and on the title. 

I used Colour Paste in Singin' the Blues and Bling through stencils, and also smudged a little in the sky.


I still had a little bit of the Duke left over, so I made some big splatters and drips using a water brush, in the sky.


I added my photo cluster and another small cluster, along with the title. I'm so pleased to have already made my Fathers day page!!!
Here's the finished page 💕
 

Thanks for joining us here!


Thursday, 24 January 2019

Best Friends Forever by Suzy Loudon

Hello everyone. Today I'm sharing a bright summer layout...perfect for our hot summer days. 


To begin my layout I stamped flowers using the Michelle Grant Floral Delights 1 & 2 stamp sets with black Stazon Ink onto watercolour paper.


I then randomly painted them with Colour Artist Inks. I used Oasis, Mermaid, Lime, Slipper, Calypso & Cranberry. I didn't worry about going outside the lines as I was going to fussy cut them out.


I tore the edges of my paper before sticking it down onto black card.I then randomly stamped using the Michelle Grant Stardust Butterflies Stamp.


I then did some random paint strips using a big wet paintbrush in Oasis  Colour Artist Ink. Then on top with Mermaid Colour  Artist Inks.


I painted my title in Heavy Black Gesso.

I assembled my page adding some thread, die cuts and art stones. To finish off I sprinkled watered down Heavy Black Gesso.


A few close ups.


Thanks for looking.
xxx Suzy