Showing posts with label 7 dots studio. Show all posts

Monday, 20 November 2017

"Experience" by Malinda Gardner

Hi, Mal here with a share of a page I did last week.


Do you ever scrap a page and whilst you're enjoying creating it you just feel like you can't finish it, like something is missing and no matter what you do it still feels like that...eventually you have to walk away and do no more??? Well that was this page.

Does it look finished? What do you think?

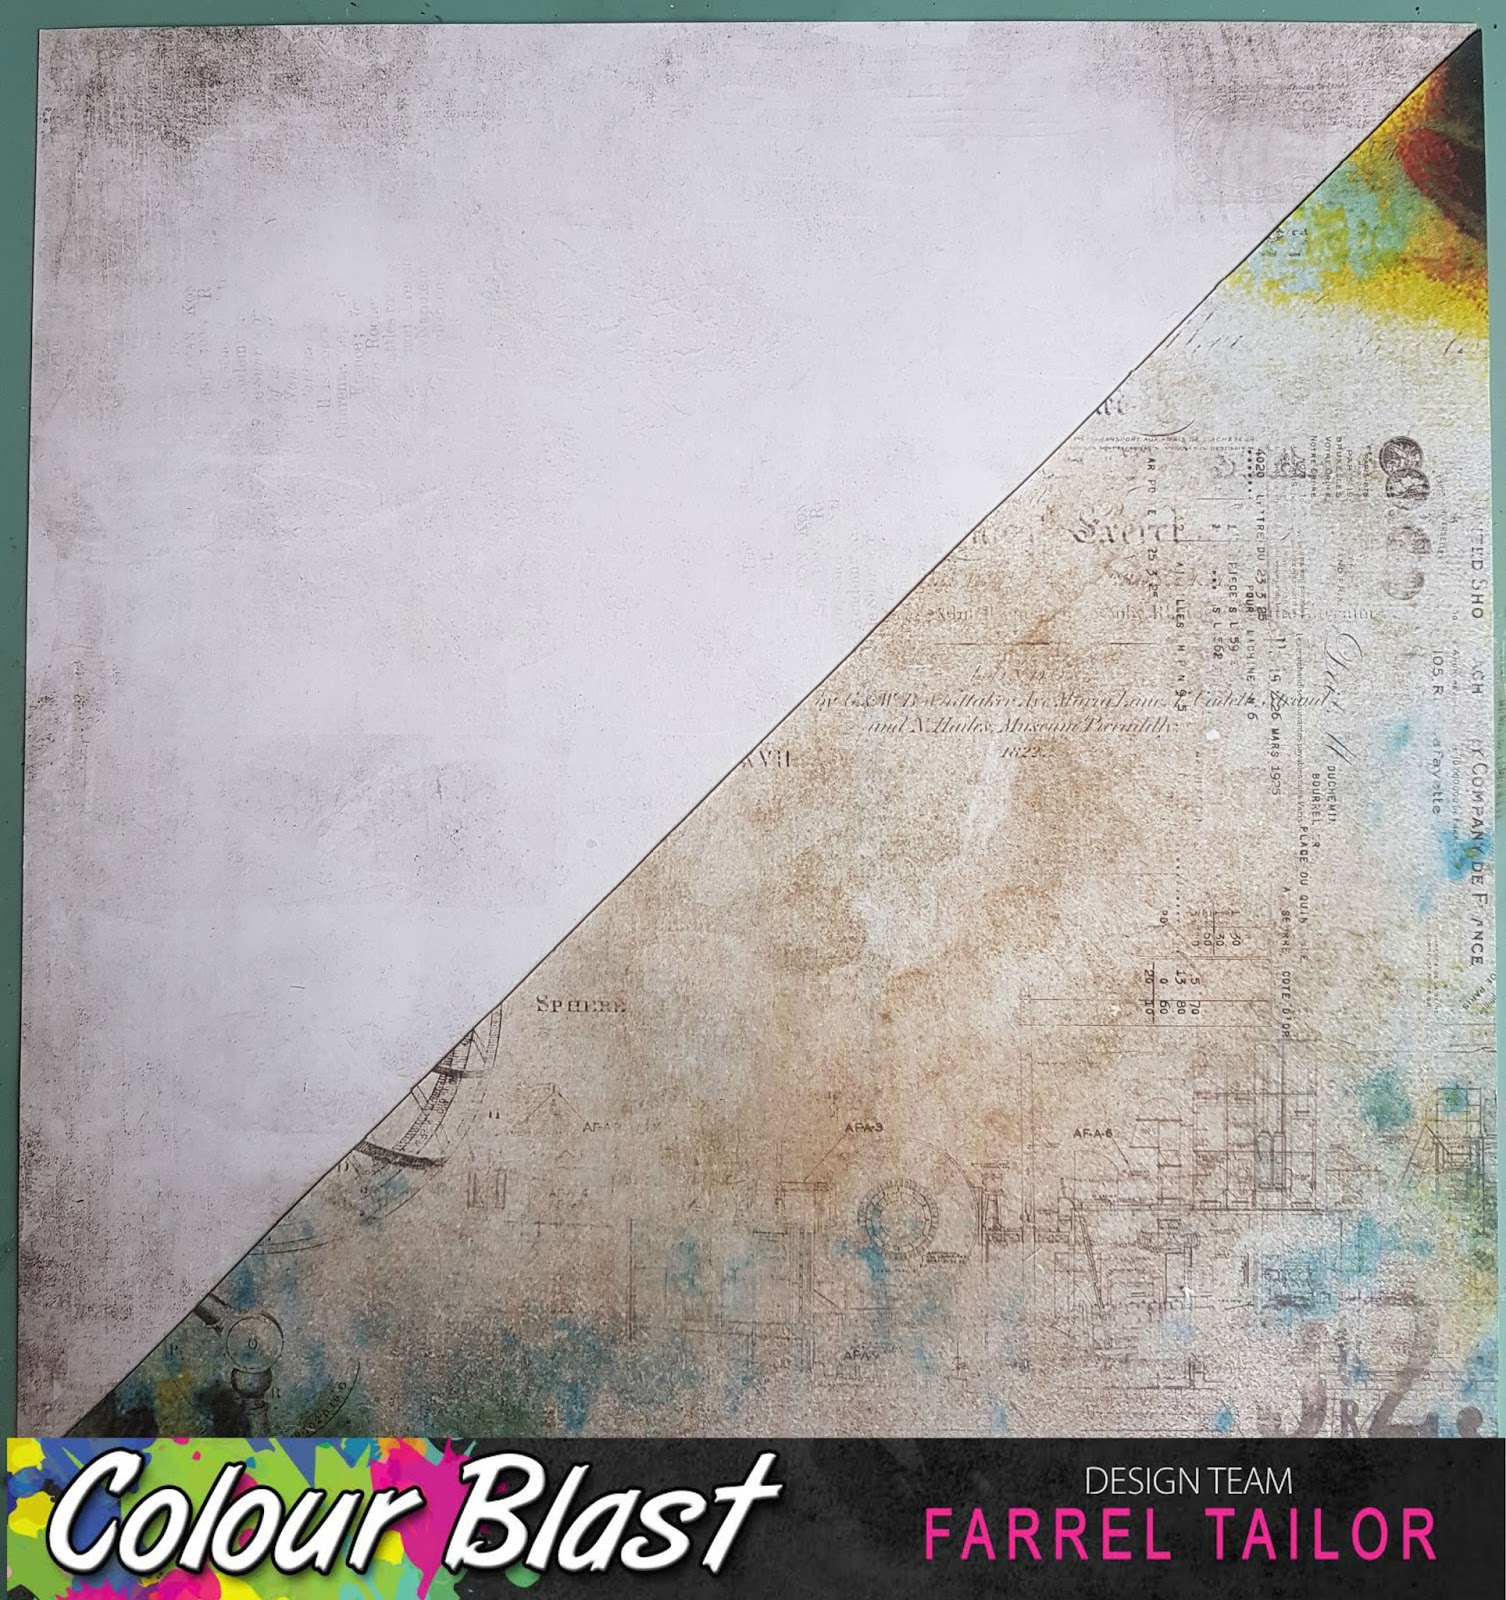
So I started with my background of course...I used some paper from the latest 7 Dots Studio range which is such a great range because you really don't have to do much, the background is basically done for you.

I then added some swipes of Colour Paste in Deep Water and then some more swipes in Stormy Weather.

I love how the paste bubbles when it's dried. I know you're not supposed to do that but I'm not much of a stick to the rules girl.


I wanted to add some circles to my page so started with some circles stamped with Oasis Colour Artist Ink painted around the lid. 


The circles when dry lost a bit of their intensity so next I used an old toilet roll painted with more of the ink, first in Oasis Colour Artist Ink to go over the circles. That was better.

I added some sprays of the Colour Shimmer Spray in Sunshine. The spray and the ink mixed a little but I like it.


 I also stamped with Colour Artist Ink in Soot. I used this for  some drops later on with this colour...it's my new fave go to colour for drops; it has a dullness that looks great when you don't want the drops to stand out too much.


Background done so it's time to add a few embellishments, matt my photo, a small title and a bit of journalling.

I think I'm finished...what do you think?


Monday, 28 August 2017

Star Struck by Malinda


Hi Malinda here with my 2nd share of the month.
I did this page at a recent retreat I run in Melbourne called Scrap and Chat Retreats.
I love this page (sorry not very humble lol) because of the awesome texture and contrast in the colours. 
Do you like it?


First up I have to admit straight up all of the background "stuff" I didn't do...it's a paper from the 7 Dots Studio Hazy Days Collection...isn't it amazing.
So to add to the background I wanted to add some points of interest, some texture and some dimension, so I used Sunshine Colour Paste, a stencil and an old card and wiped over the stencil on random parts of the stencil.


Next I "painted" some raw wood veneers with Midnight Colour Shimmer Dust. This stuff is my fav thing to use at the moment. I can use it in multiple ways on one page and only have to use a tiny bit to get a true strong colour. I love the depth and the shimmer of the shimmer dust. I'll use it again for my splats later on.


Whilst the stars were drying, and they dry super quick; another bonus of the shimmer dusts...very quick drying, I stamped, matt my photos (in black CS of course) and arranged my embellishments. I was missing something yellow, a focal point so I took a white plain material flair and sprayed it with Sunshine Colour Shimmer Spray.


The flair button didn't take long to dry, the material soaked up the excess spray and I gave it a quick dry with the heat gun.


Last but definitely not least I used the left over liquid Midnight Colour Shimmer Dust to do some splats.


I love how it adheres to the page and the paste and whatever it drips onto. It's like it has melted or burnt the page. Cool hey?


So that's my latest page...and I love it. Don't you love it when you do a page and it just comes together just the way you imagined it...doesn't happen often for me lol.

Happy scrapping....Mal xxx


Sunday, 30 July 2017

In The Limelight by Farrel Tailor

Hey there Colour Blast peeps!!

Well today is the last time you will see my posts here at Colour Blast. I would like to start off by saying a huge thank you to Tenisha and the awesome girls at Colour Blast. I have enjoyed every moment being apart of this amazing team for the last 12 months. 
I would also like to send a massive thank you to all of you that have liked or commented on my work. It means the world to me - you guys rock and will always hold a special place in my heart!!!

So with that said here is my last layout using 7 Dots Studios Hazy Days and my favourite Colour Shimmer Dusts and paste.


I started off by cutting my background cardstock and creating the layers for behind my photo. I used a pencil to mark where my photo was going to go for the next step.


Next I used White Heavy Gesso and applied it in short strokes using an old gift card.


Once it was dry I then used an alphabet stencil and Watering Can Archival ink to add the stenciling to the background.


After I gave my stenciled areas a quick dry with my heat gun, I then used Sunflower Colour Shimmer Dust and mixed a small amount with water. 


I then applied it to my layout with a baby wipe in a dabbing motion.


I used the same technique with Peacock and Duke Colour Shimmer Dust. Making sure I dried the dust in between colours.


Once I was happy with the colours I used Stormy Weather Colour Paste with a Dusty Attic Criss Cross Stencil and dried with my heat gun.


And the last step I used Peacock Colour Shimmer Dust (my favourite colour ever!!!) to add some colour to the die cut stars from Hazy Days. A little goes such a long way with the dust so I only dipped the tip of my wet paint brush into the lid of the powder.


To finish it off I added some stamping using archival ink, some staples and a flair from Funky Flair Studios and there you have it, another layout completed using these amazing products.


So thank you again to everyone that has followed me and allowed me to share my creations with you all. Stay creative and I love you all xx


Saturday, 15 April 2017

Do What You Heart by Rachel Dutko

Hi everyone

Today I have a bit of a 'selfie' layout to share. I've kept to my 'grungy' style, but added a few flowers and butterflies to juxtapose the 'messy' background.


To prep my page I added White Heavy Gesso to the top half of the page. I drew a line about a third of the page down with lead pencil as my 'horizon' to base my design around. My first layer of colour was to apply water-activated Midnight Colour Shimmer Dust and let it drip down the page.


I then collaged some 7 Dots Studio stickers and frames.


Next I applied some Envy, Steel and Fire Engine Colour Pastes through stencils, drying thoroughly between each colour.


I then added another layer of black, this time with Road Base Colour Spray  applied with a paintbrush for some drips and splatters.


I then added my embellishments, title and photo.


I coloured the heart of my wood veneer title with 
Fire Engine Colour Paste 
to bring some more texture and bring focus.


Thanks for looking

Rachel xx 


Sunday, 26 March 2017

Sunkissed Layout by Farrel Tailor

Hello Colour Blast Fans!!! Farrel here to share with you a layout created using a photo I have had in my photo stash for 5 years!
So I hope you have a cup of coffee whilst reading this as I have taken quite a few process pics for you.

Here is the layout I created using the 7 Dots Studio range Cotton Candy.


I started by lightly coating my patterned paper with gel medium.


Next I mixed the ever so delicious Cool Mint Colour Mica Powder with gel medium and used it through a stencil. I used it with gel medium instead of white gesso or modelling paste as I didn't want to loose the vibrant colour that Cool Mint has.


Using the left over paste (as I don't like to let anything go to waste) I used my spatula to create some textured lines onto the layout.


Once I dried it with my heat gun, I then created a cluster for my photo to sit on. I have used some paper, tags and a die cut from the range.


So here I am creating more texture by using Tangareen Dream Colour Paste with an old gift card to create some lines.


I then added some stamping using black archival ink and then sprayed Tangareen Dream Colour Shimmer Spray  and let it run a little on the layout.


I then decided to use the same spray to colour my cheese cloth piece. 


I had a pink flower in my stash and decided to use my finger to rub Tangareen Dream Colour Paste  onto the petals. By doing this I was able to crumple the petals and they held their shape when I dried it.


To finish off the layout, I added more die cuts, stickers, some stamping and a flair.


Thanks for dropping by and hopefully I have inspired you to use a photo that has been siting in your craftroom for years!!

Until next time - Happy Scrappin xx