Hi everyone! Amy Prior back with you all again today, this time sharing a fun mixed media layout featuring a photo of myself and my gorgeous friend Belinda Tandberg doing the Colour run at the Flutterby retreat in 2016.
I have a quick step-by-step tutorial for you all on how I have created this layout.
Step 1: Cut 75mm from each edge of a piece of black cardstock and then cut the centre out of a piece of 7 Dots Studio Cotton Candy Dreams 12x12 patterned paper. You can skip this step if you like, however I like to cut out the centre of paper when I am using it only as a border to avoid waste.
Step 2: Scrape some Black Heavy Gesso through a 7 Dots Studio Writer's Block stencil to create a nice diagonal pattern of stencilling over the black background piece.

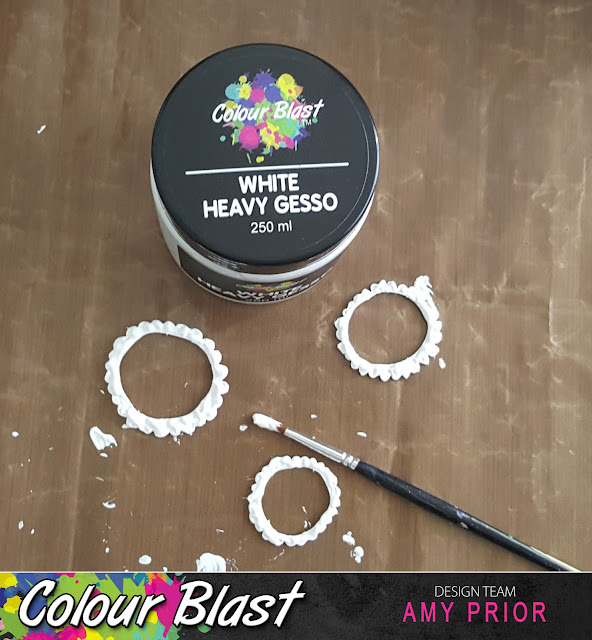
Step 3: Paint some 7 Dots Studio chipboard pieces using some White Heavy Gesso. I use the paint brush to dab the gesso onto the chipboard to create a nice texture.
Step 4: When the Gesso is dry, spray some Tangareen Dream Colour Shimmer Spray over the background in random patches leaving enough room for other spray colours to be added.
Step 5: When the Tangareen Dream is completely dry, spray some random patches of Colour Shimmer Spray in Envy & Deep Water over the background as well. When using hot and cold colours together, it is best to start with hot colours, dry thoroughly, then add the cool colours or vice versa. This avoids any unwanted muddy brown mixing of the colours.
Step 6: Paint a wood veneer title with some Tangareen Dream Colour Paste. Again I have dabbed my paint brush up and down with the paint to create lots of texture on the title.
Step 7: Cut random rectangles of 7 Dots Studio Cotton Candy Dreams patterned paper and then ink the edges of the papers, your photo and some embellishments using Black Archival ink and a blending tool. When cutting random rectangles for my layers, I always try to avoid cutting pieces that are larger in length or height than my photograph.
Step 8: When the Colour Paste & White Heavy Gesso is dry completely, add some black archival ink to the textured details by stamping the stamp pad directly onto the top of the painted pieces.
Step 9: Layer all the pieces of paper and embellishments underneath and around the photograph to work with the shape of the stencilled background.
There are so many gorgeous details on this layout and the shimmery goodness is so very pretty in real life.
Some doodling around some letter stickers were the perfect finish for this layout.
Well that is it from me today, thanks so much for stopping by and until next time, happy scrapping!
Amy Prior xx


Great layout, love the colours, texture and circles.
ReplyDelete