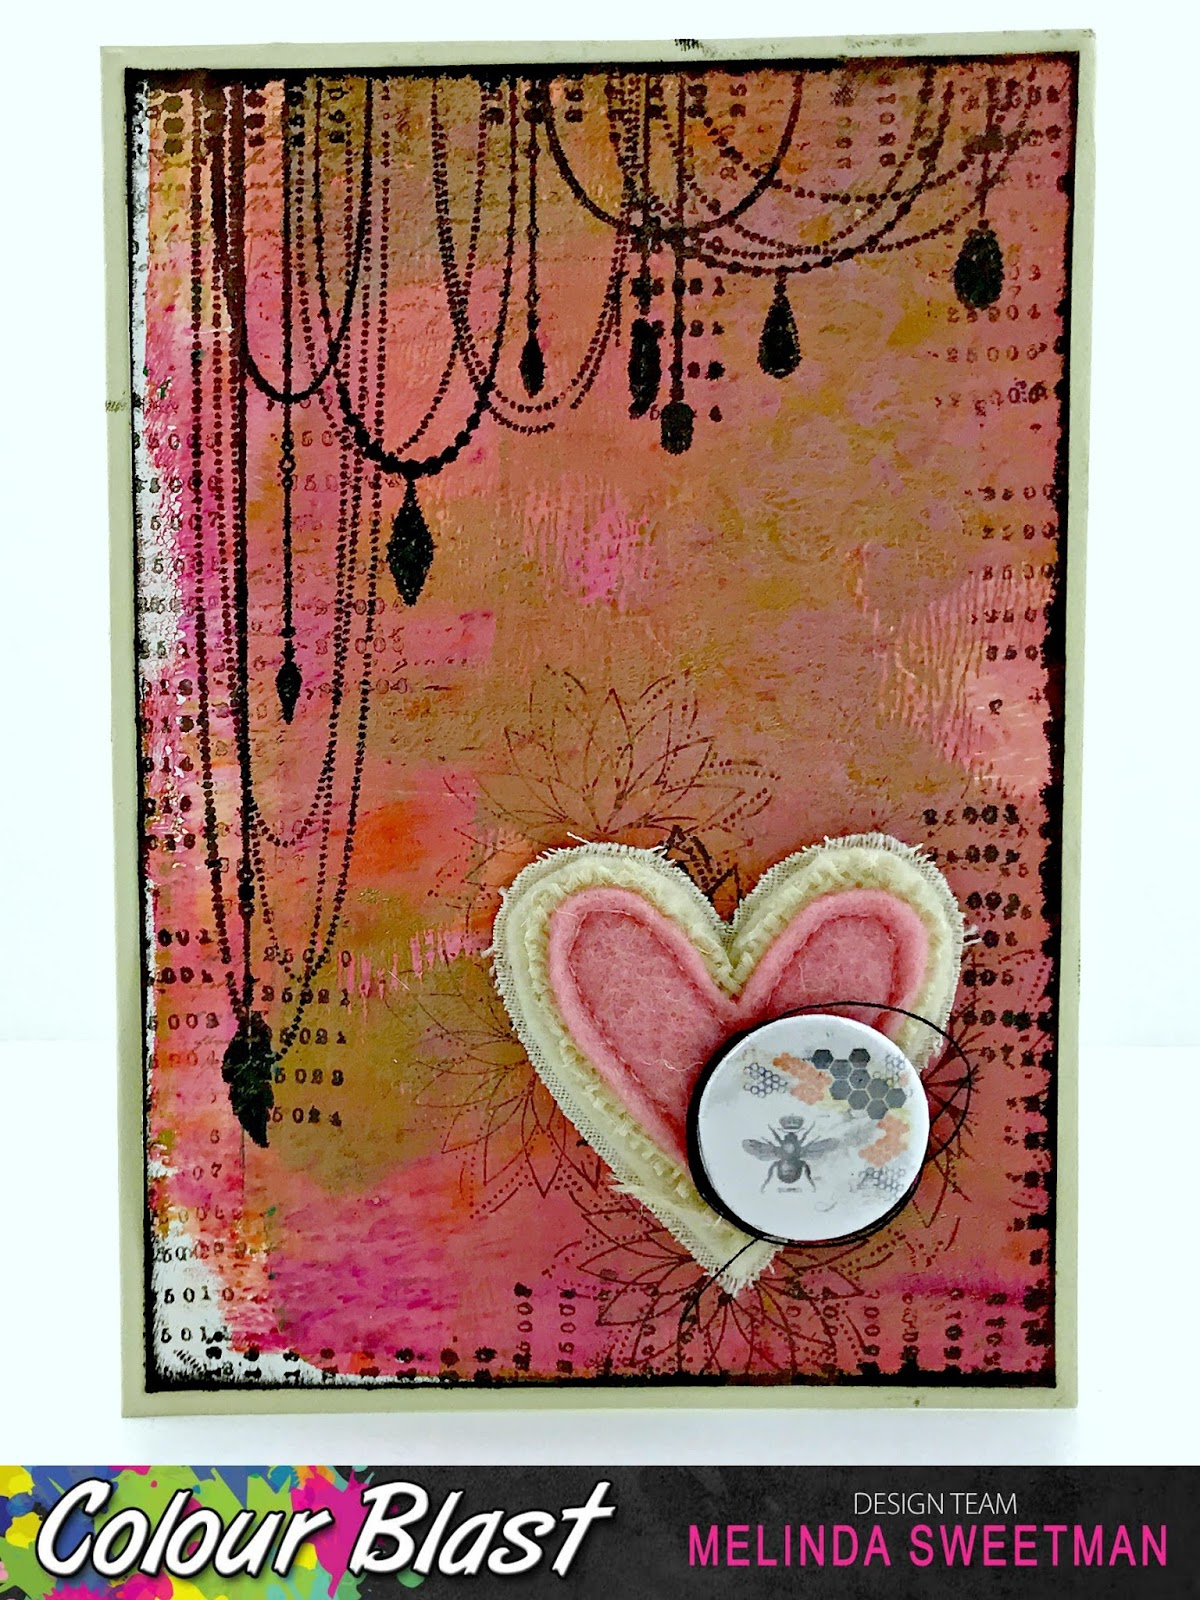
Showing posts with label gel printing. Show all posts

Sunday, 12 September 2021

Inhale Exhale - With Karyn Schultz!

 Hi Bee Arty Lovelies!
 
It's Karyn here and today I have an art journal page to share with you made using lots of fun products available from Bee Arty. 
 
 
I've been enjoying doing gel printing lately so I thought I would play around with Colour Artist inks and a small circle gel plate. I tried applying the ink direct to the gel plate but wasn't getting the effect I was after. I also tried mixing the ink with white gesso but the colour was too muted so I tried mixing it with a soft gloss gel. I used a paint palate to mix each of the colour separately with gel (grass, lime, citrus Colour Artist Ink) then I applied it to the plate.

 
 I had precut white cardstock to approx 4"x4" squares and I created a series of prints - the darkest print coming from the first, then second and third (I didn't add any more coloured gel to the plate between prints). I love the variation they give.
 
 
Once the prints were dry I drew citrus shapes using white and black Life Of Colour pens. I cut out the citrus shapes to use on my page. The print in the top left corner is from inks only on the plate, the bottom print is inks mixed with white gesso, the top right is ink mixed with soft gloss gel. I used some of the prints to punch other sized circles as well.

 
Now on to creating my art journal page. I'm using a cotton watercolour page in my DWM art journal. I start by applying Grass, Lime, and Citrus Colour Artist Ink to the page using a painting with plastic technique (apply each colour separately and dry in between), then add splatters. 
 
 
 Then I added some stamping using the Making Your Mark stamp set from the Untangle collection.
 
 
 Next I've added some stencilling using the Starry Night stencil (from the Grateful Heart collection) and Dusty Charcoal Colour Paste. 


Here is my finished page.


 I've added various circle shapes cut from the gel prints as well as words cut from paper in the Untangle collection. I've drawn around the edge of the page, the circles and the words using a fine black Life Of Colour pen.


Thanks so much for stopping by

Crafty Hugs xx


Saturday, 7 April 2018

Gel Press meets Colour Shimmer Dust with Melinda

Hello, hello and welcome to the blog today!!

I'm going to start this post will a little confession!! Last June I attended the Brisbane Craft Show and purchased a Gel Press plate - I couldn't wait to get home and PLAY!! When I finally did play, let's just say I was less than impressed with my end results so I put the press away with every intention of trying again "one day." Well, that one day is here so I grabbed said gel press, white acrylic paint, ALL of my Colour Shimmer Dusts, brayer, stencils and paper and off I went!

I started by mixing my paint with my first colour choice of Peacock Colour Shimmer Dust. I mixed this well with a palette knife and applied to my plate with my brayer. I then grabbed my first piece of cardstock and pressed that straight onto the top rubbing firmly to get an impression.


Depending on how thick you do the paint and how much you press you can get multiple prints from the same paint layer. 

Please remember, I was simply playing and I think I still have a long way to go!! I continued with the same technique a couple of times and then decided to add another colour for another layer.

Next up was Paris Colour Shimmer Dust. I did not clean my "palette" so got a deeper green than the Paris by itself would be. I was having so much fun brayering and pressing that I forgot to get a photo of that particular layer however you can see the colour in the next step.

I decided to try adding a completely different colour and this time grabbed the Sunflower Colour Shimmer Dust and white acrylic. You can see the left overs of the Paris on the plate to the left of the photo.


I added in some stencils using  the stencil almost like a stamp and impressing the stencil into the wet paint, removing the stencil and moving it all around the plate and then doing another impression for another layer of colour.


Each time I changed colour families I cleaned my gel plate. Also when I decided to add in the yellow I actually grabbed some old acetate/packaging to create a palette to mix the colour and apply to my brayer.

I couldn't resist trying some pink so grabbed my Lollipop Colour Shimmer Dust and got mixing. I applied a layer of that to my plate and then did a little experiment. I grabbed my Sunflower Dust and sprinkled that in couple of places on the wet paint on the gel plate, added a small blob of acrylic, brayered that and then did an impression. This gave an intesting, much more saturated, effect to the areas where the Dust hadn't completely mixed in.


By this stage I had done a number of prints and thought I should stop then and see what I had. I had also experimented yesterday to see if I could get my idea of Colour Shimmer Dust and acrylic to work so there a couple of extra book pages I did a couple of extra impressions on those. I chose some of the prints I thought I could work with and cut them down to card front size (10cm x 14.3cm) and here are the bases I cut. I also had enough from one of the prints to do 2 10cm square fronts as well. 


I picked 3 I wanted to work with added a couple of more layers! Starting with Colour Paste in Bling to 2 of the card fronts.


When that was dry (I did give it a bit of a head start with the heat gun!) I added in some stamping with gold ink and also black ink. I also inked around all of the edges of the cards to give them a little bit of a defining edge.


I grabbed a few embellishments from my stash - Charms Creations, D-lish Scraps and Funky Flair Studio's mostly - and stuck those on and mounted my card fronts onto cream card bases.


And a photo of each


If you know me well chances are you can pick my fave is the star one. Do you have a favourite??

I have filmed my process which will give you a better idea of the actual process (and just how messy I got ;) ) which you can see here. 

Now that I have broken the printing plate in I can't wait to do some more playing and printing!! Do you have a gel plate you've been "meaning to get to"? Have a play, it is FUN!!

I hope you enjoyed this and I'd love for you to share if you create something inspired by this so please head over the Colour Blast Creative Corner on FB and share away!!

Until next time, happy scrapping!!

Melinda


Friday, 27 October 2017

Colour Shimmer Dust & the Gel Press by Kasia Leach

Hello lovelies... I was inspired to get my Gel Press out after seeing Rachel Dutko's post last week and have a play with my Colour Blast stash and share my process with you and hopefully inspire you to make some prints also. 


I love the Gel Press for so many different reasons, but most of all because no print is ever the same and the possibilities are literally endless... hence the name mono-printing. 

You can use a heap of art supplies you already probably have on hand for mark making but also tons of items lying around the house or on their way to the bin... and we all love recycling don't we?


I squeezed some white acrylic paint into my palette and added a little bit of the Colour Shimmer Dust in Sunflower, Amber, Lush & Candy. Any acrylic paint will work, mine was just a cheap one I had lying around for ages. 


Mix the Colour Shimmer Dust into the paint really well until the colour is nice and even. You will end up with beautiful pastel tones and the more dust you add the more intense the colour will be. 


Now its time to get your Gel Press out... 
Add the paint to the Gel Press with a small popsicle stick, a palette knife or the end of a paint brush, just make sure you don't use anything sharp that could scratch the surface of the press. 

Using a brayer, roll out the paint and until you achieve a colour that you are happy with. You pull the print now on a piece of paper, cardstock, deli paper or tissue paper.  


This is the print I pulled from the above images. No mark making.. just the paint and brayer marks. Sometimes prints like these are just perfect if you want a matt for a photo on a layout or for a background for a card... or you can go to town and make some marks :)


Gather your texture stamps, foam stamps (if you don't have foam stamps you could die cut some fun foam using your dies), toilet paper rolls, register rolls, leaves, pencil with a rubber on the end, muslin, calico, stencils, string, ribbon, lace, doilies, scrunched up paper etc... literally anything with a cool texture that is not sharp is worth a try. 

Roll out some paint onto your Gel Press and start making marks. I love stamping off the stamps I press into the press onto a print to layer texture upon texture. Once you have some cool marks on your press, pull a print and repeat the process with another colour combo. 


Cleaning your brayer off onto paper creates a cool start to a print too so just have a stack of paper next to you and just keep playing. Above is a print with brayer marks & stamped off texture stamps. 


Here I have added a few prints after adding marks to the press with stencils. I also used muslin to add a bit more texture through the large opening of the gingko stencil. 

Side note: I have a number of Prima & Kaisercraft texture stamps that I don't mind if they get all messed up with paint and ink, but if you are worried about your stamps, wipe them off before the paint dries. 


I trimmed down my panel to fit into my small Dylusions Art Journal and inked up the edges with a Black Gelato and smudged it with my finger. 

I then gathered some of my favourite Dylusions & Darkroom Door stamps and had some fun. Lastly I got out the Colour Shimmer Cubes and added a little bit of shimmer to the leaves with the Dusty Charcoal. 


I hope you've enjoyed seeing my process and its sparked you to get out your Gel Press and the Colour Shimmer Dusts and have a play.


Ps.. Don't forget to have fun!
xx Kasia

Tuesday, 17 October 2017

Monoprinting with Colour Blast by Rachel Dutko

Hi Colour Blast fans

Today I am sharing how I use Colour Blast Colour Sprays with a monoprinting gel plate.

I finally purchased a gel printing plate recently and I wanted to experiment 
with my Colour Blast Colour Sprays. 

Here are a few projects I have made with the resulting prints.


So let's take a look at how I used my Colour Sprays with the gel plate.

My first step was to add a thin layer of White Heavy Gesso for the sprays to 'stick' to.


Next I randomly sprayed Bubblegum, Saffron,  
Rainforest and Caribbean Colour Sprays.


The next step was to lay a stencil across, and then my paper. The trick is to press down on the paper, making sure to get into the spaces of the stencil really well.


Now for the reveal!

I really enjoy the anticipation of the unknown result of the print!


I found that the White Heavy Gesso gave my prints more of a 
'softer', almost pastel look to the vibrant colours.  

I tried some more combinations of colours, this print is using  
Indigo, Lagoon and Caribbean Colour Sprays.


I then thought I would try using Black Heavy Gesso 
as my base colour.


It was quite hard to see the sprays on the black gesso, but that just 
meant the reveal was more of a surprise!


I found the darker Colour Spray colours worked better on the Black Heavy Gesso. 
This print uses Black Heavy Gesso and 
Rainforest and Carribean Colour Spray.


Lastly I added some splatters of 
watered-down Black Heavy Gesso.

I cut down my prints and added some 
plain die-cuts to make some cards.


I hope I have inspired you to experiment with 
your Colour Blast products.

Thanks for looking

Rachel x x