Wednesday, 15 June 2022

Simply perfect by Sandi Spink

 Hi everyone, hope you have been able to find time this month to fill your life with art. My creative mojo has been flowing well and I'd love to share with you my latest page created with the new kit from Fiona Paltridges 'Bee...My Sunshine'.

To create this multi layered page I used the following kit supplies from 'Bee...The Sunshine' and Bee Arty products.

  • Papers- 'Pretty Field' full page (Side B). 'Collection front cover' (Side B), 'Bee Garden' and 'Sunny Days' (Side B) for flowers fussy cutting. 'Honey' for Title
  • Stencils- Honeycomb Spray, Flower Garden, Abstract Daisy
  • Embellishments- 'Simply Perfect' chipboard (kit)
  • Mixed Media Products- White Gesso, Gel Medium, 'Snow White' Colour Paste
  • Shimmer dusts- 'Fern', 'Candy'.
  • Mica Powder 'Tangerine dream'
  • Artist inks- 'Citrus' 

1st Layer-

I made a mix of 'Fern' shimmer dust with water. Placing 2 heaps of gel medium onto my working mat I added a very small amount of the mix to one heap and a little more into the other heap to make 2 different shades of paste. Picking some of each onto a spatula I spread it over the 'Honeycomb Spray' to produce a waterproof and graduated colour texture for the base of the flower garden I was creating.

I repeated this with the 'Candy' and 'Tangerine Dream' powders. To add a sparkle and effect of dew drops/light rain to the page I added 'Snow White' Abstract Daisy stencils over different areas.

I added some more yellow to the background using a watered down solution of  'Citrus'

2nd Layer- 

Ensuring the first layers were very dry I used White Gesso over the 'Flower Garden' Stencil to add 3 large daisies to the page. 

3rd and additional Layers-

After a lot of fussy cutting, I added a variety of the flowers, stems, a bee hive, crown and added colour to a honey bottle cut out. 

To finish off I added my photo, painted the 'Simply Perfect' chipboard with left over paint I made, added splats of 'Tangerine Dream' paint and the title 'If you love nature you will find the beauty all around you'.


If you haven't got this kit pop over to Bee Arty shop to grab your kit, it's a beautiful kit and inspires the creative mojo so easily. 

Happy Creating.


Sunday, 12 June 2022

Mad Hatter's Tea Party by Tracey Campbell

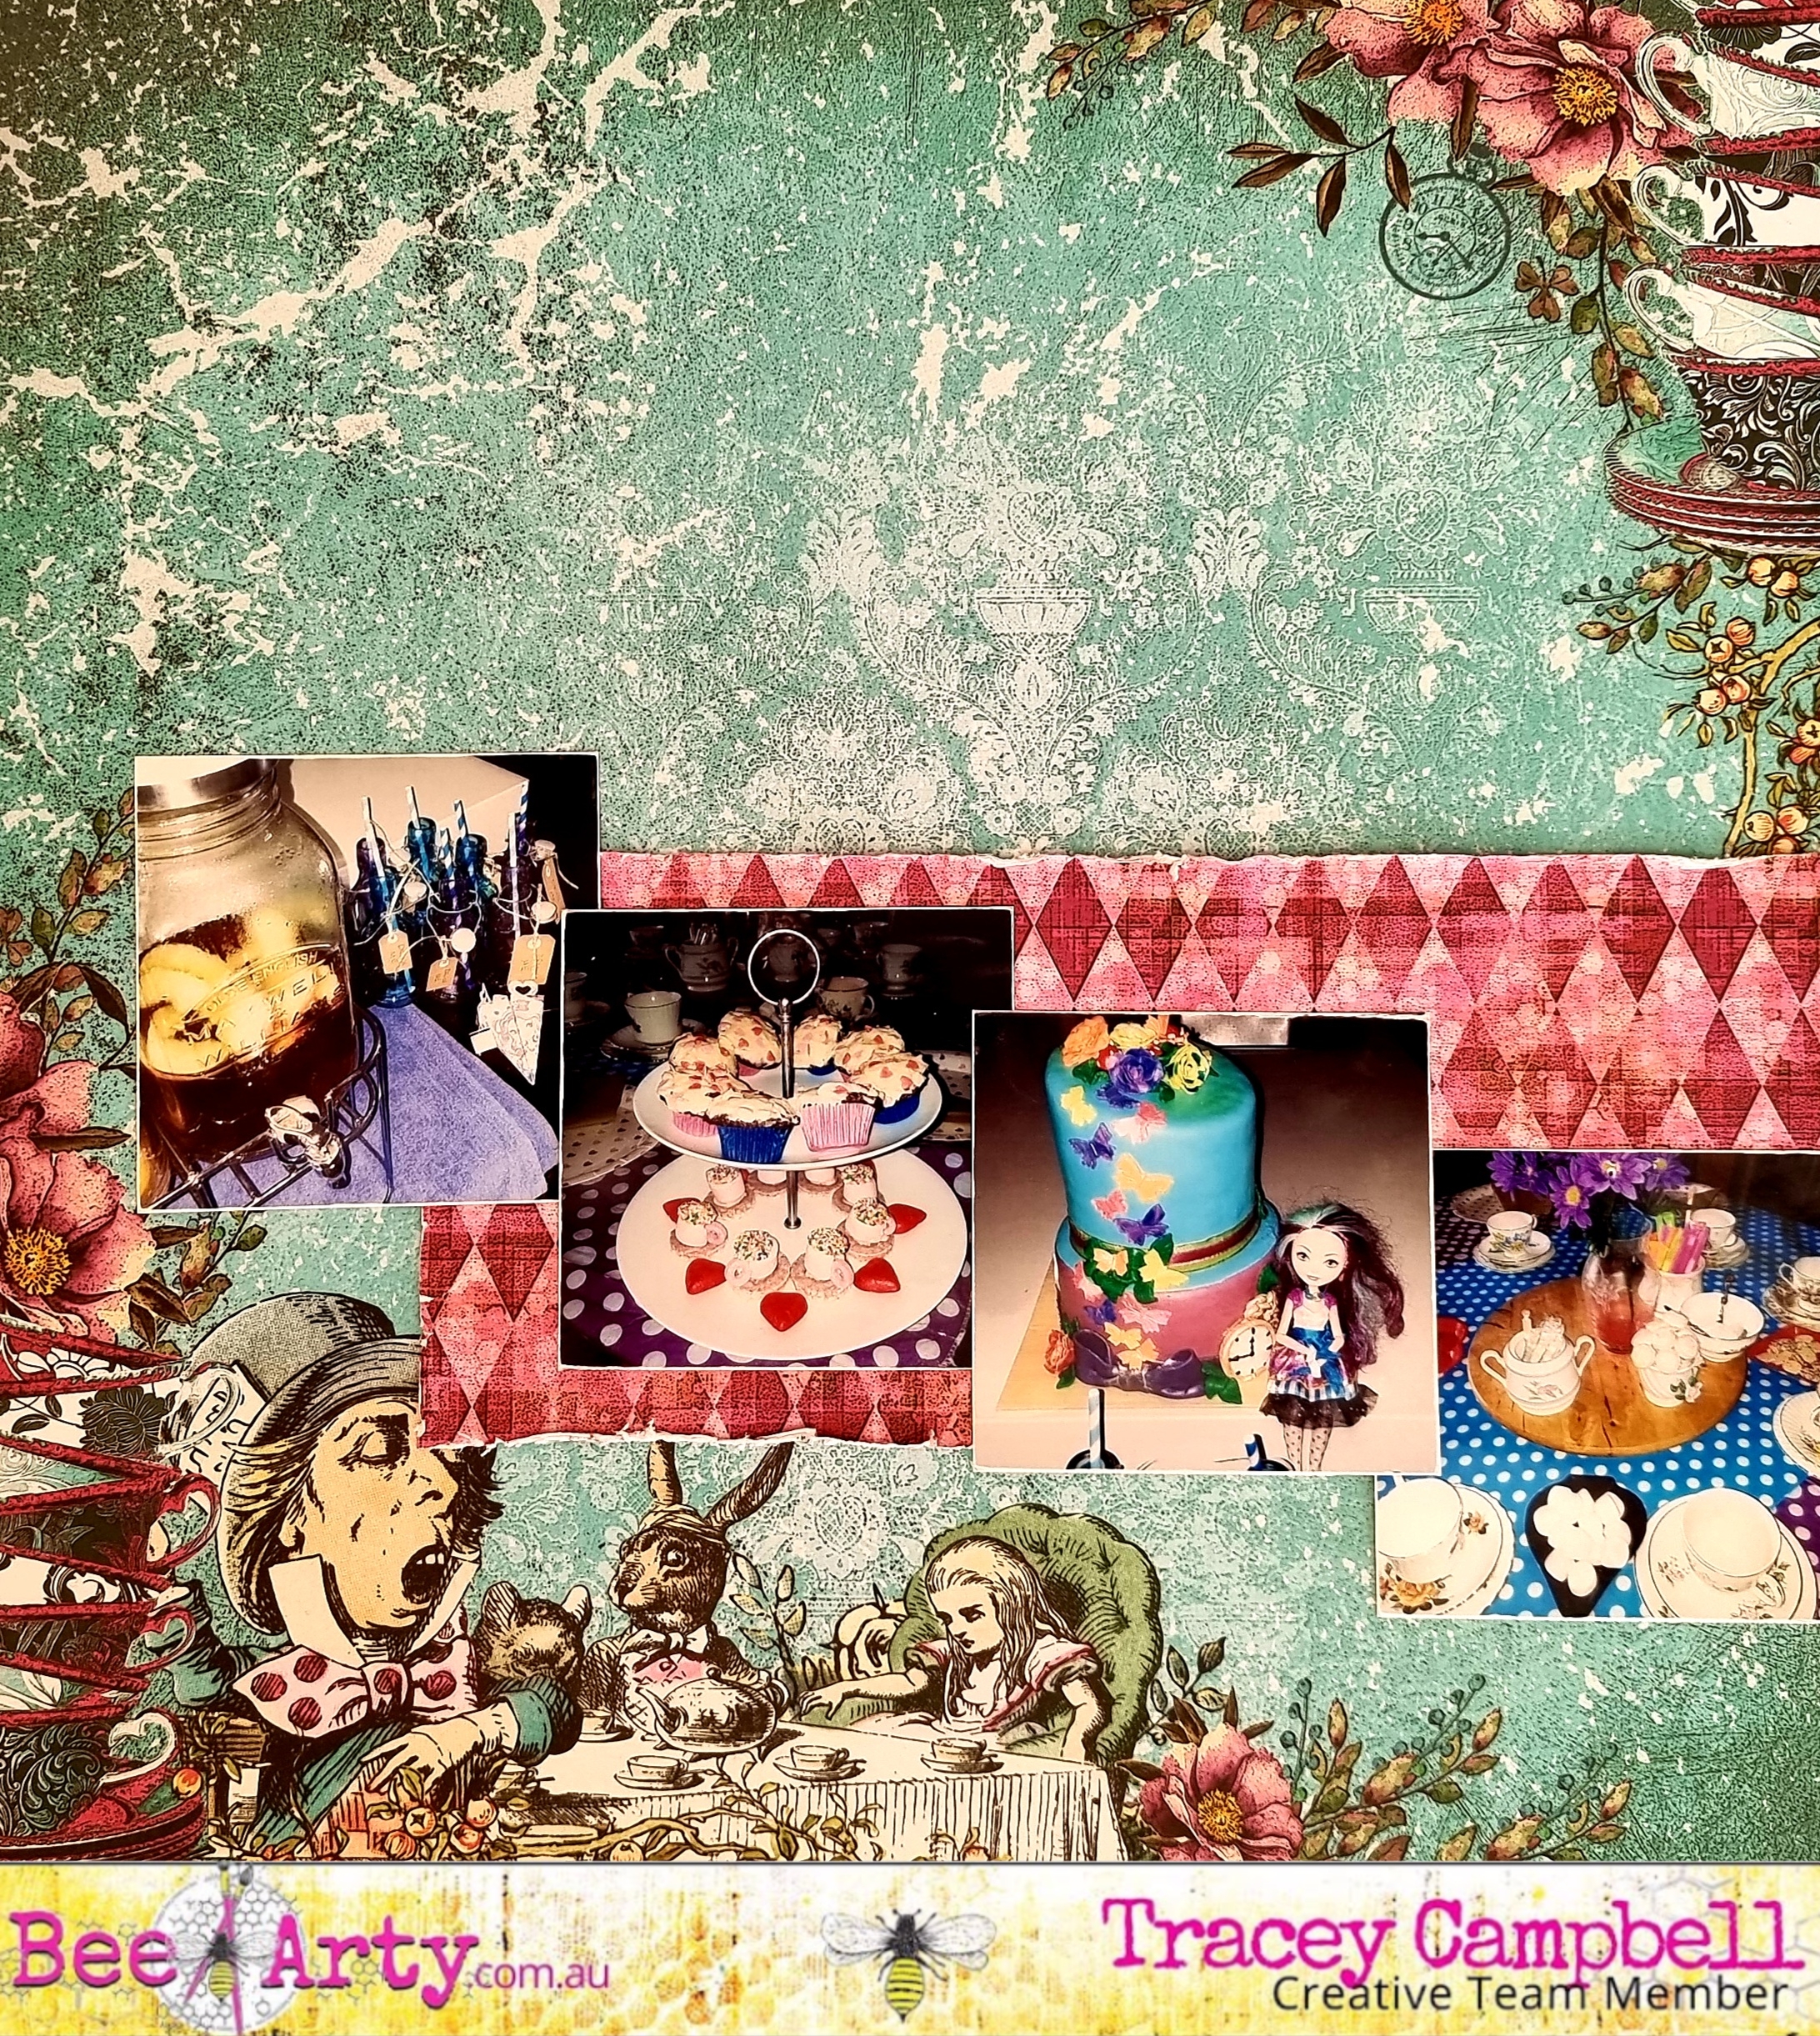
 Hello Bee Arty people, I am showing of my latest creation using the Mini Collection Tea Time in Wonderland, I just had to use this collection for my daughters "Mad Hatter Tea Party" she had for her 10th Birthday.


I was actually away on a work trip when I put this layout together, so I had limited supplies and space to create, but I just love how it turned out.


To start the layout I cut out two of the tags from the Tea Time in Wonderland Mini Collection Kit, I picked the Queen of hearts and the Queens card guards tags. I cut out the middle of the circle so that I could put some string through the tag, I also slightly distressed the edges of the tags to given them an older look. I also carefully trimmed a round the Queen's hand and the flamingo so that I could have them laying over the top of my photo, as you can see in the first photo of this blog.


Next I cut out a 23 x 9 cm rectangle from the pink diamond paper and distressed the edges.


Next I adhered the diamond paper to the Mad Hatter Tea Party paper, lining it up with the right hand edge, so that it ran horizontally across the paper, trying not to cover too much of the illustration. I had brought a could of photos of the food from Bronte's Tea Party with me on the trip so I trimmed them down so that they were 7x7 squares and sanded the edge to distress them up a bit. I then used double sided table to stick the photos across the diamond paper running in a diagonal down the page. 


I had a larger square photo 10x10 cm which I also distressed the edges with a bit of sand paper and then tied some twine around the bottom edge and finished it off with a little bow. Adhere it above the two right hand photos in the diagonal row, tucking the tags behind it, finish off by threading some twin through the tags. 


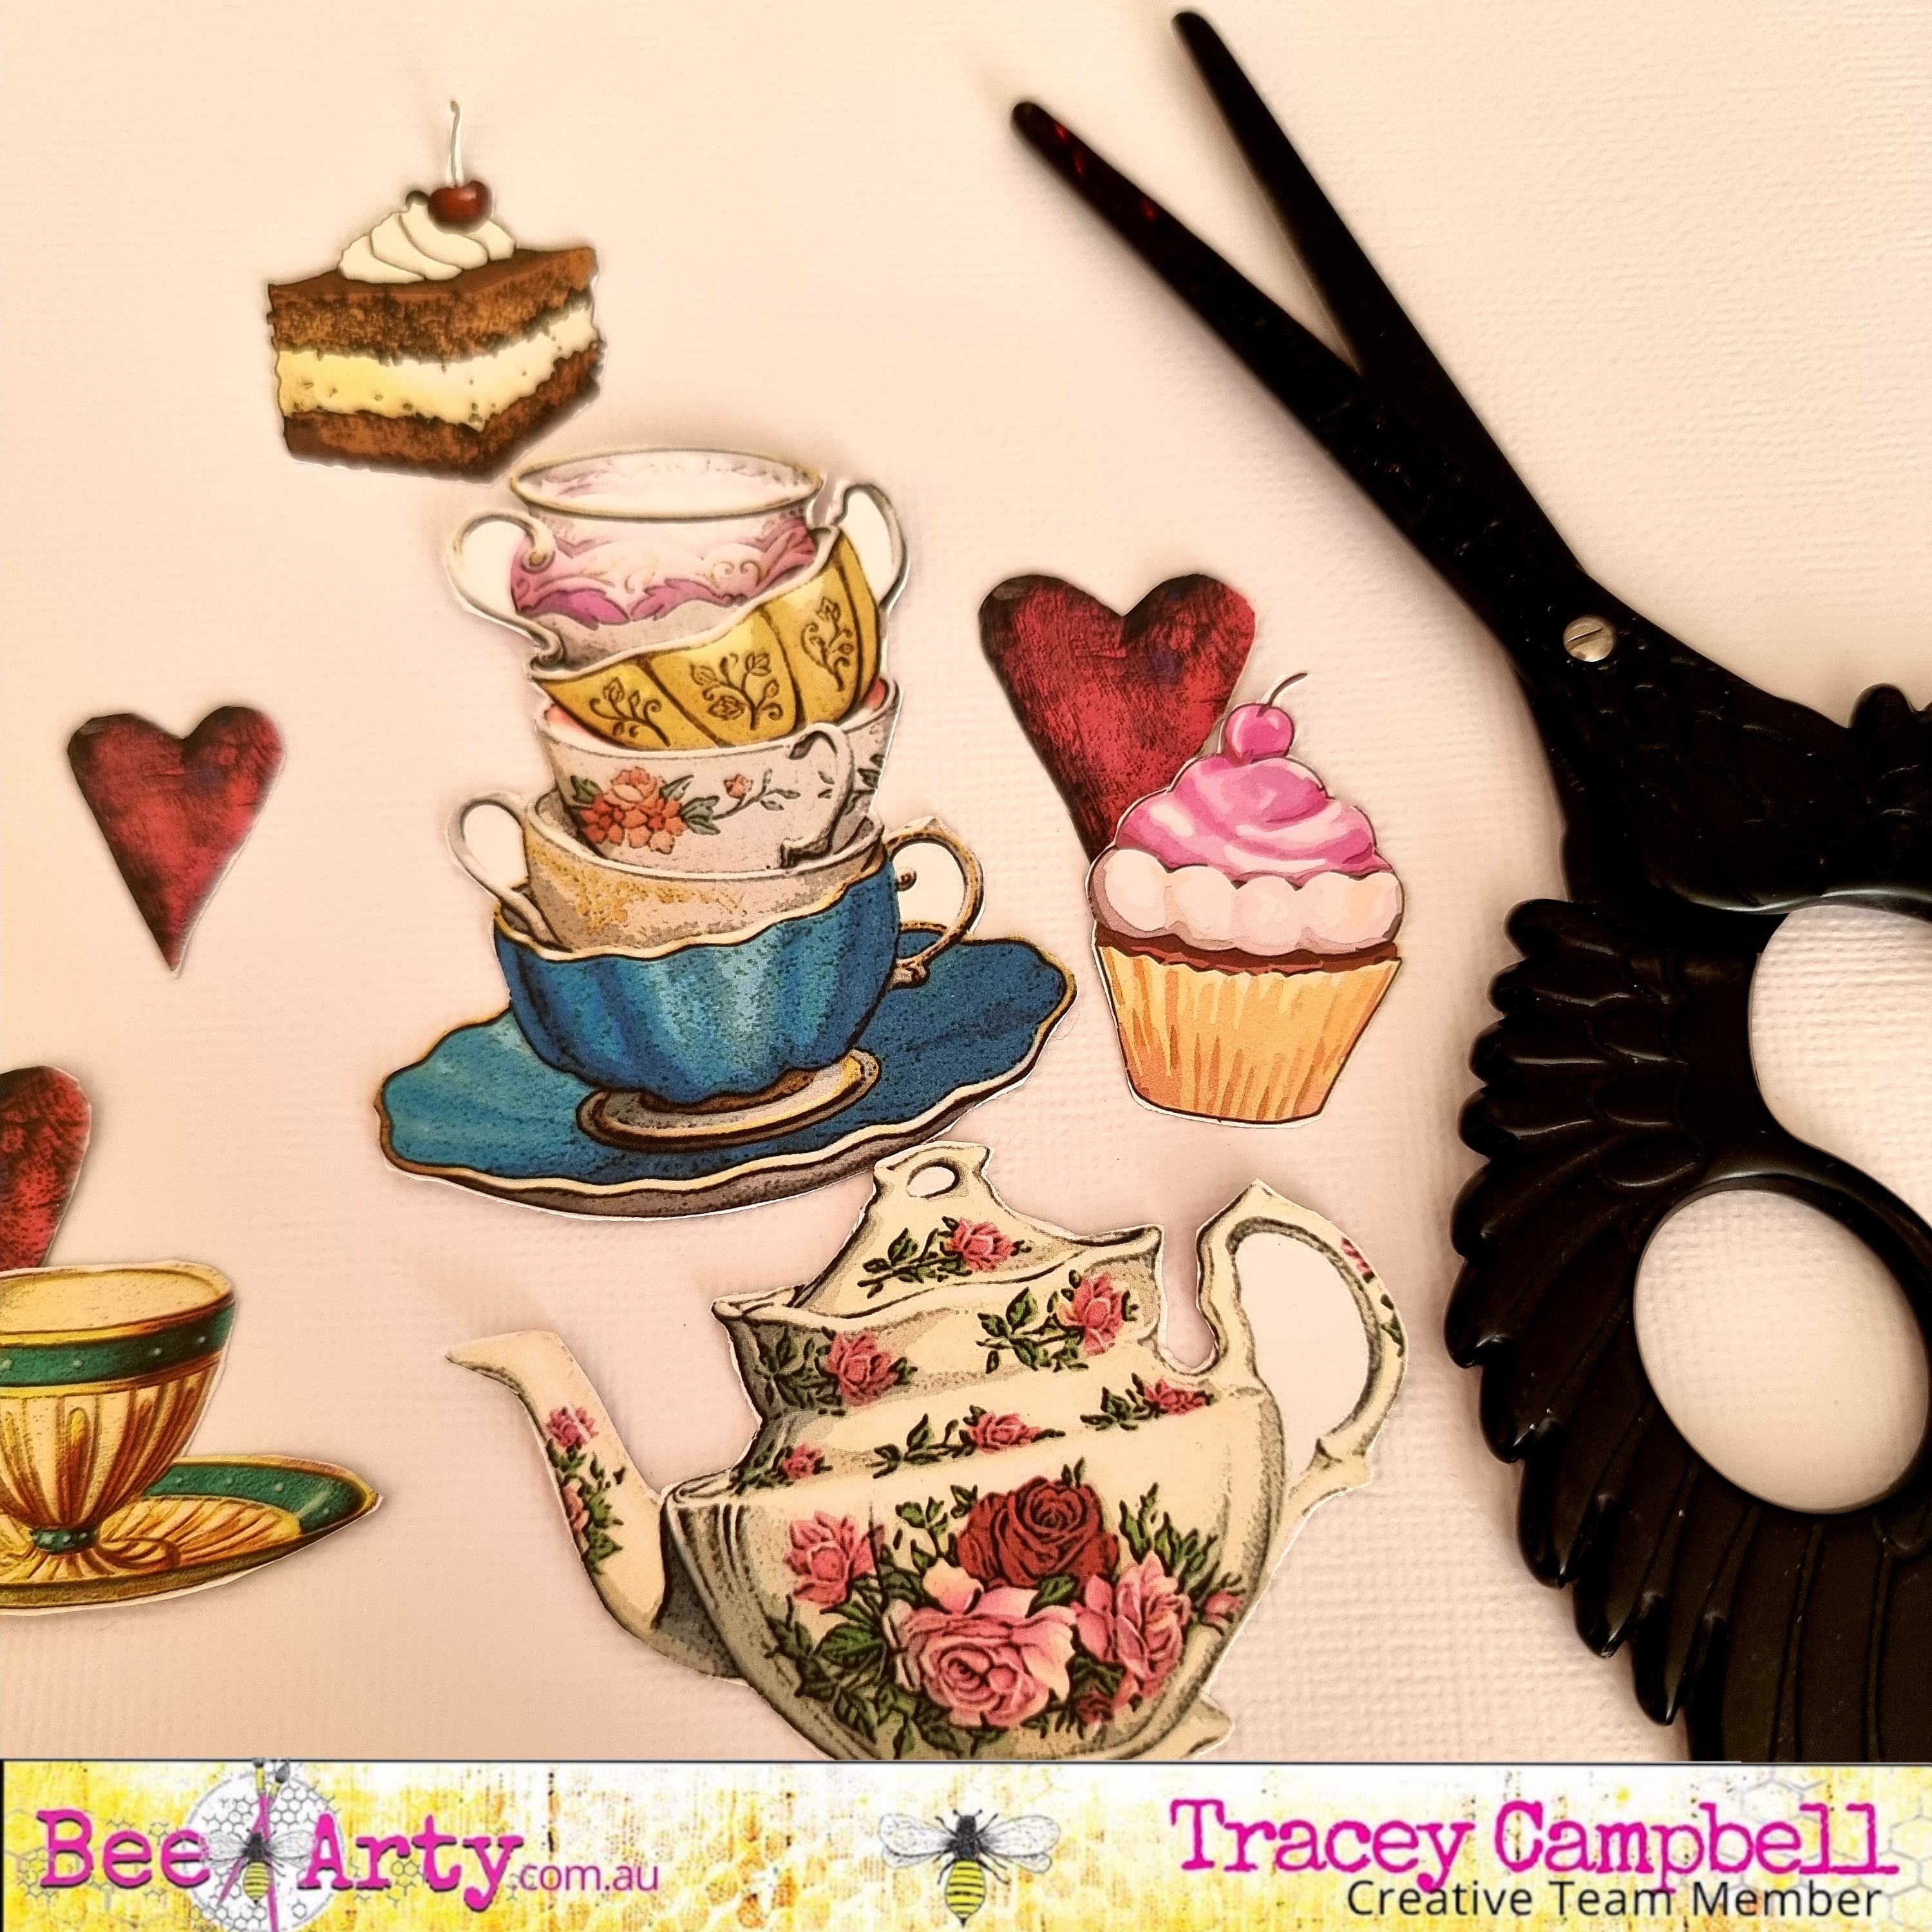
Next fussy cut some of the images from the cut-apart-sheet in the Tea Time in Wonderland Mini Collection. I picked images that would tie in with the Tea Party theme. I also cut out two of the labels; Happy Birthday and Just For You, from the tag paper and used them a small title accents. 


Using 3 dimensional tape adhere the images around the photos.


Here are a few close ups.


Hope I have given you a bit of inspiration and shown that you don't have to have a lot of supplies to create something lovely, especially if you have a wonderfully beautiful mini collection such as the Tea Time in Wonderland. See you next time.


Hugs
Tracey 

Saturday, 11 June 2022

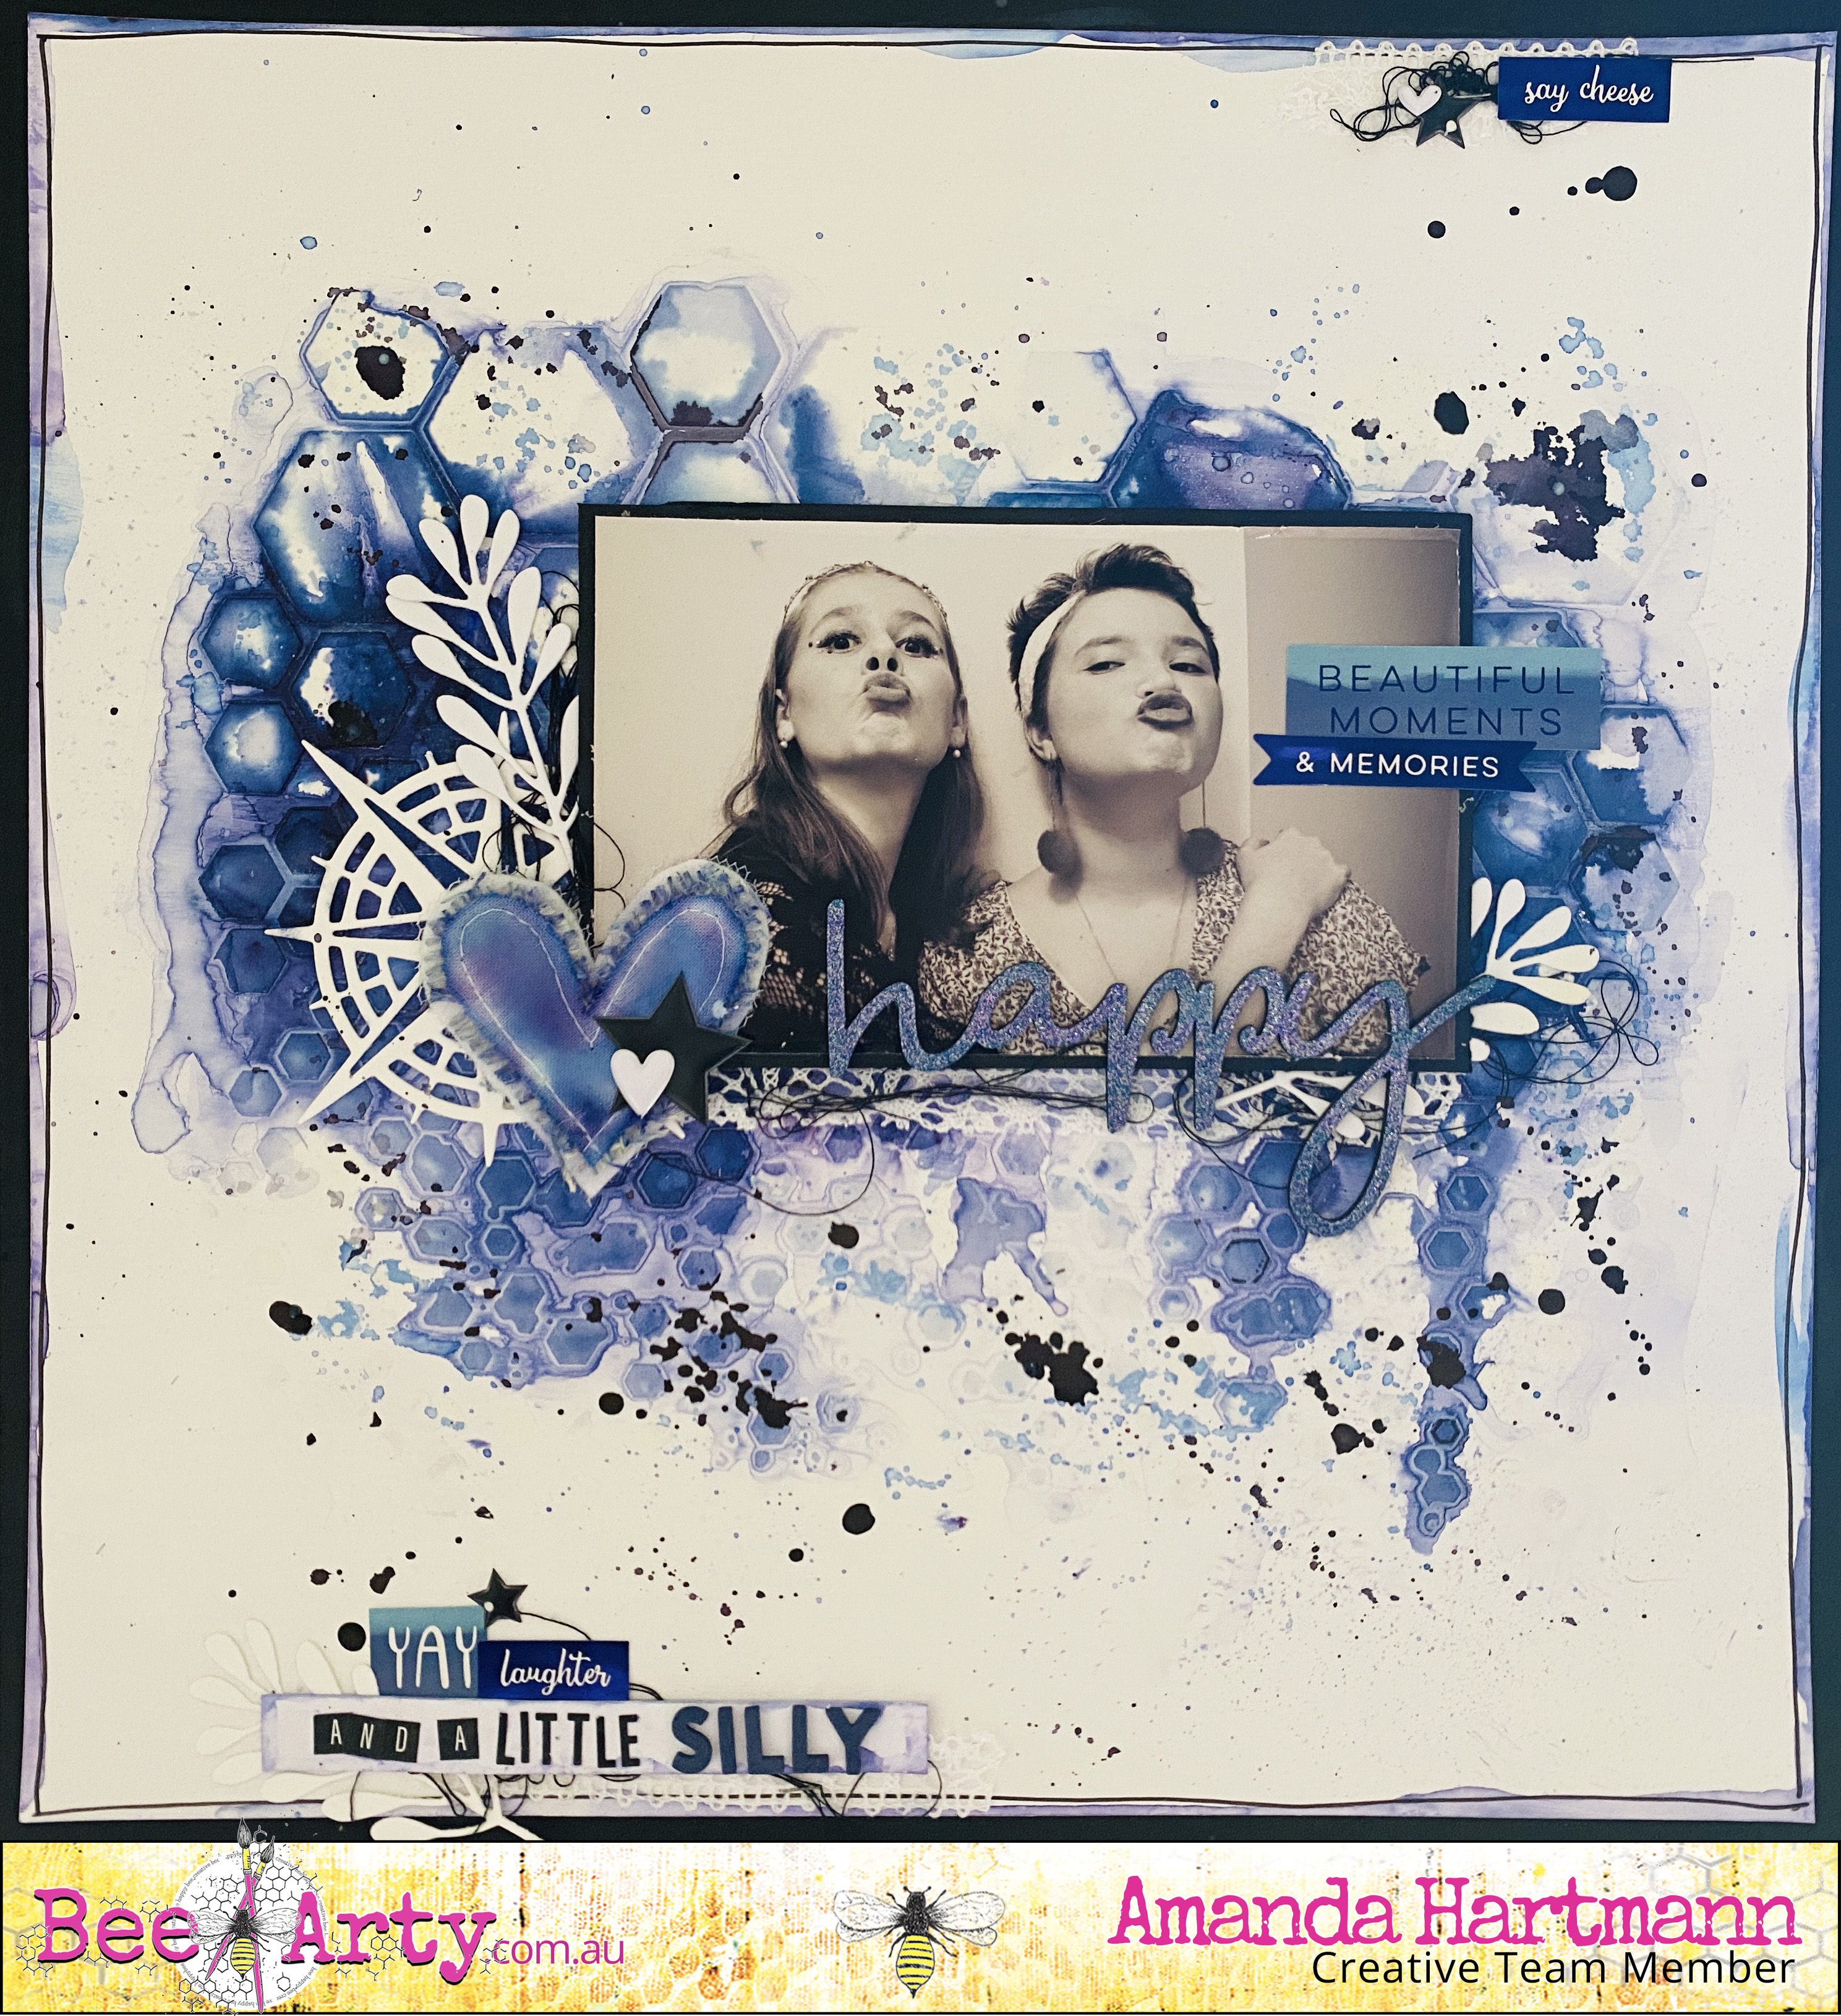
Happy, by Amanda Hartmann

Hello Bee Arty Fans,

Happy Saturday! Ready for some Shimmer Dust inspiration!?

Full step by step instructions are below so I hope you follow my steps to create some fun pages of your own!

I created this page during our recent Bee Arty retreat. I created the background with stenciling and Shimmer Dust. Then I layered die cuts, lace, thread, stickers, and a Charms Creations (also coloured with Shimmer Dust)

Products used:

* Heavy White Cardstock

* Black Cardstock

* White Gesso

* Colour Shimmer Dust - in NEW colour Jacaranda

* Colour Artist Inks in Soot.

* Bee Arty: Bee the Sunshine: Honeycomb Spray A5 Stencil

* Colour Blast: Compass Metal Die 

* Bee Arty: Embrace Change: Autumn Trio Metal Die

* Embossing Powder: Indigo Sparkle (embossed chipboard title)


Last night, I decided to recreate the page (with a different colour) so you could see the steps I took.

STEP BY STEP INSTRUCTIONS:


1. 

2. 

Tip: 

Tools to use:

3. 

4. 

Tip: 

5. 

6. 

7. 

8. 

9.

10.


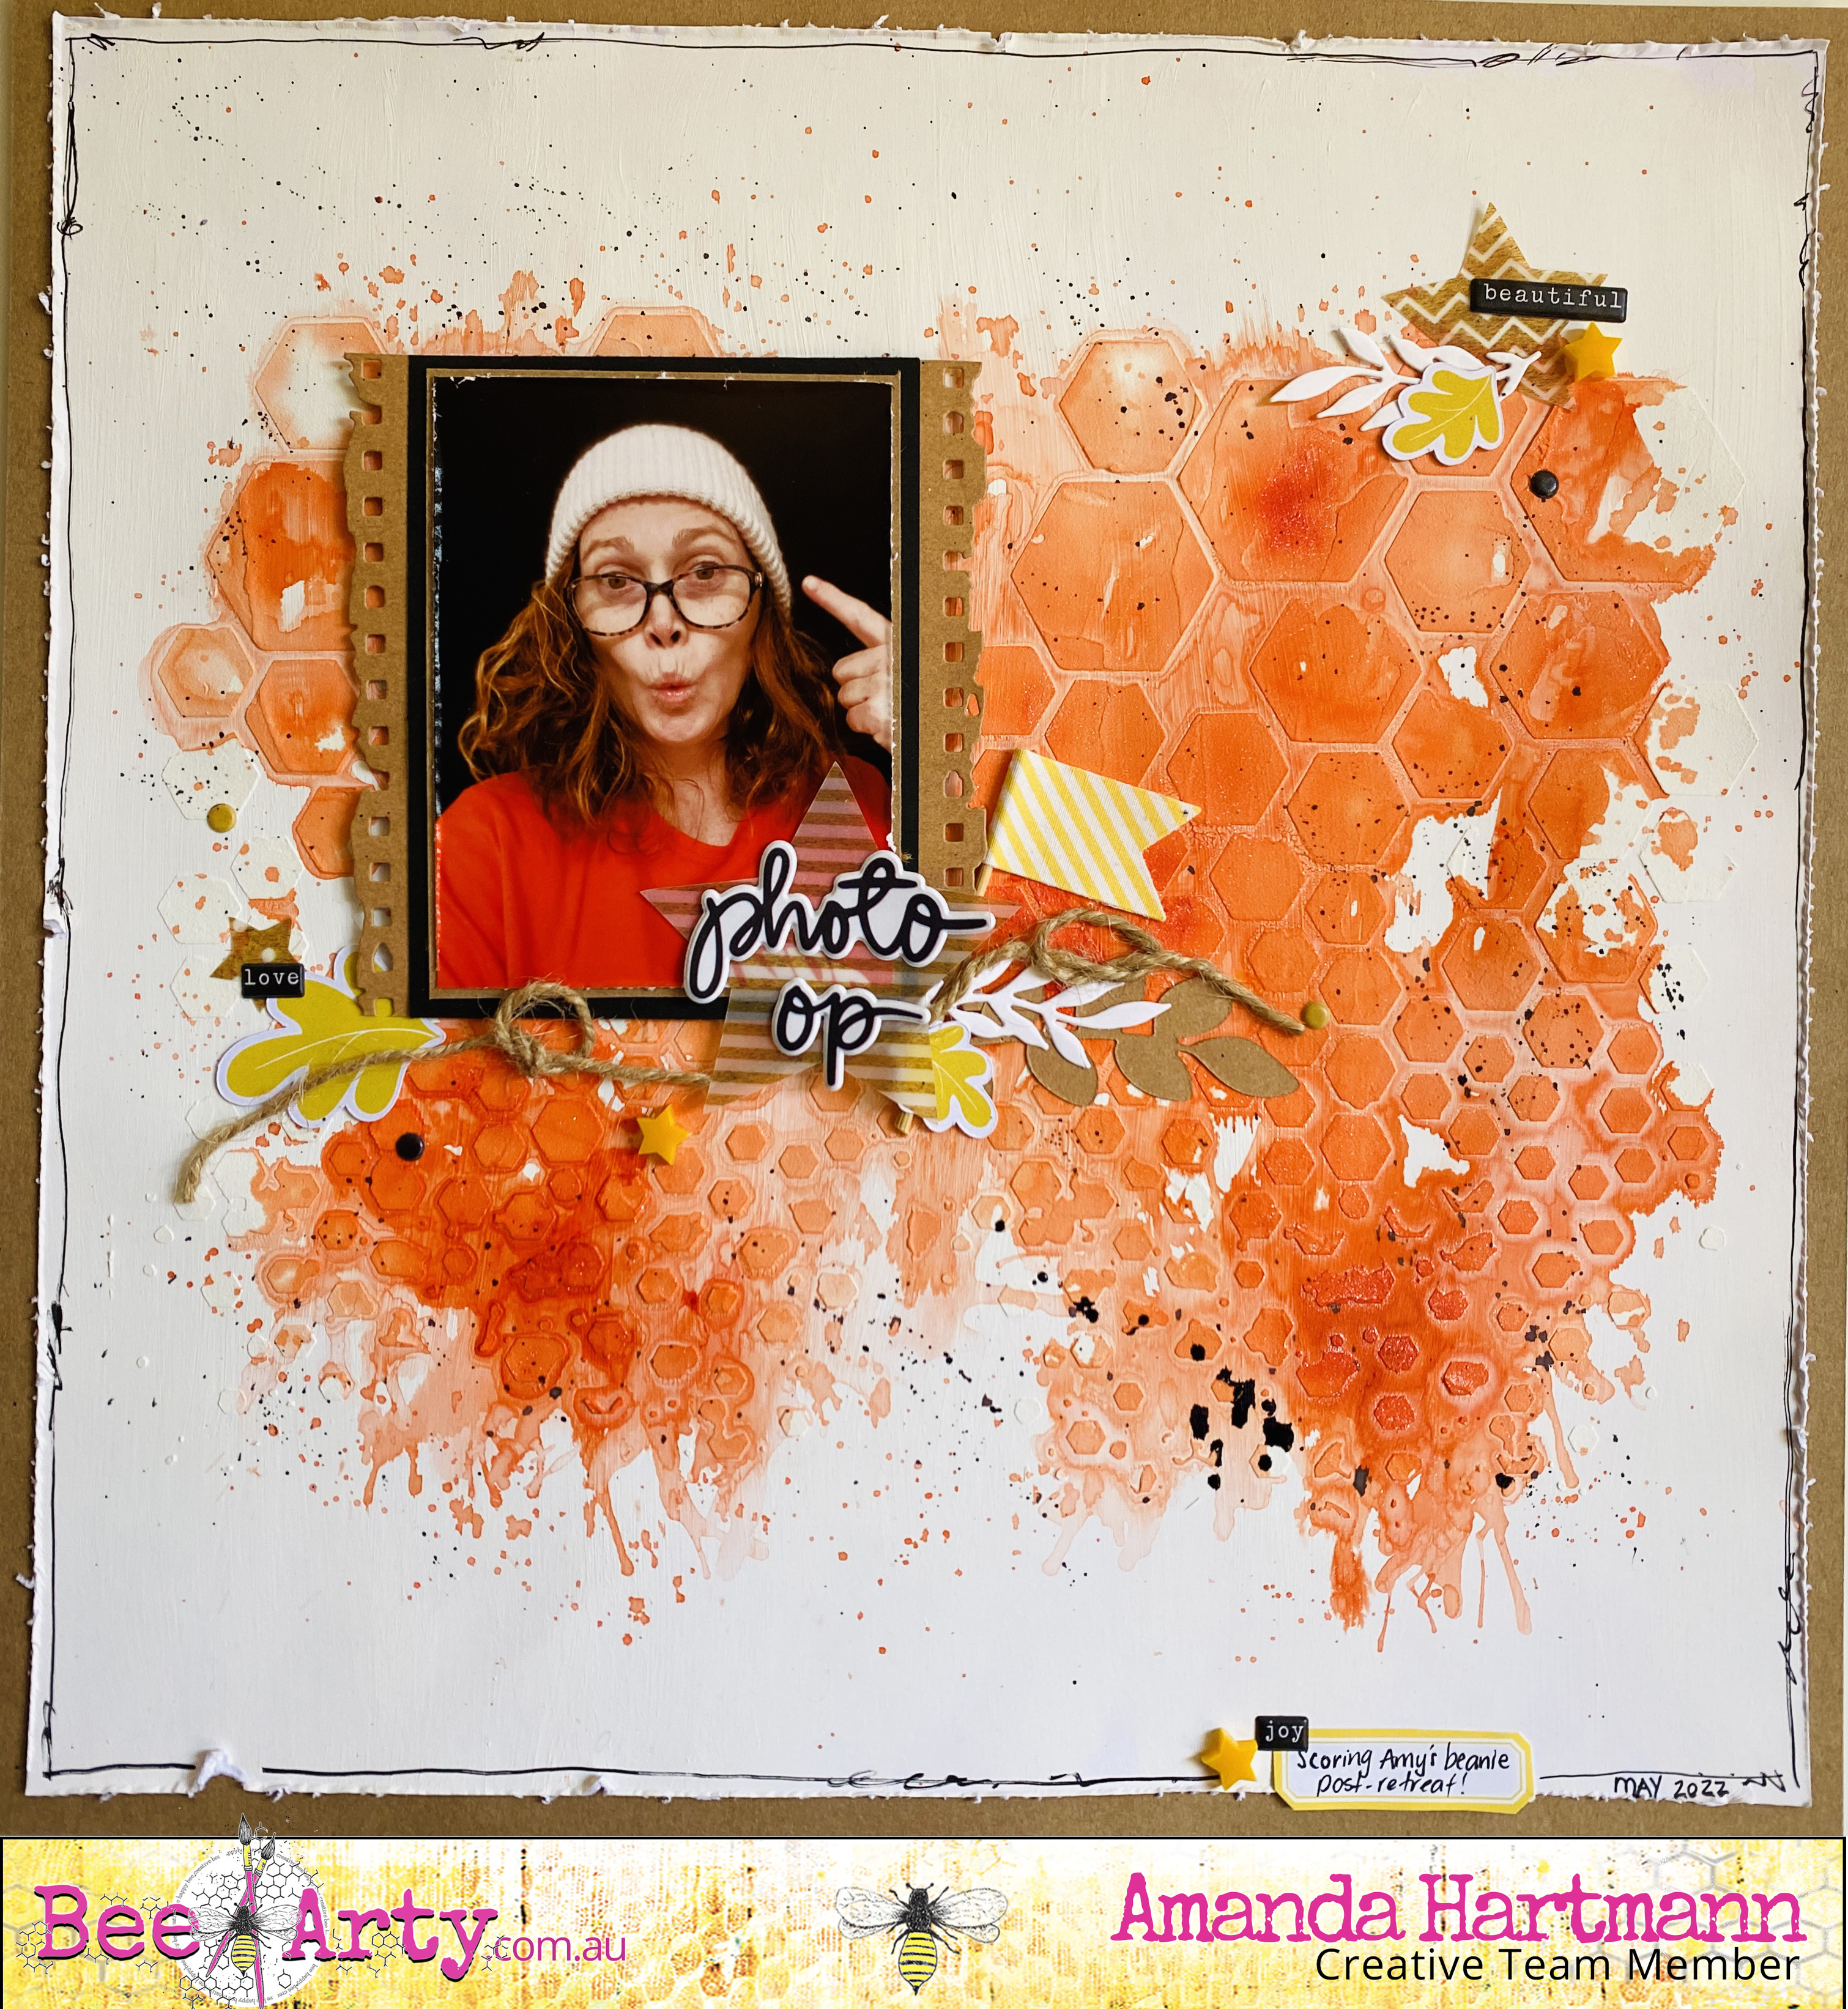
Second project: "Photo Op"!


Bringing in the orange of the Amber Shimmer Dust in this one!

Products used:

Heavy White Cardstock

Kraft Cardstock

White Gesso

Colour Shimmer Dust - in Amber

Colour Artist Inks in Soot.

* Bee Arty: Bee the Sunshine: Honeycomb Spray A5 Stencil

* Bee Arty: Destimation Anywhere: Grungy Filmstrip Metal Die


WHY to try this technique?

Gessoing the paper first is the key to this technique. It means your have time to play with and move the colour around the page before it soaks in and sets. You can layer extra colour, or extra water to get lighter and darker elements. You can experiment with adding complimentary colours. Moving and drying the colours lets you see all the complex colours and shimmer in the shimmer dusts. You will have such fun exploring and experimenting!


Thanks for looking today!

Amanda


Monday, 6 June 2022

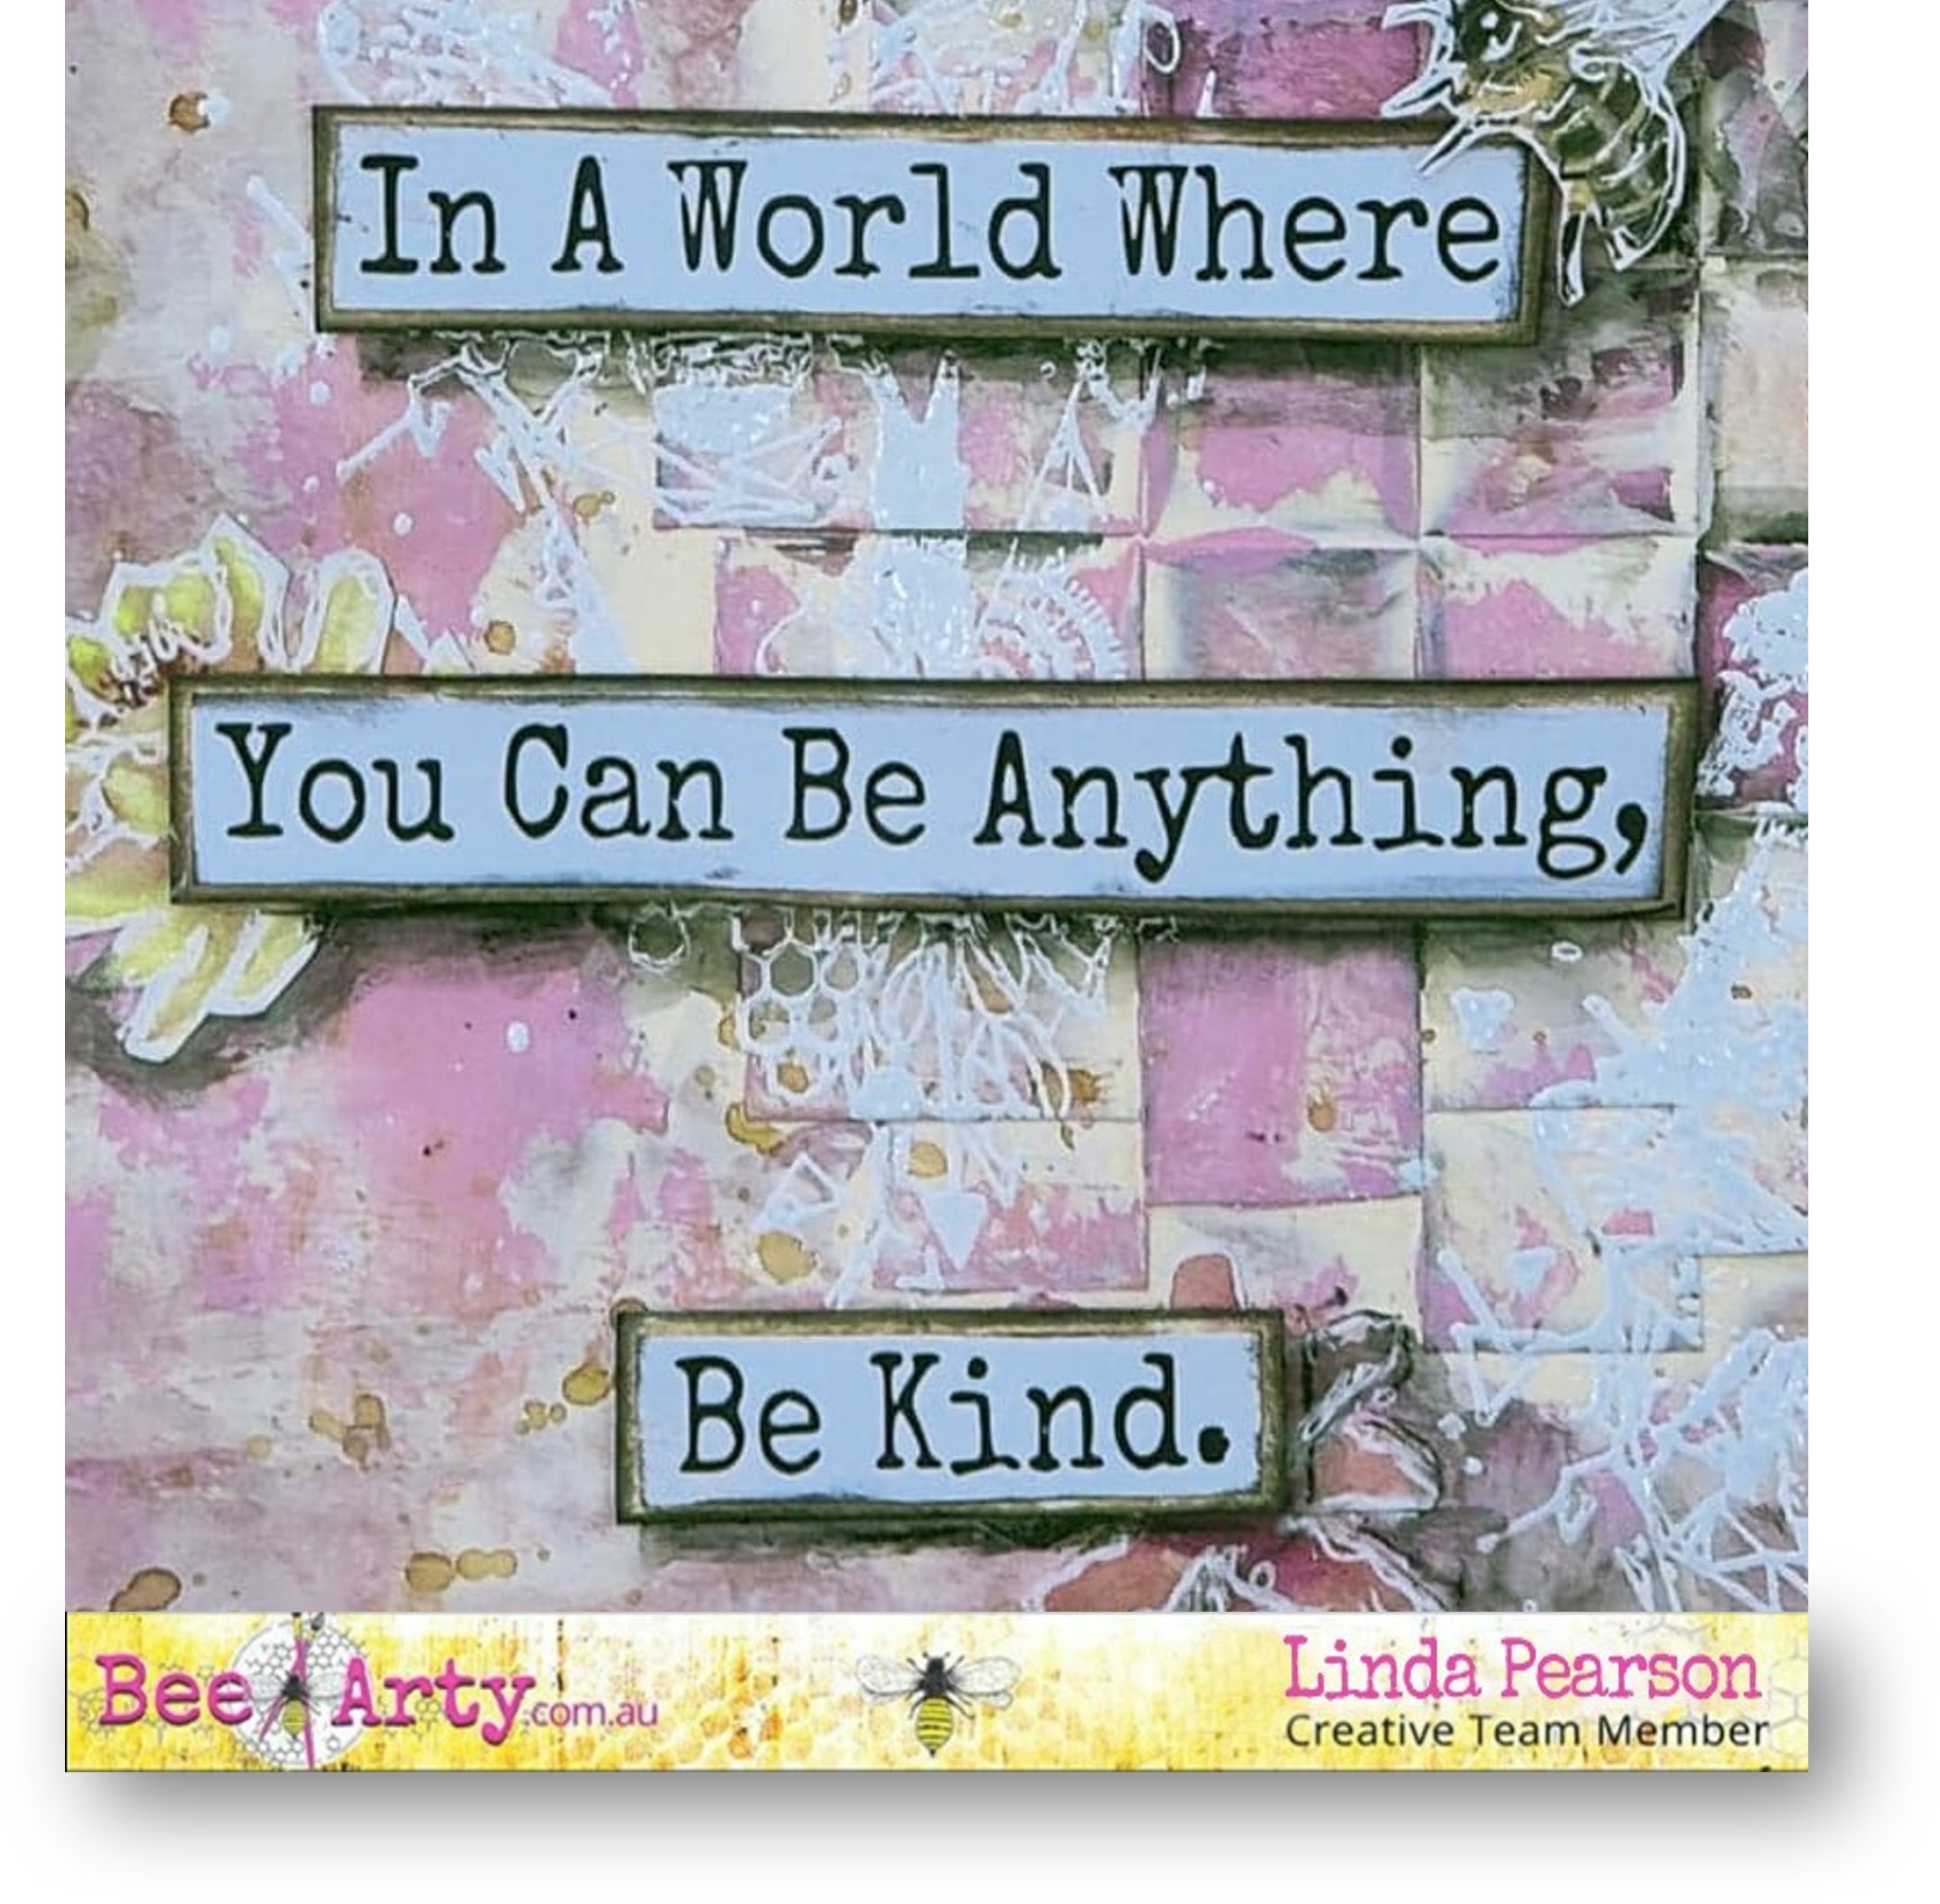
BEE KIND – weaving and cutting journal page

Welcome Crafty Bees to my blog entry today again showcasing the

Bee the Shine collection by Fiona Paltridge.

Today I am presenting another journal page highlighting cutting and weaving techniques in a creative way.


Bee the sunshine collection by Fiona Paltridge.

Bee Garden 12x12 scrapbook paper (weaving)

Honey 12x12 scrapbook paper (B side of word sheet)

Kindness 12x12 scrapbook paper (tag sheet)

Sunny days 12x12 scrapbook paper (coloured cut out sheet)

Find your way clear stamp set

CB Artist Ink – Barley

CB Embossing Powder – snow white

CB Heavy White Gesso (preferred)

Versamark Stamp pad translucent

Stabilo ALL black pencil

Catalyst Silicone tool or palette knife

Carnation Pink acrylic paint

Craft Knife with sharp blade / self-mending cutting mat

Mounting Tape, double sided tape and liquid adhesive

White gel pen or paint pen


Weaving card paper


Cut the Bee Garden paper in half vertically.

Cut vertical lines on one of the cut pieces leaving a border of approx 15mm around the edges.

On other piece cut into strips 15mm wide all the way through horizontally (B side paper).

Weave the shorter strips into the main vertical strip (A side of paper) as tightly as possible.

Add masking tape to back-side of weaving to secure.

Distress the weaving by adding Stabilo ALL pencil then blend pencil marks using wet paint brush. 


 Cutting butterfly shape


Using a sharp craft knife, carefully cut around the large (white) butterfly shape on the Honey (B side of word sheet), leaving a border 20-25mm along the right-hand side of the sheet.


 Adding weaving to main paper

Add double sided tape to the back of the weaving strip, then slide the woven strip under the cut section of the butterfly. 


Adding texture to the background

Add a few drops of Barley CB artist ink to the CB Heavy White Gesso and mix to a creamy colour. 

Lift up the cut butterfly section (chock something to keep the paper lifted), loosely spread the gesso mix over the background butting up and over the weaving strip to anchor and blend into the background with a catalyst silicone tool or palette knife.

Dry off thoroughly.


 Add splatters with a watery Barley CB Artist Ink mix around the page (not the large butterfly).


With Carnation pink acrylic paint and catalyst silicone tool, again spread the paint over the background very loosely (to blend the layers together).

 Dry off.

Add detailing to the cut images using White Gel Pen or paint pen.


 Embossing stamped images

Add the Find Your Way stamp to several spots on the page using Versamark embossing ink pad. 

Sprinkle with CB Embossing powder – snowy white, then heat set the powder.

 N.B. the textured surface may interfere with the preciseness of the stamped image.


Adding embellishments


Select appropriate tag from the Kindness (tag sheet) and determine the sentiment to add to the page. 

Cut out selected items.  Adhere some coordinating off cut piece as backing for the wording. 

Distress the edges of the cut-outs with archival ink.

Cut out a range of flowers and bees from the Sunny Days (coloured cut-out sheet). 

Arrange these elements over the page (main flowers on the tag sheet).

Adhere these elements including the lettering to the page using liquid glue or mounting tape. 

Be sure to stagger the placement of these elements to add depth to the page.


Final detailing of the layout


Add mounting tape behind the large butterfly cut-out section, press the image down. 

Use the Stabilo pencil around the outer edge of the large butterfly, 

Blend out the pencil using a wet paint brush to add shadow and depth. 

Repeat the ‘shadow’ process for all the other elements on the page.

Add a border around the outer edge of the page with archival ink and loosely drawn lines with white gel pen or paint pen.


 I hope you have enjoyed the processes I have highlighted here and you are inspired to create your very own journal page using the weaving elements.

Cheers from Linda Pearson

linda@yourcreativepalette.com.au