Showing posts with label tea time in wonderland mini collection. Show all posts

Sunday, 12 June 2022

Mad Hatter's Tea Party by Tracey Campbell

 Hello Bee Arty people, I am showing of my latest creation using the Mini Collection Tea Time in Wonderland, I just had to use this collection for my daughters "Mad Hatter Tea Party" she had for her 10th Birthday.


I was actually away on a work trip when I put this layout together, so I had limited supplies and space to create, but I just love how it turned out.


To start the layout I cut out two of the tags from the Tea Time in Wonderland Mini Collection Kit, I picked the Queen of hearts and the Queens card guards tags. I cut out the middle of the circle so that I could put some string through the tag, I also slightly distressed the edges of the tags to given them an older look. I also carefully trimmed a round the Queen's hand and the flamingo so that I could have them laying over the top of my photo, as you can see in the first photo of this blog.


Next I cut out a 23 x 9 cm rectangle from the pink diamond paper and distressed the edges.


Next I adhered the diamond paper to the Mad Hatter Tea Party paper, lining it up with the right hand edge, so that it ran horizontally across the paper, trying not to cover too much of the illustration. I had brought a could of photos of the food from Bronte's Tea Party with me on the trip so I trimmed them down so that they were 7x7 squares and sanded the edge to distress them up a bit. I then used double sided table to stick the photos across the diamond paper running in a diagonal down the page. 
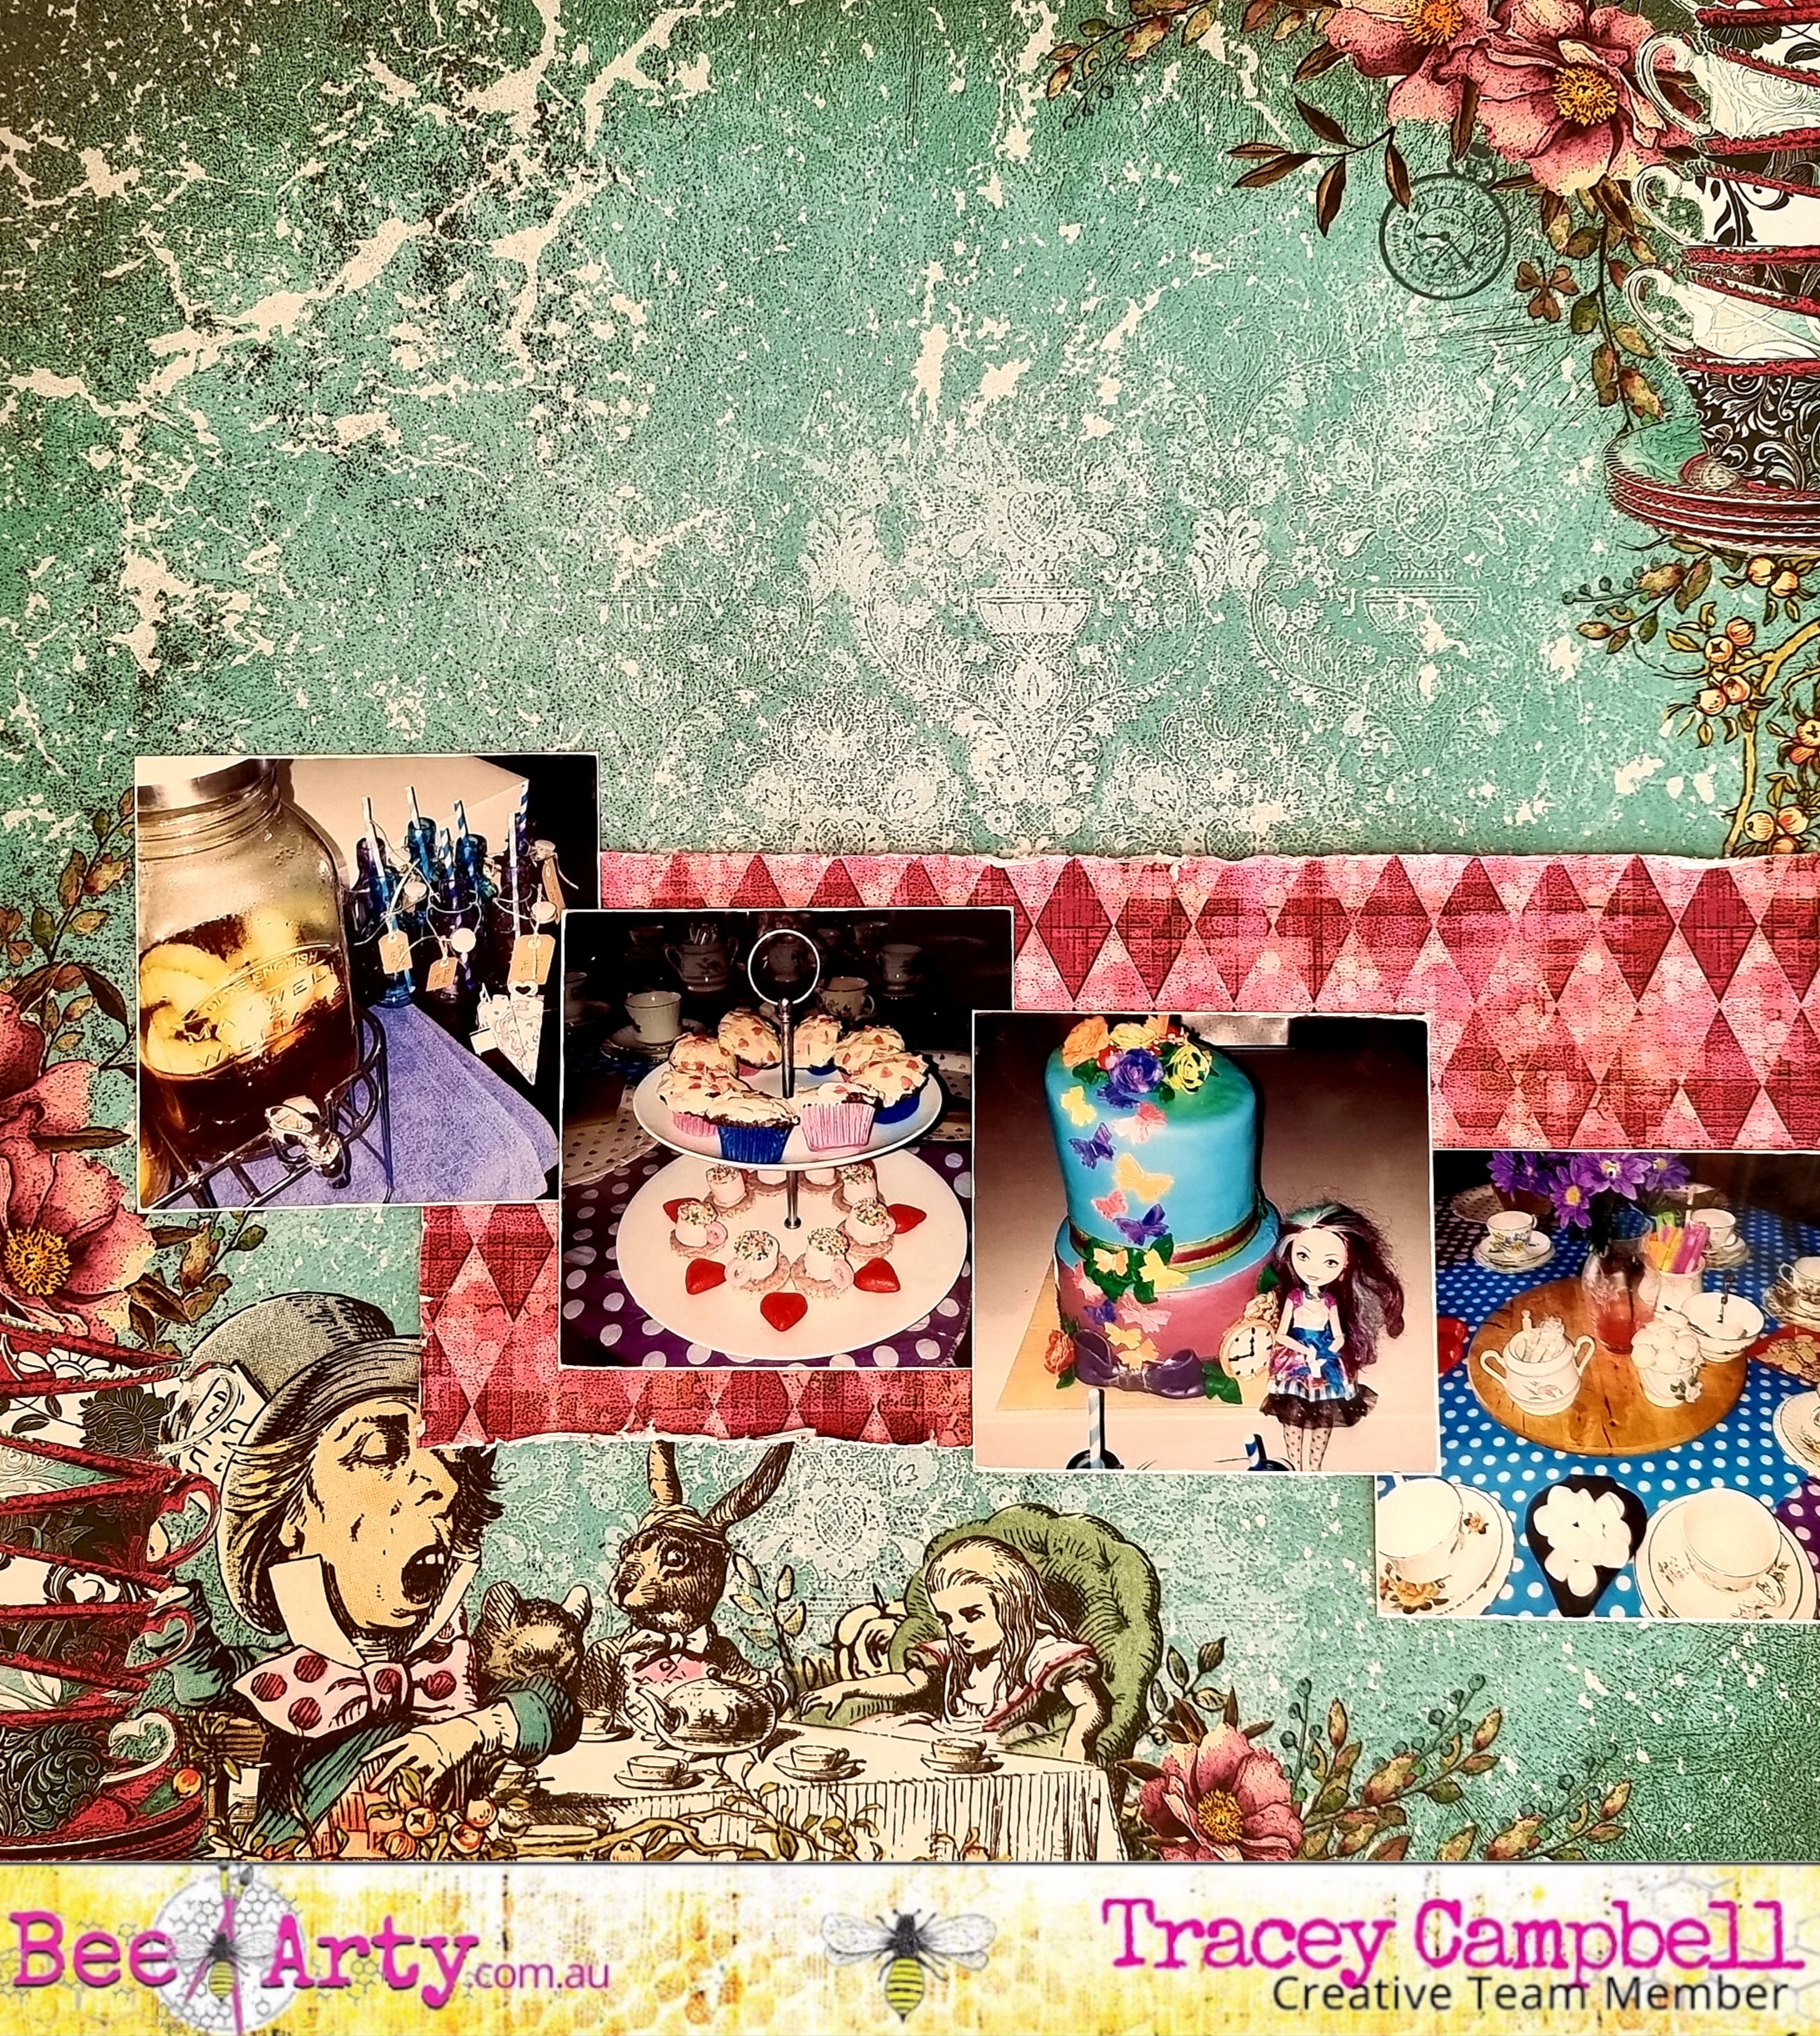

I had a larger square photo 10x10 cm which I also distressed the edges with a bit of sand paper and then tied some twine around the bottom edge and finished it off with a little bow. Adhere it above the two right hand photos in the diagonal row, tucking the tags behind it, finish off by threading some twin through the tags. 


Next fussy cut some of the images from the cut-apart-sheet in the Tea Time in Wonderland Mini Collection. I picked images that would tie in with the Tea Party theme. I also cut out two of the labels; Happy Birthday and Just For You, from the tag paper and used them a small title accents. 
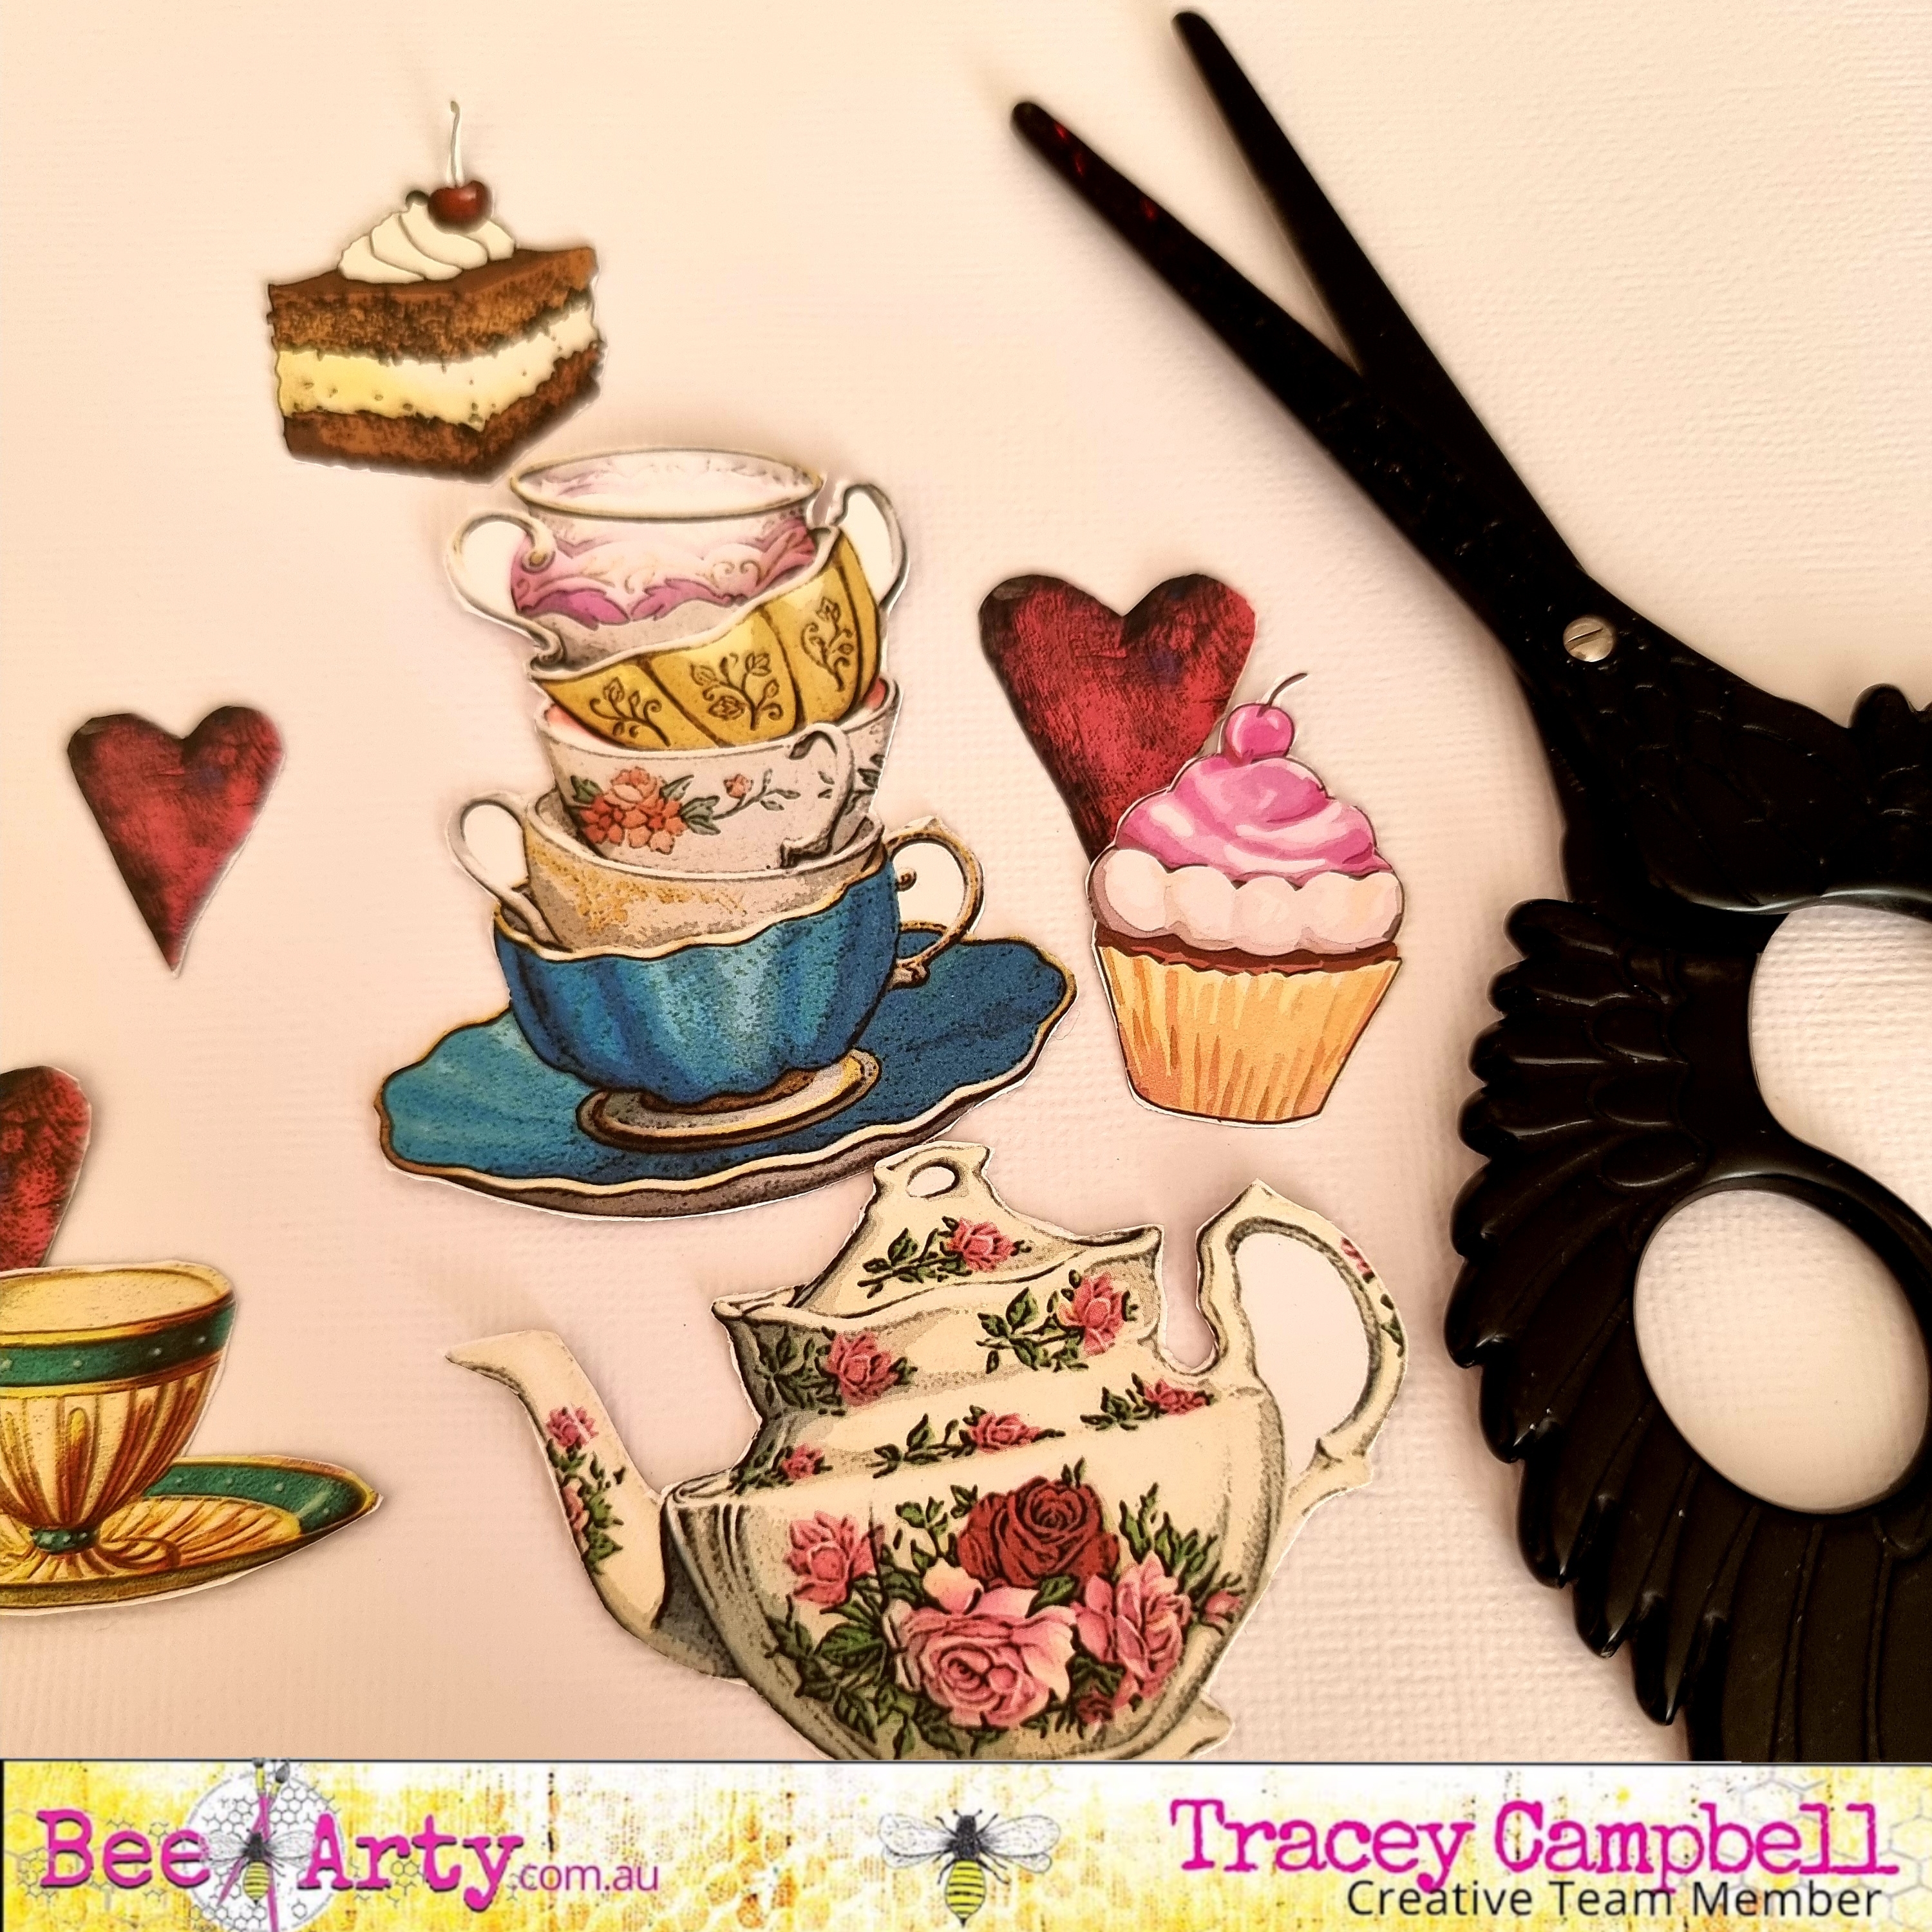

Using 3 dimensional tape adhere the images around the photos.


Here are a few close ups.


Hope I have given you a bit of inspiration and shown that you don't have to have a lot of supplies to create something lovely, especially if you have a wonderfully beautiful mini collection such as the Tea Time in Wonderland. See you next time.


Hugs
Tracey 

Monday, 23 May 2022

ALICE’S TEA PARTY by Linda Pearson


Today I have created a journal page using the Tea Time in Wonderland mini paper collection designed by Sue Smyth.  I went a little crazy fussy cutting all the images from both cut out pages in this collection.


Tea Time in Wonderland A4 cut apart sheet

Archival Ink Pads in Hickory Smoke and Plum

Blending Tool

Liquid adhesive

Mounting Tape

Madhatter’s hat image accessed from Google Images, enlarged and printed onto A4 paper, 2 copies

White Paint Pen


Cut out the printed hat image then trace onto the Tea Time scrapbook paper.   Cut out scrapbook paper with the traced hat image.

Cut out the hat band section then trace onto pink diamond (reverse side) scrapbook paper.  Cut the band from the cardstock paper.


Add shading to the Madhatter’s hat shape with Hickory Smoke and blending tool.

Add shading to the band with the plum archival ink and blending tool. 

Trace around the Madhatter’s hat shape onto the background cardstock using Alice and Rabbit scrapbook paper.  Add shading to the outer edge of traced outline, blend colour outwards.


Cut the upper edge of the hat brim where the pink band will be placed (see red line above).  Slip the the coloured band onto the hat and secure with small mounting dots (leave the top section of band open so fussy cut elements can be inserted between band and hat. 


Fussy cut the images from the A4 cut apart sheet and the cover cut apart sheet from the pack.


Begin by selecting the cut out images you would like to add, all the images were initially’ spot glued’ into place before adhering the Madhatter’s hat to the background cardstock. 

Tuck 2 or 3 larger tags into the rim of the band add some of the round tags along the edge of the brim of the hat.  Match up cut images with sentiment cards, add to the page.


Continue to sort and add a variety of images to the page, adding lots of sentiment/word tags to break the composition overall.


Add white outline highlights to all the elements using a paint pen.  Distress the outside edge of the page with Plum Archival Ink and blending tool.

Thanks for stopping by and I'm sure you will have so much fun cutting and tucking all these amazing elements into your page too.  


Bye for now from Linda xx

linda@yourcreativepalette.com.au