Showing posts with label christmas cards. Show all posts

Tuesday, 24 November 2020

Christmas Cards - With Karyn Schultz!

  Hi Bee Arty Lovelies!

It's Karyn here and today I have some Christmas cards to share with you made using lots of amazing products from Bee Arty! I have also used non-Christmasy supplies to create the cards. I'm always looking for different ways to use my supplies to extend their use and I'm really happy with how these turned out.
 
 
For this first set of 5 cards I've used stencils and metal dies from the Find Paradise Collection. You can also see a video of how I created this set of cards here.
 
For each of the cards I created a background on heavy duty 350gsm white cardstock. I also used the same cardstock to create the card base. I used Kraft cardstock as a mat.
 
For the first card I used the Foliage A4 stencil and Bling Colour Paste to create a "tree-like" image. I just applied the paste through the berry part of the stencil to achieve this. I then added a sentiment using a word stamp, versamark ink and Bling Colour Embossing Powder.
 
 
 For the next card I used the Foliage A4 stencil and Bling Colour Paste to create a different "tree-like" image. I just applied the paste through leaf part of the stencil to achieve this. I then added a sentiment using a word stamp, versamark ink and Bling Colour Embossing Powder.
 
 
For the next 3 cards I used the the Leaves of Paradise metal die set with Kraft cardstock to create 3 "tree-like" images to add to the card fronts. I then added a sentiment using a word stamp, versamark ink and Bling Colour Embossing Powder. I then added pearls to embellish the trees. Lastly I used a clear Shimmer Pen to make the trees sparkle.


 For this next card I used the Kind Heart stamp to provide the focal point for the card. This mandalla looked so Christmasy to me.
 
 
I started by stamping the Kind Heart stamp with versamark then using the Taupe embossing powder from the Elegant Rose embossing powder bundle. I then added an embossed sentiment, gold thread and some rhinestones for sparkle.


Thanks so much for stopping by

Crafty Hugs xx


Thursday, 21 December 2017

"Christmas Cards" by Gwen Wruck

Hi Creative Friends,

Gwen with you today on the blog.   With Christmas just around the corner, I thought I'd do some last minute Christmas card creating! I have not made many cards this year so this was a heap of fun :)


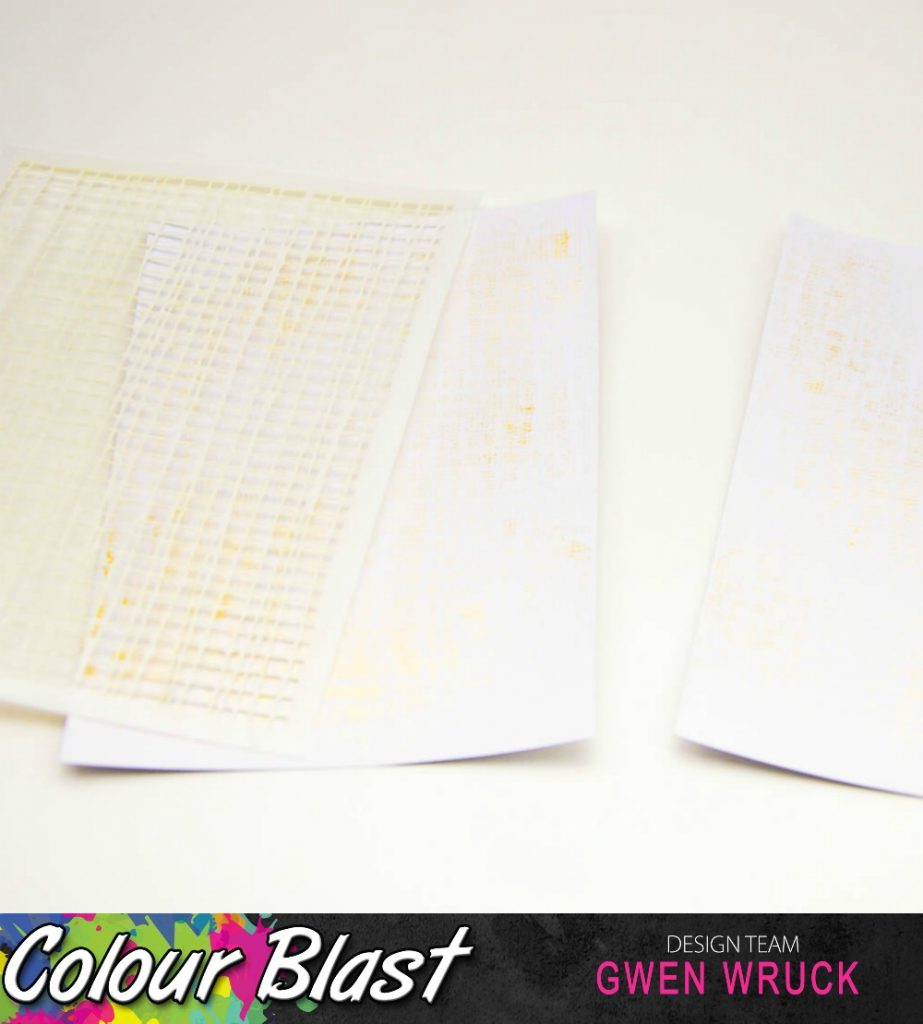
For this project, I started with my background.  I wanted a subtle look with all the shimmer so went with the Colour Shimmer Spray in Bling which I sprayed through a stencil.  It is a little difficult to see in the photo below but it is soft and sparkly and super pretty!


While I was waiting for that to dry, I cut some leaves with my Silhouette and embossed them using the Colour Embossing Powder, also in Bling.  This is a messy embossing powder so not the best for stamped images if you want a very clean look, however, it does an amazing job of chipboard and die-cut pieces like these, the shine is so so pretty and the coverage is excellent.  It is also very easy to get back into the generously sized jar which is a plus for you clean scrappers out there!


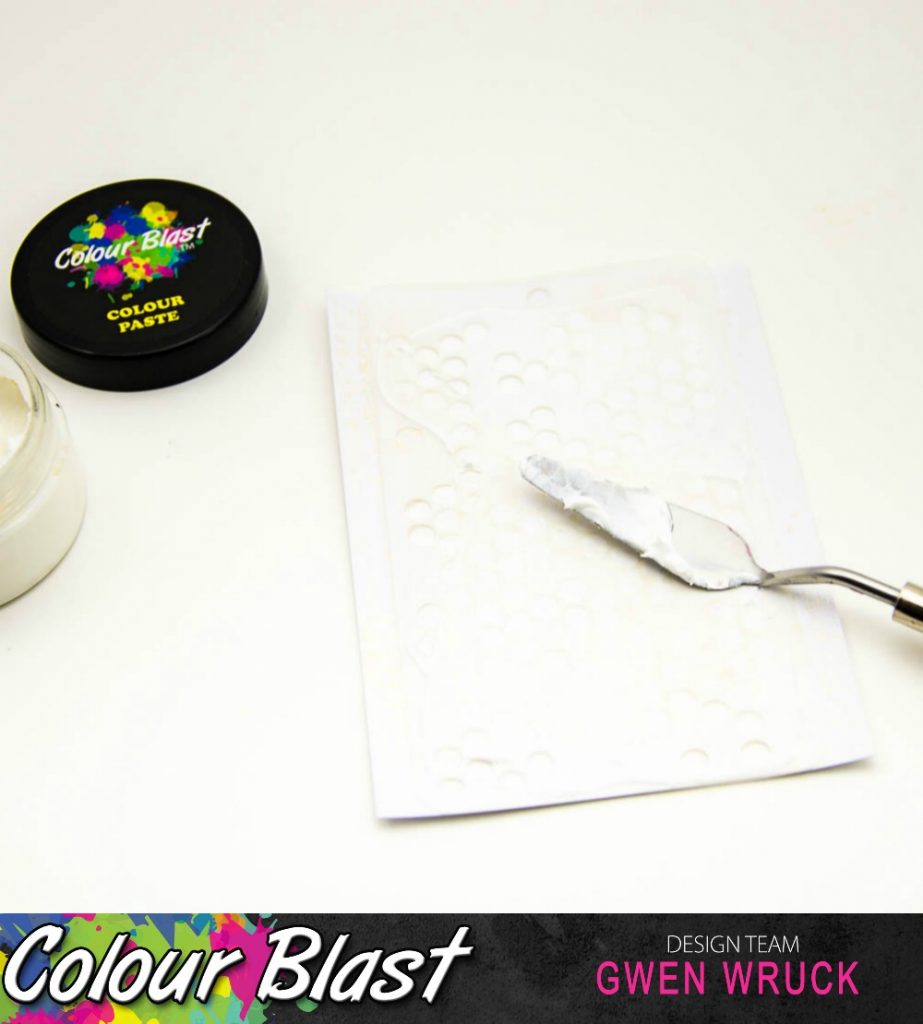
It was time to work on the second layer of my background.  Using a circle stencil, I added a layer of Colour Paste in Snow White.  I love this paste so much! It is super sparkly and adds a lovely texture to the background.  As I have mentioned in previous blog posts, you don't need a lot of this to go a long way, it spreads really nicely, like soft butter!


Next up, a couple of close-ups of the details, first, the 2 leaves die cuts, one in plain white, the other all embossed and looking pretty. I have applied only one layer, as I mentioned previously it has really great coverage!


and a close up of my finished background with the layer of Bling Shimmer spray followed by the layer of Snow White Colour Paste.  This photo really shows you the beautiful texture the paste gives you.


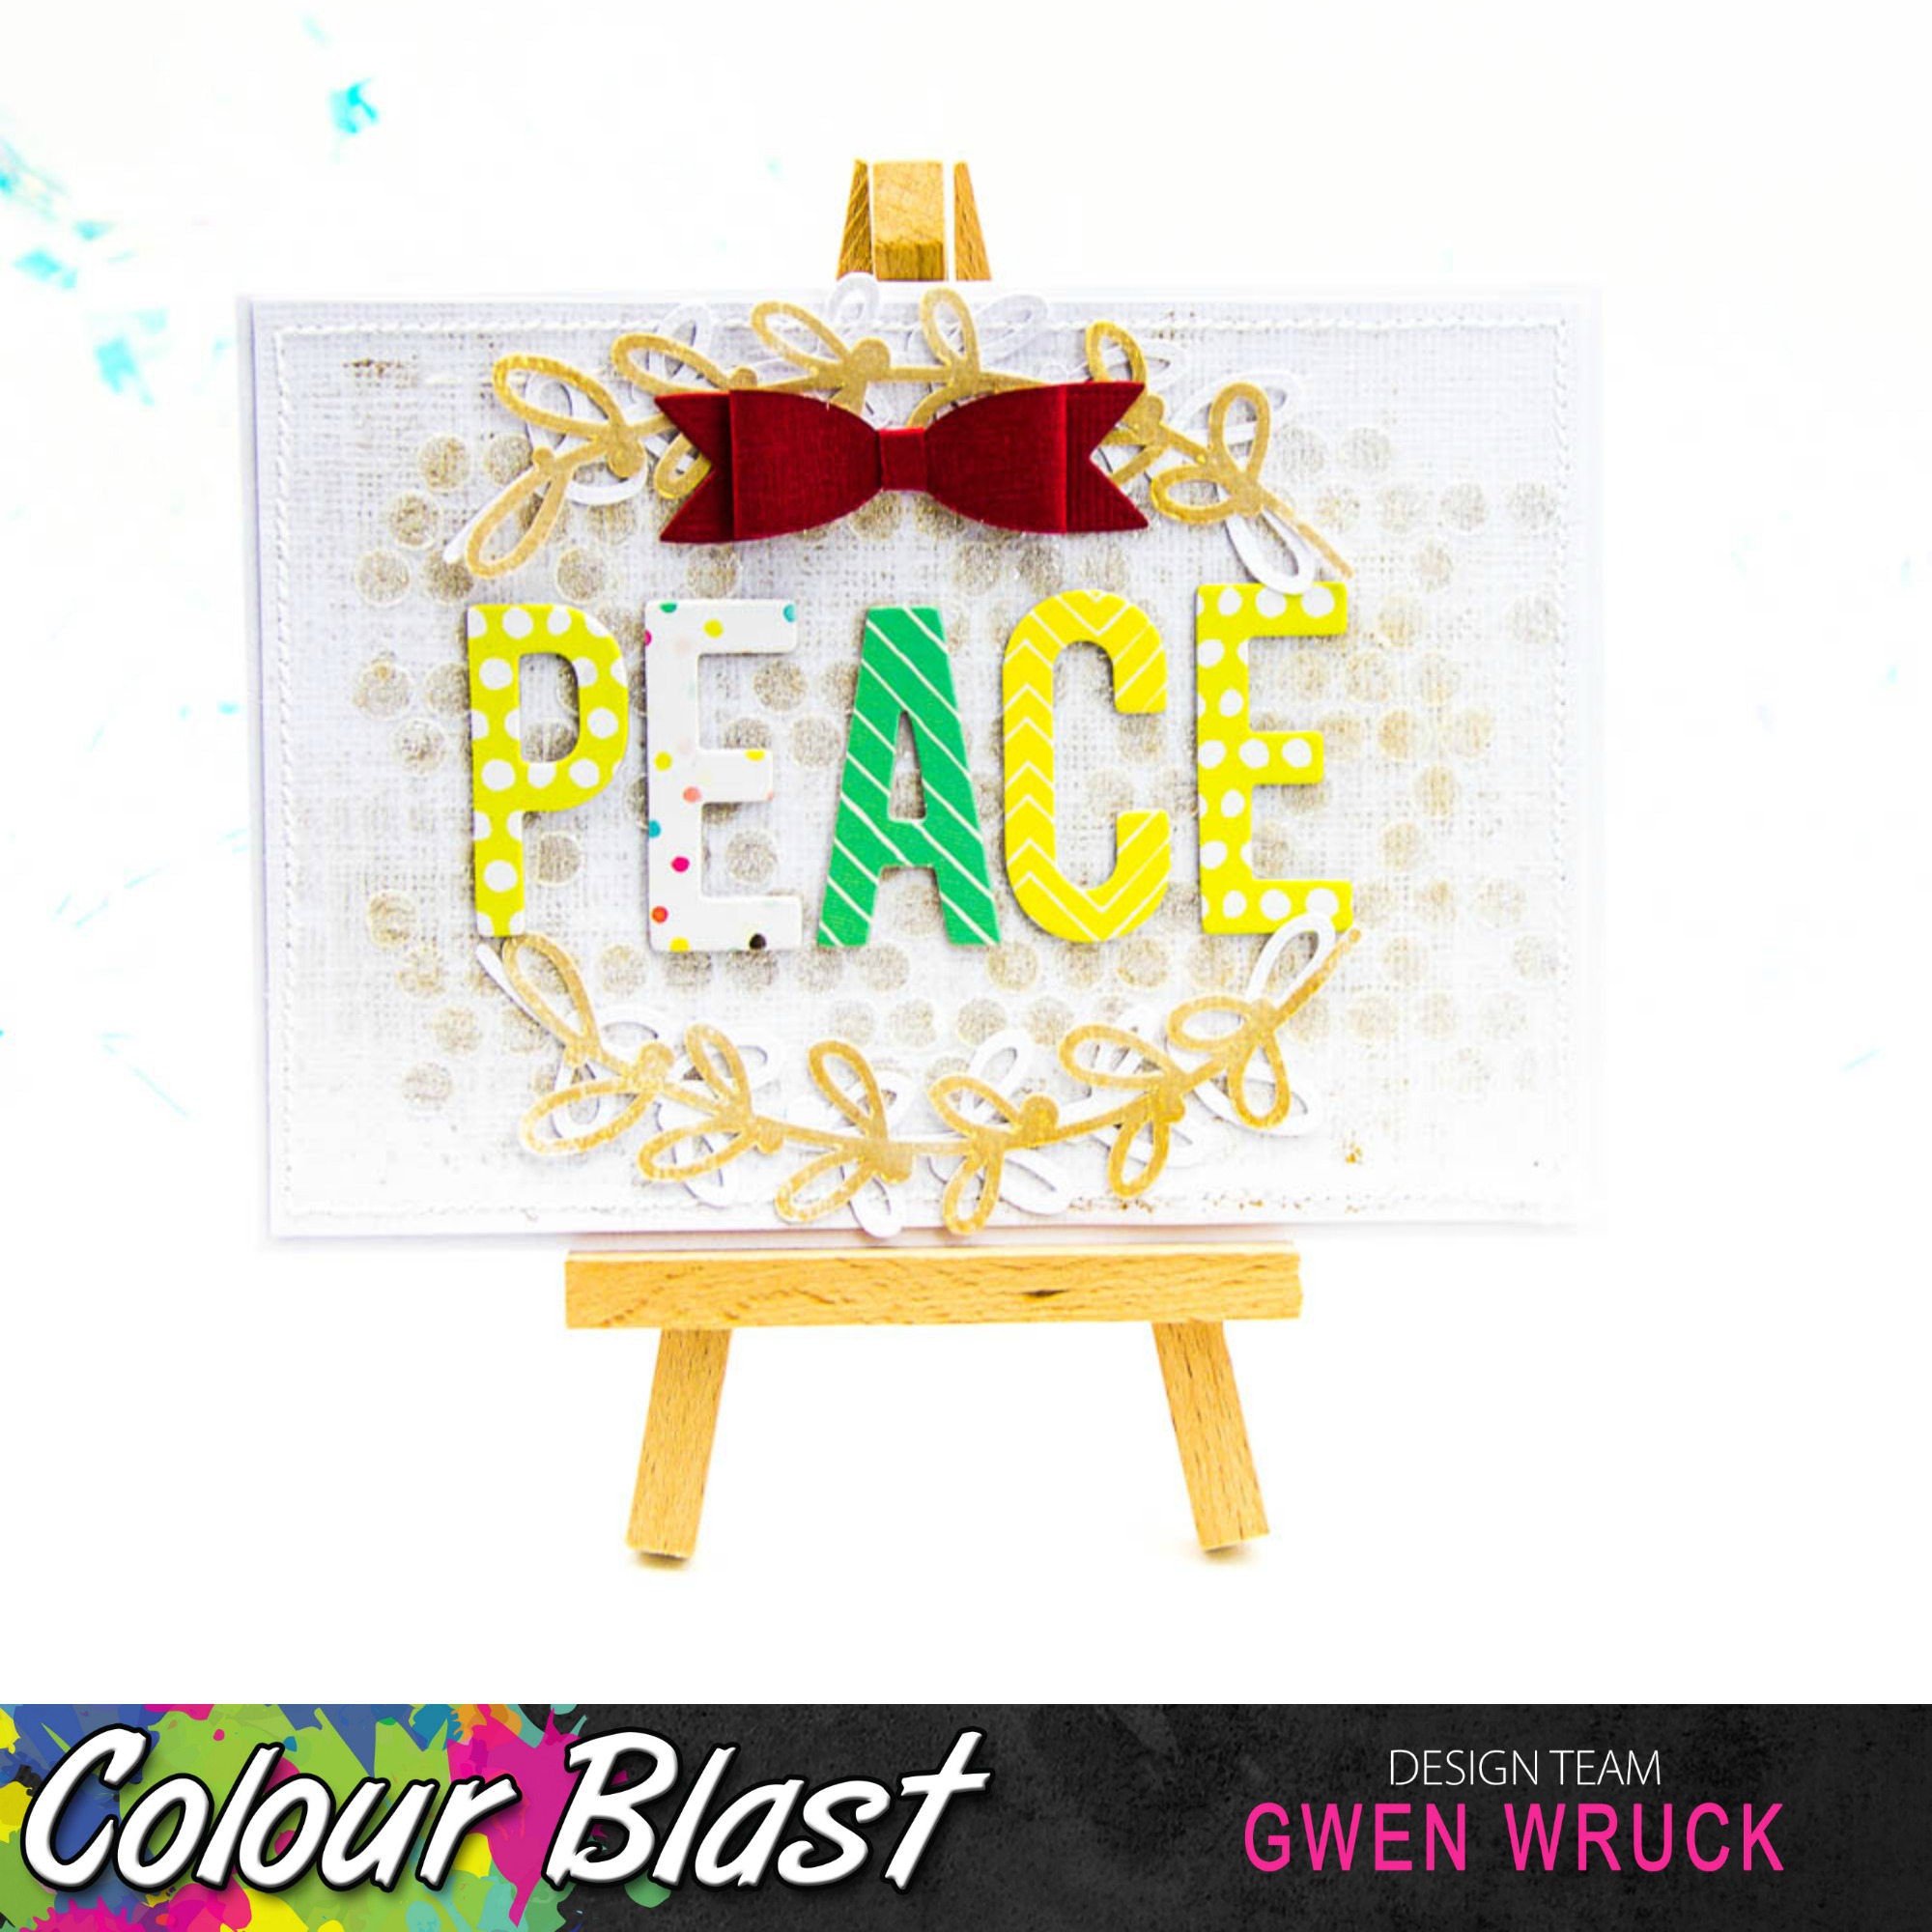
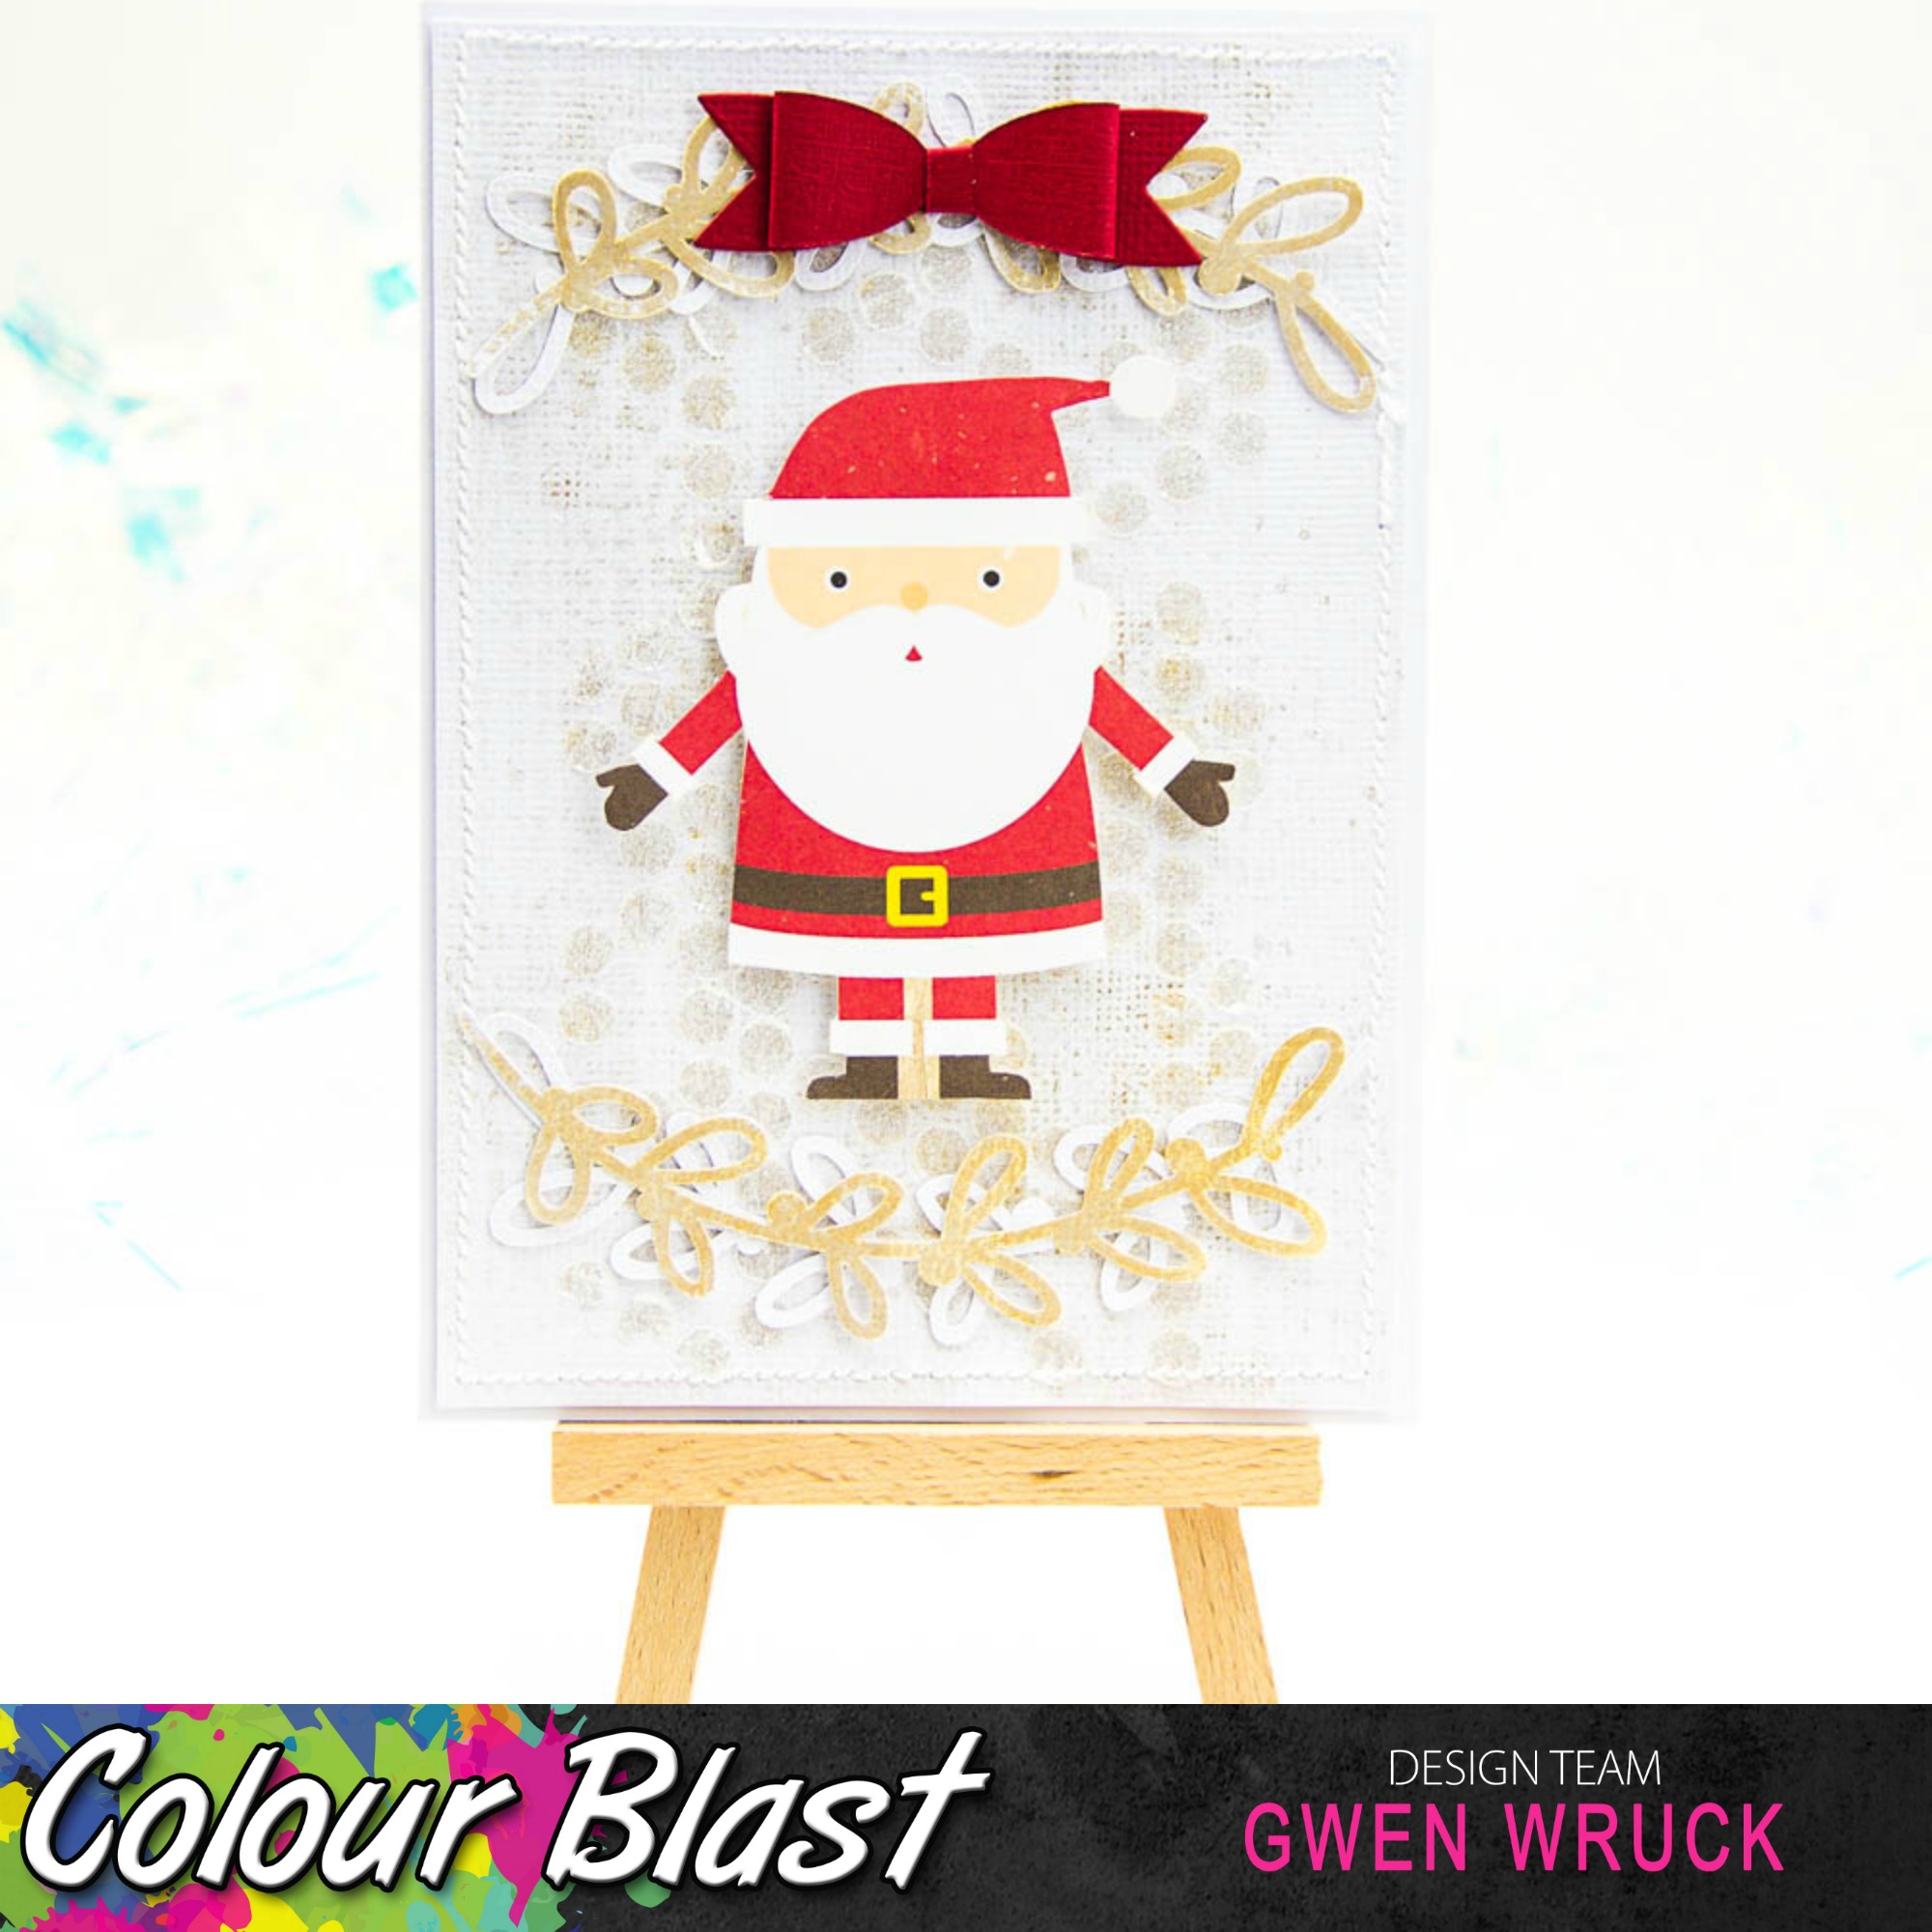
Once my background was complete, I added a few embellishments and the cards were complete.  I will add here that I have gone for a really subtle look with my cards, however, this technique would work so well with any colour combo, something darker such as Deep Water with the Snow White over the top would make the paste stand out more, and the shimmer of the Bling is stunning over a black cardstock.  So have a go at different combos, I'd love to see what you come up with. 


I kept these pretty simple so that they could be posted and so as not to distract from my pretty background.  There you have it, three simple and sparkly Christmas cards ready just in time for Christmas!  

I give this project a "mess level" of Medium/High.  It's high simply because of the Colour paste and Embossing Powder.  However, the paste does not stain your stencils and the embossing powder is super easy to pour back into the generous container so that brings it back to a medium rating from me!  Totally worth the mess!

Thanks for popping by today, and as this is my last post of the year, I'd love to wish you all a Happy Festive Season!

Until next time,
xo

Wednesday, 7 December 2016

Colourblasted Christmas Cards by Tina Connolly


Hello everybody, with Christmas just around the corner I thought I'd share these mixed media cards I created.  They are fun and quick and allow you to test out some different techniques - don't be afraid to play and experiment!

I mixed Wisteria  Colour Mica Powder with some heavy Gel Medium and applied through a Stencil Hut stencil.  Then I added Passion  Colour Shimmer Dust to the mix and applied it on my second card.  The excess was smeared onto my die cuts, and then  Snow White Colour  Embossing Powder was sprinkled on top and heated with a heat gun until melted.

I sprayed some other diecuts with Love  Colour Spray, then added Fire Engine  Colour Paste to the edges,  Snow White Colour Embossing Powder was used to add extra sparkle. 
 Backgrounds were sprayed with a mixture of Singing The Blues  Colour Shimmer Spray. Lagoon and Carribean Colour Sprays.  Peacock Colour Shimmer Dust was sprinkled onto some of the cards whilst still wet.  
Adhere all the elements once dry and you're done!


Happy Scrapping. 
Tina


Sunday, 4 December 2016

Christmas Cards and Gift Tag by Farrel Tailor

Good Morning and happy December!!!

Today I am sharing with you all two Christmas cards and a gift tag I created. 
I was wondering what I could do that would be different and it hit me!! Why not try stamping using the Colour Blast Pastes?? 

So here is my stamped card. 


 I started off by painting Bling Colour Paste directly onto my Christmas stamp. I did water it down a little bit. 


Once I dried it with a heat gun, I then used Versamark to stamp my sentiment and embossed it with Singin the Blues Colour Embossing Powder.


I then inked the edges with Versamark and embossed with Lovely Lilac Colour Embossing Powder.


To finish it off I used a paint brush to paint more Colour Paste onto the stamped image. I used Envy & Lipstick, Singin the Blues. One card completed :-)


My next card was also a quick and super easy card to create. 
I had a damask stencil that I thought looked like a Christmas tree. 


So I started off by mixing Colour Shimmer Dusts Candy and Lush with water and painted them onto the card. I then added some splatters.


Once it was dry, I used part of my stencil with Envy Colour Paste. Before removing the stencil I sprinkled a small amount of Bling Colour Embossing Powder randomly and then dried.


The last steps I did was emboss the sentiment with Leather Colour Embossing Powder and doodled around the edges of the stencil with a black gel pen. I also used Bling Colour Embossing Powder for the star stamp.

So the last item I made was a gift tag also using a stamp.


This was super quick and easy and very effective.
I used a baby wipe to spread Steel Colour Paste making sure it was just thick enough to stamp through - you will have to be quick as the paste dries quite quickly.


I then stamped my Christmas tree stamp in the center of cardstock.


After drying the Colour Paste, I used Just Blue Colour Shimmer Spray to spray onto the tag and I used my finger to rub the shimmer spray into the stamped area.


And there you have it!! Two quick cards and one gift tag.
I hope you enjoyed and be sure to check out the process video below.


Happy Scrappin xx


Tuesday, 29 November 2016

Christmas Cards by Melinda Sweetman

Hello there scrappy friends, Melinda here with you today sharing this "set" of 6 christmas cards I made using some awesome Colour Blast products!

I had so much fun playing and am super happy with how these cards came out. Playing with the black cardstock was a bit of a challenge but FUN!

I do have a process video which you can see here on the Colour Blast YouTube channel and I have some step by steps below!

First up I picked out one of my 12x12 stencils and a couple of colours of Colour Shimmer Spray that I wanted to use. I had a handful of embellishments I have in my stash that I wanted to get used so kinda matched to those using the Bling Shimmer Spray and Deep Water Shimmer Spray.

I randomly sprayed the 2 colours through the stencil on the whole 12x12 piece of cardstock until I was happy with the colours. I did soak up the excess colour on top of the stencil by applying a 2nd piece of black cardstock and rubbing gently to get a stamped image.


When that was all dried I used the nozzle from the 2 bottles and sprinkled some splatters randomly across the page.

I dried that off with my heat tool and then cut my cardstock down to card front size - 10cm x 14.3cm - ready to add my layers!

I did fiddle around a bit with all the bits I wanted to use but managed after a little bit of back and forth to come up with designs I was happy with.

I felt that I needed a little extra in the background behind my layers so grabbed my Snow White Colour Paste and another stencil from my stash and applied some colour using a palette knife roughly behind where the clusters were going.


I let that dry naturally, which really didn't take very long at all and then stuck all my pieces down!

I decided that the tag on this needed a little bling so I grabbed my Bling Colour Embossing Powder and embossing ink and stamped a little sentiment.


I used a mix of double sided tape and wet glue to stick everything down, I wanted to make sure nothing moved.

Here are the completed cards and like I said earlier, I'm super happy with how these turned out and had so much fun! 


I only recently discovered the beauty of the Shimmer Sprays on dark cardstock and if you have yet to have a play I can't recommend it highly enough!

Please make sure you head over to our FB group here and share all the wonderful creations you make!

Thanks so much for stopping by and until next time, happy scrapping!!


Melinda