Sunday, 12 June 2016

Love you Always by Elisa Ablett

Happy Sunday Everyone,

If you are attending the Brisbane Scrapbooking Expo this weekend make sure you come along and say hi to me and the rest of the Colour Blast team at Stand D25!! 

Now due to the magic of pre-scheduling posts so I can be doing two things at once, sit back with a cuppa and join me with my latest tutorial using the amazing Colour Blast products available here on the Colour Blast website.

Here is the layout I created:


Here is a list of a few of the Colour Blast Products I used to create this layout: Bling Paste, Bling Colour Shimmer Spray, Lipstick Colour Shimmer Spray, Sunshine Colour Shimmer Spray, Apple of my Eye Colour Shimmer Spray, Deep Water Paste and Colour Shimmer Spray.

 I also used a metallic White Acrylic Ink from Daler Rowney.


Step 1 - Grab the colour shimmer sprays that co-ordinate with your chosen photo, in my case I used a photo of my gorgeous niece and she was wearing a lovely dress which had large flowers on it in white, pinks, blues and greens and a set of flower stamps, I think the ones I grabbed where Ranger stamps.


Step 2 - Using a spray bottle, spray water onto your paper around the edges where you want your photo and elements to sit and using a paint brush dip the brush into the open bottles of spray (washing the brush in between colours) and dab onto the page where you have sprayed your water - this causes the colours to run together and become like watercolours. Let dry when you are happy with your colour placement and pattern as per the below photo.


Step 3 - After the colours have dried on your page, add splashes of your white acrylic ink over part of the colour, it is difficult to catch it on camera but if you go back up to the final page you can see splashes that I have applied to the bottom left hand corner of the page.


Step 4 - Lightly gesso your chosen chipboard background piece.


Step 5 - Add Deep water Paste to your chipboard using your fingertips rub it gently over the chipboard in patches, then as per the photo below spray sunshine shimmer spray and small patches of Dusty Charcoal spray as well over the chipboard.


Step 6- Add some tissue paper in the places where your photo and elements sit. Glue it down roughly and then tear bits off to make it look distressed. Then add splashes off black acrylic ink or runny black paint with a fan brush.


Step 7 - Once dry stamp a few flowers onto your coloured areas using Black Versafine or Archival Ink.


Step 8 - Add your Bling Paste once everything has dried completely in small patches over the layout.

then once dry ....again... assemble your page with your chosen elements.

I have layered in two areas, under my photo with a Kaisercraft window cutout, a My Minds Eye journal tag, Acetate butterflies fussy cut, Pinkfresh Studios phrase stickers and some final splashes of Bling Shimmer Spray. 

Here is a close up of one corner of my page....

thanks for stopping by the blog today.


Make sure you leave some love.....

Elisa Ablett xx


Saturday, 11 June 2016

'Pit Stop Fun' by Anita Rodway


Hi there. Anita here :)
I'm back to share a layout I made using some
fab Colour Blast products!
I've gone with a black sheet of cardstock to
really make the background pop
 
'PIT STOP FUN'

I've used a 12x12 stencil & taped it down on
my workspace over top of the cardstock.
I then selected the Colour Pastes I wanted to use.
I went with these colours:
Deep Water
Envy
Apple of My Eye
Sunshine

I started with yellow & worked my out using a
using a palette knife to spread my pastes.
Once that was dried, I watered down some gesso
& created some splatters & paint runs to where
I had decided to place my photos. 

I then watered down a bit of Sunshine & Envy
colour pastes to wash over the gesso a bit.
I also flicked my brush to add splatters.


I then finished off with my photos & embellishments :)


A couple of weeks ago, at Shop & Crop's Glamping
retreat I showed the girls a quick demo using the
Colour Blast Colour Pastes.


With the one of the demo backgrounds I created,
I made into a layout for one of my new friends, Kathy
of her gorgeous tribe :) 

You can find all the Colour Blast products here

See you soon
Anita!

Friday, 10 June 2016

Seaside Art Escape by Melissa Struhs


Morning Everyone and Happy Friday...how us crafty people love a creative weekend. Here's a little more inspiration to kickstart your down time.

My layout today features three gorgeous colour from the Colour Blast range and a combination that I really love together.


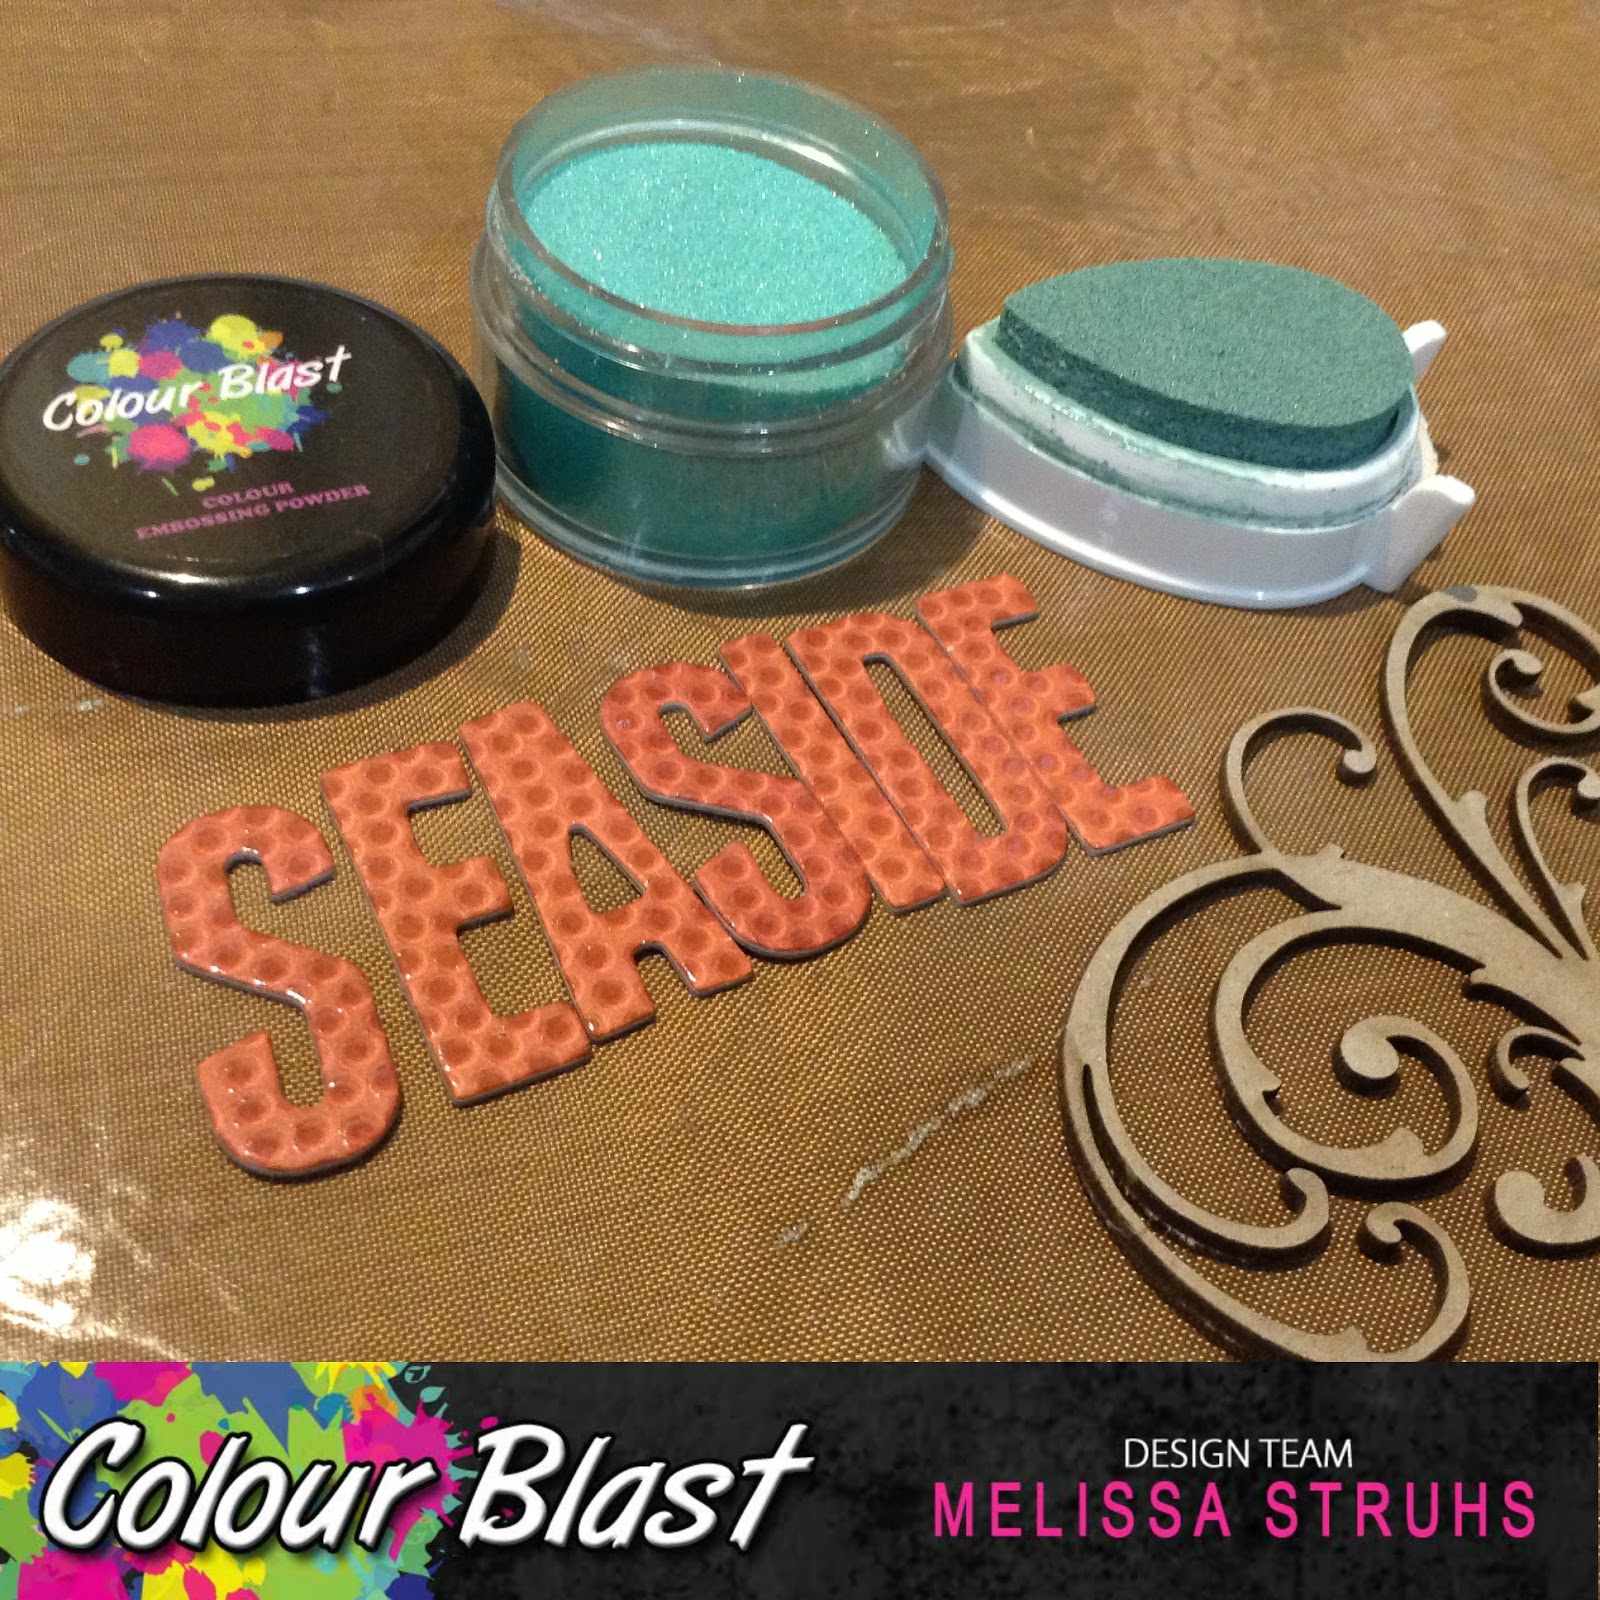
A watermark ink was used to stamp a leaf image on a green textured patterned paper. Apple of my Eye colour embossing powder was sprinkled over the wet image. When heat set the effect is a very subtle look. They were fussy cut out later for embellishments.


I have a habit of being really budget conscious when I am searching for titles and often blend sets together to make one of a kind title. There is no better way to make mismatched lettering and embellishments come together than an all over colour change.


I like to choose a similar coloured ink to use underneath my Colour embossing powders...this time it was a lime ink under Apple of my Eye.


And this was a teal ink under the Envy colour embossing powder. You can achieve a really true colour depth by doing this, no need for two coats of powder.


While the embossing powder is still soft after heat embossing, I embedded neutral coloured micro beads. To create some unusual texture, you can slightly heat them....yes, they do melt into the embossing powder.


A few weeks ago, I used paste over joining tape and the look really grew on me. this time I have tried out a layer of light coloured tulle.


A circle / bubble stencil was layered over layers of cardstock, fabric and paper with Stormy Weather colour paste.


On a neutral printed paper, I have tapped "Apple of my Eye" colour shimmer spray on with a long bristle brush for a splattered effect.


Here are a close up pics of the elements all pieced together. When I use giant enlargements, often there is some open space on the image that be used to house and eye catching titles.


You can see that other elements can have the same techniques applied but still help create unique looks.

All of the these great products can be found on the Colour Blast Website.

The Colour Blast team are hard at work at Scrapbook and Papercraft Expo in Brisbane beginning today and continuing over the weekend. We would love for you to drop by the stand to see the new collections, watch gorgeous demo's by the Design Team or take a last minute class with Tina or Krisy.

Til next time.


Thursday, 9 June 2016

Wonderful by Suzy Loudon

   
Hi, I'm back again with the opportunity to share another page. 
This time I was in the mood to mix my own colours!!


I mixed Lipstick, Singin' The Blues & Dusty Charcoal Pastes together to get a Plum like colour.

I applied it through my stencil & allowed it to dry. 
Mixing the colours did not take away the lovely shimmer that Colour Blast is known for.

While my page was drying I used some of my remaining mixed paste to make a spray. A little water with the paste in a small spray bottle (a really good shake) & I have a co-ordinating Spray.

Now if you do what I did & forget to wash your stencil & the paste has dried all over it... I get a container, add some dishwashing liquid, and soak my stencil. Using a soft brush your stencil is like new once again.

While everything was drying I matted my photo with papers. Here's a pic of my paper layering before it got covered in flowers.

I then wanted to emboss my chipboard. I thought that Singin' The Blues would be too bright so I mixed it with a little Dusty Charcoal.

I couldn't find my white ink pad so I painted the chipboard with a thin coat of Gesso before applying the embossing powder. It was a little splotchy where it didn't take so I did a second coat using my emboss dauber. 


 I embossed my # Wonderful chipboard with a coating of Dusty Charcoal Embossing Powder.

I added a few personal touches - flowers, muslin, pearls and my page was done.

Hope you've enjoyed and feel inspired to go create too. 
See you next time.


Wednesday, 8 June 2016

A quick vintage layout by Tina Connolly

Hi creative people, hope you're all having a fantastic day!
Just wanted to share a quick and easy layout with you today...


Smear Snow White Colour Paste through a stencil and onto the exposed corrugated cardstock.  Mix some Fire Engine and Snow White Colour Pastes to create a nice pink and apply through stencil.  Once dry use a doily stencil with Deep Water Colour Paste. 


A few spritzes of Deep Water Colour Shimmer Spray, and then spray Fire Engine onto a baby wipe, and smear for a subtle washed effect.


Heat emboss the frame diecut and then smear some Bling Colour Paste in patches.  Use the Bling to colour a butterfly accent.  Use an embossing folder to emboss some cardstock, and apply a little Colour Paste with your finger, to highlight the raised areas.


Happy Scrapping,
Tina

Products Used:


Tuesday, 7 June 2016

Awesome Hosier Lane by Lisa Oxley

Howdy Colour Blast Lovers, Lisa Here with a blog update. 
Today I have a layout to share with you.
If you follow my blog or Facebook, you may have seen this little video here, where I stenciled using 3 pieces of white cardstock. Trying to make the most of the stencil, and remove the square look to it when it sits on the page.
For this process I used these gorgeous Colour Blast pastes and
 created a gorgeous fade through of colours. The colours I used were Royalty, Singin' The Blues, Envy, Apple of My Eye, Just Blue.

 During the drying process I spritzed the page lightly with water and added a little distress ink and a little Dylusions purple ink on the other side of the page.


 I also added some Shimmer spray


 In these colours 


  I found some old Tim Holtz Grungeboard and covered it with turquiose paint and while still wet, powdered the piece with Colour Blast Envy Embossing Powder, then heat set it .


Here is the final piece, (photos a little dull due to the crappy weather and no good light) finished with stamps, rub-ons, drippy black house paint, washi tape, and my usual details and layering of Tissue paper.
I kept the embellies to a minimum ,and let the photo, the background and the journaling/title be the focus.


Thanks for dropping by and getting your Colour Blast On.
 Don't forget to check out this sweet Instagram Video of the making of this background ,
See you soon .
Lisa xx