Good morning Bee Arters!
Hope you are enjoying your Australia Day holiday ... why not celebrate by creating a journal page by supporting a proud Aussie based company https://beearty.com.au/
In this Blog entry I have added a tip in lace flourish to the page. Enjoy the process and have some fun.
List of materials used in this project
- White Cardstock 350gsm 10 pack - 12"x12"
- boning tool
- masking tape
- Acrylic paints of choice - blue, wisteria, turquoise, light yellow, magenta (fluid paints can be used for this project)
- Silicone sponge (makeup)
- Boxed in stencil A5 (background stencil)
- Flux A6 stencil (focal stencil)
- Xacto craft knife or similar (must be sharp)
- Colour paste - Rose Petal
- Life of colour pens - yellow
- Heartfelt clear stamp,
- Live your art clear stamp set,
- Kind heart clear stamp set
- Black archival ink
The finished product of this journal page is A4 size, I used a piece of White Cardstock 350gsm 10 pack - 12"x12". I made a crease at the A4 measurement to create a 'tip in' fold using a boning tool.
Firstly, mask off the crease line to keep the 'tip in' clear of base coat paint on main page. Apply small blocks of colour over the A4 background using your finger in 'figure 8' fashion. Add each colour in turn leaving the yellow and magenta last. You may wish to dry off in between to eliminate muddying of colours.
N.B. I did not gesso this paper in this instance, but you could if you prefer too.
Select another colour from your palette (not the pop colours e.g. yellow, magenta), again apply the focal stencil Flux A6 stencil randomly over the page, apply stencil in different directions. Dry off.
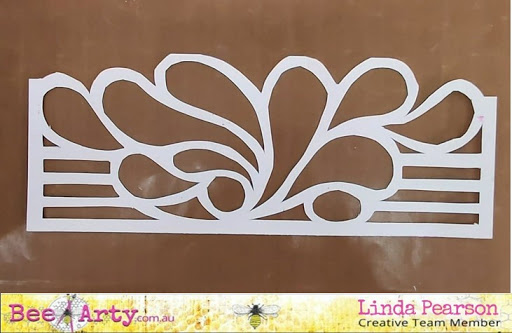
I drew this design on a spare piece of card and adjusted until I was happy with the design then transferred this over to the 'tip in' page.
Before cutting out the shapes I marked in the areas to be cut out with a X to ensure I removed the correct sections.
N.B. please use caution when using craft knives always place the non dominant hand well away (behind the cutting area) and always turn the page to make curves do not twist your arm.
Mix Colour paste - Rose Petal with texture paste apply through Flux A6 stencil over the stenciled surface, allow to dry.
Add some intensity and dimension over the focal stenciled area using Colour Spray - Bubblegum. Cover the page with power towel so the page is protected from over spray of ink.
Add highlights to the pink flourishes using Life of colour pens - yellow around all of the stencilled areas.
Add small word / sentiment stamps that fit in the size of the cut out shapes. In this project I included; Heartfelt
clear stamp, Live your art clear stamp set, Kind heart clear stamp set with archival ink.


Love the decorative fold out, very clever!!
ReplyDeletethank you Allison
DeleteVery creative page, Linda!
ReplyDeleteThanks Nancy.
Delete