Showing posts with label Abstract Daisy stencil. Show all posts

Wednesday, 7 September 2022

Bee Happy - You are the Sunshine of my Life by Charmane Koch

 Hey guys! Today I thought I would share with you a layout that I created a while ago, but for some reason I hadn't shared yet!

I've used lots of goodies from the Bee The Sunshine range!

I started off by stamping directly onto the background paper - Find your Way stamp - to the top left of where I wanted my photo, and then to the bottom right of the photo.

I have then mixed together Sunshine Mica Powder with some Gel Medium to create a paste.

I have stencilled the Flower Garden Sunflower a few times along the right side of the layout, overlapping over parts of the stamp & stencilled Abstract Daisy along the left hand side of the paper. 

I also stamped the Find your Way stamp a few times onto white tissue paper. I've then cut around the tissue paper and the using Gel Medium stuck down the stamped tissue paper into the desired position on the layout.

I love how you can see the stencilled flower through the stamped tissue paper, giving a nice layered effect.

To give my layout a bit of 3D effect I have used cardboard to life my photo & the word cut outs. Since this layout I have bought the fabulous Adhesive Foam strips which is perfect to do this as well.


Before I stuck my Word Cut out title I inked the edges of each piece.


This was quite a simple layout to put together, but I love how it has turned out.
The colours of this collection are perfect!

The stamps & stencils I've used:


The papers are all beautiful in this range - I used the Pretty Fields paper...


Thanks for popping by! Hope you get a chance to create and maybe give this layout a go? 


XO Charm

Sunday, 22 May 2022

Enjoying the Sunshine by Tracey Campbell

Hello everyone, it is Tracey Campbell with you today, welcome to Bee Arty's Creative Team share for today. For my project I have used the newest Collection to the Bee Arty range, Bee the Sunshine and let me tell you it really is a pocket full of sunshine. A collection that is so pretty and delicate that it feels like you are working with rays of sunshine while you use it. For my share today I have teamed it with two photo strips of my time in Hawaii at a traditional luau.

Enjoy the Sunshine


Trim a 2cm off the top and left hand side of a 12x12 inch sheet of white cardstock
Adhere it to the centre of the Bee to A Flower patterned paper, have the floral side showing slightly around the white cardstock.  Tip: If you are going to cover up the majority of paper you are using for a base with another piece of paper or cardstock, then cut out the middle of the base and save some of that pattern for another use.


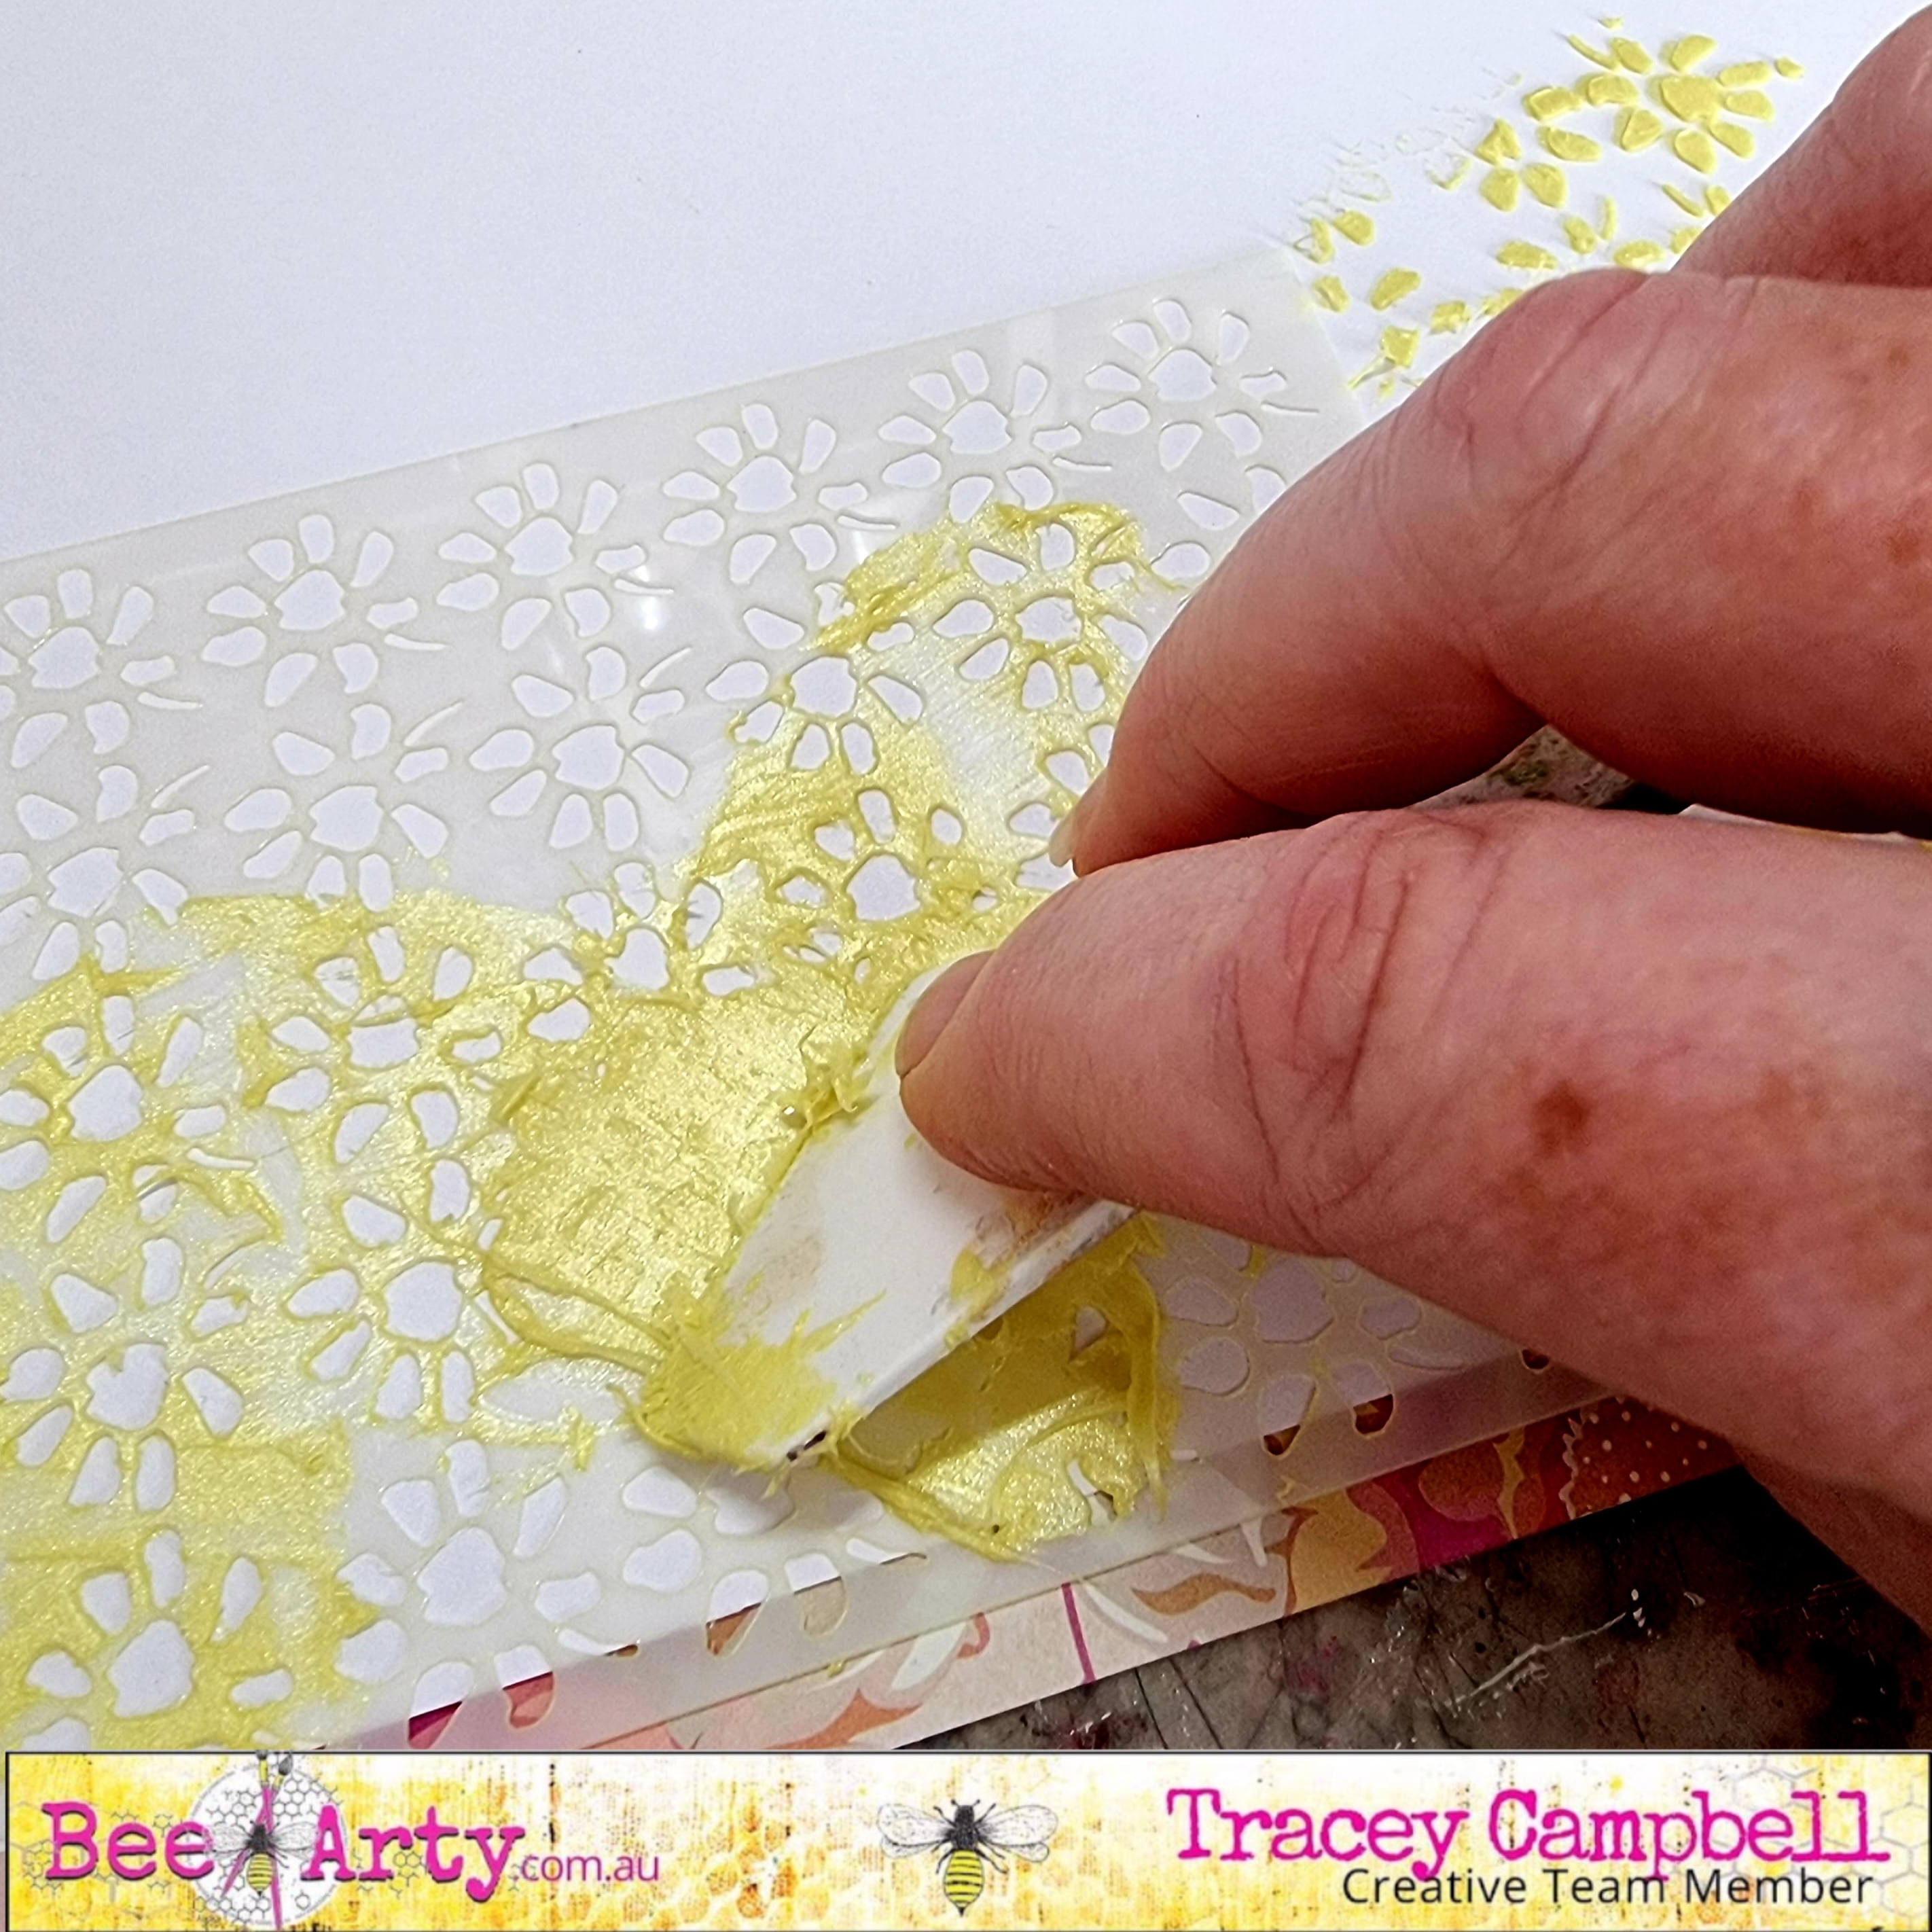
Cut a 20x23 cm rectangle from the Bee to Flower patterned paper. Tip: This is the perfect time to use the centre of your patterned paper that was cut out in the tip in the step above. On the floral side Using a palette knife, spread some Bling Colour Paste through the Abstract Daisy stencil over the top of the floral side of Bee to Flower patterned paper.


While you still have the palette knife, Bling Colour Paste and the Abstract Daisy stencil out use them to add some daisies to the white cardstock.


Below is the distribution of the daisies across the white cardstock.


While the Bling Colour Paste is still wet sprinkle a little bit of pink glitter into the centre of the daisies, on both the Bee to Flower patterned paper and white cardstock.


Using a distressing tool, distress the edges of the white cardstock and Bee to Flower patterned paper.


 Hint: unlike what I did, distress the cardstock before sticking it to the larger Bee to Flower patterned paper.


Adhere the base together so that it looks similar to the photo above. Stick two photo strips slightly off centre.


Fussy cut flowers, leaves, a title and two jars from the Honey and Sunny Days patterned paper.


Using 3 dimensional tape adhere the fussy cut elements out around the photos and the bottom corners of the Bee to Flower patterned paper.


Making sure to tuck some of the elements underneath the photo and patterned paper. Using a black inked pen journal around the inside edge of the Bee to Flower patterned paper rectangle.


Thanks for stopping in, I hope that I have given you some ideas on how you can use the newest Bee Arty Bee the Sunshine Collection. 

Hugs 
Tracey


Tuesday, 3 May 2022

Count My Blessings by Charmane Koch

 Hello! Today I am very excited to share with you my first project using the brand NEW "Bee The Sunshine" Collection!

Available to PRE-ORDER at your local store NOW!

{Live on the Bee Arty website on the 5th of May!}

There is soooo much too LOVE about this Collection created by Fiona Paltridge!

The stamps, the dies, the stencils, the papers - the colours! So gorgeous to work with!


I've also used Sunshine Mica Powder mixed with Gel Medium for the NEW Honeycomb Spray stencil, Blush Mica Powder to colour the Muslin and wash over part of the background.
I've used Midnight Shimmer Dust for my background too - the range of colour is amazing!


I also used the Rosewood Colour Paste through the NEW Abstract Daisy Stencil!


I coloured the Hexagon Wood Veneers with Sunshine Mica Powder then stamped over the top using the "Find your Way" stamp {definitely my fave from the collection!}


And here is my full page!


Can't wait to see what you all come up with! This Collection is absolutely stunning!

Thanks for popping by!


XO Charm