Thursday, 19 November 2020

Playing with the Fearless Brave and Free Queen Bee Kit II Chrissi Mannix

 Hello Lovelies

Today I decided to play with my Queen Bee Kit. I LOVE getting the kits, its a great way to get your favourite collections and also see some great project inspirations from the lovely ladies. This time, I'm playing with Fi's Fearless Brave and Free Collection- and Oh My, is it amazing

I decided to start with the A5 Free Hand Stencil. To add some texture to my page, I decided to use crackle paste through my stencil. I am currently using a book I brought from an Op shop as an art journal at eh moment. I'm loving the look of the altered book. It makes for some interesting texture and patterns in my pages.
Next, I decided to add some colour. Knowing that the Road Base Colour Spray from the kit wouldn't stay black over my white crackle paste, I decided to use some Love Colour Spray over the crackle paste, and blend into the Road Base towards the center of my page- I just ADORE how this turned out.
You can see how the colour has seeped into the cracks left from the crackle paste. 
I wanted to add something more to the page, but was loving the way my colours were working together, so I decided to use the Fearless Clear Stamp with some black archival ink to add a subtle layer to the background.
Even though it is black on black, you can see the texture of the stamp in the background. It just gives the page that little something more in the detail.
So this is where I am with my page. you ever create something you love so much, you don't want to add anything else to it for fear of taking away from the awesomeness you have created lol. That's where I am. I love this page as is, and cant bring myself to add to it.
Thanks for stopping by
Chrissi xxx


Wednesday, 18 November 2020

Be Fearless Layout by Julie Schinkel

Hi everyone, today I’m back on the Bee Arty blog with a layout inspired by this months challenge: black, white and one colour of choice. I decided to go with orange as I had used this colour recently for another challenge and it surprisingly turned out great. 
 
Here is my layout plus a quick tutorial and a few close ups, so you can see how I’ve created the page.


I've used Bee Arty's 350gsm white cardstock as the base, cut down to 11.5"x11.5". This has been framed with black (11.75"x11.75") and orange cardstock (12"x12").

On the white cardstock base paint some Cider Artist Ink down the middle as shown.
 

 Next some stamping and for this I've used the Fearless Clear Stamp and randomly stamped around the photo area. After photographing, I decided it still needed something extra, so I've also used script from the Memories Rubber Stamp Set.


I've added some pieces and scraps I had from the Fearless, Brave & Free collection to add to contrast as well as compliment the colour I have used. Splutters were added using the Cider Artist Ink after adding the top and bottom strips to tie it together. The sentiment is from the Fearless, Brave and Free Within 12x12 paper, which has been cut down and matted onto black cardstock. The rest of that piece has been put behind the photo mat.


Tuesday, 17 November 2020

"Stay strong" by Amanda Hartmann

Hi everyone!

Glad to be back on the blog with a page to share! I created this during our Bee Arty retreat in October, using some special retreat goodies. I love how the colours turned out, check out how I did it with some step by steps below.


I started with a sheet of the Bee Arty white cardstock - smooth and thick and always the best way to start when you want to create your own background.

I began with the Fiona P designed Foliage stencil and I used some washi tape to mask off the designs I wanted to use on my page.


Next I mixed up my own paste. I used some modelling paste, with Mica Powders.


I combined Bling and Olive Grove Mica Powders, which combined to create the awesome shiny mustard colour (which matched my daughters bikini in the photo so perfectly). I used this through the Foliage stencil to create the large leaves and stems on the page.


Next I stenciled some dots using Matte Gel medium, through the That Way stencil. While the paste was still wet, I sprinkled the dots with Colour Embossing Powder - in the Chocolate Sparkle colour.


Before assembling my page, I mixed some Bling Mica Powder with some water, to wash some gold to the background and add some gold splatters to the page.


Here is my final page:


We had some special bees (designed by Sue Smyth) in our retreat pack, so I had to fussy cut these and use them to finish the page. Along with some stickers, a doily behind the photo and a few little hearts.


Thanks for looking today!

Amanda


Tuesday, 10 November 2020

RDKULUS - With Karyn Schultz!

  Hi Bee Arty Lovelies!

It's Karyn here and today I have a scrapbook page to share with you made using lots of amazing products from Bee Arty in particular the King Of The Cave Collection designed by the talented Tanya Froud. 
 
For those of you that are kit subscribers, this page coordinates with one of the pages I created for the kit and you could use it to create a double page layout.


 I created a background on heavy duty 350gsm white cardstock.  I started by doing some stencilling using the Gridlock Stencil and Soot Colour Artist Ink (using a sponge, and apply sparingly). Next I did more stencilling using the Dice Stencil and a mix of Sunflower and Midnight Colour Shimmer Dust mixed with Heavy Gloss Gel. By mixing Sunflower shimmer dust with a small amount of Midnight shimmer dust I get a colour that coordinates with the papers in the King Of The Cave Collection.
 
  
 Once this has dried I add splatters of Soot Colour Artist Ink, and a mixture of Sunflower and Midnight Colour Shimmer Dust mixed with water (I used my pan palettes created using the shimmer dusts).


Here is my finished background
 
  
 I created some leaf embellishments by stamping the leaves from the Luck stamp onto Deal paper from the King Of The Cave Collection. Then fussy cut.
 
 
 Here is my finished page.


 Underneath my photo I've added some corrugated card and acetate (from the kit). Ive also layered 2 "King" cards created using the King metal Die and Deal paper. I've added some wheel diecuts created using the Wheelz metal Die and White cardstock. The white Crown is created using the King metal Die and White cardstock.


 I've added words cut from the Cave Rules paper, and King cards cut from the Cover Bonus Sheet paper (which is only available in the collection pack). I've also added a word strip cut from the Cave Rules paper and added this across the bottom of the page.


 Ive added a cluster along the LHS of the page - this word/Title is cut from the Cover Bonus Sheet paper. 

 
Thanks so much for stopping by

Crafty Hugs xx


Monday, 9 November 2020

"Dream Big.. Aim High" by Anita Enright

Hi Everyone

 Welcome back to the Bee Arty blog. Today I wanted to share with you a creation that I made using the AIM HIGH collection designed by Cindy Porter. I loved making this super girlie layout of my niece with my mum. The dies, stencils and stamps with this range are just amazing!!


I loved the Destination paper in the pack with the corner flowers on the book print.  I coloured some Texture Paste with some of the Walnut Artist Ink and then applied it through the Flower Pennants A5 stencil from the collection. I also did some stamping of some of the flowers in a dark brown ink using the Hydrangea Basket stamp set to the background patterned paper.


I coloured up some smooth cardstock using the Walnut Artist Ink and then used the cardstock to die cut the Flower Power metal dies.   These are one of my go to dies they are just so so pretty.

 
 This collection is still available in the Bee Arty shop. It is such a great collection and works beautifully with male and female layouts. I have only used a small portion of the full collection so check the rest out in store.  Click on the image below to be taken there straight away.
 

I hope you enjoyed my share on the blog today.  
Check back again for more of my shares soon.
 
Until next time....
Take some time out to create for yourself.

Ciao...
Anita 
xx


Friday, 6 November 2020

Beautiful Darling by Tracey Campbell

 Hi Tracey here with a fun layout using a few left over papers from the Arty Farty and Fearless, Brave & Free ranges. I will show you how I have backed a diecut file (cut out on my Silhouette Cameo), how I created a background using white gesso, glitter and Colour Shimmer Dust.

 First up I riffled through my left over pieces of Bee Arty papers to see what I could find that would coordinate together. I ended up picking these pieces of papers from the Arty Farty and Fearless, Brave & Free ranges. I thought that they complemented each other and both ranges have bright bold colours.

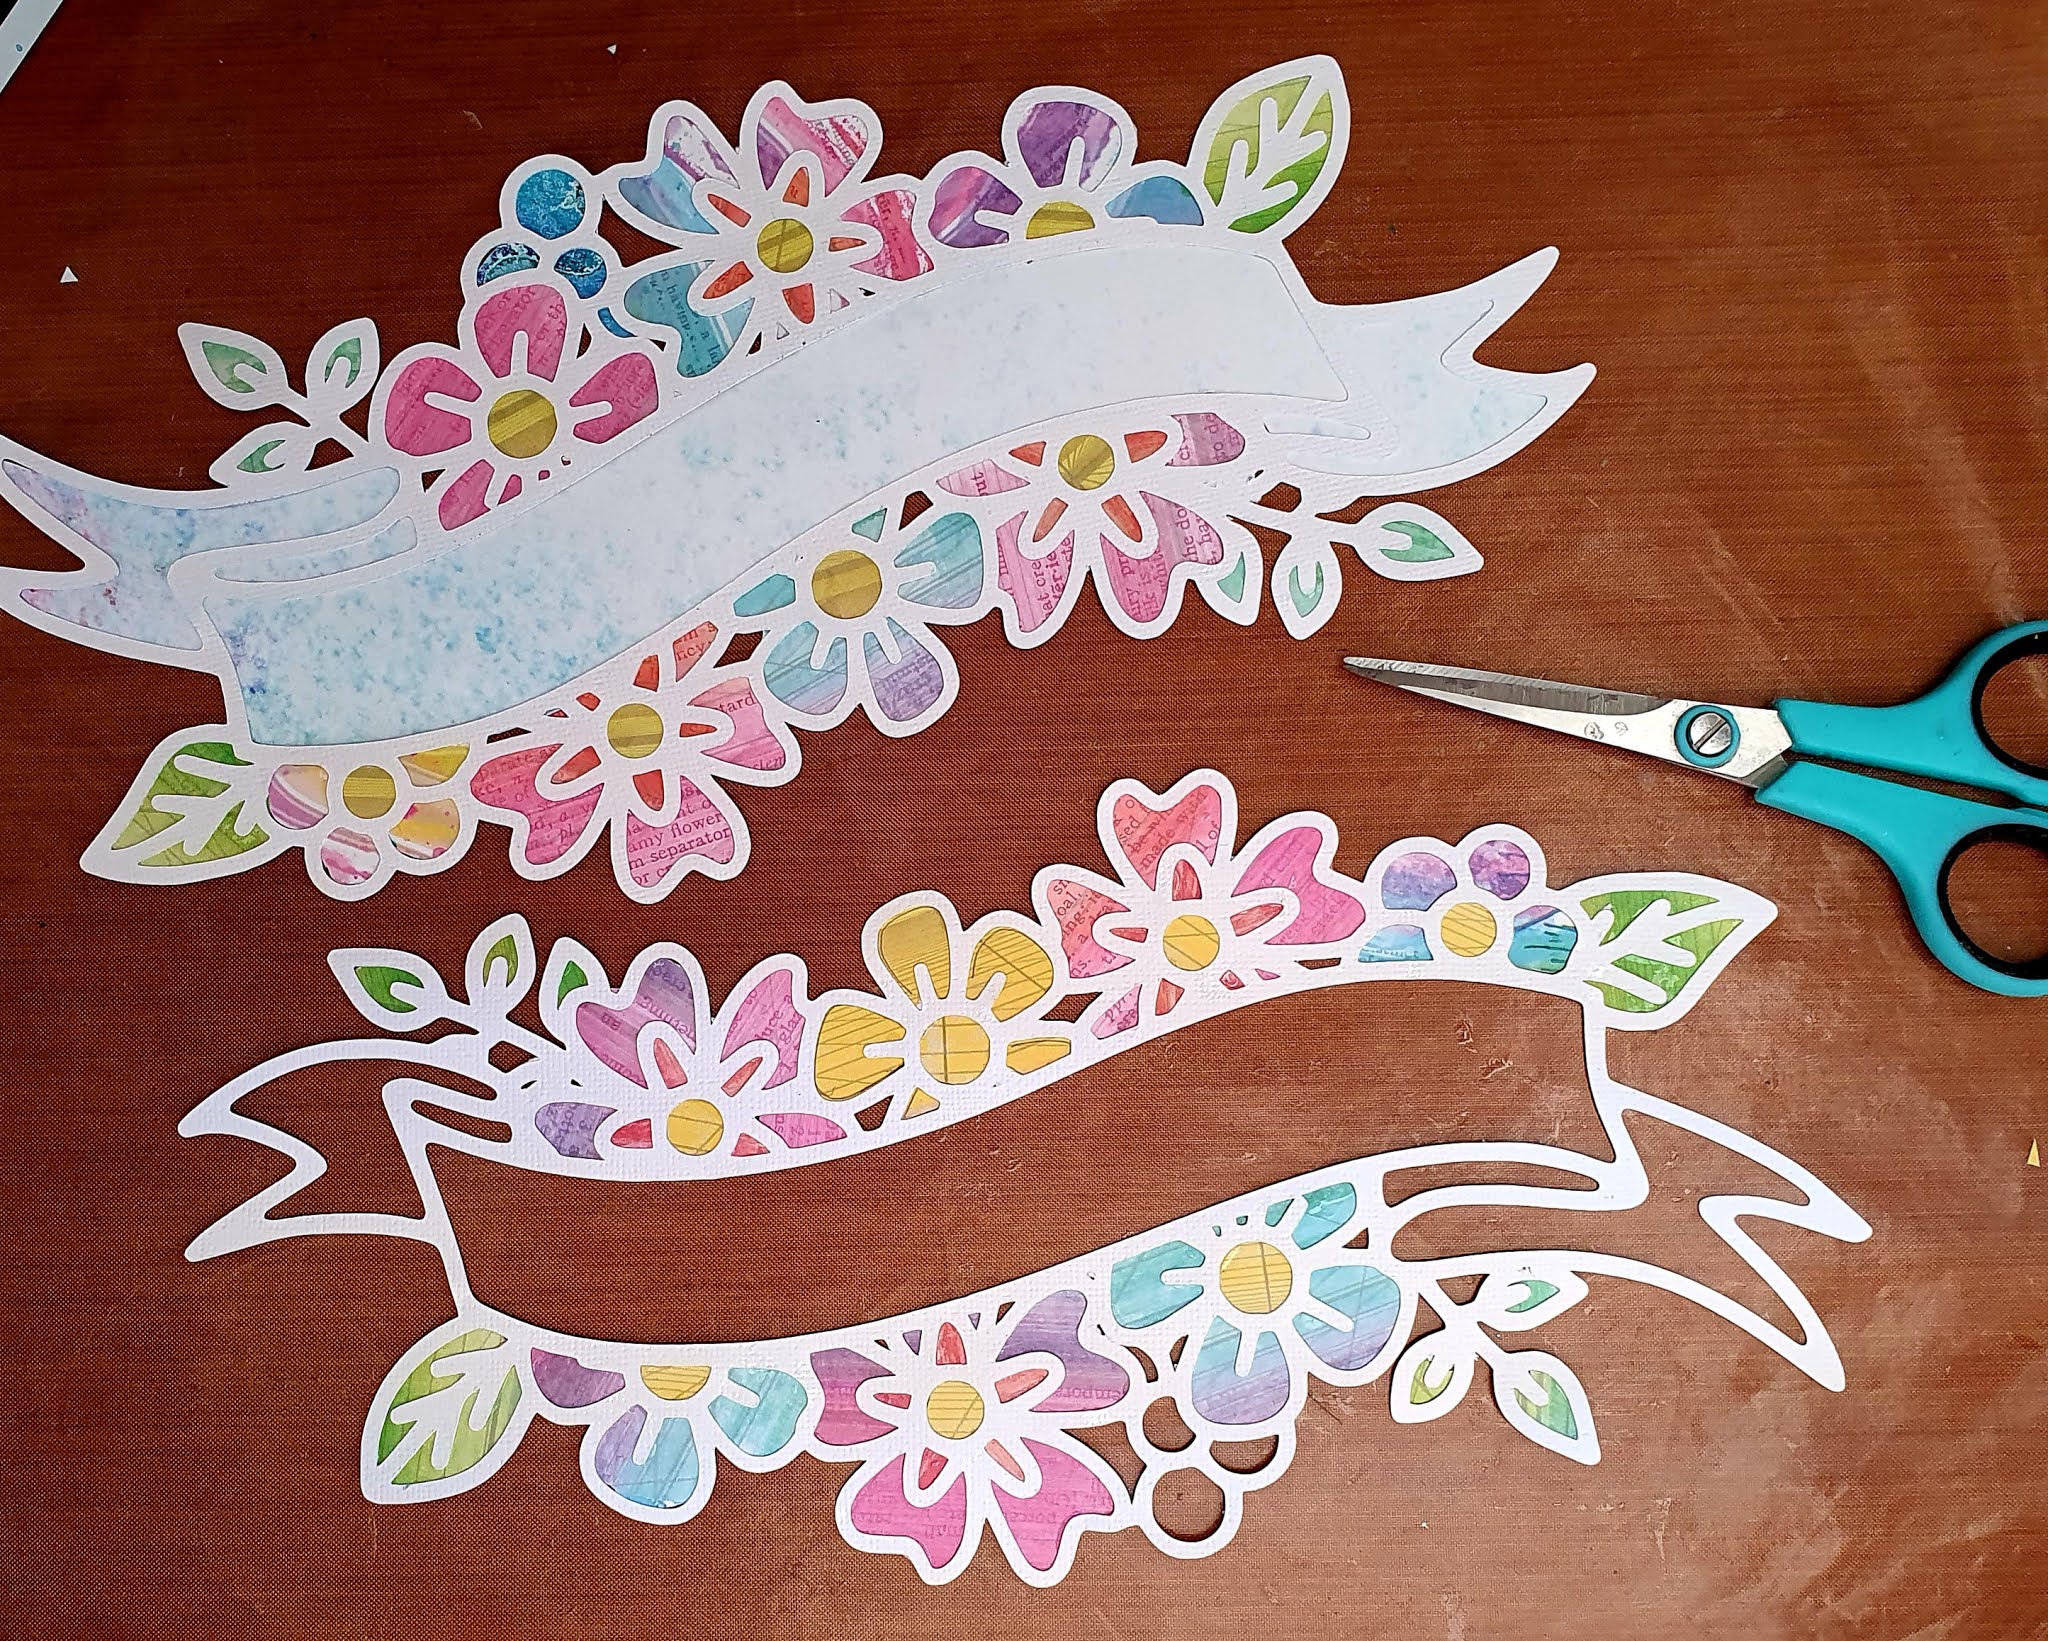
 Using my Silhouette Cameo I cut two of the Floral Banners from COAPA and used the Bee Arty papers to back the cutfile.


 Here is how the cutfiles looked backed with the Arty Farty and Fearless, Brave & Free papers. I love how the colours complement each other and really pop.

 On a 12x12 piece of white cardstock I used a palete knife to apply some Heavy White gesso through the Rose Reveal stencil. I positioned the stencil three times, two across the bottom center and one on the lower section of the cardstock. When moving the stencil be careful not to over lap the wet gesso or if you have the patience, wait until it dries.


 Here is how I positioned the Rose Reveal on the white cardstock. While the gesso is still wet apply a sprinkle of glitter. As it dries it will stick to the gesso.


 When the gesso is dry sprinkle a tiny amount of Colour Shimmer Dust around on the cardstock. I used three different colours; Velvet, Peacock and Lush. Remember a little bit of the Colour Shimmer Dust goes a long way.


 Activate the Colour Shimmer Spray with some water being careful not to over spray or the colours will blend together too much createing a brown mess.


 Here is how it turned out.


 When the Colour Shimmer Dust dry use a bit of water on a paint brush to activate Bling Colour Cube and apply some gold accents to the Rose Reveal image.


 Add a few splash and flicks of the Bling Colour Cube to the page by loading up the cube with water and soaking a paint brush to flick across the page.

 When dry adhere a 12x6 inch piece of paper, I have used the 'B' side of the Positive paper from the Fearless, Brave and Free range.


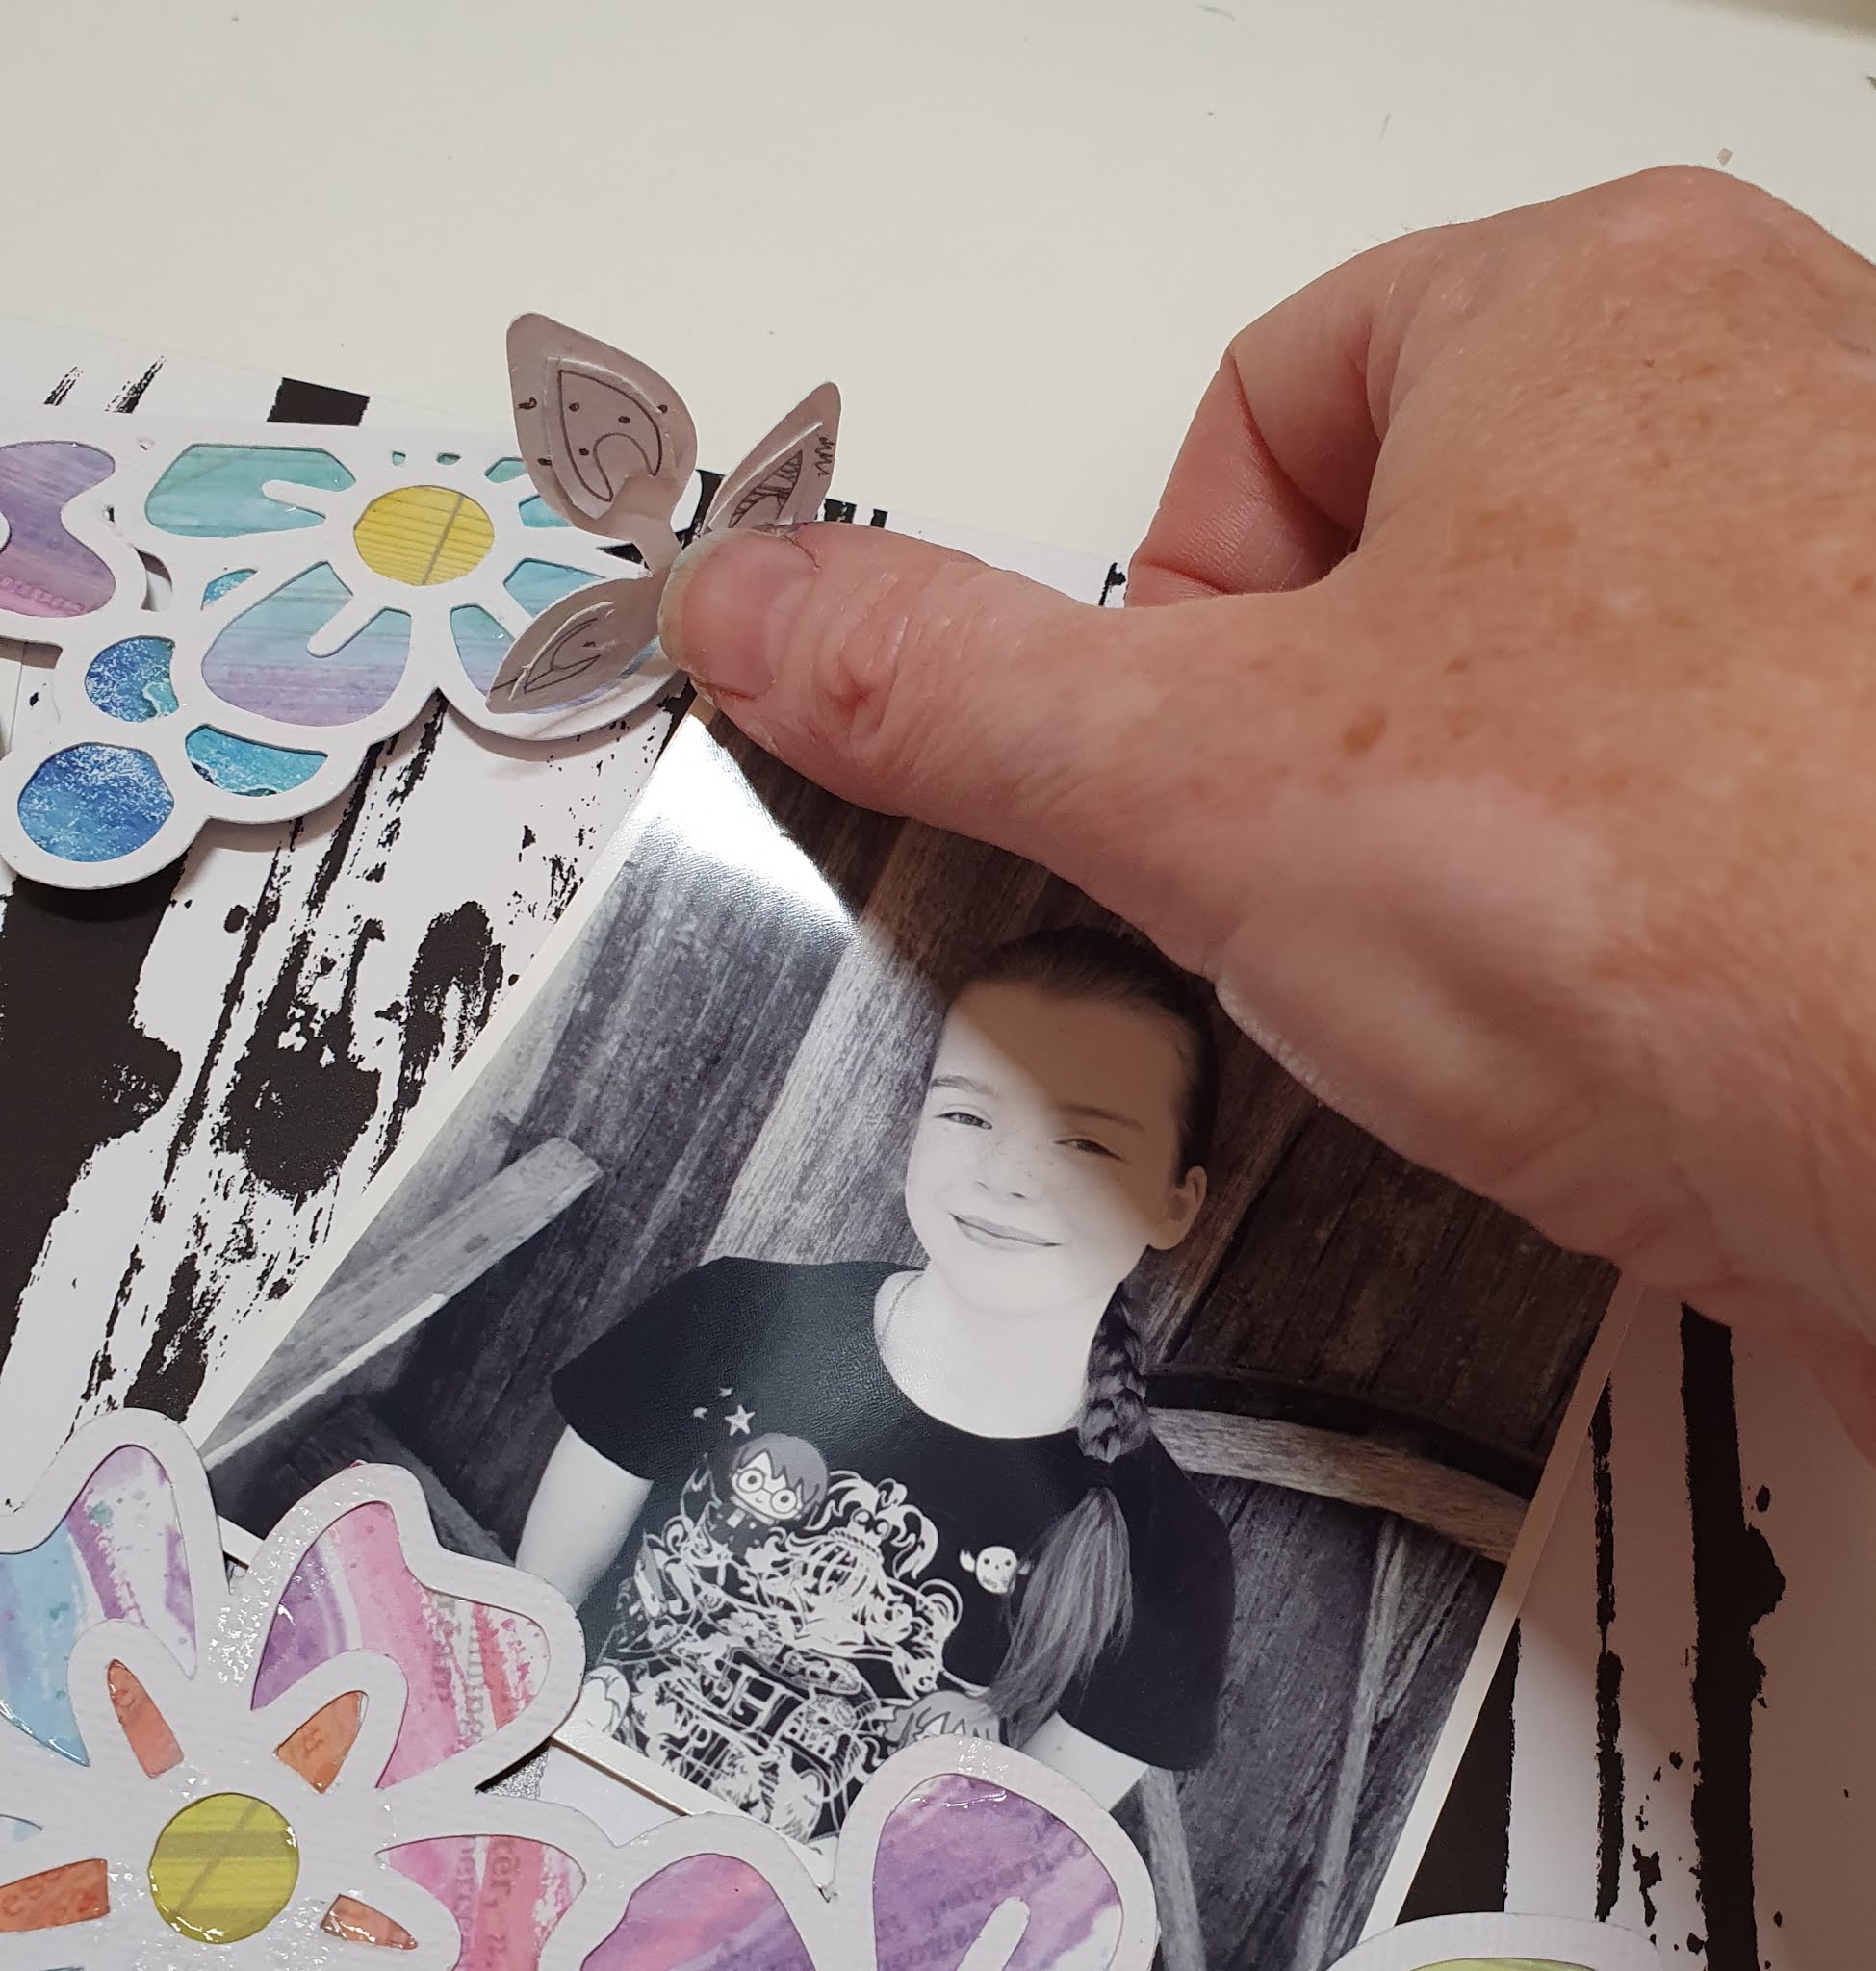
 Using 3 dimensional tape adhere the cutfiles to the page. See final layout for the positioning of the cut files.

Add the finishing touches with a photo or two and title.


Thanks for popping in, I hope I have inspired you to pull out your Colour Shimmer Dusts and get creative.
 
 Hugs
Tracey