Showing posts with label Colour Shimmer Cubes. Show all posts

Sunday, 30 January 2022

Beautiful Mistake by Tracey Campbell

 Hello lovely people, Tracey Campbell here again today to share my creation with you. Have you ever had an idea in your head and when you go it execute it, it doesn't work out how you planned and turns into a red hot mess??

Well that was me today - I wanted to create a layout with a Mandala on it using the Entangled patterned paper from the Find Paradise Collection but it didn't go as planned.


I ended up with this!!! But from mistakes beautiful things can be created, so stick with me and I will show you have my mess turned out to be a beautiful mistake.


I started by mixing some clear Gesso with some Colour Mica Powders in Sage, Polar, Peach Nectar, Lemon Zest and Wisteria to create coloured Gesso. Now this was my mistake, the clear Gesso was too runny, I should have used the Colour Blast Heavy White Gesso instead. 


Using a silicon paint palette I spread the coloured Gesso through the Boho Mandala stencil on to the Entangled pattern paper. 


I used all five colours to create a nice pattern to the mandala. Tip: when doing a large amount or fussy stencilling use a bit of washi tape to hold your paper and stencil in place.


When I lifted the stencil off the paper, I discovered that the Gesso was too runny and had bleed under the stencil creating this mess. I was really disappointed with it and was going to give up and throw the sheet of Entangled out, so I started my clean up.


I flipped the stencil over and pressed it down with a scrap of cardboard to get off the excess Gesso. When I took the stencil off the paper again I discovered a soft imprint of the Mandala, on both the Entangled paper and the scrap of cardstock, giving me an idea.


I grabbed some white cardstock and place the Boho Mandala stencil between them and ran my palm over the backside of the cardstock. I now had two soft images of the Mandala, which I thought were lovely and my mind was running away. I scrapped my original idea to do a layout with a Mandala and instead decided to create a dream catcher.


I continued to use the stencil as a stamp and created a few more images. I did have to load more Gesso onto the stencil to get a few more images. Once they were dry I fussy cut them out.


And stuck them together to create a Mandala, actually had enough images to create two.


Next I used sequins and gems to decorate.


To turn the mandala into a dream catcher I painted the feathers on the Free Vibe pattern paper from the Bohemian Bliss Collection with Colour Shimmer Cubes. If you don't have the Shimmer Cubes you can make use the Colour Shimmer Spray to paint them. I picked five colours that matched the Colour Mica Powders that I made the coloured Gesso from: Sunshine, Apple of My Eye, Punch, Singin the Blues and Lovely Lilac.


Once dry fussy cut them out.


I then glued some gold sequin string to the back of the feather and the Mandala.


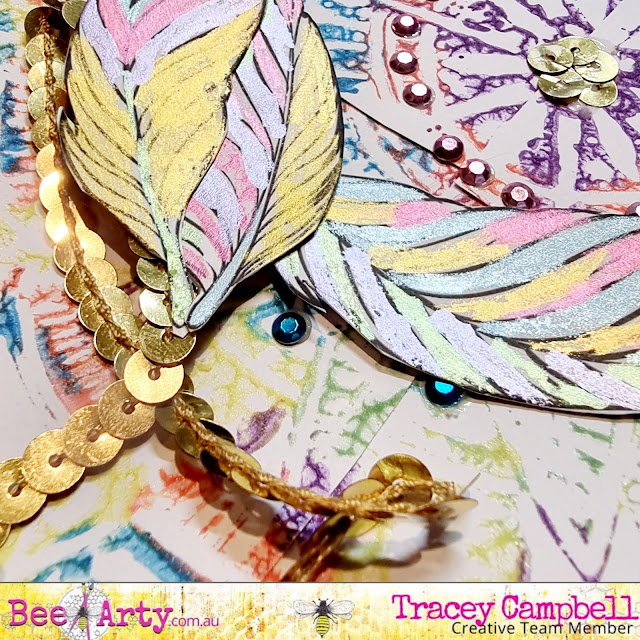
Here is how it turned out, such a fun and pretty Dream Catcher - my beautiful mistake


A few photos of the details in close ups below.


I am still thinking about using this on a layout and now that I have a spare Mandala I just might, so pop back into the blog in a few weeks to see what I come up with.

Hugs
Tracey


Saturday, 14 August 2021

Dream, Believe, Achieve by Tracey Campbell

Hello everyone, Happy Saturday. Today I am sharing my latest creation using the Find Paradise Collection by Fiona Paltridge, it a lovely collection that has soft touches of pink/peach and minty green shades. Perfect for those dreamy photos of photos of your favourite holiday in a tropical setting. 
I've picked a photo of my oldest daughter Bronte and one of her friends that she doesn't get to see very often but when they do meet up it is like that just saw each other. A sign of a true friendship.

Dream, Believe, Achieve


I wanted to add a contrasting colour to the beautiful colour scheme of Find Paradise so that it would pop out. I had no idea of which colour to use so I decided to look at a colour wheel and see what the triadic colour would be. A triadic colour scheme is comprised of three colours evenly spaced on the colour wheel (you can also use the in-between hues). Because of the strong contrast, a triadic palette is generally quiet dramatic, but by using toned down shades it cuts the colour down to manageable (visually pleasing) levels.  In the wheel below you can see that the peachy/pinks would sit in the "Orange" triangle - I think about hues 2 and 5. The mint/green would sit in the "Green" triangle - hues 9 to 7. So I looked at the triadic colour and looked at the Violet and Blue Violet colours - at first I was thinking the higher number hues 6 - 9 but as I was playing around with colours I decided to go with an extreme contrast. So I picked a Blue Violet colour with the hue of 1. I like how it has turned about, you will have to let me know what you think. 


After I picked the contrasting colour I went through my Bee Arty Colour Blast products to see what I had and found. I found Just Blue and Royalty in the Shimmer Cubes and Indigo Colour Spray. I cut out three of the larger floral blooms from the Botanicals patterned paper and painted them with a waterbrush with the Just Blue and Royalty in the Shimmer Cubes and Indigo in the Colour Spray.


Next I fussy cut the peach blooms, 3 of the palm leaves and the painted large blooms from the Botanical patterned paper.


I wanted a pieces of paper the same as my contrasting blooms are, but didn't have any so decided to create my own. First up I sprayed some Indigo Colour Spray onto a piece of white cardstock, I wanted a fine spray and a large dotty/splatter look and to do this I sprayed the cardstock normally a few times, which creates the fine spray. Then I pushed the head of the spray very slowly, this techniques gives you larger drops/splats of stray.  


At this stage I didn't like how it looked so while it was still wet I used the plastic packaging technique to spread the larger splats out.


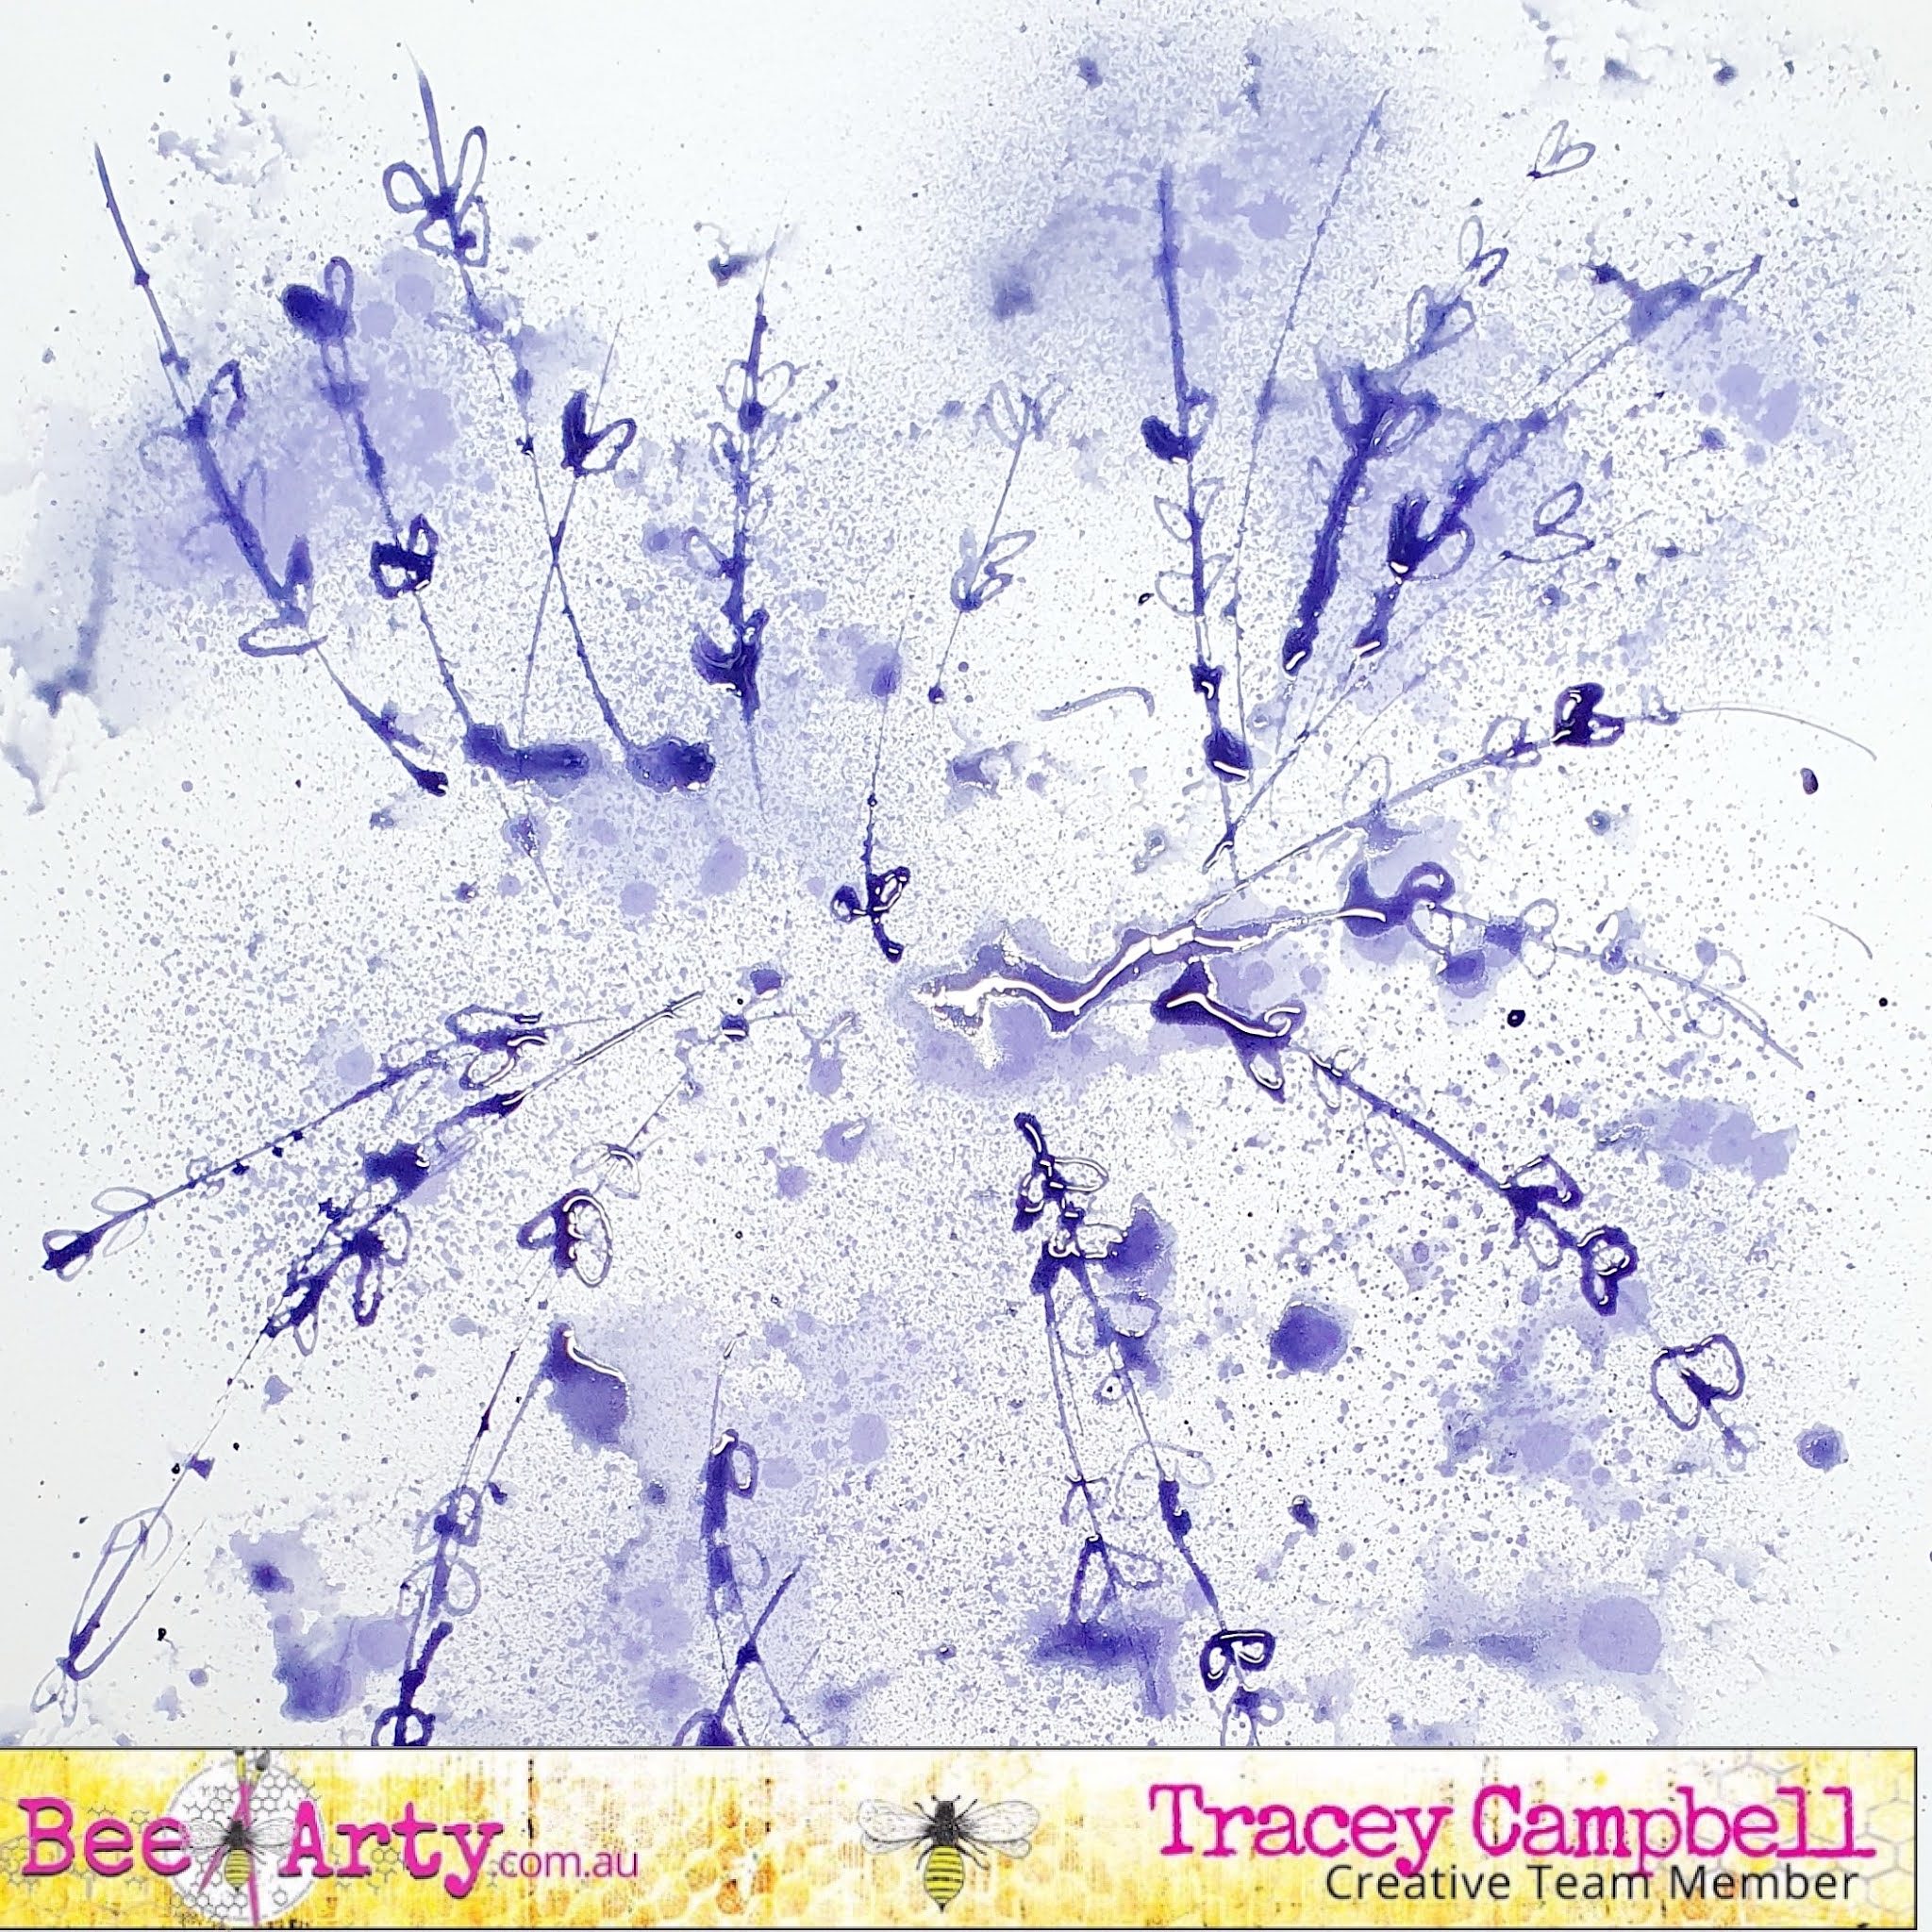
I then took the head off the Indigo Colour Spray and used the straw to draw random lines on the cardstock and then little leaves on the lines. I was copying the look of the lines in the wreath on the Mystic Garden pattern paper. 


Here is what is the cardstock for my mat turned out like.


Once dry I used the contrasting cardstock to mat the photo.


I decided to actually use the Mystic Garden pattern paper as the base of my layout but once again decided I need to add the contrasting colour. So I grabbed the purple Life of Colour paint pen and mimic the look of the wreath in the design. I drew large purple circles and then added a few little leaves and dots.


Here is what it looked like after I had finished mimicking the wreath. 


Next I adhered the matted photo down, however before i did I wanted to soften it a bit so I added tissue paper behind the matted photo. 


I still thought that the design was still too hard so I added some bandage fibers to the base to soften it and add texture.


To adhere it I used some Dimensional Magic in drops so that they formed clear balls that mirror the look of an acrylic dot. Here is a close up. Tip: make sure that you leave them long enough to dry (I left mine over night) or they can smudge. 


Next I arranged the fussy cut blooms and leaves over the left side and bottom right corner of the layout. 


I used 3 dimensional tape to add depth and adhere the fussy cut images to the page.


To finish off the page I fussy cut a title from the Breath pattern paper and adhered just off the top right hand corner of the photo. 


Here is the final layout. I really like the colour scheme, soft with a touch of pop.


I hope that I have given you some ideas and inspiration. 

Hugs
Tracey


Friday, 25 June 2021

Fly by Tracey Campbell

 Do you ever get papers with a lot of lovely journaling blocks and tags on them and never know what to do with them so end up not using them at all? For example the Elegant Tags Paper from the Spread Your Wings Collection. I do, all the time. I love the look of them and have plans to use them on layouts, but just never do. So I thought why not challenge myself to create a layout using as many tags and journal blocks from the page as possible. 

The materials that I have used are:

Papers from the following collections; Spread Your Wings: Elegant Tags, No Regrets and Word Play, Bohemian Bliss: Free Vibe

6 Product Information Strips from any of the Bee Arty ranges that go together.

Scripted Stencil

Colour Paste in Envy and Punch

Colour Shimmer Cubes in Envy, Snow and Punch

Paper Flowers

Using a palette knife randomly scrap some Punch Colour Paste down the right hand side of the No Regrets patterned paper. Let it dry.

Spread some Envy Colour Paste through the Scripted Stencil with a palette knife. Apply it so that it over laps the Blush Colour Paste. 

Here is what the Colour Paste looks like on the whole 12x12 piece of No Regrets.

While waiting for the Colour Paste to dry fussy cut the feathers from the Free Vibe paper and the tags from the Elegant Tags paper.

Use a distressing tool to distress both edges of the six product strips. 

Adhere the products strips down the right hand edge of the No Regrets paper.

Activate the Colour Shimmer cubes with a spray of water and then paint the feathers with the Envy and Punch. When dry coat them with the Snow Shimmer Cube. Leave to dry.

Use the fussy cut tags to create a photo mat around at 6x4 inch portrait photo.

In the photo below you can see how I cut and placed the tags to create the mat. 

Adhere the photo and the mat to the back ground paper - position it over the Colour Paste. Adhere the feathers around the photo - see the final layout for positioning. Fussy cut the title "Your Wings Already Exist all You Have to do is Fly" and adhere them down the side of the tag mat and across the feathers.

Adhere a few paper flowers to finish off.


Here is the finished layout. 

I hope that I have given you a few ideas to pull out those tags and use them to create something wonderful.

Hug

Tracey