Saturday, 28 August 2021

Please !!! by Tracey Campbell

 Hello Bee Arty fans I hope that you all happy and healthy. I have popped in to day to share my latest fun creation using the new min collection release Electric Dreams, it is fun, it is bold, it is funky, it is such a blast to use. Teamed with the new fluro colours and you have a winning combination.

I used some older photos of my girls and made a fun page to reflect the fun they were having in the photos

My first step was to use some black water proof ink and stamp the grid lines from the Life is Touch stamp set onto a pieces of 12x12 white cardstock

Here you can see how I have placed the stamp images.

Next I cut some strips of the Electric Dreams patterned paper in a variety of random widths. I cut the strips from four different patterns. 1. Black with coloured lines. 2. White with rainbow coloured water drops. 3. White with hand drawn circles and patterns and 4. Black with Xs.

Using a distressing tool distress the edges of the strips. Note: you might tear some of the strips a bit or even in half, do not panic as you will tear them some more in the next step.

Layer the distressed strips over the inked grid lines. Tear off smaller pieces of the strips and layer them over the larger ones.  This is how I built it up.

Next I mixed a small amount of the Pink Fluro Mica Powder with some water in a small spray bottle and slowly squirt the cardstock. Tip: the slower you squeeze the lid of the spray bottle the bigger the droplets you will get.


Here is what my base looked like after spraying with the Pink Fluro Mica Powder


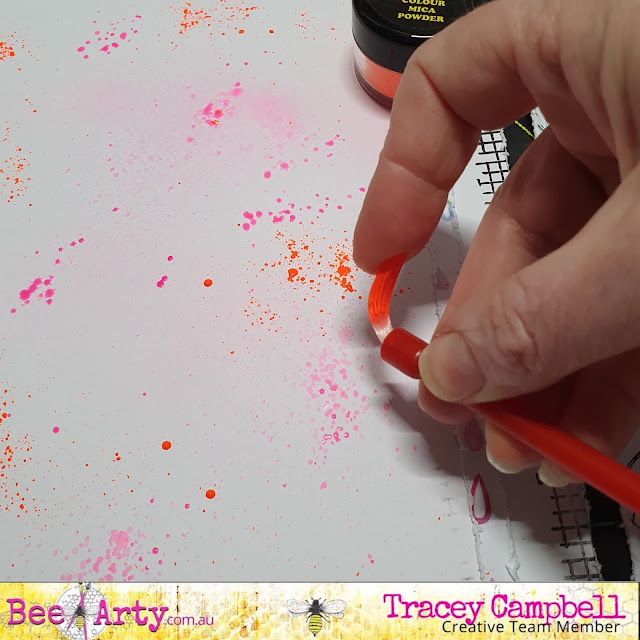
I decided it needed more colour so I mixed up some of the Orange Fluro Mica Powder with water and using an old stiff glue brush I flicked splats of the Orange Fluro colour onto the base.


Then to tie the colour back to the black in the Electric Dreams papers I decided to add black splats to the base. This time I used Road Base Colour Spray, I took the lid off the spray bottle and used the straw to flick the splats across the page.


Next was matting the photos. I used two different black and white papers from the Electric Dreams mini collection and left a 3 mls boarder around the top, right and bottom edges of the photo. On the left side I left a 1.5 cm boarder. I then used the distressing tool to distress the edges. 
Next adhere the mated photos at fun angles over on the right hand side of the base (see the final layout for the exact positioning). 


Next fussy cut out some of the hand drawn and coloured circles and some of the titles/words that suit your photos from the Electric Dreams paper. 


Tuck the circles behind the photos, under and over lapping some of the strips. Just randomly place them around the page. I added a title with some Foam Thinckers.


Adhere a Charms Creations felt hear beside the title.


Use the cut out words from the Electric Dreams papers as sub titles and adhere them to the page.


I ended up with two sub titles as they suited the layout. Love that this collection comes with so many options. 


Here is my final layout. I love how it turned out, fun and colourful.

Thanks for popping in and I home that I gave you some inspiration for this fabulous mini collection.

Hugs

Tracey

1 comment: