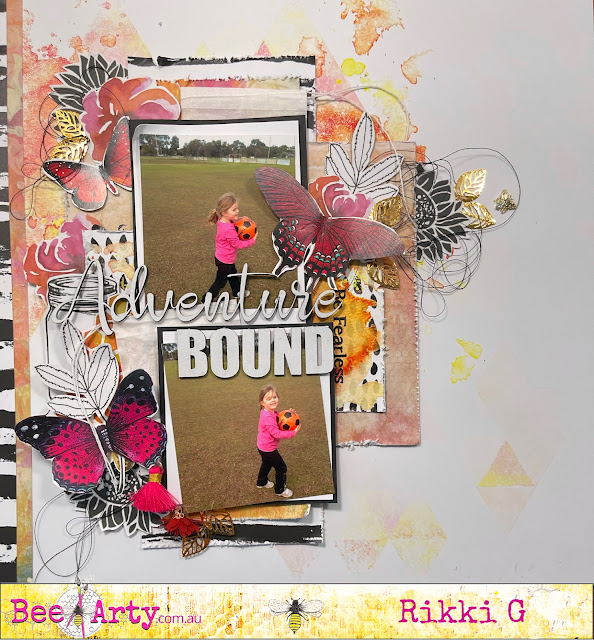
Hi Rikki here kicking off my May design team shares. You would have seen that we run a monthly challenge and it has a moodboard and a sketch.... did you know you can enter either challenge? Or you can combine the challenges.
So I had a little brain wave, why dont I work my posts this month around the challenge. So I will start with the sketch, how to break down each step, each layer and each embellishment.
Theres even a process video for you to follow along with.
*** If you do the sketch part of the challenge you can complete it in any colour you like.
Step 1 - The Background
Fearless Brave and Free - Chance 12x12
Step 2 - Pattern Paper #1
Fearless Brave and Free - Positive cut to 3 1/2"x 9 3/4" (9 x 25cm)
Step 3 - Pattern Paper #2
Bee The Sunshine - Bee To A Flower cut to 3"x8" (7 x 22cm).
Step 4 - Pattern Paper #3
Bee The Sunshine - Gracious cut 7''x6'' (17.5 x 15cm) or alternatively find a piece and rip and hid under the center layers and fit into the dimensions.
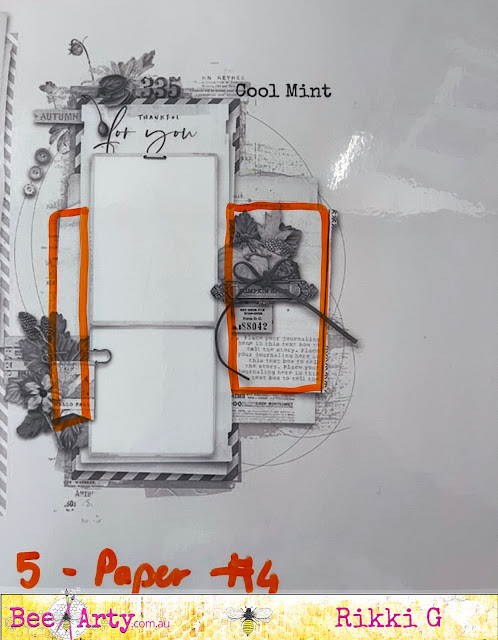
Step 5 - Pattern Paper #4
Fearless, Brave and Free Tag - Be Fearless, cut into two with the bigger side dimensions of 1 1/'2''x4'' (4 x10cm).
Step 7 - Embellishment Clusters
Add fussy cutting from Bee Sunshine and Butterflies from Butterfly Cut Apart A4 sheets 5 & 9.
Add black thread under each cluster.
Step 8 - Paper Strips
Bee To A Flower Strip - 1 1/2''x12''(2 x 30 cm)
Fearless, Brave and Free Strip - 1/2" x12'' ( 1x30cm)
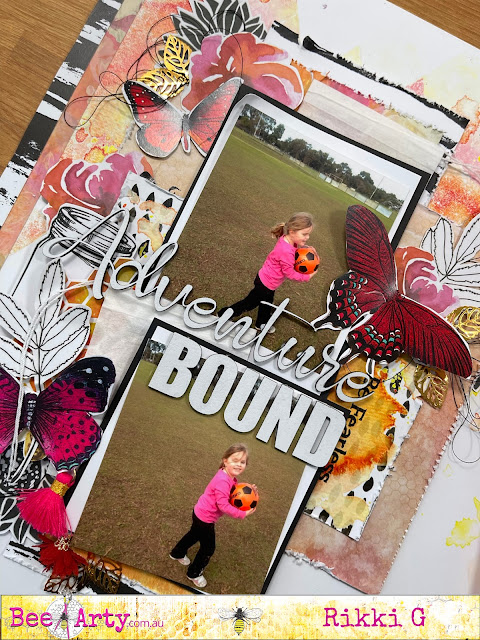
Heres some close ups :
Hope this has inspired you to play along with the sketch side of the challenge.
Have fun and don't forget to upload your entries to this album:
https://www.facebook.com/media/set/?set=oa.713603860519303&type=3


No comments:
Post a Comment