
Hi Everyone,
My turn up on the blog today with my latest inspiration for you, a vibrant mixed media layout !
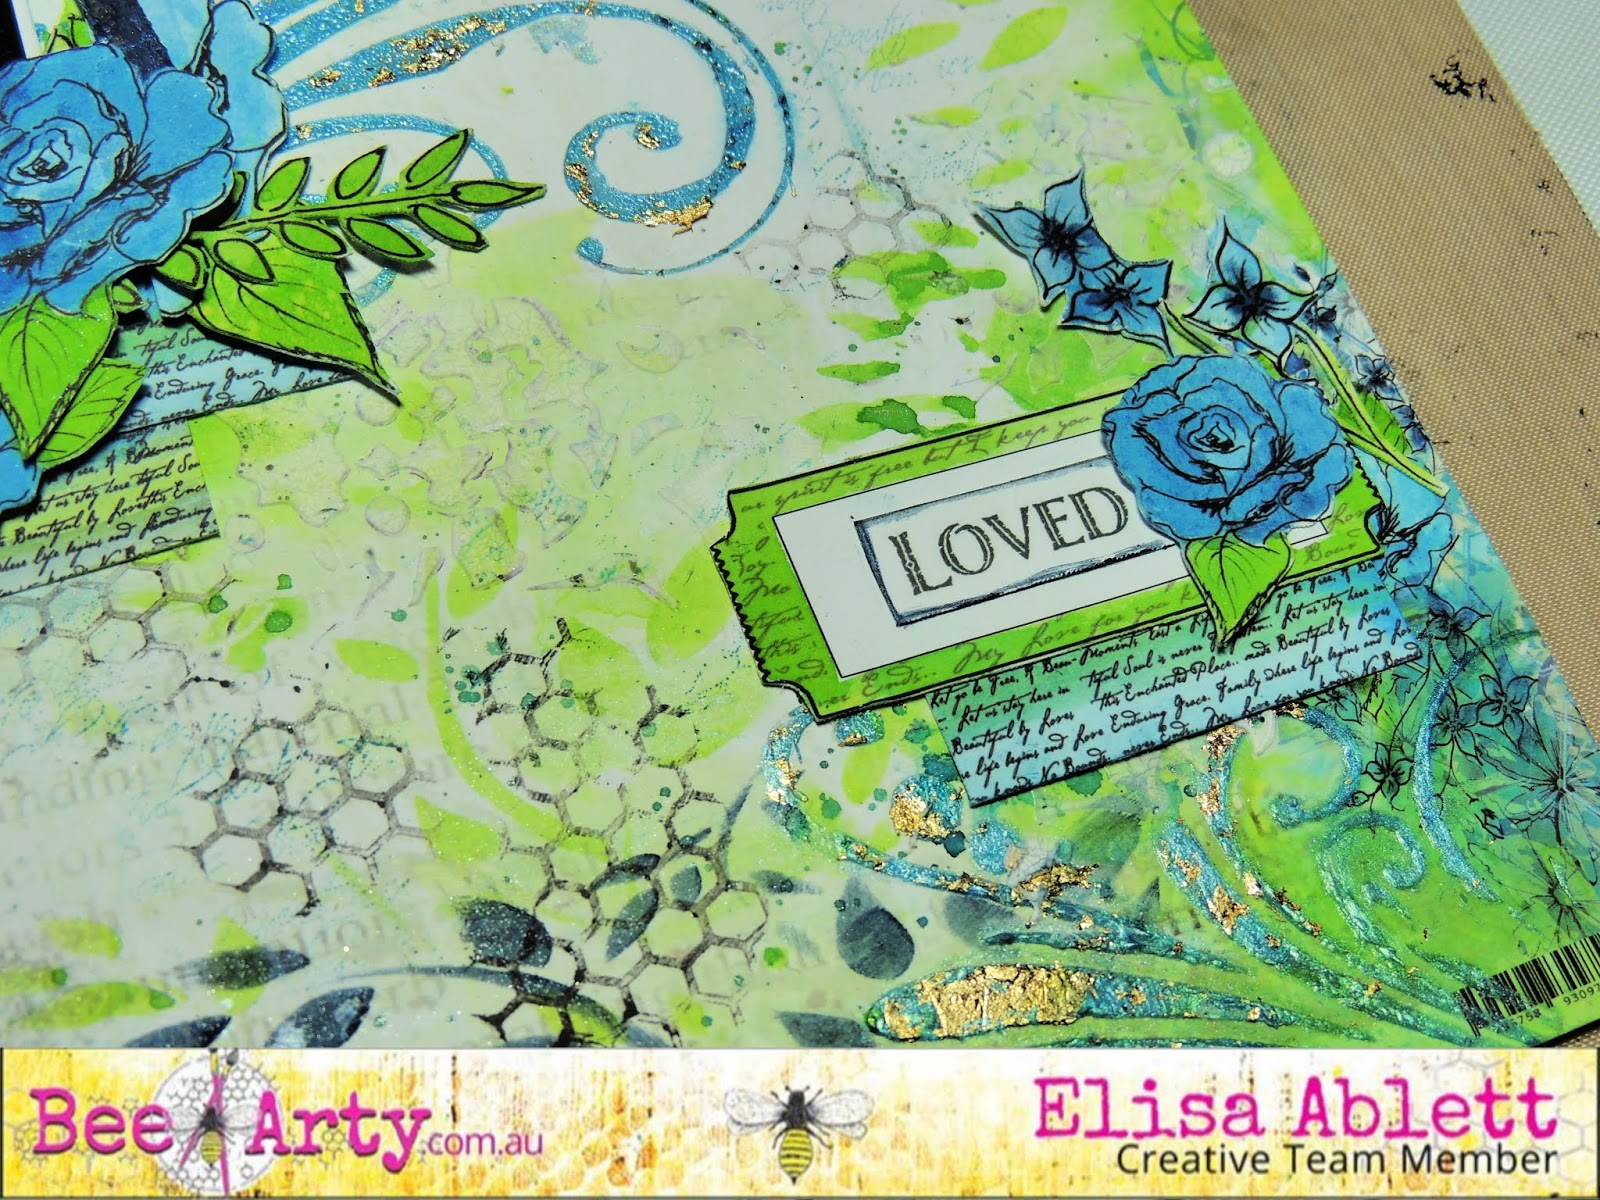
I think you can all guess what my favourite colours are to work with - blues and greens and all shades inbetween and what better products to start your layout with other than those sparkling shimmer dusts. The colours and other products I used to complete this layout are listed below with links.
But first lets take a closer look -

Here are the product links and names:
and I have a step by step for you though I must apologise that the first few photos I took of the background unfortunately were corrupted on my camera's memory SD card:-

Step 1 - Using Lucinda paper from the Love and Grace range by Michelle Grant as your background paper. Add small amounts of each of the shimmer dusts named above into a paint palette and add a small amount of water to each. Using a spritzer bottle, spritz water over the areas on your background paper that you wish to add colour and using a paint brush, add colour washes in layers to your page. I accentuated the hexagon shapes with the Lush green shimmer dust and also in between the hexagons with the Duke Shimmer Dust. Use the main photo to guide you where to add your extra colour.

Step 2 - Fussy cut out these elements from the Love and Grace - Heart Cut and Colour Sheet and colour using a small paint brush and your left over shimmer dusts and put aside to dry.


Step 3 - Stencil using the Imagine Stencil and Colour Paste Singing the Blue as shown in the main photo above. While the paste is drying and is tacky to touch, put the stencil back over the stencilled area - matching it perfectly and then lay small amounts of gold foil flakes or gold foil sheet and lightly press down, heat with a gentle heat gun and then lift the stencil carefully off. You should have gold foil accents on all your stencilled areas.

Step 4 - Using the Laced Stencil and the white gesso, stencil light amounts of the gesso or you could use crackle paste etc on the left hand side of the layout below the hexagons and also on the right hand side near the smaller hexagons.

Step 5 - Add some stamping using the Memories Stamp Set and Tanya Froud's technique of adding liquid shimmer dusts to a make up sponge and using that as a stamp pad. I love this technique as it allows you to coordinate all the colours and techniques on your layout.

Step 6 - Using the Leafy Stencil and a make up sponge wet with Navy shimmer dust, stencil by gently dabbing the make up sponge through the stencil in the places as shown in the photo above.

Step 7 - Check with this progress photo to see if you have completed all your steps and also take the time to add some splatters in your chosen colour! I went with Navy Shimmer Dust splatters.


Step 8 - I have a great technique to use on chipboard, using your finger smooth Singing the Blues Colour Paste over the chipboard frame and while it is wet press your stamp into the wet paste. Dry with a gentle heat or leave to dry naturally. Once dry, paint a darker colour shimmer dust liquid (Navy) over the top of the stamped areas, making sure you get the darker liquid into the grooves etc.
Once dry, wipe gently with a baby wipe to reveal some of the underneath Colour paste, giving your chipboard a multitoned textured effect.
Start putting all your elements together on the layout as shown below.


and you are finished!

Thanks for stopping by the blog today, hope you have enjoyed the step by step.
Elisa x
Hugs

Thanks for sharing this fantastic LO and your steps 😀
ReplyDeleteYou are most welcome Lady Bethendra :-)
Delete