Good morning everyone, hope you are all well? It is Tracey Campbell here this morning with my latest Creative Team project for Bee Arty. I have used some of my all time favourite Bee Arty product - Shimmer Dust!! I just love it but don't use it often enough so I pulled out two of them and started to play.

For this layout I used the following products:
Colour Shimmer Dust in Velvet and Cobalt
Symbolic Pattern Paper from the Three, Six, Five Collection
Cut-a-part sheet from the Aim High Collection
Turning cut-a-part sheet from the Embrace Change Collection
Spice Pattern Paper from the Embrace Change
Starry Night Stencil
Sweet Floral Metal Die
String Leaves metal Die
Let Your Dreams Take Flight
 I started this layout off with a crisp clear white pieces of 12x12 cardstock and spread some 3D Gloss Gel through the Starry Night stencil, down the left hand side of the cardstock. Set aside to dry.
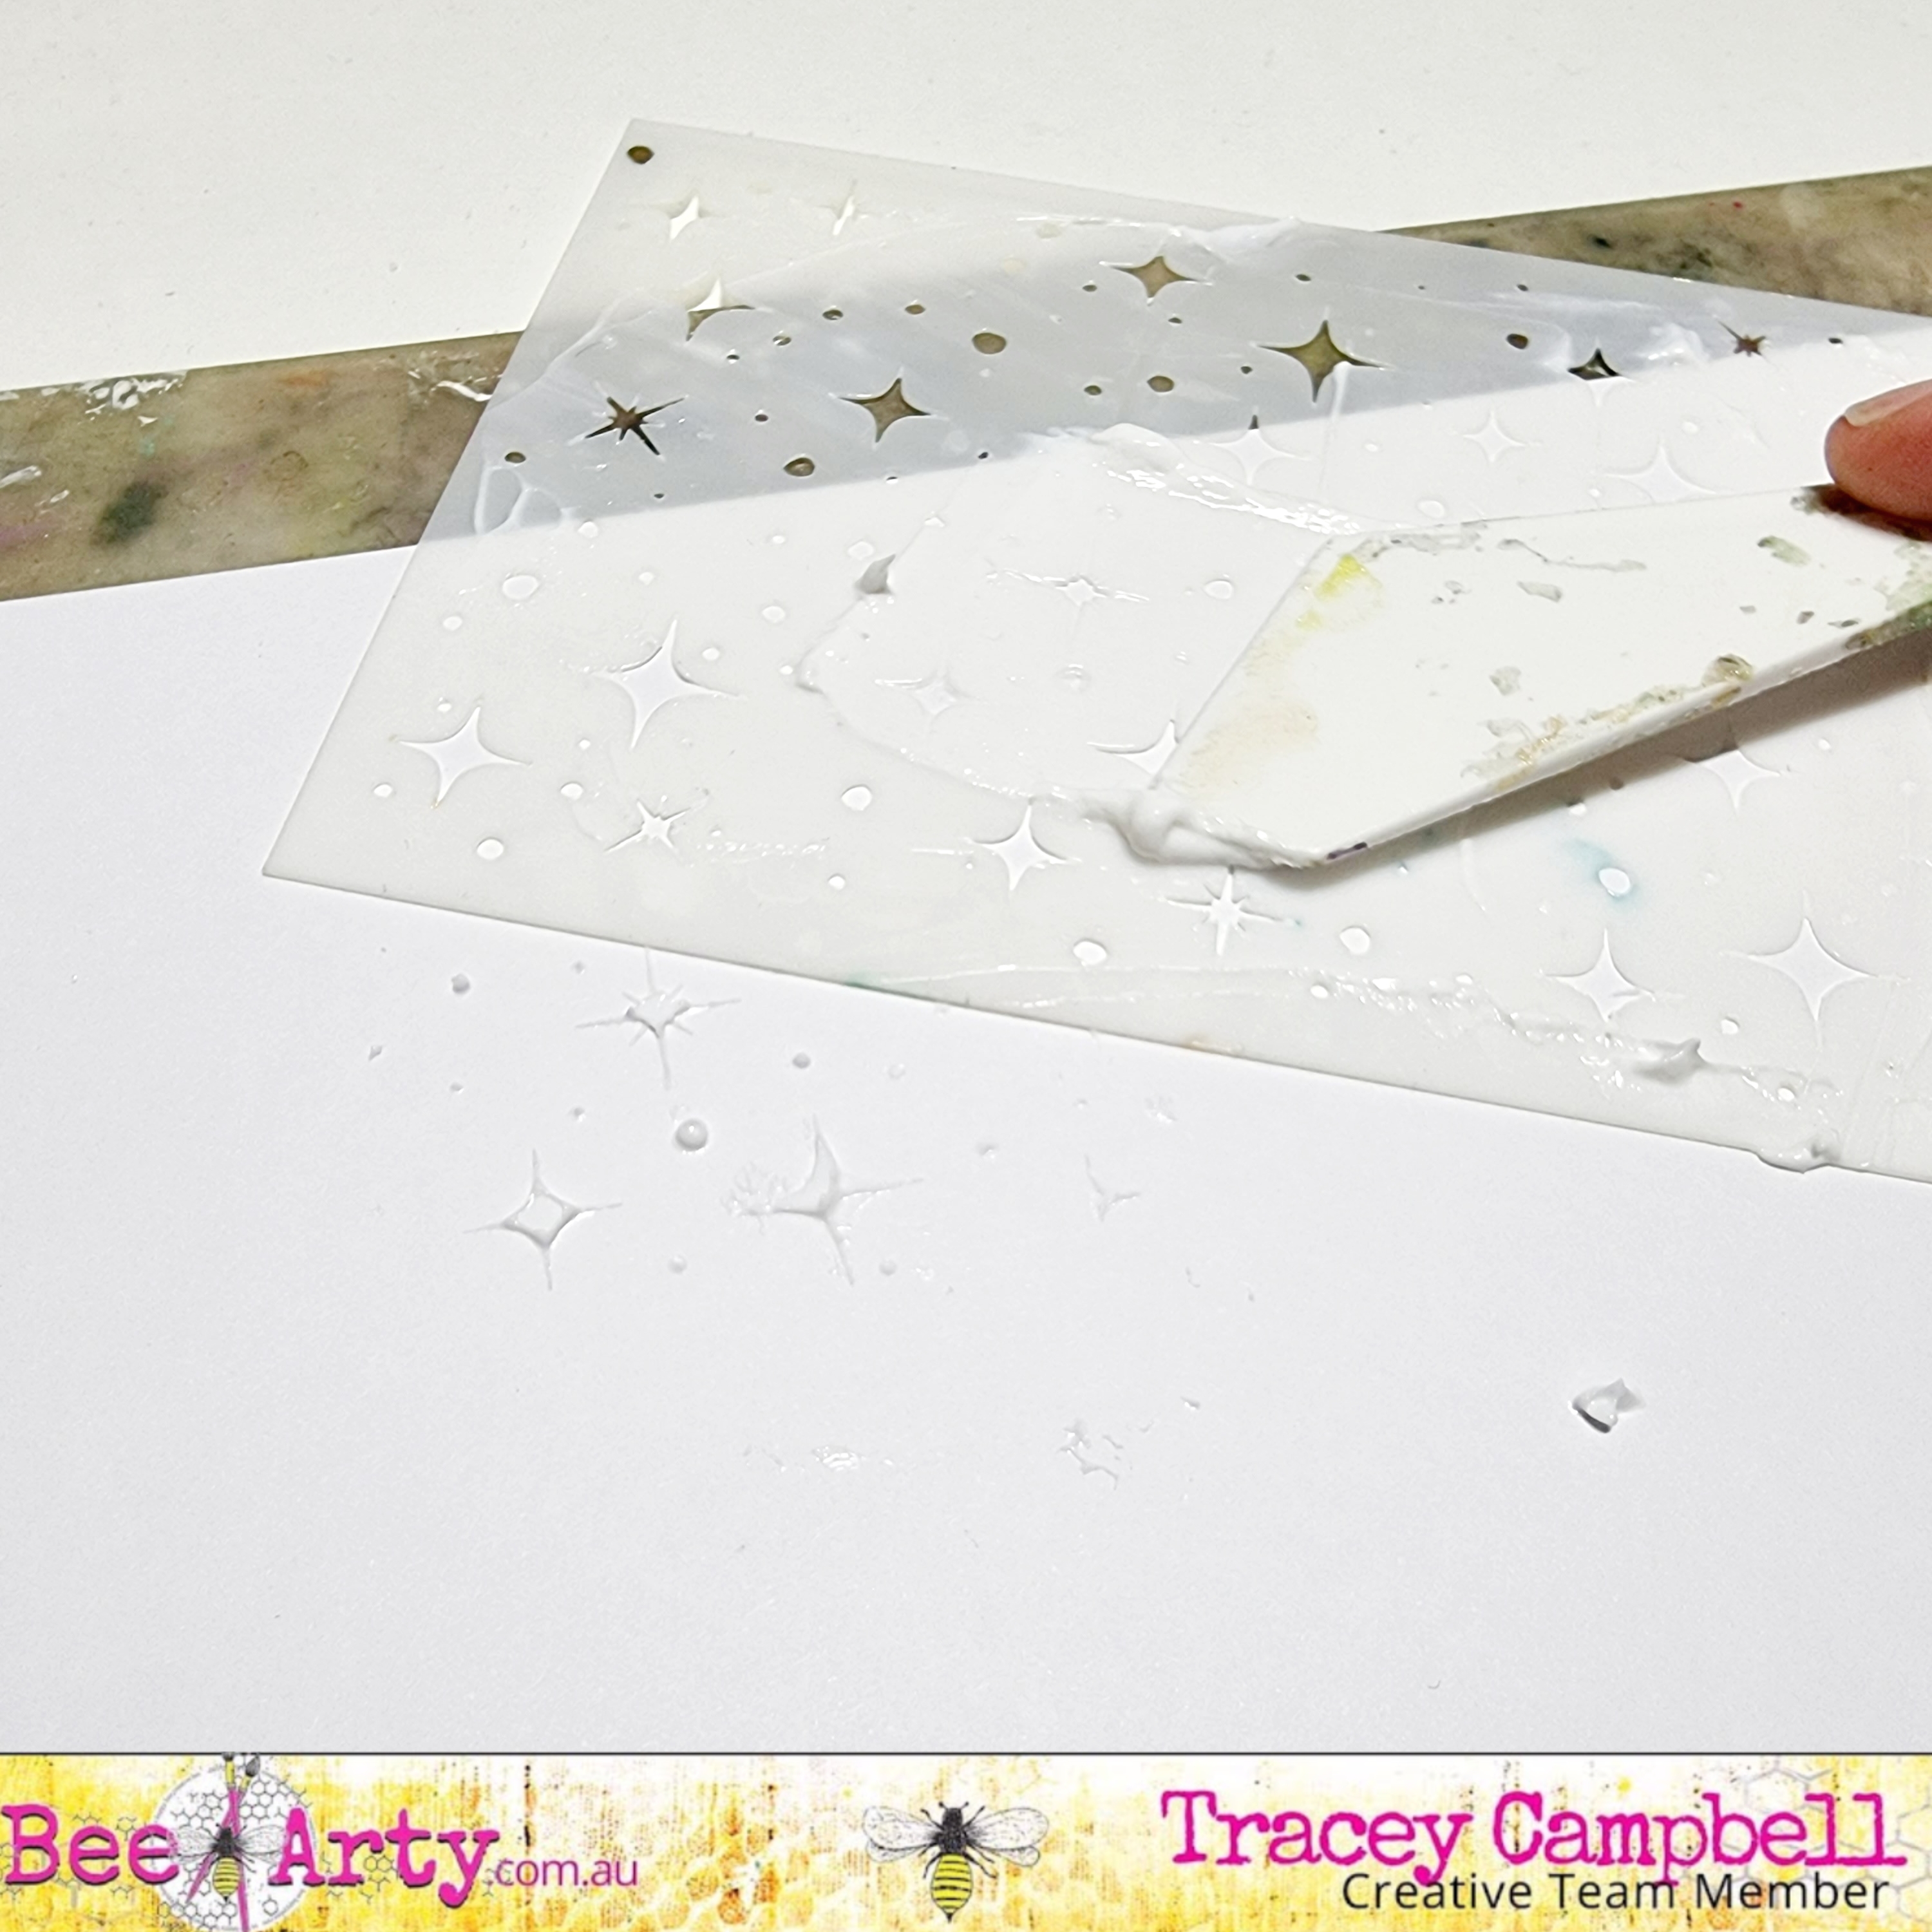
While the 3D Gloss Gel was drying cut I out a few diecuts with the Sweet Floral metal die in white cardstock and use the leaves from the string leaves metal die set with the olive green paper from the Spice pattern paper in the Embrace Change Collection.

Using the Collection Pan Watercolours paint in light colours of pink, peach, green and olives the flowers from the Turning cut-a-part sheet in the Embrace Change collection. When dry fussy cut them out.

When the 3D Gloss Gel is dry sprinkle a small amount of Velvet Colour Shimmer Dust down the left hand side of the base. Remember that tiny amount of the Shimmer Dust goes a very, very long way. Activate the Shimmer Dust with a fine mist of water from a spray bottle.
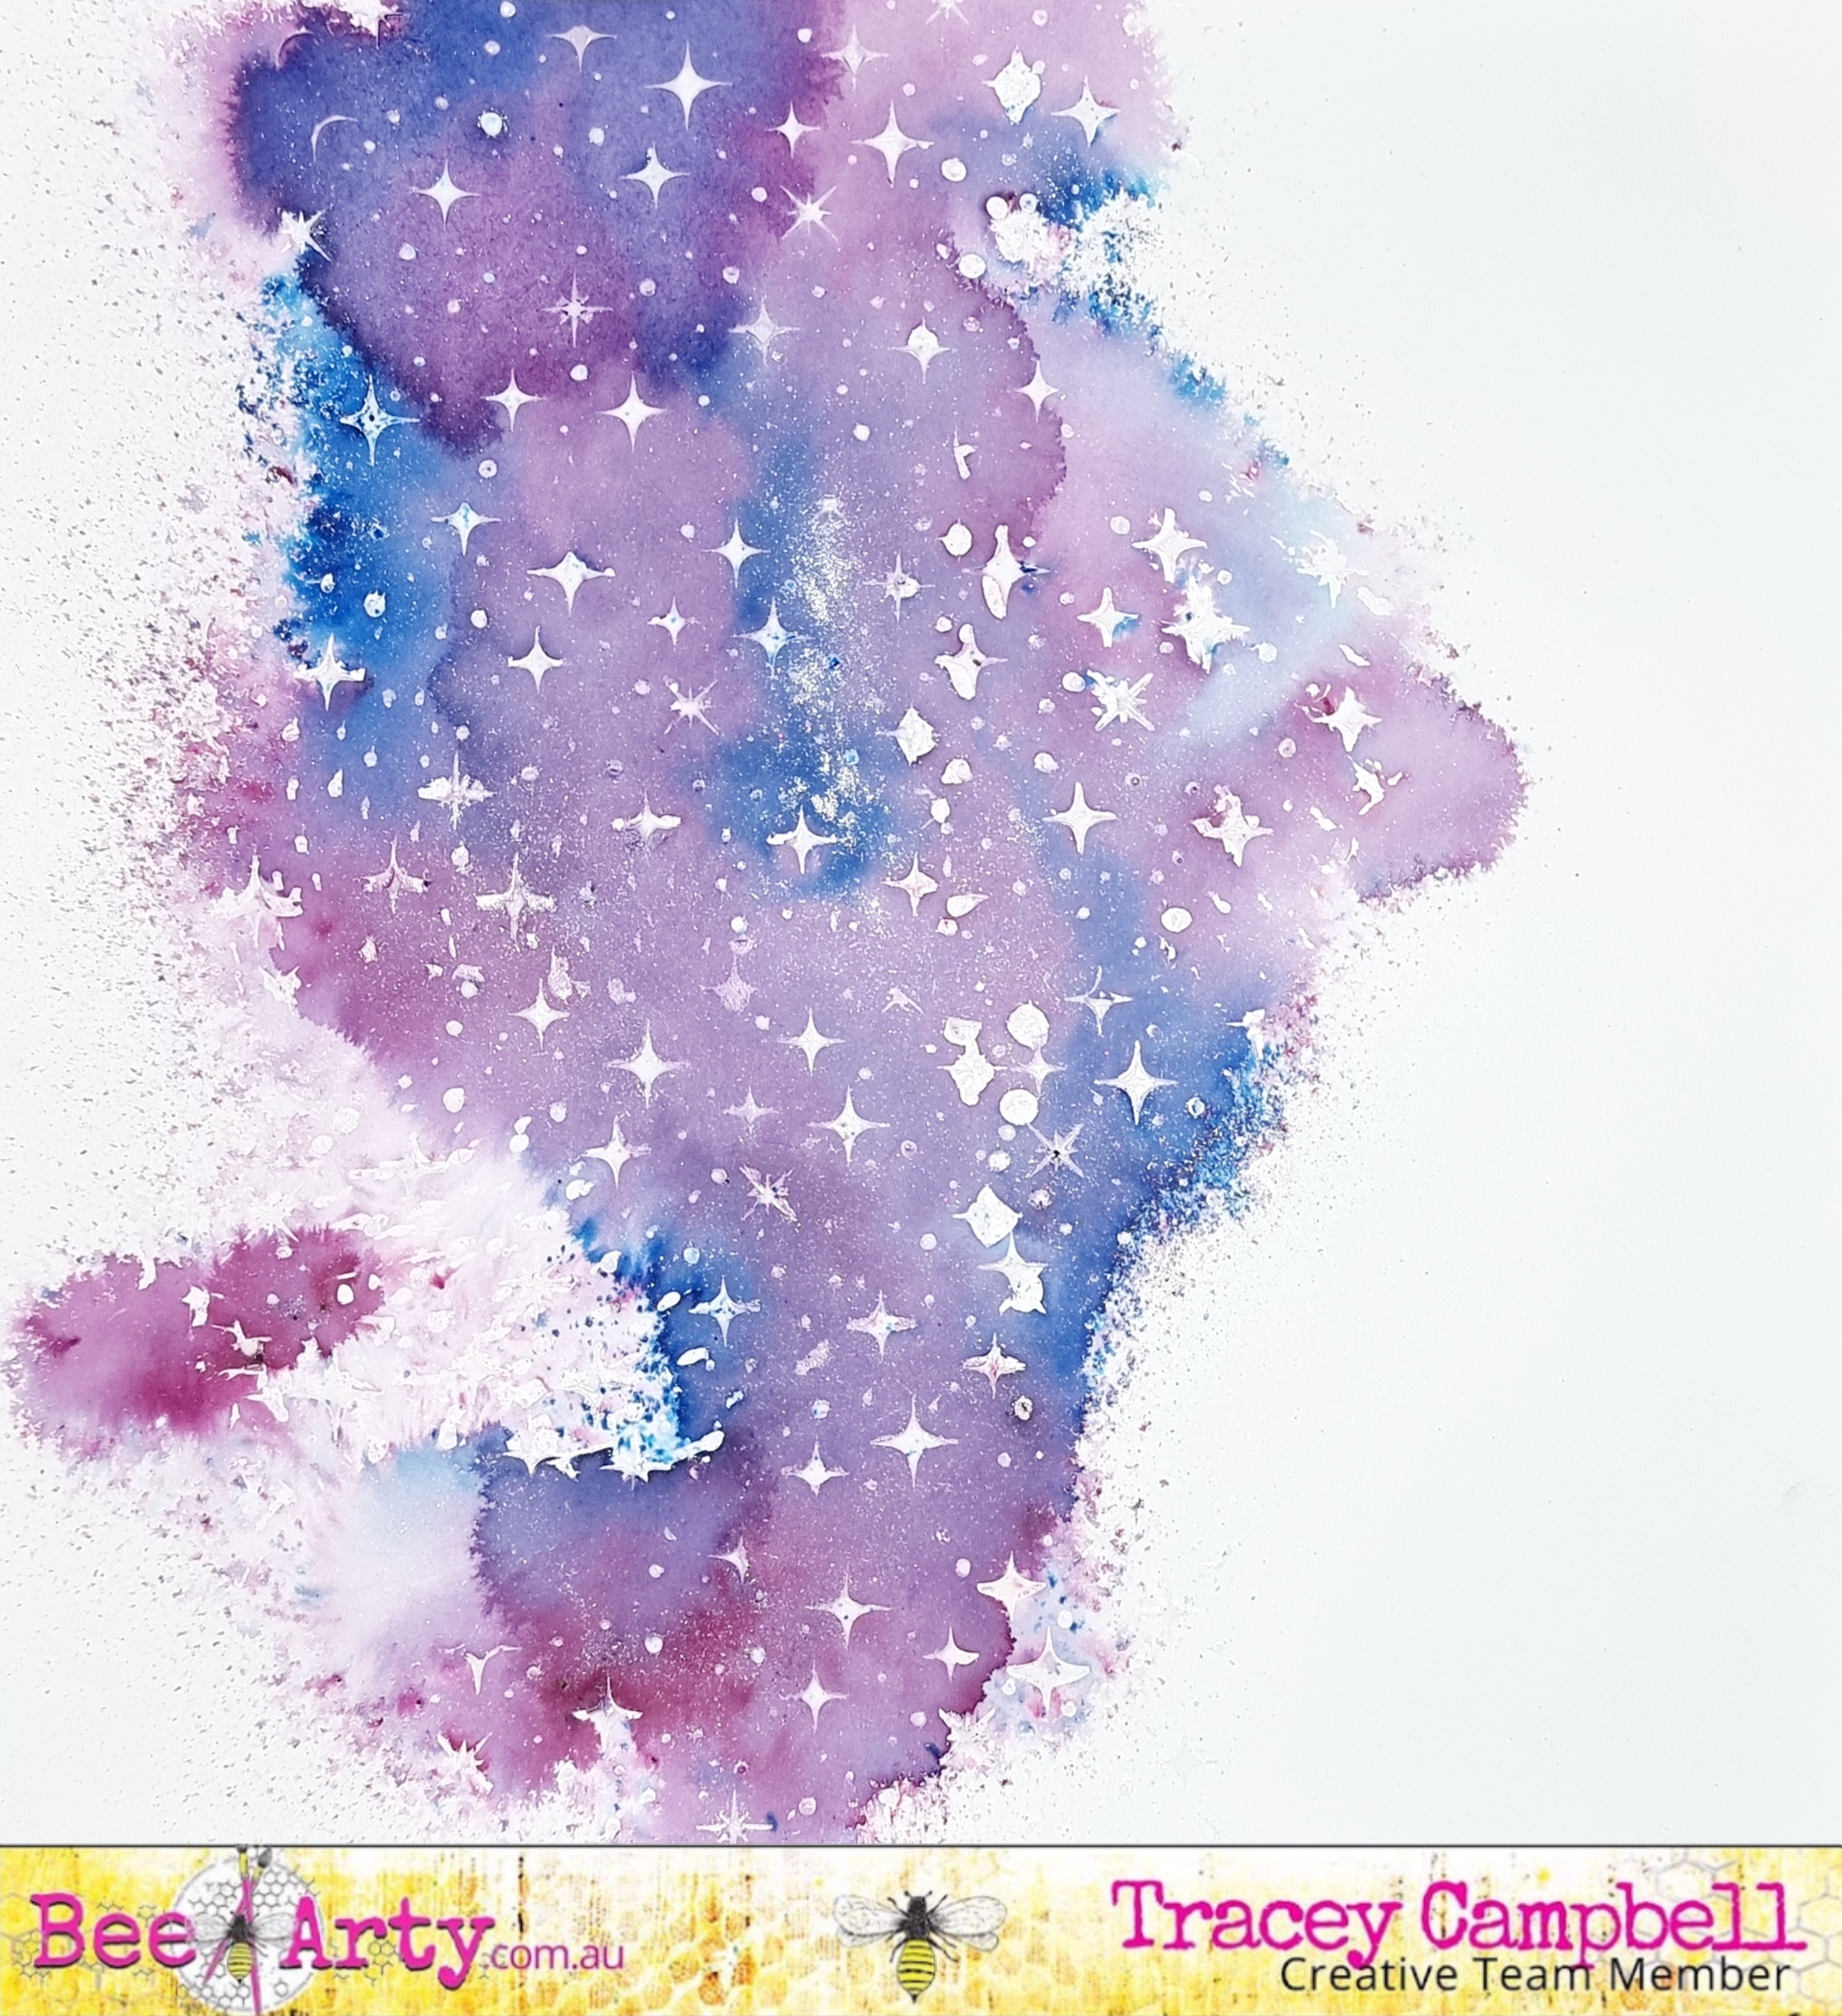
While the Velvet Shimmer Dust is still wet lightly sprinkle a fine dust of Cobalt Shimmer Dust along the edges of the Velvet. It will interact and mix together creating a beautiful blended colour.

The photo below shows the two different colours Shimmer Dusts interacting while still wet.

Here below is how the Shimmer Dusts dried.
While wating for the Shimmer Dust to dry I double matted my 4x6 portrait photo using a 2mm border of Symbolic patten paper from the Three, Six Five Collection and then a 6mm border with the purple pattern paper in the Trendsetter Collection.
Adhere the photo on the right hand side of base and then position the fussy cut, water coloured flowers like the photo below. Don't stick them down jsut yet.

Slide the die cut sweet florals and leaves under the fussy cut flowers, move them around until you have the arranges so that they are in a cluster that overlaps the photos and some under the photos. Adhere them down with some glue that dries clear. Tip for fiddly gluing use the Art glitter Ultra Fine metal Tip, it allows you to apply a very thin line of glue which is perfect for fiddly diecut shape.

I finish off by fussy cutting the title "Let Your Dreams Take Flight" from the cut-a-part sheet in the Aim High Collection and place them running down the right hand side of the matted photo.

I really love how the layout turned out, the Shimmer Dust really does give a fun element to the page with the added touch of actual Shimmer (which is hard to photograph, sorry).
Thanks for stopping in, I hope I have inspired you to reach for those Colour Shimmer Dusts and create your own background.
Until next time
Hugs
Tracey
What a stunningly beautiful page. Thankyou for the inspiration and explaining so well how to use the shimmer dust powders and how they react together.
ReplyDeleteThis is amazing!! Just gorgeous!!
ReplyDeleteBeautiful page
ReplyDelete