Hi Creative friends,
Gwen back on the blog today and I'm super excited about today's share, it is one of my new favourite layouts and it came together so quickly!

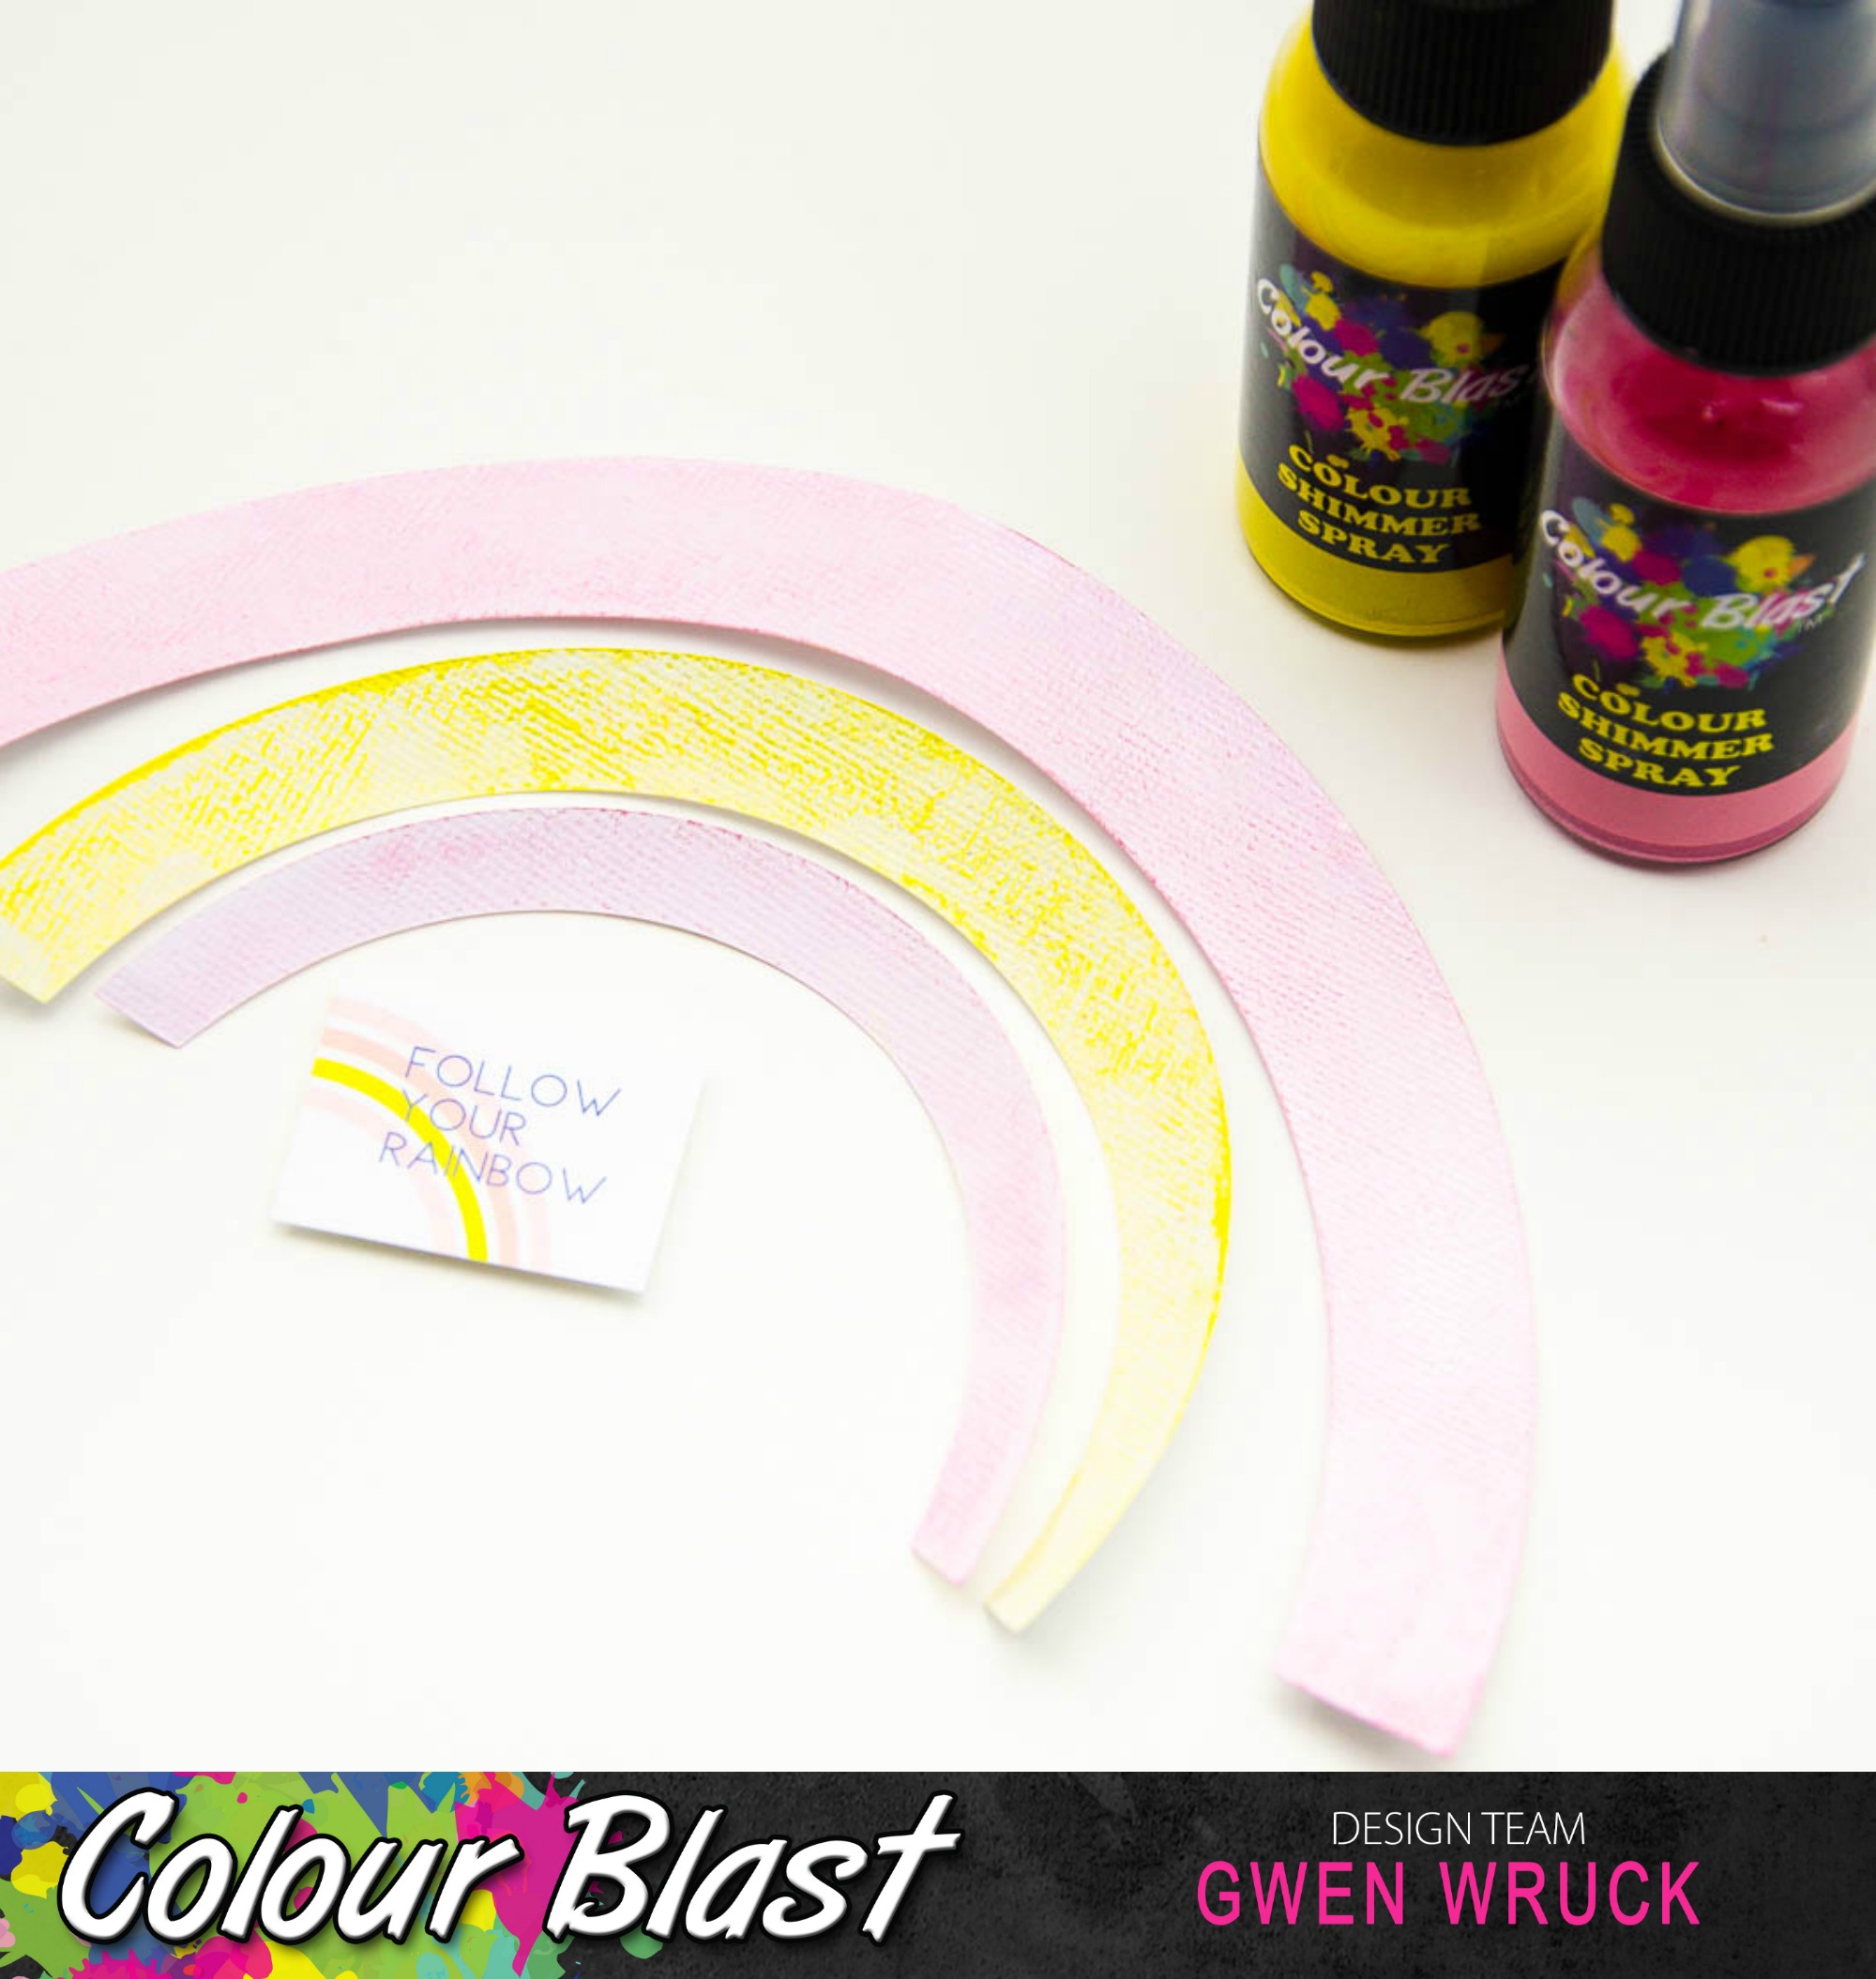
The idea for the page began with this cute little embellishment (below) from the Pink Fresh Studio "Dream On" collection. I decided I wanted to create my own larger rainbow to match the one in the embellishment. I went to the Silhouette store and found a simple but cute one. I went with Punch and Sunshine Colour Shimmer Sprays to colour it with, they were the perfect match. I simply sprayed it onto the pieces as they sat on top of a paper towel and let them dry. I was also really happy with how flat they ended up, after some initial curling, they flattened out really well.

I then found some other elements I knew I wanted to use and went about matching a Colour Shimmer Cube to the these. I decided on Envy, I do love love love this one. To create my background, I have used both the Colour Shimmer Spray and the Colour Shimmer Cube beginning with the packaging technique with the spray followed by splatters using the cube. It's a go-to technique for me, I just love the end result, soft and delicate and as someone once told me, even the splatters are neat (which as a clean mixed media gal, I love) - I'll tell you my trick for creating this look below.

You might be able to sneak a peak of the pencil lines on the page above. I always have a plan for the design of my page BEFORE I start misting, and these mark where my photo is going to go.
I find having a guide, and limit on where my mixed media is to go keeps the design tight and helps keep everything "neat" looking. If I know exactly where the boundaries of my photo and embellishments are going, its easy to see where the mixed media needs to be.

So, I now have my background done and the main feature (my rainbow) done. Next, I wanted to pull out some phrases. I had a few chosen from the embellishments in the pack, but also found these "Dear Lizzy" Watercolour words in the bottom of my stash. Rather than watercolour them though, I thought it might be nice to use the Blush Colour Embossing Powder. Don't they look pretty!!

Ok, so now I had all my elements ready to go, it was time to create the page. Working from the top down and bottom up, I created a single wide row of elements down the centre of my page.
I've mixed and match a stack of embellishments and just love how it all turned out. This collection was so fun to work with and matched my Colour Blast so well!

Above you can see the pretty Envy splatters and below a close up of the Colour Embossing Powder.

I give this project a "mess level" of Low. Very little mess and a really clean look. I love how adding the Colour Blast to die cuts keeps it all neat and clean BUT I don't miss out on all that beautiful shimmer.
Thanks for popping by today, I hope this page inspires you to pull out your Colour Shimmer Sprays and die cut machine and mist away! As always, be sure to share your creations, I really love seeing what you all make.
Until next time,
Gwen
xox

No comments:
Post a Comment