Monday 30 January 2023

YOU ARE FOREVER MY ALWAYS by Linda Pearson


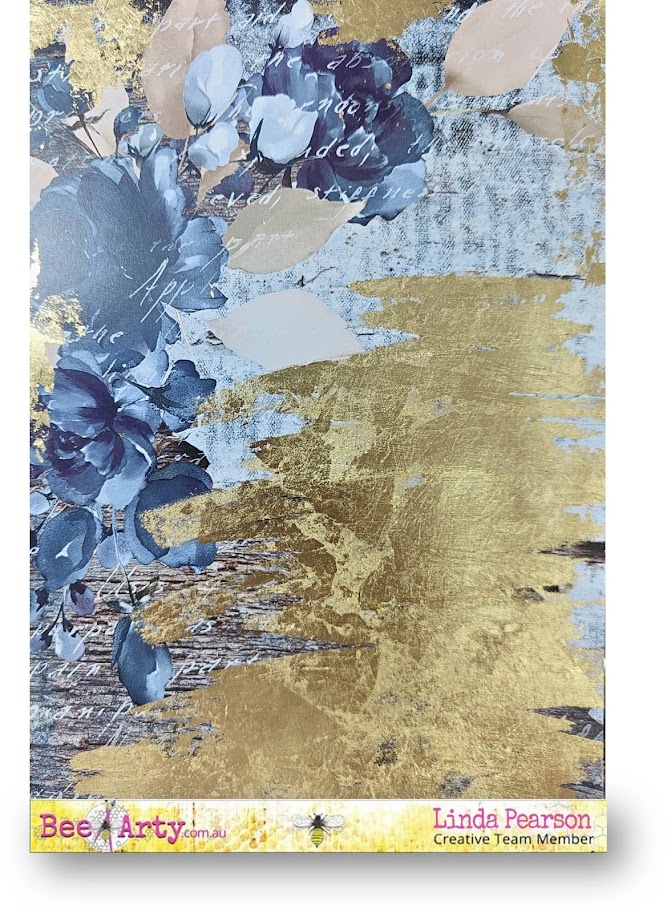
 Hi everyone ... welcome to my blog post showcasing how  I have used my favourite paper collection, Forever My Always Collection designed by Fiona Paltridge to create this journal page or scrapbook layout.  A very simple composition with lots of gold leafing and pen work to highlight the focal image or photo of choice.

Forever My Always Collection designed by Fiona Paltridge

https://beearty.com.au/collections/forever-my-always

Heart and Soul scrapbook paper (B side)

https://beearty.com.au/products/heart-soul-12x12-scrapbooking-paper

Gentle heart paper cut and colour sheet

https://beearty.com.au/products/gentle-heart-12x12-scrapbooking-paper-cut-colour?variant=32047921823847

My flower metal die

https://beearty.com.au/products/my-flower-metal-die

Diamond metal die

https://beearty.com.au/products/diamond-metal-die

You are forever my always sentiment card (Heart and Soul [A side])

 Magazine Image or own Photo

Leafing adhesive

Gold leaf sheets

Foam Tape

Sheet Gold Card

Gold paint pen


1.     Cut the Heart and Soul scrapbook paper down to A4 size or leave as is if creating a scrapbook layout.

2.     Lightly brush some leafing adhesive liquid randomly over the bottom and right hand sides of paper.  Add some touches of adhesive liquid around the top and sides also.  Allow the adhesive to dry off to a tacky consistency.

3.     Carefully add sheets of gold leafing to areas that are tacky, tapping with an old paint brush to secure to the page.  Buff the gold leafing with a soft brush.

4.     Fussy cut several flower sprays in both coloured and white outlined from the Gentle Heart cut out paper , highlight the edges of the cutouts with gold paint pen.

5.     Run the Gold and White card through the die cut machine using the Diamond metal die (2 gold and 1 white.

6.     Run the My Flower die through the machine with white card 2 times.

7.     Use the offcuts from the gold diecut cards and adhere to the back of the sentiment card.

8.     Place and arrange all the cut out pieces around the page to best suit the focal image or photo/s …

(a)  Place the three diamond cutouts so they are visible behind the focal image

(b)  Arrange the sprays and single flowers in place also

(c)   When happy remove focal image then spot adhere the all the elements

9.     When happy remove focal image then spot adhere the all the elements to page.

10. Add foam tape behind the focal image, then adhere to the page.

11. Adhere the sentiment card with double sided tape or adhesive.  Add outline details around all the flowers and leaves using gold paint pen.

Once again it has been such a pleasure to create using this awesome paper collection and I hope I have inspired you to include the Forever My Always collection again very soon.

Bye for now.


Linda Pearson

https://www.yourcreativepalette.com.au 

Serenity by Charmane Koch

 Happy Monday & almost the end of January! Already??? How does that even happen?

Today I wanted to share one of the layouts I have created over the weekend for an Australian Day Crop! What is more perfect than the Aussie Bushland Collection? I managed to create 3 layouts using this fabulous collection - and of course I have STACKS more to use! It's so full of possibilities!

The papers are just so gorgeous! And the Dies & stencil I used as well of course!


I started off by cutting out a few Aussie Flowers & Aussie Leaves & Autumn Trio Dies using White Cardstock & Kraft Cardstock... I always cut out extra and came in handy as I used them on the other layouts I created!


Next, using Thick Modelling Paste {or you could use the Heavy White Gesso} I used the Aussie Map Stencil laying it over the Cockatoo Paper.


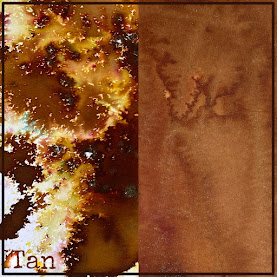
While that dried, I decided I needed to colour some Muslin but wanted to make a colour that would match the background paper - so I combines Tan & Amber Shimmer Dusts the colour came out perfect!


I also coloured a White Paper flower that I wanted to use on the page...


To create my Photo Matte I layered Kraft Cardstock, then another layer of Aussie Bushland Collection. I also tore a piece of cardboard from one of our many Deliveries we get {LOL} to create a textured background behind the photo matte, allowing me to add a few bits around the edges of the photo to create interest - cutouts from the Aussie Bushland Collection and from my stash - mini doilies & Paper Leaves.


After working out the positioning of my Photo Matte & playing around with my Die Cut Leaves/Flowers I then stick them down...


I carefully stick them down with double sided tape behind the Photo Matte like so...


I also had the Wildflowers stamp in my stash that I had stamped onto Tissue Paper that I thought was perfect for the photo... {you may have seen this stamp in another recent layout of mine?}

I stick it down with Gel Medium - can you see I wasn't careful enough? I had to get a black pen a fix "Yourself" up! OOPS!


So once everything was stuck down and the Tissue Paper dried, I added all the extra embellishments to finish it off...


I layered the Muslin, more Dies & Cutouts...


a Charms Creations Little Floral Tab...


Fixed up the Y & as you can see I did machine stitch around the edge of the layout - I did trim 1/2cm off the edge of the Cockatoo Paper, distressed it and then used Kraft Cardstock to back it. I think doing this ties the whole layout together.


I absolutely loved putting this layout together, and it was so easy with all the different Aussie Bushland & extra Bee Arty Goodies! So much fun!

Bee Arty goodies I used - Stenciles, Dies & Stamps:


Shimmer Dusts:


Kraft & White Cardstock: 

Thanks for popping by! I hope I have inspired you to play with the Aussie Bushland Collection!


XO Charm

Sunday 29 January 2023

No Worries - With Karyn Schultz!

 Hi Bee Arty Lovelies!

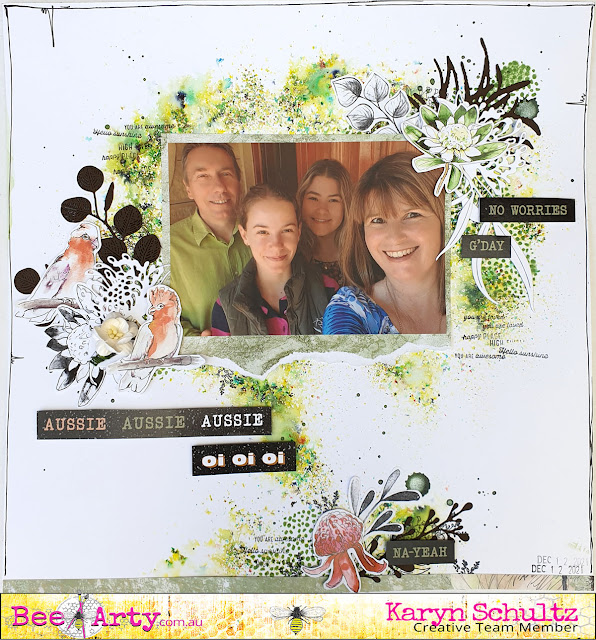
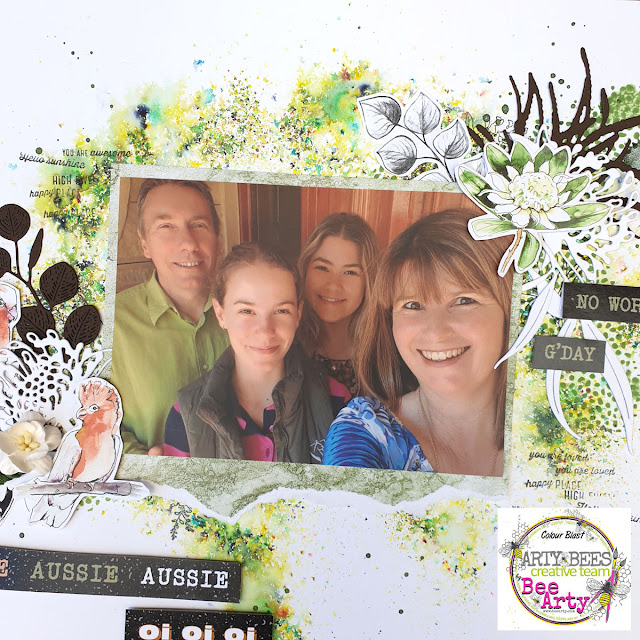
It's Karyn here and today I have a Scrapbook Page to share with you made using the Aussie Bushland collection available from Bee Arty.  


I created a mixed media background on a sheet of 350gsm Heavy White Cardstock. I sprinked Fern Colour Shimmer Dust on my page using a fan brush then I lightly sprayed with water. It is so cool that a single shimmer dust contains all these different colour pigments.


I mixed some Fern Colour Shimmer Dust with modelling paste and applied through parts of the Aussie Map A4 Stencil from the Aussie Bushland collection.


 I added stamping using black ink and the Wildlife Stamp set from the Aussie Bushland collection.


Here is my completed page. 
 
 
I added a photo mat and strip along the bottom of the page from the Aussie Bushland Paper collection Pack. Fussy cut embellishments and sentiments also came from this paper pack.  I used the Aussie leaves metal die set and Aussie Flowers metal die set from the Aussie Bushland collection  with White and Brown Cardstock.


Thanks so much for stopping by

Crafty Hugs xx


Monday 23 January 2023

LOVE THIS by Charmane Koch

 Happy Monday Everyone! Hope you are surviving the School Holidays... or maybe it's back to school today? Whatever you are up to, wherever you are I hope that you can get some Creative Time in!

I have to admit, I have been very slow to start in finding time to being able to have a play, I was hoping this weekend, I did play but not as much as I wanted to!

I finally had a chance to create inspired by the fabulous January Moodboard & Sketch!

I must admit, I felt quite rusty, but loved the outcome of the layout... I have used mostly Saltwater Collection bits, plus a few extra dies & bits from my stash - something I have promised this year is to USE MY STASH! 

First of all I started off with this background that I created a little while before Christmas... Using Polar Mica in a Mini Mister, then I've gone over the top with the Bubbles Stencil, then I've mixed more of the Polar Mica with a bit of Gesso paste and using the Salty Dots Stamp, I've stamped around the page as shown.


I had some Blue Tissue paper lying around in my stash for ages, so I thought I would roughly cut a circle {I scrunched the tissue paper beforehand as well} 


I used Gel Medium Mixed with water to stick down the Tissue Paper. Make sure you pain a layer of Gel Medium before you lay the Tissue Paper onto the background paper, then carefully do a light layer over the top - make sure you don't tear the tissue paper!


Once dry, I have machine stitches a few wonky circles around the edge of the Tissue Paper as shown.


When I looked at the sketch - I thought YES I will get out as many different embellishments I could that I though would kind of match the photos & colours that I wanted to use...

I decided to get out some already cut Die Cut pieces I had in my stash....


I found "Perfect Day" from the Saltwater Collection papers, plus Chipboard chevrons, 


Charms Creations Arrow that matched, Lacey Doily...


Flair, flowers, Vellum & "Lovin the View" also from the Saltwater Collection. Even an old Project Life Card that I still love!


I just LOVE the Saltwater Vellum I was lucky enough to get while at the Retreat last year!


I HAD to use the "love this" transparency I found in my stash to, as that is the title in the Sketch!

I have to admit that my favourite part of creating this page was getting out the Snow White Mica Powder & painting the White "bits" on my page...


I coloured the Waves...


I painted the Chipboard Chevrons....


and the "Love that" chipboard too.


When sticking things down, I didn't fully stick down the Waves so that it would lift up slightly.


What I've used:


These are great:

This is what I've done with some of mine, but I need more! They are so great to use to Mist onto backgrounds!


Thanks so much for popping by!

XO Charmane