Tuesday 29 September 2020

Find Joy In your Journey - With Karyn Schultz!

  Hi Bee Arty Lovelies!

Its Karyn here and today I have a scrapbook page to share with you made using lots of amazing products from Bee Arty in particular the  new Fearless Brave Free Collection designed by Fiona Paltridge.
 
 
I'm playing along with the September creative challenge "Use Pink and Yellow from the Bee Arty Logo". We would love for you to join in with this challenge and be in the running to win a Bee Arty store voucher. You have until September 30 and you need to upload your challenge here.  

 
To start with I create a background on a sheet of Chance patterned paper from the Fearless Brave Free Collection. I wanted to add more mixed media to the already watercolour look design. I painted some Slipper Colour Artist ink onto the Free Hand stencil then stamped it onto the background in places.


Next I applied Tangereen Dream Colour Paste through the Directions stencil to the page.


Then I added splatters of Citrus, Cider and Slipper Colour Artist inks across the page.

 
Next I added stamping using the Making your mark stamp set, and Memories stamp set
 

I cut out some die cuts using the Frame die and Abstract Circles dies using Strength paper.    

I also coloured white gauze with Citrus Colour Artist ink.   

 
Here is my finished page.

 
I used the Frame die cut around my photo then added the coloured gauze, Butterfly effect diecut and Sweet Floral metal diecut. 
 
 
I also added words cut from the Seeker paper from the Follow Your Dreams collection


In the bottom right corner I added more diecuts, coloured gauze and a title.

 
Thanks so much for stopping by

Crafty Hugs xx


Monday 28 September 2020

"Nothing Can Dim the Light...." by Anita Enrght

Welcome back this Monday to the Bee Arty Blog.

For my share with you today I have used the Fearless, Brave and Free collection designed by the amazing Fiona Paltridge.  It is such a funky collection and just goes perfectly with the cheeky photo of my nephew Thomas.

 
 Using some scraps I cut two sets of the "Abstract Circles" metal dies and then placed them on to the white cardstock in a pattern that I liked.


I didn't have a colour spray that I wanted to use on my layout so I improvised and poured some of my "Cider" Artist Ink in to a spray bottle.  I wanted the richness of the ink so I didn't water it down at all.  I then sprayed over the "Abstract Circles" die cuts that I placed on the cardstock.


Below is the affect that it created.
 
Once the background was dry I stamped with an archival black ink pad the "Fearless" and "Cool Words" stamps over the page. I then added some more background using the "Free Hand" A5 stencil.
 
Next I die cut the "Frame" in a navy cardstock.
 
 
Next cut out some of the triangles and diamond shaped pieces from the "Leap" cut and colour sheet.  I then used the "Cider" Artist Ink and a fine paint brush to colour in the pieces.
 
Behind the photo I used a piece of torn book paper, I layered the photo on some cardboard off-cuts and then laid the navy cardstock "Frame" die cut over the front of the photo on an angle. 

I attached the photo to the page and then attached the fussy cut pieces to the page, cutting a couple in half to put behind the photo cluster and then mount others on cardboard or foam tape on to the page.  

Add the chosen title, mine came from the "Within" patterned paper, deconstructing it.  Each word was mounted on some foam tape before gluing to the page.

To finish the page I added a Charms Creation embellishment and a flare button from my stash.


Below are some closeups of my finished page.


Products Used
 
"Abstract Circles" Metal Die
"Frame" Metal Die
"Cool Words" Clear Stamp Set
"Fearless" Clear Stamp Set
"Free Hand" A5 Stencil 
"Leap" 12x12" Cut and Colour Paper
"Within" 12x12 Patterned Paper

 
White Cardstock
Navy Cardstock
Scrap Cardstock
Black Archival Ink Pad
Aqua Brush / Fine Paint Brush
Adhesives
Spray Mist bottle
Embellishments


Thanks for stopping by.
Enjoy your week and keep crafting.

Anita E
xx


Sunday 27 September 2020

Together Forever by Tracy Jackson

                                                      Good Morning Bee Arty Fans

Today I am sharing my grungy distressed card which I think could go to a female or male


As always I start with the paper I want to use - in this case it is from Spread Your Wings collection. I also fussy cut a label that I wanted to fit behind the image.
I then stamped and coloured the rose image from Forever Stamp Set


Next I wanted to add some detail to the backing paper so it wasnt so plain - I used the stamp from Life is Tough set. 
When Im adding a stamp onto the background, I never used a stamping block, I dont want a perfect impression as its just in the background and not the focal point


Yes, yes, yes... more fussy cutting... got to have those butterflies!


Finally I inked up all the edges giving it a grungy distressed look


Once I had an idea on placement all elements were glued down

Hope you are having a wonderful day and I have inspired you to get those stamps out.
Until next time... Happy crafting

Wednesday 23 September 2020

The Journey by Ros Aggett-Madley

Hello and welcome 💙

Today I'm sharing a project that is now sitting next to my bed.  I had a little 8x8 frame which was perfect for this project.


For the bottom plaque I first added a coat of Heavy Black Gesso.  After I let this sit for a minute, I used a baby wipe to remove the excess from the top and sat it aside to dry.  I then added a little Heavy White Gesso to this.  The reason I added the black first was to darken the quote and allow it to stand out more.


I took a little wooden heart and coloured it with water and Peacock Shimmer Dust.  I did a really concentrated layer and heat dried it.  This gave that really dark shade and I used a baby wipe to remove a lot of the colour.  This has given the heart a nice rustic type look.


I have used Bling Embossing Powder to colour some wings which have been made with paper clay.  To colour the little balls I put in the bottle, I used a little dry Shimmer Dust.


The metal key and birdcage have been coloured with Heavy White Gesso.  All these have been layered up with a few stars and balls and lots of matte gel.


Hope you've been inspired 💙


Tuesday 22 September 2020

Lucky, by Amanda Hartmann

 Hi Bee Arty fans!

Today I am sharing a beachy page using the awesome Michell Grant collection: "Life's a Beach".


Here is the full page. 

To create this page, I used different sheets of papers from the collection. I combined these with white cardstock for the background as well as for the stack under the photo. I used machine stitching to combine the layers.

To finish this page: I cut two die cuts from one of the Life's a beach papers, using the Imagine die. I attached and machine stitched these on opposite corners of the photo. I raided my stash to embellish the page with white, blue and kraft bits and bobs.


A clean page, that just highlights the perfect papers in the Life's a Beach range - awesome for those beach photos.

Thanks for looking,
Amanda


Friday 18 September 2020

Small Things Grow with Great Love by Tracey Campbell

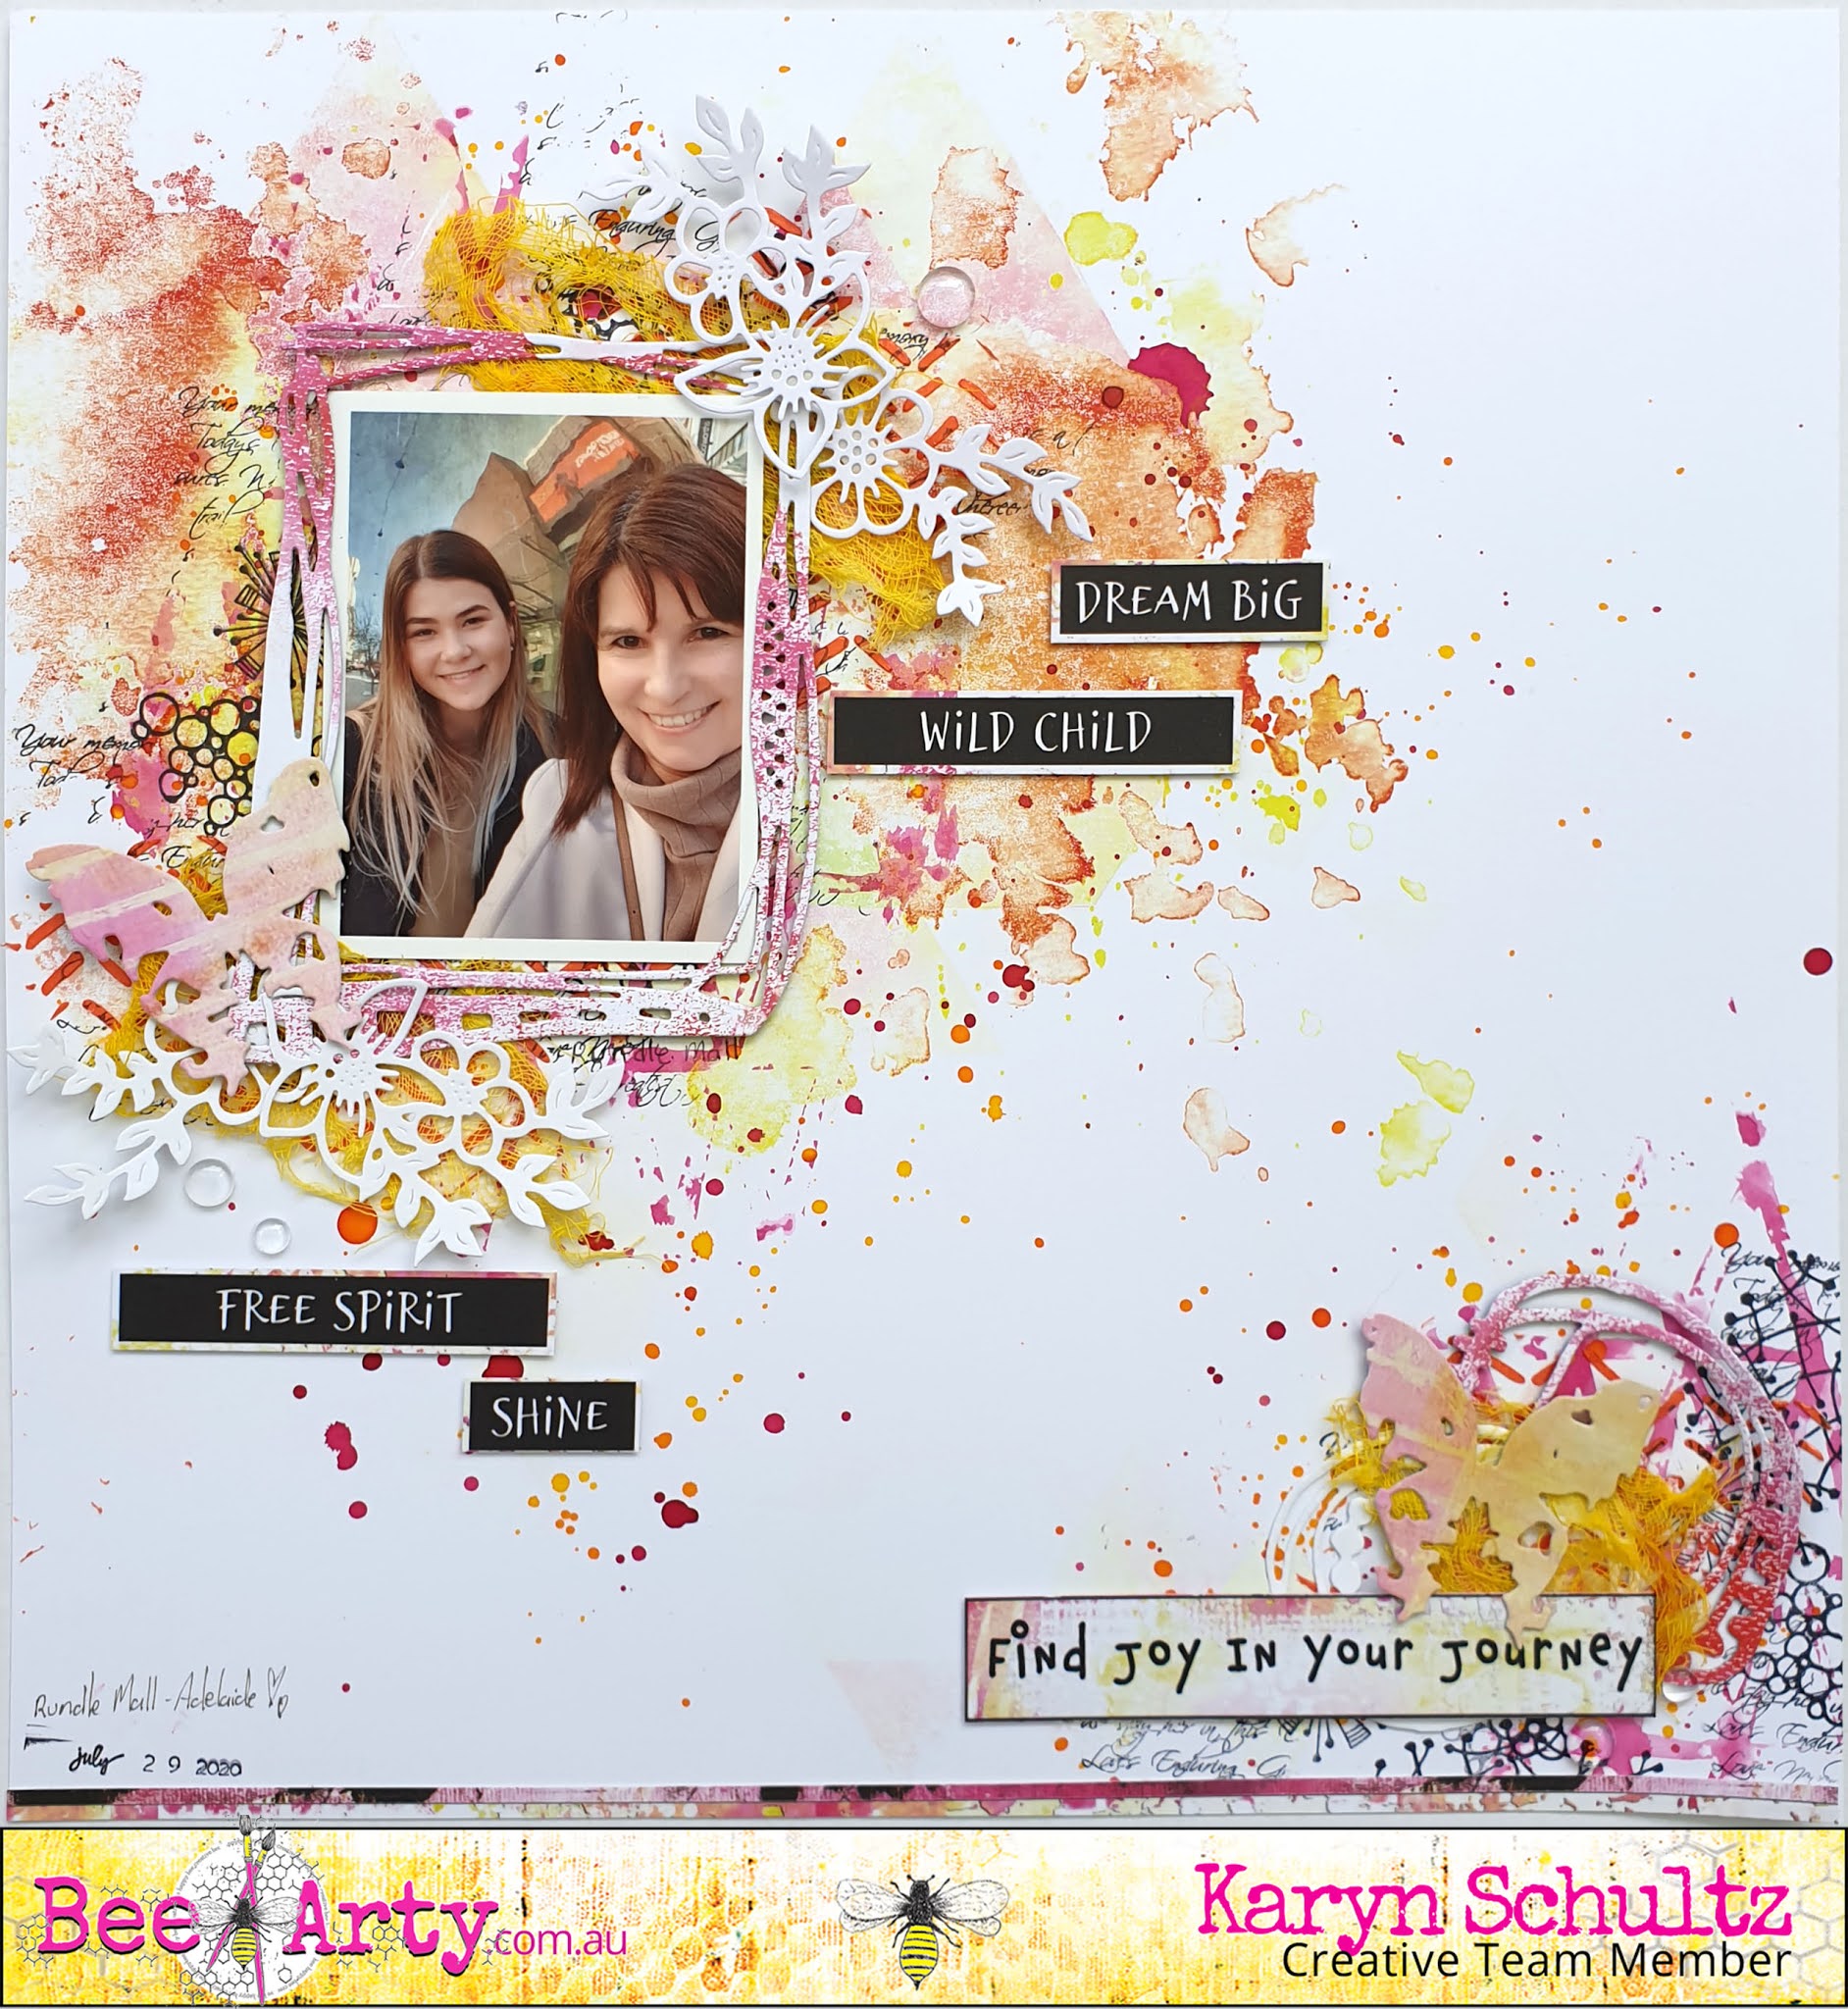
 Hello it is Tracey Campbell here with a Design Team share. Today I am once again sharing a layout that I have created using a mix of the wonderful Colour Blast by Bee Arty products and  the Fearless, Brave and Free Collection. The media I wanted to focus on for this layout is the delicious and versatile Colour Shimmer Sprays, I will show you a few simple ways to use them to create this layout of my eldest daughter Bronte all dressed up as a little fairy.

 Small Things Grow with Great Love


 First up I used grabbed the Confidence, Strength and Positive papers from the Fearless, Brave and Free Collection. I cut a 15 cm strip from the Positive - black and white side and put it away for a bit later on. From the Confidence and Strength papers I used Flower Power metal die and cut two sets of flowers from each paper. I also cut another set of flowers from a piece of scrap patterned paper that had the same tones of colours as the Confidence and Strength papers.


 Next I used a clear drying glue and built up the flowers by adhering the outlines of the flowers to the flower petals. Make sure that you mix and match the papers.


On a 12x12 sheet of white card stock slowly spray some squirts of the Blush Colour Shimmer Spray. I have found that if you press the spray bottle down slowly it sprays bigger drops of spray and this was the effect I was after.


 The photo below show the larger droplets of spray and the positioning of where I sprayed the Blush Colour Shimmer Spray.


 Once the Blush Colour Shimmer Spray was dry I sprayed Stormy Weather Colour Shimmer Spray through the Dusk Stencil. I used the packaging from the Dusk Stencil as a shiled over my 12x12 cardstock so that I would only get the Colour Shimmer Spray where I wanted it.


 Once dry I took the top off the Singin' the Blues Colour Shimmer Spray and used the straw to flick droplets over the Stormy Weather and Blush Colour Shimmer Sprays.


 In the photo below you can see how the base cardstock looks with the Colour Shimmer Sprays used three different ways.


 Next up I used the DeVine metal dies to cut out a few vines from white cardstock.


 I then sprayed them with Stormy Weather Colour Shimmer Spray.


 Here they are drying, I just wanted to show you that I did not drench them in the spray just enough to give a grey/silver effect to them.


Putting the layout together. Take the Positive strip that you cut way back in step one and adhere slightly off center on to the 12x12 cardstock. Make sure that you put the black and white (B-side) facing up. Using the Confidence and Strength papers from the Fearless, Brave and Free Collection, double mat a 6x4 portrait photo and stick onto the top of the Positive strip (see the final layout for the correct positioning). Next using 3 Dimensional tape adhere the die cut flowers so that they run diagonally across the base - run them over the Colour Shimmer Sprays and tuck them under the flowers.

The finishing touches. Once you are happy with how your flowers look tuck the DeVines amongst them. You can trim the DeVines down so that they fit. Cut out the word title "Small Things with Great Love" from the Free 12x12 Wordsheet in the Fearless, Brave and Free Collection. Snip it in half so that "Small Things" and "with Great Love" are two separate pieces. Use the 365 Alphas metal dies to cut out the word "Grow" from the Strength patterned paper and using a black felt tip pen outline the edges.

Lastly adhere some small paper flowers and pearl gems randomly over the layout.


Thanks for stopping in, I hope that I have inspired you to pull out your Colour Shimmer Sprays and metal dies and get creative.


Hugs

Tracey