Showing posts with label Colour Shimmer Dust. Show all posts

Sunday, 12 March 2023

You Matter To Me - With Rikki G

 Hi everyone how are you? Rikki here and I am here to share with you my latest creation using                                                   the stunning Bee Arty Grateful Heart collection.


This is still working off my first layout and this time its evolving the layout using some different products and adding a little bit more mixed media into your layout.


So you will need two sheets of Together.

Keep one as your background.


Fussy cut out the main part of the flowers and you can set aside the rest for another layout.

Stamp a number of daisies from Pretty Posy Stamps with some archival inks and set aside. We will be colouring these in a minute. 

While you have your stamp supplies out stamp the large magnolias from the Perfect Petals,  and the one with the curved flower spray, also use archive ink. You will need to fussy cut all these flowers.


Now onto the colouring..... today I am using Colour Shimmer Dusts - Colbolt and Velvet.

Mix a small amount in a palette and to create a third colour use a bit of both. This will act as a blender.


Mist your daisies with water and start dropping the Shimmers onto them.


While waiting for the flowers to dry.....  Add some of your roses with foam mount over the top of the background sheet.

Grab a brush and start adding Colour shimmer- Colbolt to your background, it will sit on the top of the paper for a little bit, but this will give you time to move it around the page and to get it where you need it to go.


Keep adding ink to the background over sections of the dry ink and it will make sections more intense...

Once the background is dry you are now onto the construction, mount your photo up a couple of layers and then add the flowers around the photo starting with your coloured daisies.


Add the uncoloured flowers in and around those daisies and roses.


Now to finish off the layout add banners and mason jars from the bonus sheet.


Add Glitter, rhinestones and art stones to the layout. 

I also added some more Colour Shimmer to the background to blend all the elements together.


I hope this inspires you.
Till next time have a creative day.

Sunday, 10 April 2022

Let Your Dreams Take Flight by Tracey Campbell

Good morning everyone, hope you are all well? It is Tracey Campbell here this morning with my latest Creative Team project for Bee Arty. I have used some of my all time favourite Bee Arty product - Shimmer Dust!! I just love it but don't use it often enough so I pulled out two of them and started to play. 
For this layout I used the following products:
Colour Shimmer Dust in Velvet and Cobalt
Symbolic Pattern Paper from the Three, Six, Five Collection
Cut-a-part sheet from the Aim High Collection
Turning cut-a-part sheet from the Embrace Change Collection
Spice Pattern Paper from the Embrace Change
Starry Night Stencil
Sweet Floral Metal Die
String Leaves metal Die

Let Your Dreams Take Flight

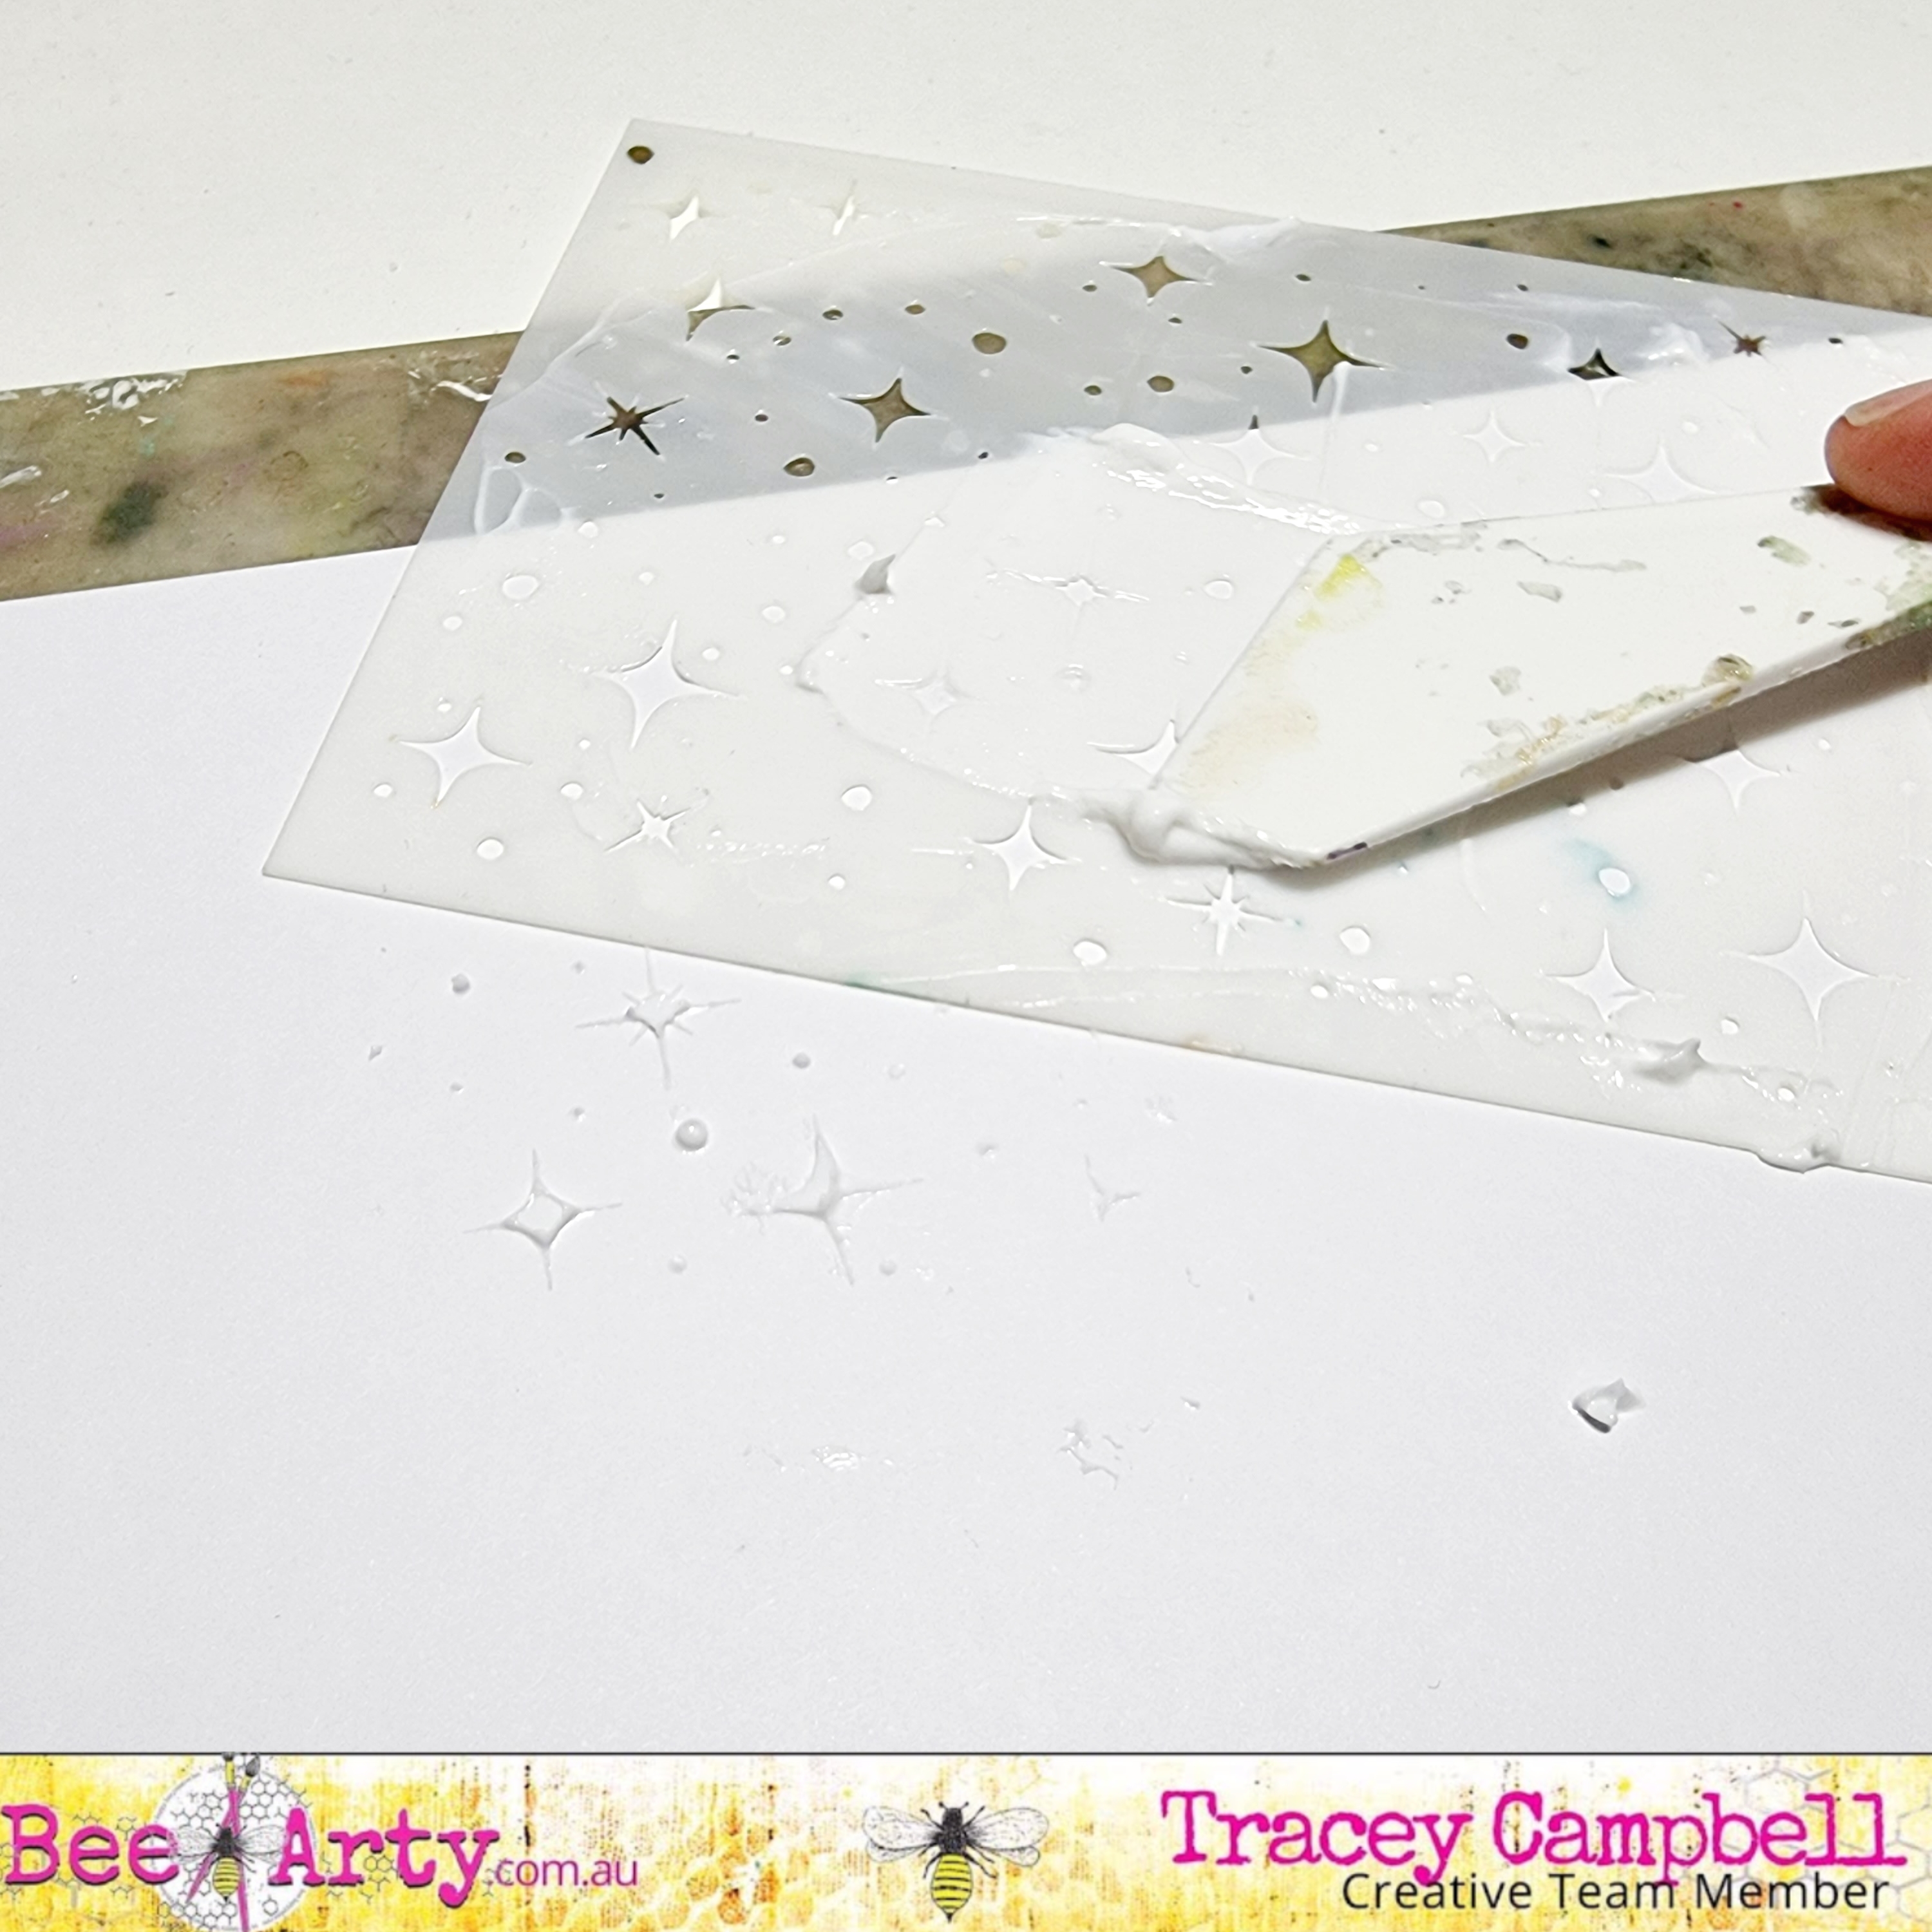
I started this layout off with a crisp clear white pieces of 12x12 cardstock and spread some 3D Gloss Gel through the Starry Night stencil, down the left hand side of the cardstock. Set aside to dry.
While the 3D Gloss Gel was drying cut I out a few diecuts with the Sweet Floral metal die in white cardstock and use the leaves from the string leaves metal die set with the olive green paper from the Spice pattern paper in the Embrace Change Collection.
Using the Collection Pan Watercolours paint in light colours of pink, peach, green and olives the flowers from the Turning cut-a-part sheet in the Embrace Change collection. When dry fussy cut them out.
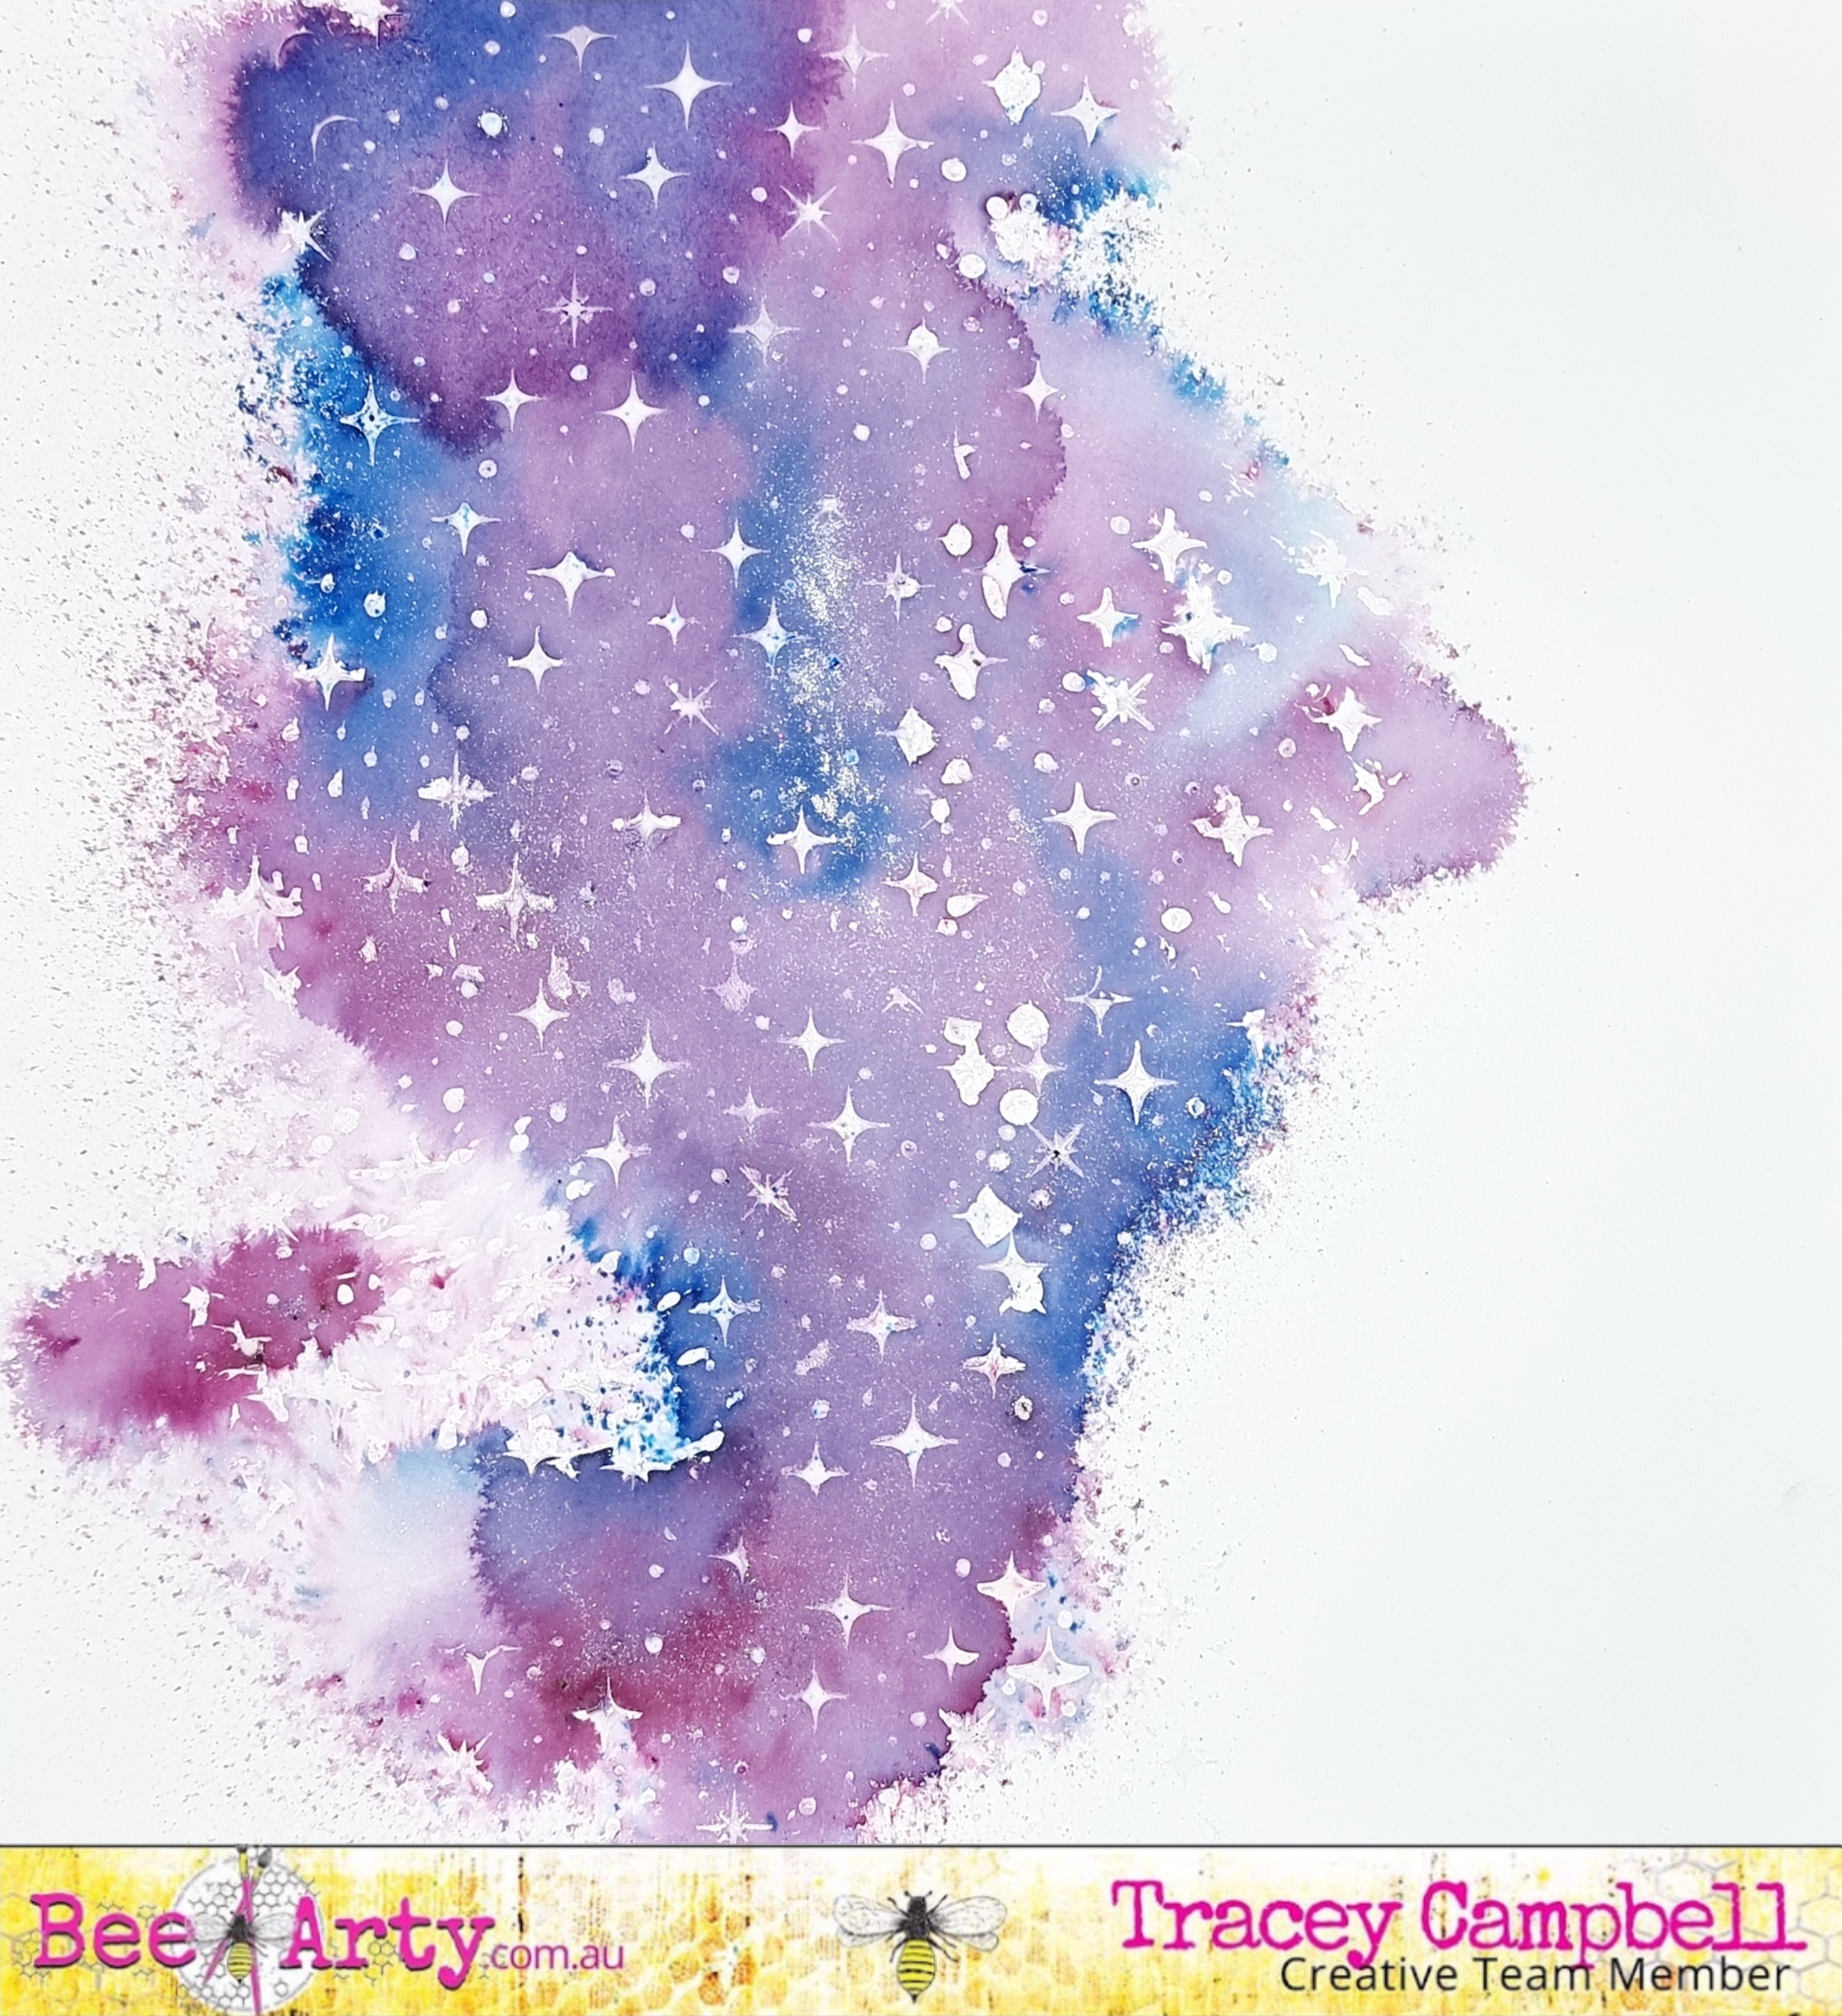
When the 3D Gloss Gel is dry sprinkle a small amount of Velvet Colour Shimmer Dust down the left hand side of the base. Remember that tiny amount of the Shimmer Dust goes a very, very long way. Activate the Shimmer Dust with a fine mist of water from a spray bottle.
While the Velvet Shimmer Dust is still wet lightly sprinkle a fine dust of Cobalt Shimmer Dust along the edges of the Velvet. It will interact and mix together creating a beautiful blended colour.
The photo below shows the two different colours Shimmer Dusts interacting while still wet.
Here below is how the Shimmer Dusts dried.
While wating for the Shimmer Dust to dry I double matted my 4x6 portrait photo using a 2mm border of Symbolic patten paper from the Three, Six Five Collection and then a 6mm border with the purple pattern paper in the Trendsetter Collection.
Adhere the photo on the right hand side of base and then position the fussy cut, water coloured flowers like the photo below. Don't stick them down jsut yet.
Slide the die cut sweet florals and leaves under the fussy cut flowers, move them around until you have the arranges so that they are in a cluster that overlaps the photos and some under the photos. Adhere them down with some glue that dries clear. Tip for fiddly gluing use the Art glitter Ultra Fine metal Tip, it allows you to apply a very thin line of glue which is perfect for fiddly diecut shape.
I finish off by fussy cutting the title "Let Your Dreams Take Flight" from the cut-a-part sheet in the Aim High Collection and place them running down the right hand side of the matted photo.
I really love how the layout turned out, the Shimmer Dust really does give a fun element to the page with the added touch of actual Shimmer (which is hard to photograph, sorry). 
Thanks for stopping in, I hope I have inspired you to reach for those Colour Shimmer Dusts and create your own background.
Until next time
Hugs
Tracey


Thursday, 16 December 2021

Cacti are bloomin created by Tracey Thorne

 If you haven't heard the new paper range Whispering Woods is ready for purchase and has been created by Sue Smyth. I've been lucky to get my hands on the range and there is a lot of variety in the papers with lots of scope for varying projects to be created. 


I have created 'Cacti are bloomin' to show the versatility of the papers and the cut outs in conjunction with the stamps. The Colour artist dye ink & Colour shimmer dust I have used complimented the 12x12 layout nicely.

I started with a base of 250gsm white cardstock and to this I have added Colour Artist Ink in Bordeaux and with a wet brush have mixed a little water to it. I have then used the kiss technique whereby I have picked up ink from a base and kissed the paper leaving a little of the colour on my white cardstock. I have added a little more colour & shimmer to the page by mixing up some of the Colour Shimmer Dust in Lollipop with water and then used the same technique to apply this to the page.

I cut the centre section out of a sheet of Whispering Woods 12x12 Forest Floor and placed this to one side for later use when backing the photos. I have then cut down the white cardstock quarter of an inch off all sides. I have then used a soft yellow ink to blend the edges of the page before adhering the printed cardstock border to the white page.

With the remainder of the Forest floor printed paper I created a photo mat.  I have cut them 2mm wider than my photograph. Before adhering to the photo mat I have inked the edges of my photo in black. I have chosen the little flower border stamp in the Whispering Woods Leafy Borders stamp set to create a border around the outer edge of the page. I have worked out placement of photos and added some texture to the page by using Texture paste and the Whispering Woods Sweet Flower stencil - this adds a lovely soft look to the page whilst still adding texture.


I have layered up one of  the photos using cardboard so it has height over the other photo which helps with depth on the page and adds a visual interest. Using the 12x12 Whispering Woods Woodland tags paper I have cut 2 tags and placed them under my photos. I have also cut out two of the magnolias and 3 butterflies from the Whispering Woods extra's sheet - similarly you could use the 12x12 Imagery printed paper. These were placed at opposite corners and the butterflies were scattered on the page. I have also cut out the mushroom elves and used them on the bottom right of the photo. I have accentuated the base by adding a little black water colour pencil for shading.


I have stamped out the corner flower stamp spray from the Whispering Woods Celebrate Nature stamp set. I did this using Archival black ink on tissue. This was then applied to the page using matte medium. I have then coloured the leaves of the tissue stamped images using Colour Mica powder in Envy. I added a little water to this prior to applying with a small paint brush.   A few final touches were a little black thread under the photo and adding the titles with a few of the fonts I have in my scrap supplies.


This is the final product. The Whispering Woods range has a lot of offer and is extremely versatile with the stamps and papers working so well together in a range of applications. I love how the papers tell a story on the page.


Have a fabulous week of creation

If you like this layout you can pop on over to the Facebook page and check out my mini movie of putting this together.

Tracey


Saturday, 20 November 2021

Such A Blast by Tracey Campbell

 Hello and welcome to the Bee Arty Blog, I am Tracey Campbell and today I get to have some fun with the Bee Arty Mini Collection Electric Dreams. This is such a bright, bold, fun collection that it wonderful to use with those photos of your kids that you haven't been able to sue. You know those photos that you have of them having an adventure in a busy colourful environment. Places such as busy play grounds, fairs, theme parks even shopping centres. Those photos that don't seem to go with any other patterned papers. 

I've used a photo of my youngest daughter Paige, we were at Luna Park and she had just gotten off the large indoor slide and followed the pathway around to the stairs. At the bottom of the stairs there was a grate and coming from the grate was the best blast of air, so hard a pressure that it actually changed the look of you face. Not heard enough to hurt, but enough to make it so much fun!!

For the base of my layout I used the the black with geometrical lines and the patterned circle papers from the Electric Dreams Mini Collection to create my background. I inked the edges with black ink and adhered 3/4s of the circle paper over the top of the geometrical lined paper. When adhering the patterned circle paper onto the black geometrical lines paper I made it slightly angled and off centre. I did this on purpose as I knew that my page was going to be a fun messy page and I didn't want to align it too much. If this is not your style then you can adhere it squared on your page.

Next I wanted to add more colour onto the background so I added splashed of colour. I did the by first adding flicks from the straw of the Road Base Colour Spray. I then added a fussy cut zig-zag strip (cut from the zig-zag Electric Dreams patterned paper) down the left hand side of the background. 


After it was dry I still wanted more colour so I mixed some Heavy White Gesso, a dash of water and Colour Shimmer Dust to create three different colours of watered down Gesso paint. The colours I used of the Colour Shimmer Dust were; Sunflower, Peacock and Candy. 


While it was drying I decided on a title and used some 220gsm Black Cardstock and the 365 Alpha Metal Dies to cut out the word "Such A Blast". The 365 Alpha Dies are such an easy way to create your own custom title and they are such a fun font that they look great with any layout.


I then adhered a landscape photo into the middle of the background, fussy cut a few elements from the cut-apart-sheet from the Electric Dreams Mini Collection and stuck them to the bottom corner of the photos. 


I added the 365 Alpha letters over the top of the photo to create the title and popped a tiny bit of journaling across the bottom of the page with a white paint pen to finish it off.


Here is the finished layout, I love the contrast of the black against the white and the bright colours in the Electric Dreams Mini Collection it makes it such fun to work with and really turns any layout into a statement piece.


Thanks for stopping in and I hope that I have inspired you to have a look at this collection and add it to you cart. Take care.

Hugs
Tracey