Monday 26 September 2022

NOTHING IS ABSOLUTE by Linda Pearson

Today I am creating with the new Mini collection Pumpkin Spice paper pack designed by Sue Smyth.  This collection has loads of potential for creating Halloween layouts, however, I chose to create a non-Halloween style page.   

Pumpkin Spice mini-collection  paper pack by Sue Smyth

Metal embellishments – lock, chain and key (own stash)

Foam tape

Cheesecloth (muslin) roughly cut into small pieces

Stapler

Cardboard off-cuts

Archival ink – ground expresso

Blending tool

Sentiment (words or saying)


The following 5 sheets were used from the mini-collection in this project and can be purchased from Bee Arty click on the link to secure a set - Pumpkin Spice mini-collection  paper pack by Sue Smyth


Bottom background layer sheet, distress the edge of the sheet with Archival ink – ground expresso.


Sheet used to second layer.


Fussy cut several tags, distress the cut tags with Archival ink – ground expresso.


Fussy cut out clusters of flowers, see next image for example of flower clusters.


Fussy cut an array of elements from the cut-out sheet, distress all cut elements with Archival ink – ground expresso.


Fussy cut around the wreath, distress with Archival ink – ground expresso


Cut a floral section within the wreath, distress with ground expresso.


Cut a several pieces of cheese cloth (muslin), tease out the threads for an organic look.  Staple to background sheet in several places to secure.


      Close up images of muslin placement.


Adhere the cut wreath to the background sheet with liquid glue.


Back each of the cut tags with an off-cut cardboard pieces.


Back all of the fussy cut clusters of flowers with cardboard off-cuts also.


To one of the tags secure the key (with chain) onto the card.  Add a butterfly and flower embellishments to the tag.


To another tag perforate a hole at the top, adhere the metal lock to the tag and add a piece of ribbon,


The third tag has butterfly and clear dome embellishments.


Add a selection of other embellishments around the page using foam tape to layer the elements. Some elements (small flower clusters were double foam taped to add extra height).  Add more muslin pieces to alternative layers as desired.


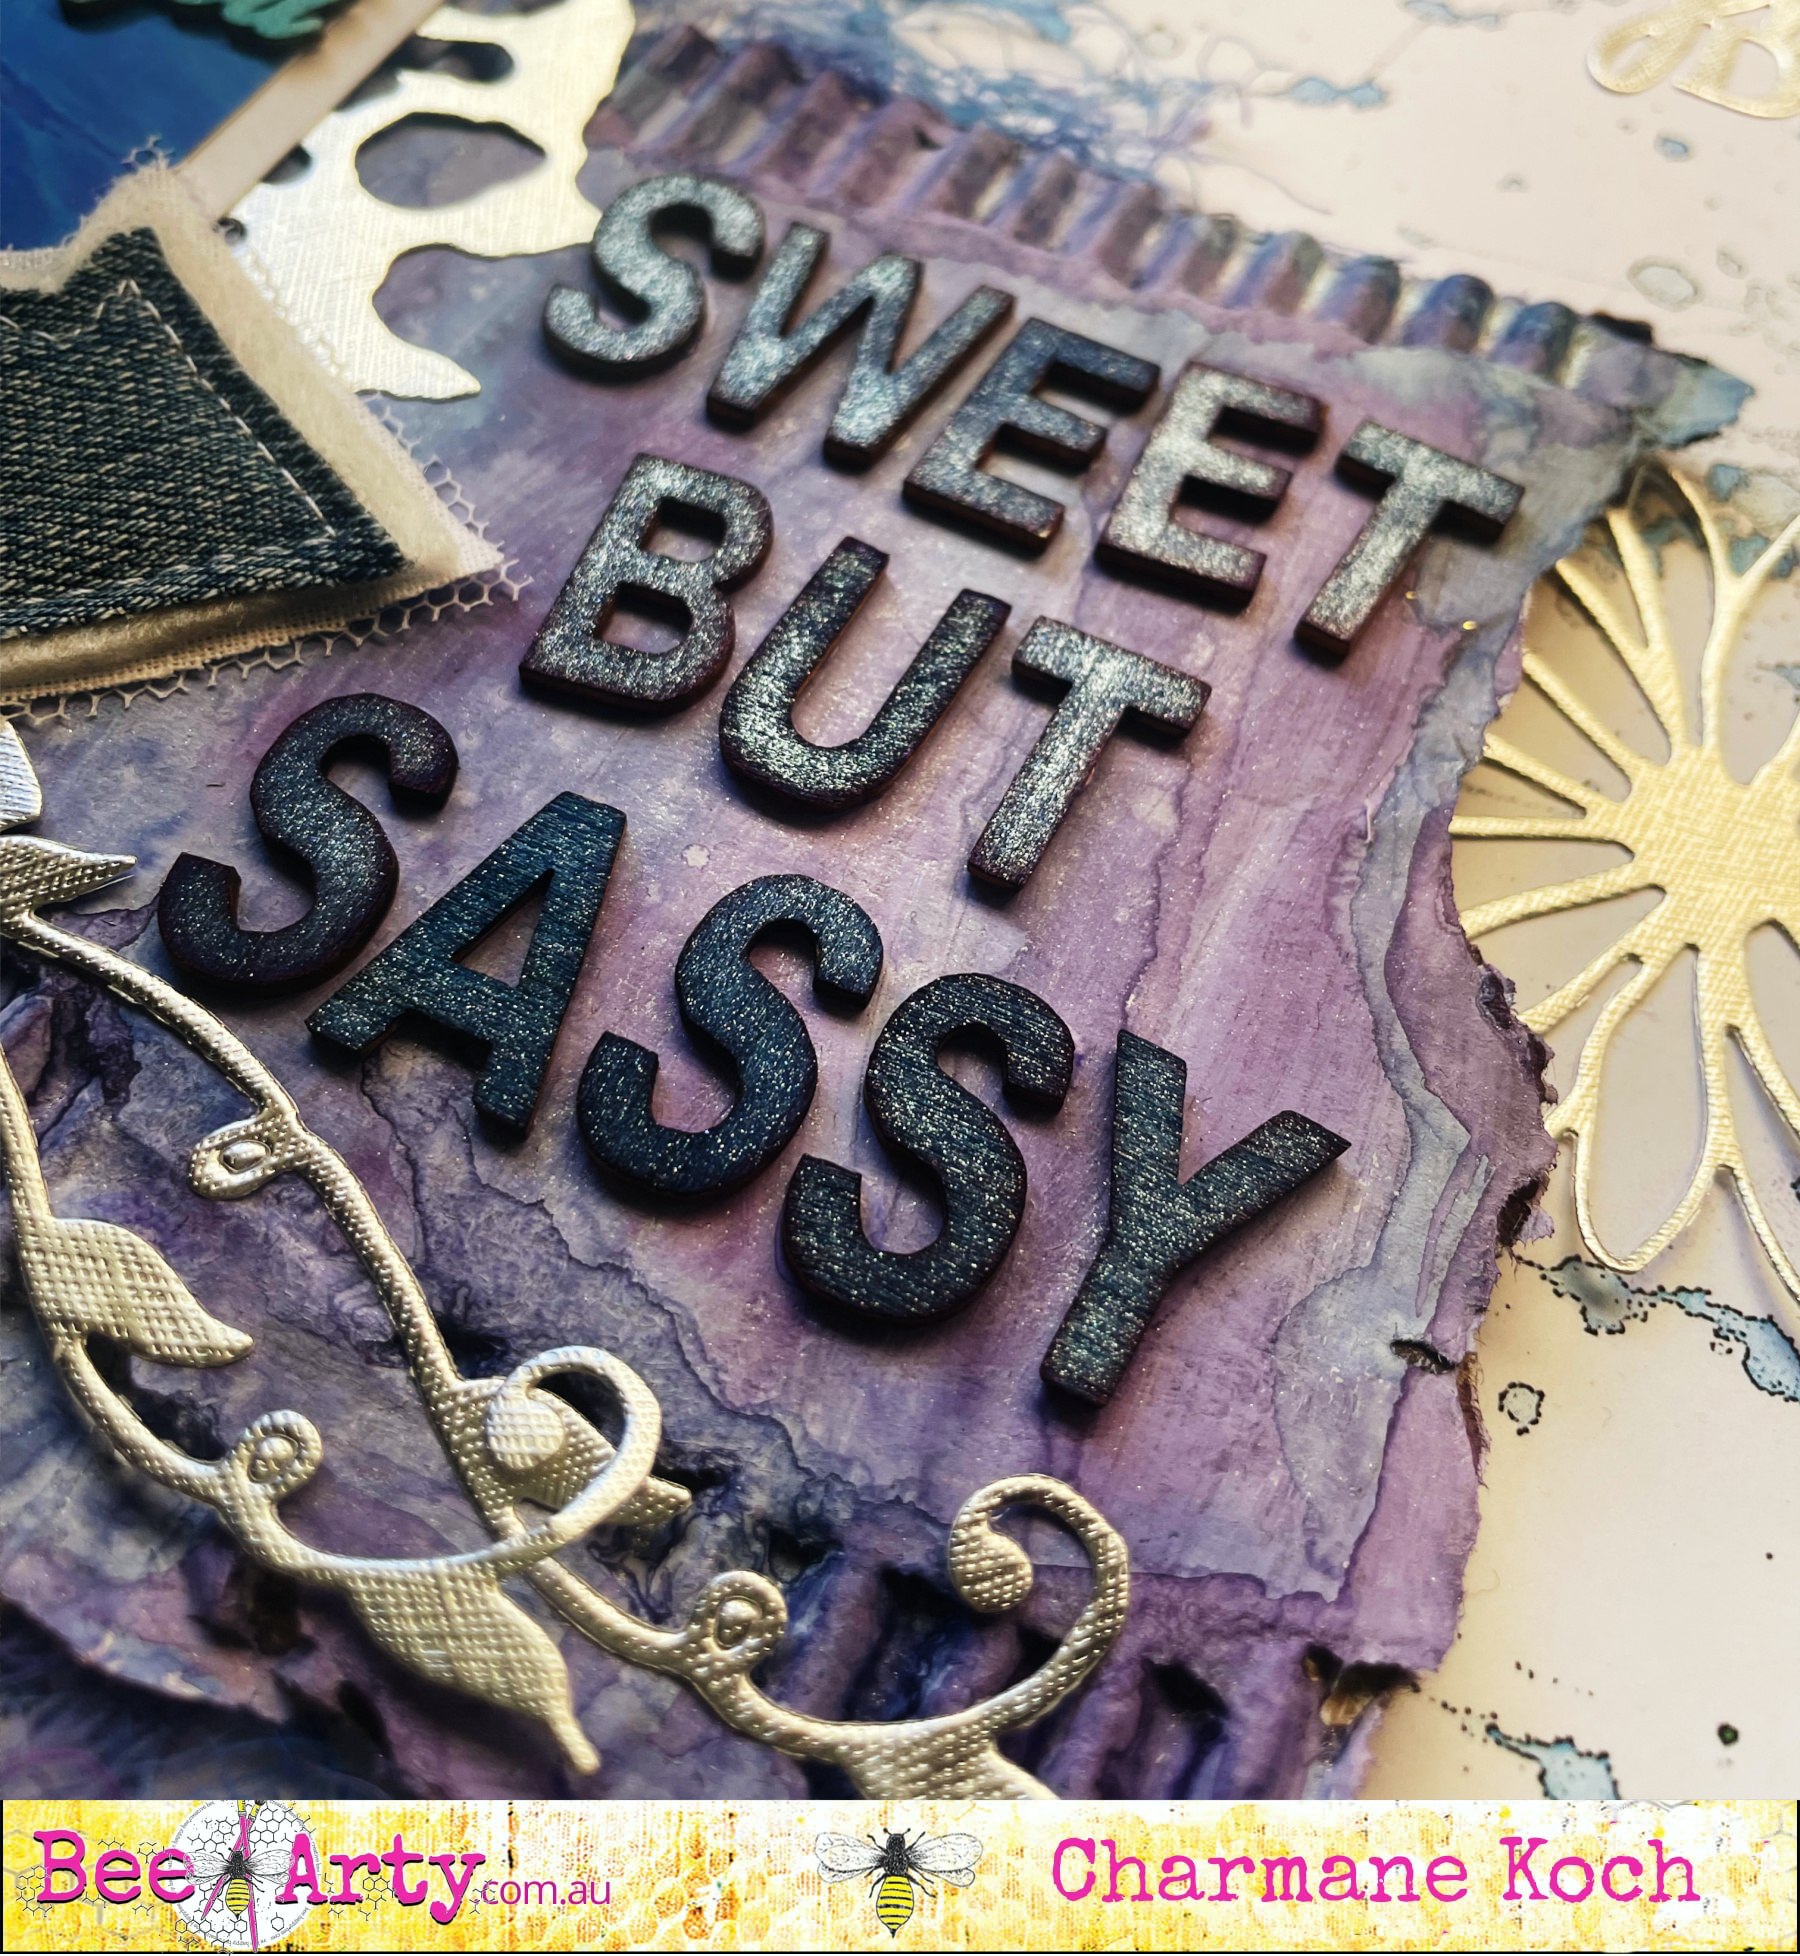
The final step is to add a sentiment saying to the page.

I hope you enjoy creating with this colourful mini-collection,  thank you for stopping by and look forward to creating for you again soon.


Cheers from Linda

Inspired Art Journaling AU

linda@yourcreativepalette.com.au

Saturday 24 September 2022

Adventure Folio by Sunila Mahajan


Hello Bee Arty Lovelies,

Hope you're all doing well! Sunila here and today I'm sharing an inspiration with you'll.

I've created a quick folio with a mixed media style cover.  This comes handy especially to carry a handy art journal/journal when travelling. It holds papers/notepad, and stationery. 

Here's a look at it:


For a project like this, all you need is a nice pattern paper. With some quick easy folds and cuts, this is an easy DIY project. 

I've added texture paste using a stencils, stamped with ink and added a stamped focal images on the cover to make it all stand out and look interesting. 


Products used:

Pattern Paper- Grateful Heart Collection

BeeArty Colour Paste

Rhythm Stencil

Geo Grunge Stamp

Hydrangea Basket Stamp


Hugs,

Sunila

Thursday 22 September 2022

The Pool Shark Lives created by Tracey Thorne

 Welcome to another creative day my friends. I hope you have been busy using up all your older kits in readiness for the new ones that are about to be released - they are amazing and you will be blown away with what the creative team have made with them all. 

Today I want to share with you this 12x12 layout I've created using more of the Fearless Brave & Free range- I know what's coming so I am trying to use up my stash to make way for the new stuff 👧


The base of the layout was created on 350gsm white cardstock and to that I have applied Paris Shimmer Dust using the kiss technique. I have then used texture paste through the A4 stencil Borderline. I have then marked out placement of my photo and stitched a black border using my sewing machine. Stamping was added using black ink and the Happy stamp set and the Meridian stamp set.
 

 I have used the Chance, Collection & Wordsheet papers, cutting elements from them and layering them under and on top of the photo. I have also used the die Geo Direction and painted it black. The page was finished off by adding a little black cotton around the photo and a stitched black border.


Thanks for popping in to check out the process.


Tuesday 20 September 2022

Sweet but Sassy by Charmane Koch

Happy Tuesday Everyone! Hoping life is treating everyone well!

Today I am sharing with you a layout that has been WEEKS in the making! I've had this layout ready to go in my head but do you think I could execute it in REAL LIFE??? Not sure what the deal was, but it has finally come together & I just LOVE the outcome of it!

I had a few ideas in my head with this one - the Moonshadow Stencil I thought would make great "bubbles" I also was loving the thought of using the silver Mirror board to create "silvery bubbles" too...

I also wanted to create a 3D/layered effect so thought I would get out some ripped cardboard to gesso and colour with shimmer dusts/mica  powders...

I went on a bit of a Die Cutting frenzy using Silver Mirror Board & also white Cardstock...

I used the Calendula, DeVine, Moon Rock and the Good Time/Great Day Dies...


I test ran the colour combo for my cardboard... I used Peacock & Passion Shimmer Dusts, and also a touch of Steel Mica Powder too...

I gesso'd the Chipboard heart & little words, then used the leftover mica/shimmer dusts to match the cardboard... the heart I coloured roughly to match the rustic look of the cardboard.

I coloured the Wood Veneer letters without using gesso as I wanted them to be darker - I used the Cobalt Shimmer Dust for these.


My finishing touches to this layout was to add more of the Silver Mirrorboard Dies... tucked under and around the page...


The words were perfect for this too!


Once I got it out and positioned where I wanted everything it all worked out in the end!

I'll definitely be doing similar layouts as I still have a couple more photos!

How stunning is the Moondshadows range by the way???

Thanks for popping by & I hope I have inspired you!


XO Charm


Monday 12 September 2022

Bee the sunshine in someone's life! an inspiration piece by Linda Pearson


Hi all … I am just popping in to share an inspiration piece using some of the off-cuts and left-over elements from the amazing Bee the Sunshine collection by Fiona Paltridge.


Bee the Sunshine Paper Collection Pack

Bee Garden 12x12 scrapbook paper

Bee to a flower  12x12 scrapbook paper

Pretty fields 12x12 scrapbook paper

Sunny days 12x12 scrapbook paper

Find your way clear stamp set

Flower garden A4 stencil

Shimmer dust – assorted colours

Embossing powder – Black

Versamark Stamp pad translucent

Black Archival Ink and blending tool

Mounting tape and double-sided tape


¨     This piece was made to fit into a Dina Wakely denim journal and placed onto a cream hessian page.

¨     Off-cuts from both coloured and black and white cut-out sheets were collected and sorted for composition of the elements.

An off-cut strip from the Bee to a flower  12x12 scrapbook paper  a pink mix of texture paste was spread through the Flower garden A4 stencil.


¨     Use an off-cut from the Pretty fields 12x12 scrapbook paper is cut to fit the journal page. 


¨     Use white gel pen to outline the floral images.


¨     Add splatters over the off-cuts pieces using Tan Shimmer dust.


Stamp the Find your way clear stamp set onto white cardstock using Versamark Stamp pad translucent sprinkle the card with Embossing powder – Black then heat set the powder with a heat gun.


¨     Colour the embossed stamp with watery mixes of various colours to suit the stamped flowers, leaves etc with Shimmer dust.  Cut the shape out when dry.


¨     Cut the sentiment card … add some extra words to the card with black pen.

¨     Distress all the elements with black archival ink.


¨     Arrange all the elements onto the Pretty fields 12x12 scrapbook paper backing card.  When satisfied with composition adhere with double-sided on the carded pieces, liquid adhesive on floral elements then mounting tape over the embossed shape.


I hope you have been inspired to use up some of those bits and pieces from this and other Bee Arty collections … thanks for stopping by and look forward to creating with you again soon.


Cheers from Linda Pearson

linda@yourcreativepalette.com.au

Sunday 11 September 2022

Happy Little Moments By Tracey Campbell

 Hello Bee Arty friends. 

Today I have a layout to share with you that has stamping, stencilling and the magic of Shimmer Dust.... what more could you want?

I started off by blocking out around the Dusk stencil with some plastic and placing it roughly in the centre of some heavy white cardstock.

I then spraying three different shades of  purple Shimmer Spray; Rose Petal, Royalty and Indigo through the stencil onto white cardstock. 

I then moved the stencil to the left, lining up the print and strayed again.

The photo above is how the sprayed stencilling turned out. 

Next I sprinkled two colours of Shimmer Dust; Velvet and Duke, across the bottom of the cardstock,

I then activated it with water.


As the Duke Shimmer Dusk was move bolder than colour than the Velvet I decided to sprinkle a bit more Velvet on and sprayed more water to make the coloured area bigger.


On the bottom of the cardstock I used the excess Shimmer Dust fluid that had run off the page and my finger to spread it over the bottom edge.


Here is how the base turned out, I love how vivid and bright the Shimmer Dust is compared to the muted Shimmer Sprays.


Once dry I used some waterproof black ink and stamped various images; Kind Heart, Heartfelt, and Meridian, around the bottom edge and half way up the left and right edges of the cardstock.


I then use Bling Colour Paste through the Mandala stencil.


Here is how the base turned out.


Next I backed a 6x4 photo with some vellum paper and gold foil cardstock and adhered it to the centre of the base.


Next fussy cut some flowers from the Tea Time in Wonderland Collection


Adhere the flowers around the photo, using some tacky glue in the centre and some 3 dimensional tape around the edges. Use a pen to press the centre of the flower down to the stick it to the cardstock. Use you finder to turn the flower pedals up to give them some dimension. 


I used the end of a paint brush to add some Bling Colour Paste to the centre of the flowers to give them a touch of shimmer. 


Using some Black waterproof ink I stamped the title "Happy Little Moments" from the Happy Stamp Set to the bottom left hand corner of the photo. 


Wanting a bit more dimension in the flowers I used the Flower Stems metal dies and cut out four of each stem from the green coloured papers in the Embrace Change Collection


I then adhered the die cuts around the fussy cut flowers. 


Here is how the final layout turned out. I love creating my own back ground with a bit of stamping and stencilling with the magic of Shimmer Dust, you never really know how it will turn out but it always looks stunning.

Thanks for popping in.


Hugs
Tracey