Showing posts with label Bee Arty. Show all posts

Sunday, 11 June 2023

Secret Garden by Rikki G

 Good afternoon how are you? Here in the West the weather has been getting a bit wild and cold oh so cold but that gives you the perfect excuse to play along with this months Bee Arty Sketch and Moodboard challenge.


So heres my take on the colours of the challenge and I have to say the combo had me scratching my head a little bit...but I am very happy with the result.

And theres a process video for you to follow along with.


 Use the Bee Arty Honeycomb Spray Stencil with Tim Holtz Oxide- Fossilized Amber, Faded Jeans and Blueprint Sketch.


Ghost the background with Bee Arty Bokeh Stamp set - Script with Grey ink.

With black archival ink stamp scrolls with Bee Arty Vamp Stamp set.


Add the Bee Arty Kind Heart Stamp set to the right hand side.

Add the title from that set throughout the background.

Add washi tapes into the background and finish off with flicking white ink throughout the background.


Honeycomb Spray- A5 Stencil


Bokeh - Clear Stamp Set


Vamp - Clear Stamp Set


Kind Heart - Clear Stamp Set


Saturday, 25 February 2023

Using up scraps I Mixed Media I Birthday Card I Sunila Mahajan

 Hello lovelies,

Sunila here, and I'm back with inspiration for you'll. Many times when using paper collections, we end up with odd sized paper scraps that we don't feel like discarding as the pattern is so pretty.

Today, I'm using these to create a layered greeting card. 

Here's a look at the card:


I picked out a pattern paper piece, and depending on its size, I chose my card base size. I like leaving a nice white border on my cards. This time though, I played a lot with the white space.


I cut out pieces that would add the sentiments and layered them. I used the pattern paper to mimic a pocket, to hold the flower bouquet.


I die cut flowers and leaves with other scraps of paper and layered them. I competed it with sequins and mica powder and shimmer dust colour splatter.


I hope you enjoyed this! Follow me on Instragram (@sunilamahajan) for more inspiration!

Supplies used:

Shimmer Dust

Saturday, 21 January 2023

Stretch your supplies I Mobile Case I Sunila Mahajan

Hello Bee Arty lovelies, Sunila here and I'm back with inspiration for you'll.

Today I decided to create a custom mobile case using my Bee Arty Supplies. With this I want to show you how these supplies aren't limited to paper crafting and can be used to decorate objects we use in our everyday life.

Here's a look at the case:


To create this I'm using a clear mobile case. I've tinted it on the inside with Artist Ink first. I then use coloured collage pieces and apply mod podge to hold them down in place. Since I wanted the quote to be visible, I've first glued that inside and then added colour and other layers. I seal it all with a larger piece of plain white paper, so the pieces not tear when I use the case on my mobile.

Here's a look at it from different angles:


Hope you enjoyed this! Follow me on instagram for more inspiration- www.instagram.com/sunilamahajan

Supplies used:


Sunday, 11 September 2022

Happy Little Moments By Tracey Campbell

 Hello Bee Arty friends. 

Today I have a layout to share with you that has stamping, stencilling and the magic of Shimmer Dust.... what more could you want?

I started off by blocking out around the Dusk stencil with some plastic and placing it roughly in the centre of some heavy white cardstock.

I then spraying three different shades of  purple Shimmer Spray; Rose Petal, Royalty and Indigo through the stencil onto white cardstock. 

I then moved the stencil to the left, lining up the print and strayed again.

The photo above is how the sprayed stencilling turned out. 

Next I sprinkled two colours of Shimmer Dust; Velvet and Duke, across the bottom of the cardstock,

I then activated it with water.


As the Duke Shimmer Dusk was move bolder than colour than the Velvet I decided to sprinkle a bit more Velvet on and sprayed more water to make the coloured area bigger.


On the bottom of the cardstock I used the excess Shimmer Dust fluid that had run off the page and my finger to spread it over the bottom edge.


Here is how the base turned out, I love how vivid and bright the Shimmer Dust is compared to the muted Shimmer Sprays.


Once dry I used some waterproof black ink and stamped various images; Kind Heart, Heartfelt, and Meridian, around the bottom edge and half way up the left and right edges of the cardstock.


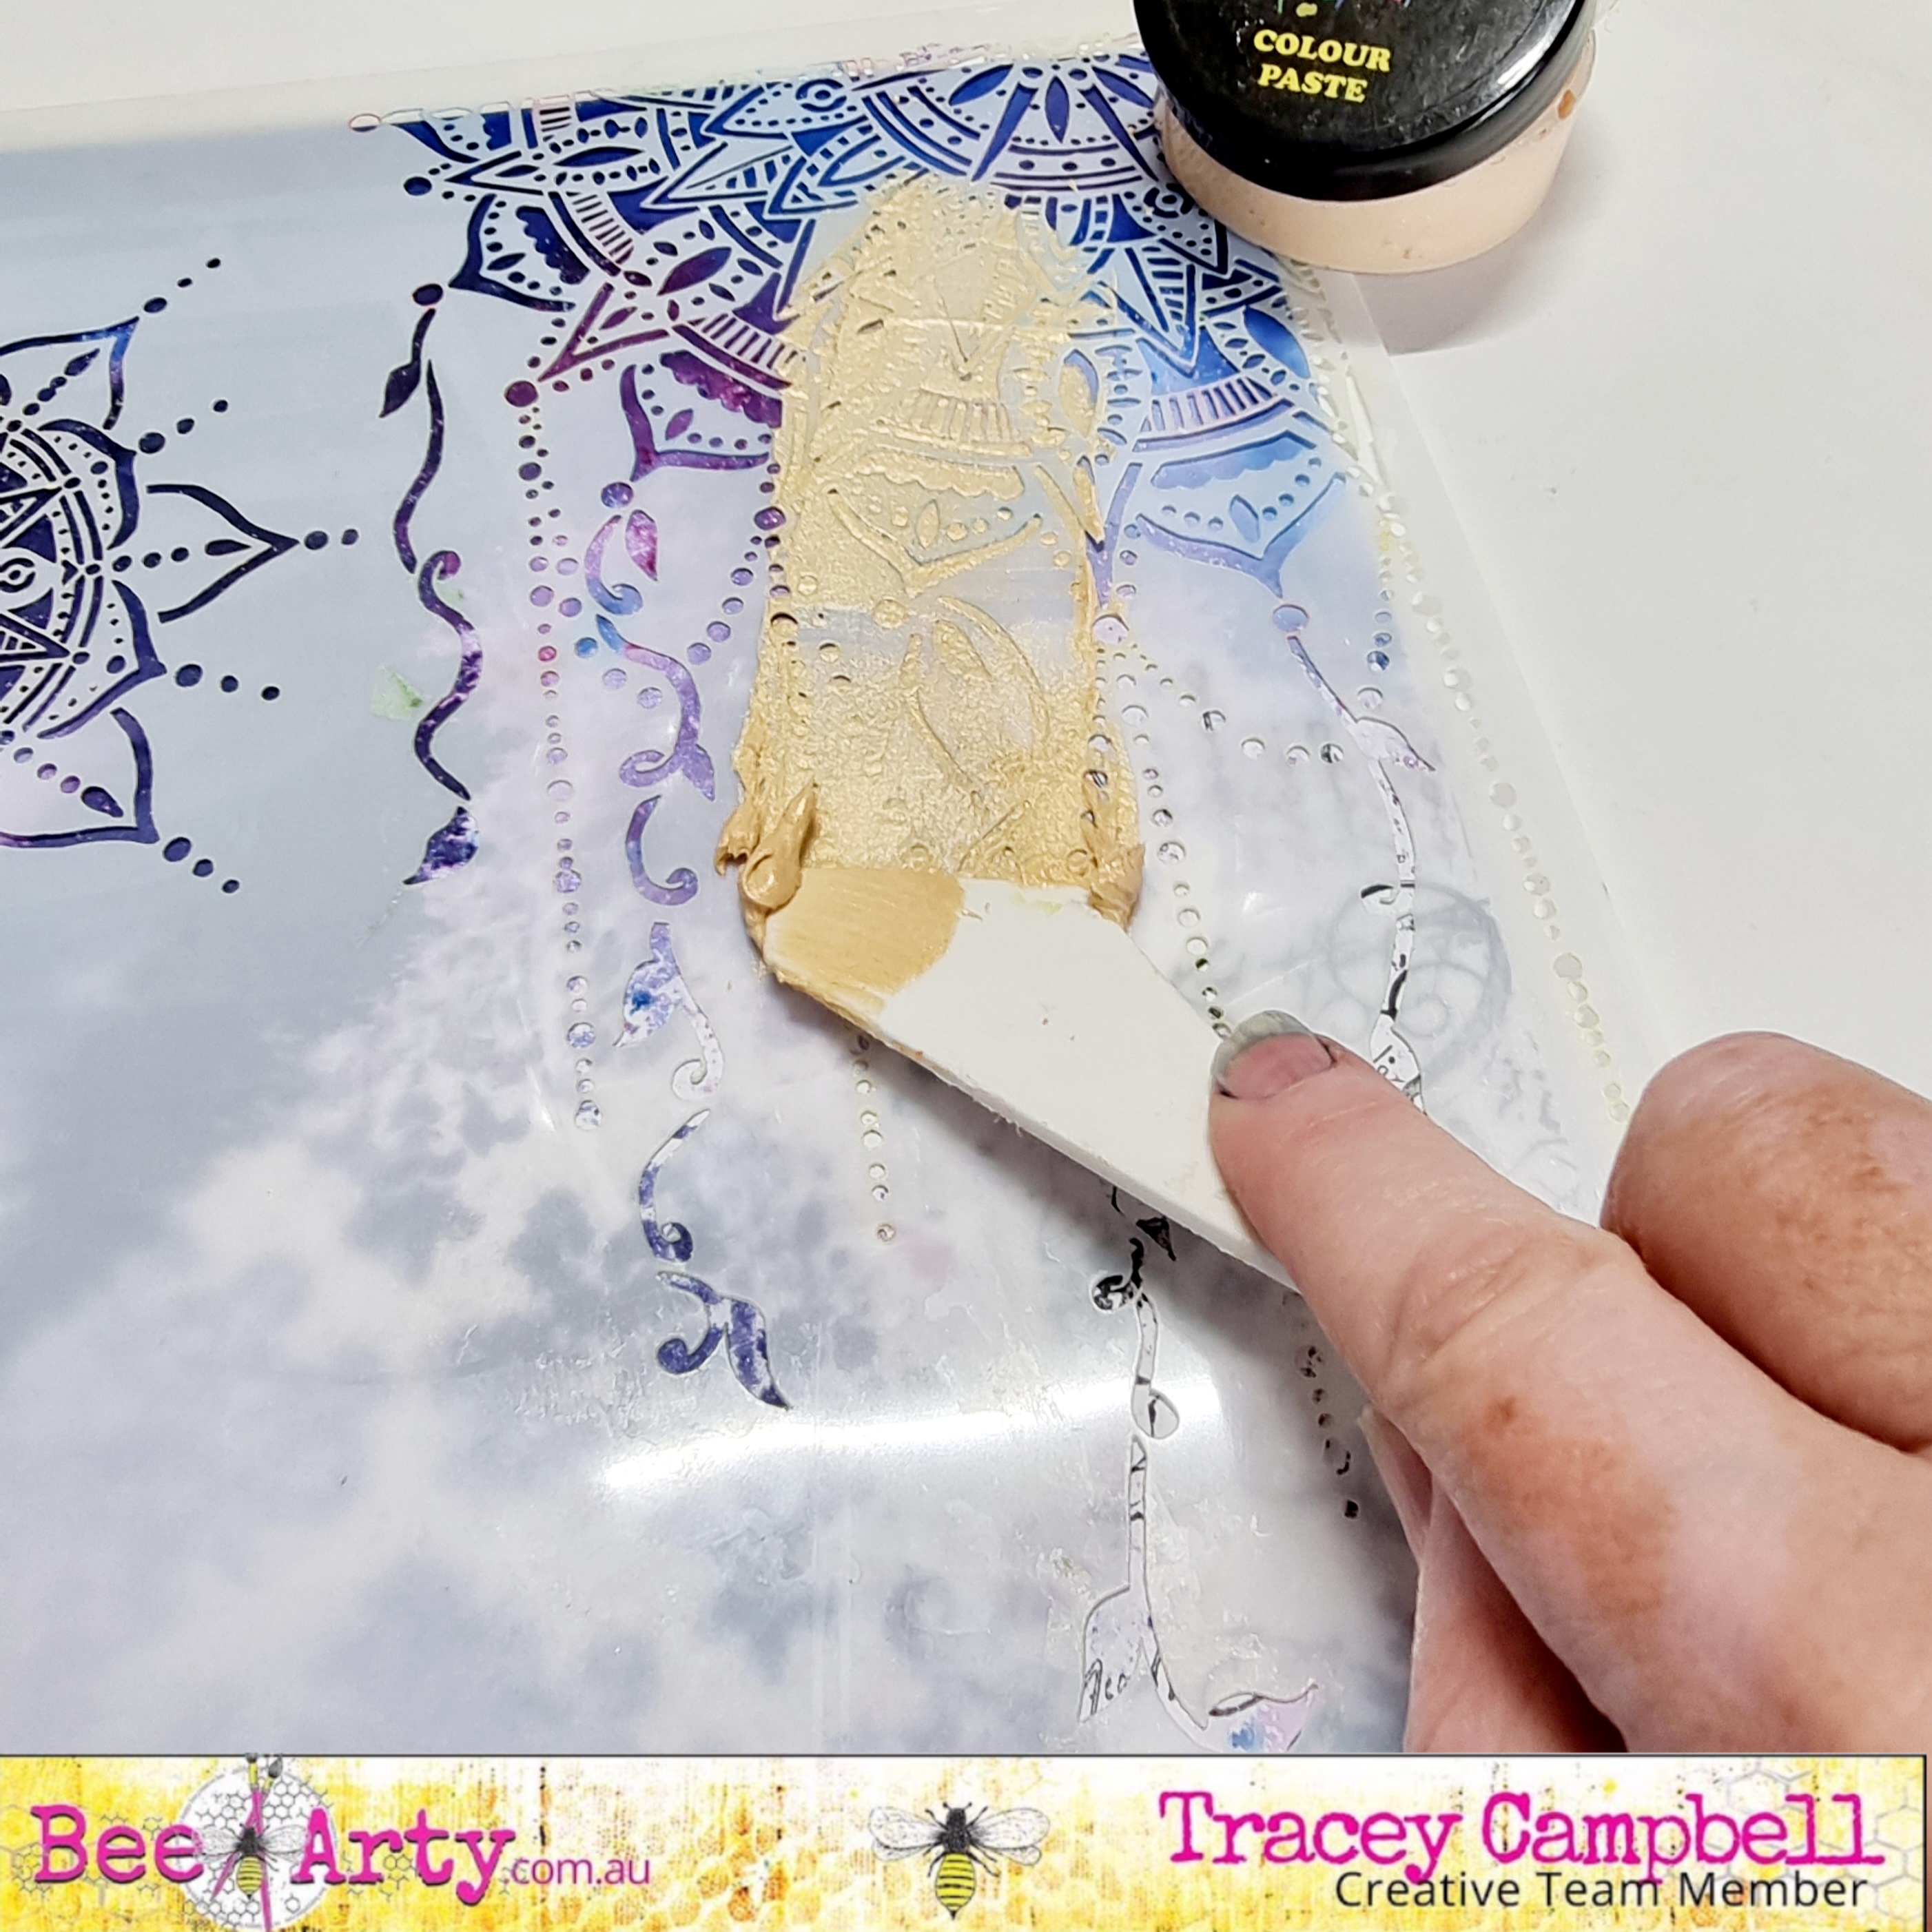
I then use Bling Colour Paste through the Mandala stencil.


Here is how the base turned out.


Next I backed a 6x4 photo with some vellum paper and gold foil cardstock and adhered it to the centre of the base.


Next fussy cut some flowers from the Tea Time in Wonderland Collection. 


Adhere the flowers around the photo, using some tacky glue in the centre and some 3 dimensional tape around the edges. Use a pen to press the centre of the flower down to the stick it to the cardstock. Use you finder to turn the flower pedals up to give them some dimension. 


I used the end of a paint brush to add some Bling Colour Paste to the centre of the flowers to give them a touch of shimmer. 


Using some Black waterproof ink I stamped the title "Happy Little Moments" from the Happy Stamp Set to the bottom left hand corner of the photo. 


Wanting a bit more dimension in the flowers I used the Flower Stems metal dies and cut out four of each stem from the green coloured papers in the Embrace Change Collection. 


I then adhered the die cuts around the fussy cut flowers. 


Here is how the final layout turned out. I love creating my own back ground with a bit of stamping and stencilling with the magic of Shimmer Dust, you never really know how it will turn out but it always looks stunning.

Thanks for popping in.


Hugs
Tracey

Monday, 15 August 2022

Pursue your passion by Linda Pearson


Rustic Blossum Collection by Queenie Y released mid-August -  Bee Arty Kit Club

This kit is due for release 15th August, 2022.


Alphabet A6 stencil

Owl Remember cut out sheet

Rustic owl small tag sheet

Story time word sheet

Gear Up cardstock

Keylock metal die

White Cardstock – Bee Arty  250gsm

Metal cogs pack

Large white No 10 Tag

Archival stamp pad acorn (darkish brown)

Rose Gold foil cardstock

Blending Tool/with foam tip

Black gel pen

Liquid glue

Twine

Paint – Paper Artsy-Caramel  Dina Wakley-Sage


Mix some sage paint into some caramel, use a dry-brush method to spread the paint over the tag.


Distress the edges blending tool with Acorn stamp pad.

Using the Alphabet A6 stencil apply acorn stamp colour though the stencil randomly over the tag.


Run the Keylock metal cog dies through the machine using rose gold foil cardstock.

Distress the cogs with acorn archival stamp ink.

Fussy cut some flower elements from the Owl Remember cut out sheet.

Outline these elements with black fine gel pen.


Cut the owl card from the Rustic Owl small tag sheet.

Distress the edges with Acorn archival stamp ink.

Add the owl tag to lower right-hand side of the tag with foam tape.

Arrange all the elements onto the card, layering the die cut shapes, flowers and metal cogs under, over and around the owl tag. Adhere with liquid glue when happy with layout.


Cut the wording from the Story Time word sheet.

Distress the words with Acorn archival stamp ink.

Add foam tape behind and adhere to the tag.

Loop twine trim through the hole.


Cut the Gear Up cardstock to A4 size or larger than the tag (I subsequently adhered the completed project into my Dina Wakley Denim journal book … I painted the background the same colour as the tag.


To prepare the cardstock, distress the edges with scissors or distressing tool.

Then wet the edges with water to further distress the paper.


Thank you for stopping by and hope you are encouraged to give this collection a go, click on this link to join the kit club Bee Arty Kit Club.


Check in again soon …. BYE for now …. from Linda

linda@yourcreativepalette.com.au

Facebook group inspired art journaling