Tuesday 27 December 2022

Aussie Bushland Adventure by Charmane Koch

 Happy whatever day it is today! LOL! Hoping everyone is getting some much needed relaxation time between Christmas and New Years! It's that time of year you don't know what day it is, what you are supposed to be doing & who you are! Ha ha!

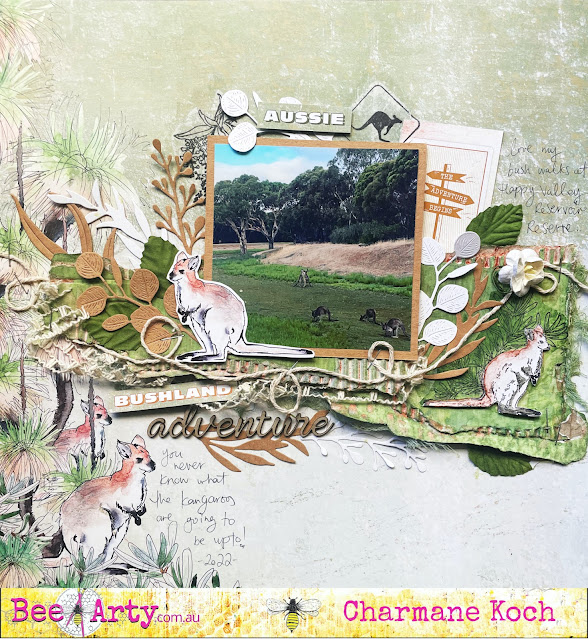
Today I am sharing with you a layout I created using the fabulous amazing NEW Aussie Bushland Collection - this one was an extra layout I created while playing for the Magazine that goes along with the subscription!

I have coloured some torn cardboard by firstly applying gesso, then once dried I have coloured with Fern Shimmer Dust and Sienna Mica powder. Set aside to dry.

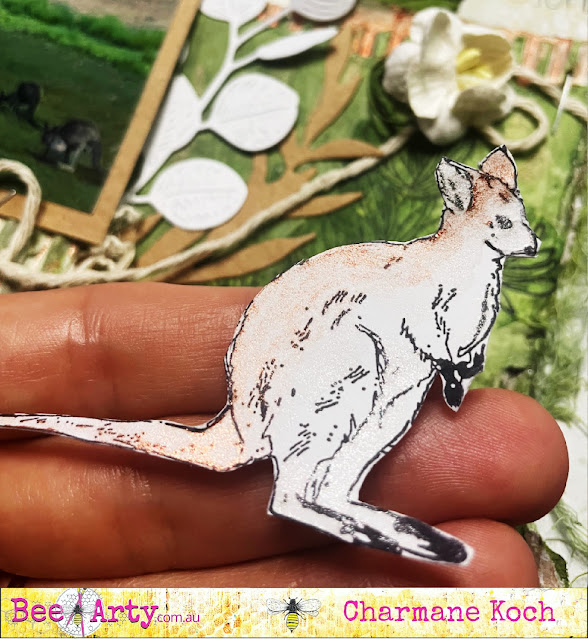
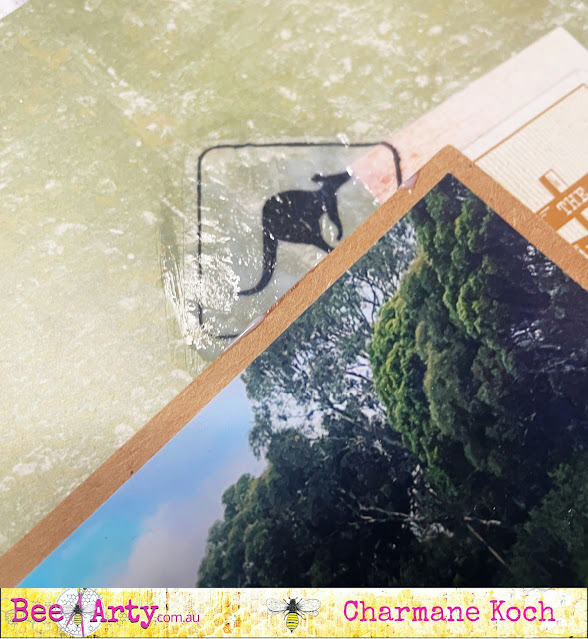
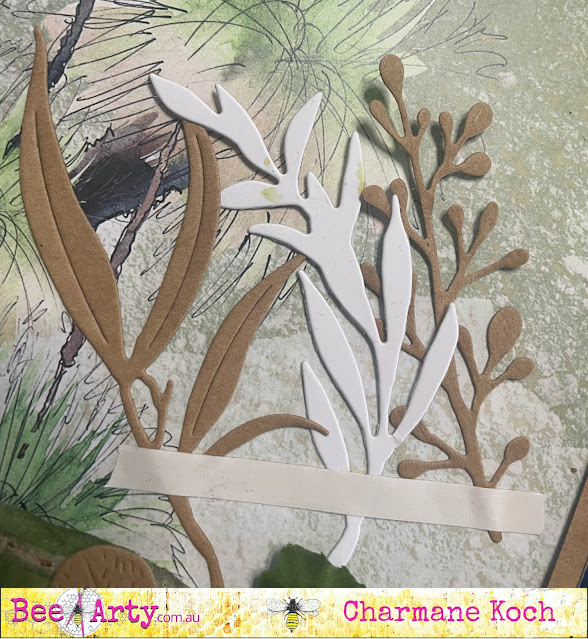
I also have stamped some of the Road Signs stamp and the kangaroo from the Wildlife onto tissue paper. I have die cut the leaves using Kraft and white cardstock from the Aussie Leaves Metal Die.

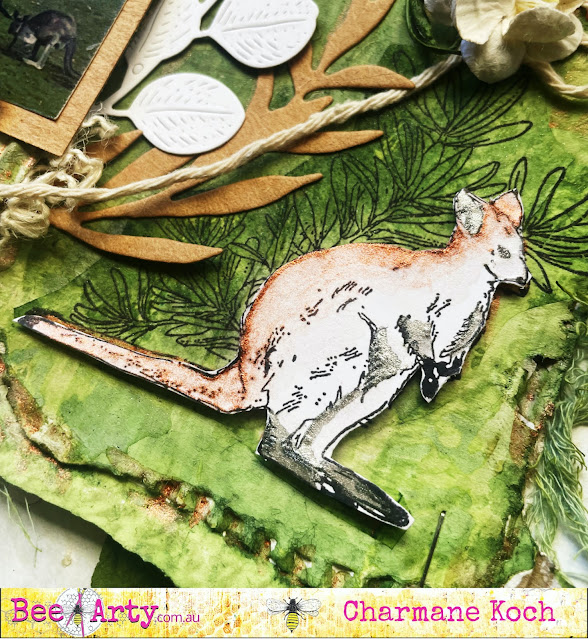
Using Gel Medium I have stuck down the kangaroo stamped onto the tissue paper onto the cardboard that I had coloured. I added more Fern to the leaves behind the kangaroo and I also coloured the kangaroo using tan. I didn't like how it turned out so I stamped another kangaroo onto White cardstock and cut that out. 


I coloured it using Sienna Mica Powder and Steel Mica Powder.

I also used Gel Medium to stuck down the kangaroo road sign and Aussie flowers just above where I attached my photo.

I cut out pieces from Aussie Bushland papers "Aussie Bushland" words & "The Adventure Begins" sign and the kangaroo.

I have layered all the different embellishments until I was happy, then attached everything with either double sided tape, gel medium or glue. I also stapled string that I have twirled onto the page from left to right. I have added Paper leaves, flower, "adventure" chipboard word and ribbon included in the kit.

I absolutely love this kit as I have many photos from the walks I regularly go on of the bush and wildlife... the papers, dies, stamps are just perfect.

I am sure you will love it too :)

Thanks for popping by - Merry Christmas & Happy New Year!

XO Charmane
WILD AND FREE in the Aussie Bushland by Linda Pearson

Hi there today I present a mixed media journal page (or can be adjusted to become a scrapbook page) using the new and amazing Aussie Bushland collection designed by Queenie Y.  Lots of coloured die cuts and cut-out elements included in this project.


Aussie Bushland collection designed by Queenie Y.

Busy Bee – Classic Kit

Queen Bee – Premium Kit

Aussie leaves metal die

Aussie flowers metal die

Aussie map A4 stencil

Gumnut 12x12 scrapbooking paper

Outback 12x12 scrapbooking paper cut-out sheet

White Cardstock – Bee Arty A4 2 sheets

Colour Spray  – green

Shimmer dust fern, sunflower, lollipop, candy

Colour artist inks  -  barley

Catalyst silicone mini blades tool

Crystal drops yellow (own stash)

Texture Paste

Black fine line pen

Liquid adhesive


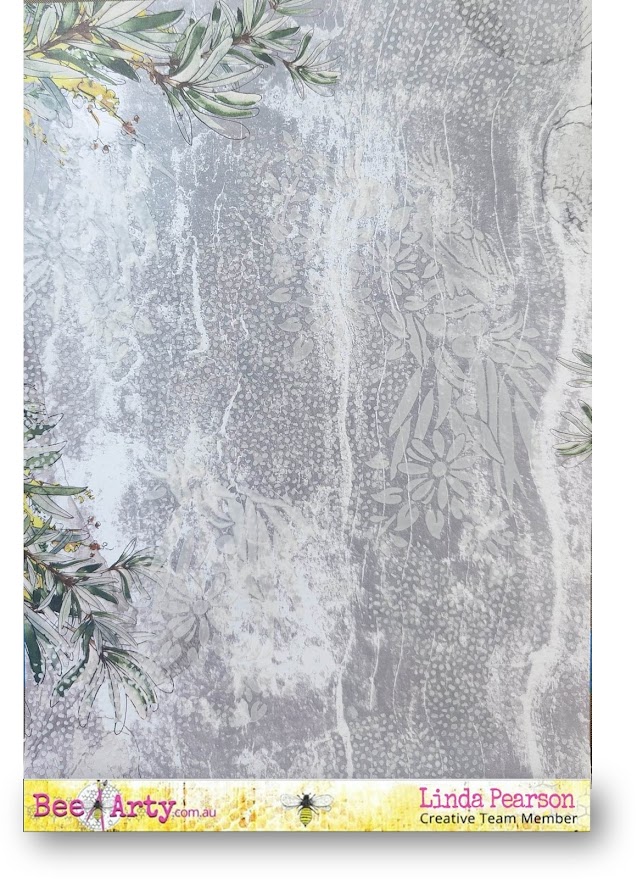
Cut the Gumnut 12x12 scrapbooking paper  down to A4 size (or leave as 12x12 size if creating a scrapbook layout). 

Using the Aussie map A4 stencil apply to the page in a random fashion with thin application of texture paste. 

In this project the stencil was not used as intended, that is the marks made with texture paste were blocks of the dots sections of stencil rather than the Australia image.  Also, the floral sprays were added to the page in the same way.  See detail image below.


Detail image of the textured paste elements over the page.  Allow to dry thoroughly.


Prepare the liquid colour mixes of a variety of  Colour Spray  – green, Shimmer dust fern, sunflower, lollipop, candy and Colour artist inks  -  barley into a small palette.

Colour the flowers with yellow, the leaves with some greens and tan with a small paint brush.

Colour the bird with green, red and brown/yellow.

Loosely brush some raspberry colour (watered down) around the page over the dotted areas of the page.


Once dry, outline the stencilled images to highlight the designs with black fine line pen.


Using the sheets of  White Cardstock – Bee Arty A4 run the  Linked In die  through a die cut machine.  Emboss the die cut piece with a pewter embossing powder and heat activate.

Run the Aussie leaves metal die

and Aussie flowers metal die through a die cut machine on A4 white cardstock.

Colour all the die cut elements leaves and flowers using a variety of greens/yellow/barley with the coloured shimmer mixes.

Fussy cut several floral sprays and a white cockatoo from the Outback 12x12 scrapbooking paper cut-out sheet.


Arrange all the floral die cut elements through the linked die cut piece, when satisfied with arrangement carefully apply liquid adhesive to the elements to secure.  Lastly add the cut floral elements with liquid adhesive.


Finally add some foam tape to the cockatoo cut out then add to the page at the bottom of spray.

Add the word card to the bottom edge with foam tape.  Slip a couple of the wattle elements to the word card with liquid tape.

Add some black splatters lightly around the page.

Outline the layout with black fine line pen.


Thank you once again for stopping by and I hope you are inspired to create a journal page or scrapbook layout using this amazing collection. 

Bye for now … From Linda 


linda@yourcreativepalette.com.au 

Inspired Art Journalling and Journal Art


Fearless I Mixed Media Tag I Steampunk I Sunila Mahajan

 Hello Bee Arty Lovelies,

Hope you're all doing well! Sunila here and I'm back with mixed media inspiration for you'll!

I've created a steampunk style tag with fun layers and elements. 


Here's a look at the tag:


I started with a pattern paper from the Rustic Bloom collection. I added texture paste using a stencil and sprinkled embossing powder over it and heat set that. That created a grungy texture. I then added mica powders and shimmer dust to create the vintage vibe with shine.


I then used black ink and added texture using stamps. 


I completed it with fussy cut elements from the collection and resin casts to create a composition. I added the word from the paper collection to add meaning to the tag.


I hope you enjoyed this creation! Wishing you all happy holidays and a happy new year!

Hugs,

Sunila


Products used:

Rustic Bloom Collection

OwlPunk Stamp

Scripted Stencil

That Way Stencil

Festive Embossing Powder Bundle

Mica Powders

Shimmer Dust Powders

Monday 12 December 2022

"FINDING BEAUTY" by Linda Pearson

  For my blog today I have created a scrapbook page using some elements from the Whispering Woods collection (designed by Sue Smyth).

Whispering Woods paper collection

Forest Favourites metal die

Forest Whisper A4 stencil

Natures Words 12x12” scrapbooking paper

Woodland Tags 12x12” scrapbooking paper

Birch 12x12” scrapbooking paper

Colourblast Embossing powder

Colourblast Mica Powder

Texture Paste

Heat Tool

Paint pen black fine

Foam Tape

Liquid adhesive


1.   Using the  add the floral section of the Forest Whisper A4 stencil with texture paste vertically over three sections of the paper.  Dry off.

2.      In this instance I mixed my own embossing powder using several different colours and textures to create a mixture to suit the colour palette (greens and pinks) of the page.

Lay the stencil over the dried texture paste add Versamark embossing ink through the stencil using a blending tool. 

Sprinkle the green embossing powder over the clear ink, heat the powder to set.


3.    Repeat the process for the flowers and pink embossing powder.  Heat set the powder.

Repeat for the other textured elements.


A.  B

4.    The above image A  shows the embossed textured elements, image B shows these sections after detailing with fine black paint pen.


5.       The joining tape has embossing powder added, again a mix was created using a variety of Colourblast Embossing powder and Colourblast Mica Powder (green/brown/gold).  Rub the Versamark ink over the tape then sprinkle the embossing powder.  Heat set the powder to activate. 

Tear the tape into 3 pieces remove the backing tape and place onto the page between the textured elements.


6.     Cut four tags* from the Woodland Tags 12x12” scrapbooking paper, distress the edges of the tags with black archival ink. *When cutting the tags cut an extra tag along the long edge to act as a band to adhere the tag to the page.

Arrange and adhere the tags to the page with liquid glue.

Run the Forest Favourites metal die, onto white cardstock, through the die-cut machine.

Emboss the die cut piece in the same manner as the textured paste stencil in step 1.


7.   Add photos to the flip out tags with photos cut to approximately 5 x 8cm.  Add 4 photos to the 4 tags.

Add the sentiment to the page backed with foam tape. Distress the edges of the word strips with black archival ink. 


Thanks for stopping by and look forward to creating for you again soon.


Cheers from Linda

linda@yourcreativepalette.com.au

#inspiredartjournalingAU 

Monday 5 December 2022

"Paint your own Reality" by Charmane Koch

Happy Monday Everyone!

Today I wanted to share with you a Mixed Media layout based on the Van Gogh Exhibition that we went to last year!


The girls just loved the Exhibition, it was definitely such a fabulous unique experience!


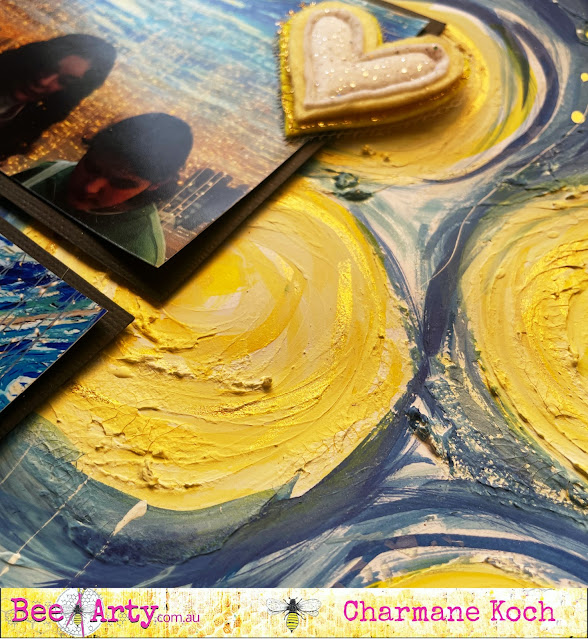
It was actually quite fun to put together... I started off by using Crackle Paste and a spatula to create the "Starry Night" imagery trying to replicate the Van Gogh artwork...


Once the Crackle paste dried I layered the yellow and blue Mica Powder colours....


I used Bling, Sunshine, Just Blue, Polar & Deep Water Mica Powders....


I kept layering the colours until I was happy... & just love the texture the Crackle Paste created.


I also used the Life Of Colour White Pen to create the "lighting strings" and then glued a few clear sequins to create the "lights. I also dabbed the Bling Mica Powder to create lights too.


Thanks so much for popping by and checking it out!

Happy Creating,


xo Charmane

Monday 28 November 2022

BEE YOU ... BEE WONDERFUL by Linda Pearson

A little card front created or small journal page using the beautiful Bee the Sunshine paper collection kit designed by Fiona Paltridge. 


Bee the Sunshine paper collection kit  - sunny days cards and tags

Floral Arrangement clear stamp set

Pretty Fields 12x12 scrapbooking paper

White Cardstock 350gsm

Colour blast Shimmer Dusts – assorted colour

I cut the Pretty Fields 12x12 scrapbooking paper down to suit the card (at least 6x 8 inch), up to A4 journal size.

Cut 2 cards from the Sunny Days paper to suit (see main image example).

Stamp out the floral stems and glass vase stamps from the Floral Arrangement clear stamp set using black archival ink onto White Cardstock 350gsm.  Use the thicker card when adding Colour blast Shimmer Dusts as water will be mixed to colour the stamped elements.

Mix the chosen Colour blast Shimmer Dusts in a paint palette with water, stirring to activate the powder.  Colour the stems - flowers, leaves and add a little colour to the jar.

From the Bee the Sunshine paper collection kit  - sunny days cards and tags and cut out Bee You image from the sheet.

Once dry, distress the all the elements, flowers, jar, bee you and the edges of the cut cards as well as the main larger card piece.

Using diluted white paint or gesso add splatter to the main background piece and the two smaller embellishment pieces.

Optional step:  add strips of coordinating washi tape where the vase of flowers will be placed on page (this is to anchor the main image to the page.

Adhere the two rectangle card pieces as per the main image.  Secure foam tape behind the bee you honeycomb image then secure to the page connecting the two card images.

Adhere the vase and flowers to the page resting on the washi tape.

Handwrite the words bee wonderful in black pen across the bottom of the page.


Thank you for stopping by and look forward to sharing with you again soon.


Cheers from Linda

linda@yourcreativepalette.com.au


Saturday 26 November 2022

Mixed Media ATCs by Sunila Mahajan

 Hello Lovelies,

Sunila here, and I'm back with a mixed media tutorial for you all. The new release Saltwater collection is a beautiful escape to the beach. Today I decided to make a set of Beach themed ATCs using the collection. 

Here's a look at the ATCs


Let's begin creating these.

Step 1: Start with two pieces of white mixed media paper cut to 2.5"x 3.5".  We'll use the stamp set to create the background as well as focal elements.


Step 2: In a palette mix mica powders with water to create the colours. Use a paintbrush and apply the colours onto the stamp and stamp them on the paper to create texture in the background.


Step 3: Stamp a few elements on a separate piece of card stock with brown ink.


Step 4: Colour the elements with artist inks.


Step 5: Die cut elements for layering using the dies. 


Step 6: Layer all the elements and create a composition.


Step 7: Finish them by adding sequins and splatter.


Hope you enjoyed this tutorial!

Hugs,

Sunila


Products used:

Saltwater Collection

Aquatic Life Clear Stamp

Waves Metal Die

Mica Powders

Artist Inks