Sunday 28 November 2021

Grateful Hearts Tag by Aditi Mahajan

 Hello Bee Arty Lovelies,

Aditi here today and I'm  sharing with you all a mixed media style tag today. I have a step by step pictorial if you wish to create along. I've enjoyed digging deep into the Bee Arty products, and experimenting with them on small surfaces such as a tag. This helped me understand the product as well as create this tag I can use for any purpose. 

Here's a look at the tag


Let's get into the process of creating it

Step 1- I choose a patterned paper and cut out a tag. I chose something which already had the floral elements.


Step 2- I added colour paste through a stencil for some texture and colour.


Step 3- I used the Artists Ink to add a little more warmth and colour to the background.


Step4- I used a few stamps to add background stamping with black ink and coloured ink to match the background.


Step 5- To finish it off, I added fussy cut elements from various papers, sentiment and splatter with Mica and Shimmer Powders.

Monday 22 November 2021

Gaming Rule created by Tracey Thorne

 Good morning to you all. Paige gave me a little challenge when creating with the Chit Chat range this week… create a double 12x12 layout. I have not created one of these in so long and it surely was a lot of fun putting this one together with all the embellishments that you can cut out of the Collection page.

I have started using 2 sheets of 250gsm Premium cardstock – I taped them together on the back whilst I worked adding the colour and stamping. I worked out positioning of photos and cut some of the printed papers to layer under the photo. I have used Chit Chat My Heart – 6”x9” & 6”x10.5”, Chit Chat She – 2 pieces @ 8”x5” and Chit Chat Speak 6.5”x8” & 5.5”x7”. 

I used Colour Blast Shimmer Dust in Lollipop.This has been added to a little thick and slow medium before splodging it on the page in different places. I have then used Archival Ink with the stamp Happy to the page in various places so that it pops just above the photo placement.

After a little paper shuffling to get my layers right and swapping a photo over,  I was happy with placement and stuck all these elements down using tape, glue and foam tape to add a little dimension to some of the pieces. I have then cut some of the elements from the Chit Chat Communication12x12 paper and have used these throughout the two pages. I have added a little foam tape to some to help give dimension to the page. I have also added a little black cotton under two of them. Another great fabulous part of this kit is the scrabble stamps  - I have used these to create my daughters name and then adding it to the tag that was cut from the collections page.


A few final touches were to create & cut my title using the Silhouette machine. I have backed the word RULE using the pink dot side of the ChitChat paper She. To compliment and finish off I have added a black stitched border around both pages.


I hope you have enjoyed my process of putting together this page. It was a lot of fun creating it and finding the right elements within this fabulous kit to compliment the cheeky photos.


Have a great creative week

tracey

Sunday 21 November 2021

Be Fearless with Belinda Spencer

 Hello Arty Bees!!


It's Belinda here with you today to share my latest layout featuring the stunning Fearless, Brave and Free Collection by Fiona Paltridge.


I started my layout by cropping a sheet of the Positive patterned paper and mounting it on a sheet of the fabulous 350gsm White Cardstock. I love to have a border around my page and also I love the sturdiness this double layer gives. 


Next I grabbed the beautiful Indigo Colour Spray and spritzed some of that on the background. I titled my page and let some drip down in the area where I knew my photo was going to be. The background design on the paper was so nice that it didn't need too much added to it. I didn't want to obliterate what was already there just add a little bit more to it.


Once the layout was dry, I then added some stencilling using the Ecliptic A6 Stencil with Snow White Colour Paste. I applied the paste through the stencil using a palette knife. 
I added some stamping too using the Say It Clear Stamp Set with Archival Ink.


I fussy cut some images from the Fearless, Brave and Free Collection patterned papers. I also used the String Wreath and the Create Metal Dies to add more layers behind my photo. I used the Create die with patterned paper as well as with the white cardstock. One of the die cuts I sprayed with the Indigo Colour Spray. I then layered them together behind my photo.


Finally I added my embellishments, title and quote.

Here's what I used:


Metal Dies:


Thanks so much for stopping by the blog today.

Cheers
Belinda


Saturday 20 November 2021

Such A Blast by Tracey Campbell

 Hello and welcome to the Bee Arty Blog, I am Tracey Campbell and today I get to have some fun with the Bee Arty Mini Collection Electric Dreams. This is such a bright, bold, fun collection that it wonderful to use with those photos of your kids that you haven't been able to sue. You know those photos that you have of them having an adventure in a busy colourful environment. Places such as busy play grounds, fairs, theme parks even shopping centres. Those photos that don't seem to go with any other patterned papers. 

I've used a photo of my youngest daughter Paige, we were at Luna Park and she had just gotten off the large indoor slide and followed the pathway around to the stairs. At the bottom of the stairs there was a grate and coming from the grate was the best blast of air, so hard a pressure that it actually changed the look of you face. Not heard enough to hurt, but enough to make it so much fun!!

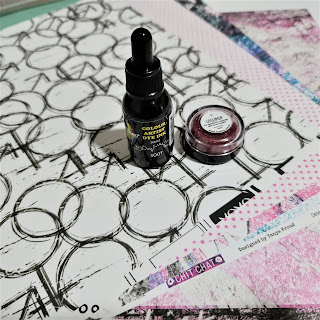
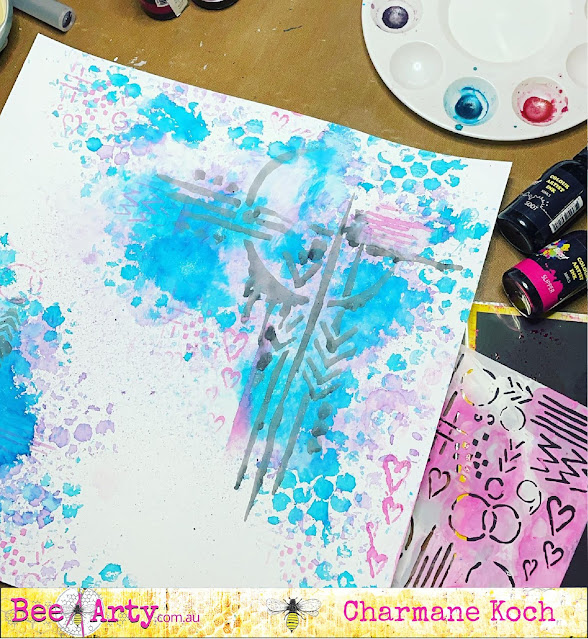
For the base of my layout I used the the black with geometrical lines and the patterned circle papers from the Electric Dreams Mini Collection to create my background. I inked the edges with black ink and adhered 3/4s of the circle paper over the top of the geometrical lined paper. When adhering the patterned circle paper onto the black geometrical lines paper I made it slightly angled and off centre. I did this on purpose as I knew that my page was going to be a fun messy page and I didn't want to align it too much. If this is not your style then you can adhere it squared on your page.

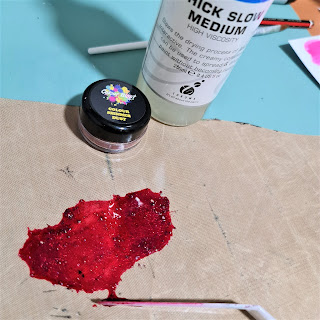
Next I wanted to add more colour onto the background so I added splashed of colour. I did the by first adding flicks from the straw of the Road Base Colour Spray. I then added a fussy cut zig-zag strip (cut from the zig-zag Electric Dreams patterned paper) down the left hand side of the background. 


After it was dry I still wanted more colour so I mixed some Heavy White Gesso, a dash of water and Colour Shimmer Dust to create three different colours of watered down Gesso paint. The colours I used of the Colour Shimmer Dust were; Sunflower, Peacock and Candy. 


While it was drying I decided on a title and used some 220gsm Black Cardstock and the 365 Alpha Metal Dies to cut out the word "Such A Blast". The 365 Alpha Dies are such an easy way to create your own custom title and they are such a fun font that they look great with any layout.


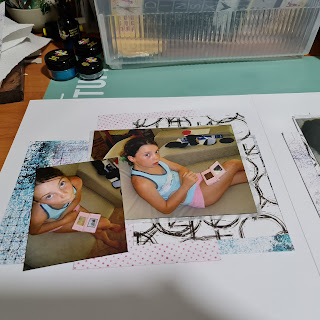
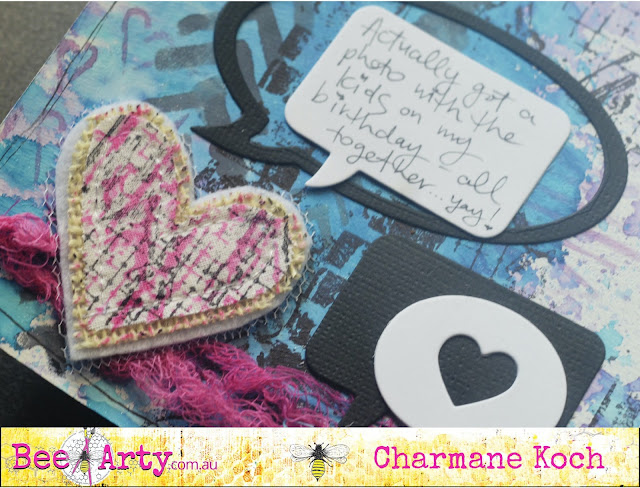
I then adhered a landscape photo into the middle of the background, fussy cut a few elements from the cut-apart-sheet from the Electric Dreams Mini Collection and stuck them to the bottom corner of the photos. 
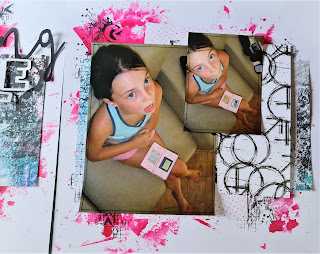

I added the 365 Alpha letters over the top of the photo to create the title and popped a tiny bit of journaling across the bottom of the page with a white paint pen to finish it off.


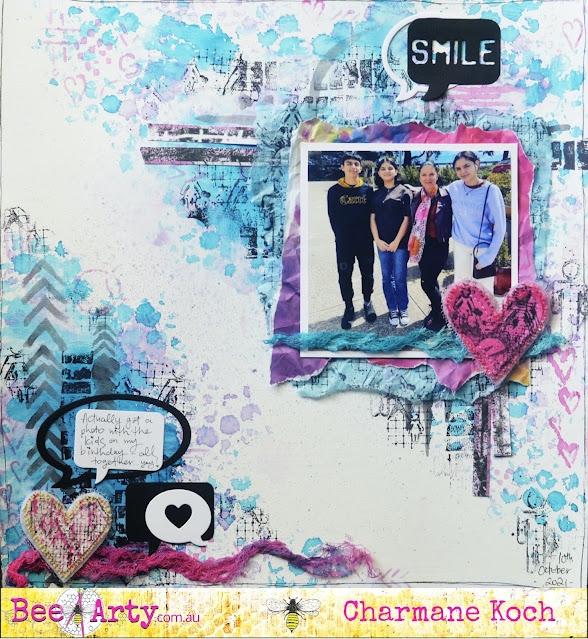
Here is the finished layout, I love the contrast of the black against the white and the bright colours in the Electric Dreams Mini Collection it makes it such fun to work with and really turns any layout into a statement piece.


Thanks for stopping in and I hope that I have inspired you to have a look at this collection and add it to you cart. Take care.

Hugs
Tracey


Friday 19 November 2021

Smile by Charmane Koch

 Happy Friday Everyone!

Today is a quick share from me, as it's getting to silly season - ALREADY! I have so many things happening kid wise it is NOT FUNNY!

Anyway, I have only had a chance to play with the Chit Chat Collection based on and inspired by Karyn Schultz's awesome Facebook Live the other week - FIND IT HERE ON THE BEE ARTY HIVE!!

I used all of the different tips, tricks and techniques that Karyn shows us on her Live.  Including stencilling with Bee Arty Artist Inks, stamping on tissue paper 


This is what the background looked like just with the stencilling... I also used bubble wrap to add extra interest. I just LOVE the stencilling technique! How fabulous does it look?


I also loved the tip of doing a few batches of the Chit Chat Dies using Black & White Cardstock and also Kraft. I decided to go with a mix of Black & White Chit Chat Dies.

And as you can see I have used my Inking & stamping technique again on the DIY Hearts.

I also coloured some muslin with the leftover Ink that I had and add it to my page too.


This is my version of Karyn's Live and I really love how it turned out!

I just LOVE the Chit Chat Stencils, Metal Dies & Stamps - these will be used many many times!


Anyway, I hope you will go and give Karyn's Techniques a go & I hope that I've inspired you even more to give it a try! So much FUN!

Thanks for stopping by & hope you all have a fabulous weekend!


Take Care & STAY SAFE!

XO Charm

Thursday 18 November 2021

Be Free Mixed Media Tags by Aditi

 Hello lovelies,

Aditi here today, and I'm sharing with you all a set of mini tags. I've used various mixed media layers using papers from various collections, pastes and colours all together to add depth and dimension. 

Here's a look at the tags


I've use a paper from the Find Paradise collection, and mounted it on some packaging corrugated sheet, that instantly gave it some depth.


I added colour paste using a stencil and then splashes of artist ink.


For the focal point, I've used the feathers die and fussy cut some elements from assorted papers. 


Supplies:
Fine Feathers Metal Die
Laced Stencil

Hope you enjoyed this creation!