Showing posts with label Chit Chat collection by Tanya Froud. Show all posts

Monday, 14 March 2022

CHIT CHAT mini journal

 Join me today as I create a mini journal utilising the ‘Chit Chat’ collection designed by Tanya Froud as well as incorporating other bits and pieces from other Bee Arty Collections and using ephemera from my own stash.  This project allows you the freedom to create a mini journal that suits your own situation …. ENJOY!

JOURNAL BOOK construction

Chit Chat collection kit

Chit Chat scrapbooking paper collection

50mm wide Kraft adhesive book tape (Officeworks)

Xpress it 50mm wide double-sided tape

Paper cutter

Gridlock stencil

Black Archival Stamp Pad

We all have lots of cardstock from various paper collections left over in our stash.  Today we are going to cut up several sheets of cardstock to create a mini art journal that can be used for any number of purposes.  With this project anything goes, and you can include as many pages as you need for the desired purpose of the journal.  Also, an opportunity to use up all the left-over ephemera you have lying around is perfect for decorating the pages of the journal and photos can be added to finish off.

You can decide how many pages will suit your particular needs, up to 10-12 folded sheets is very doable if using 50mm wide tape for binding. 

For the sample journal made here I cut 12”x12” cardstock sheets in half to make a 6”x6” (folded) journal book. 

Another option could be to sheets into 3 to make a 4”x6” journal (landscape view).

Open View of journal below

Steps for assembling the mini journal

a.     Determine the number of pages you want in your journal.  One piece of 12” cardstock will yield 2 - 6” square height pages.

b.    Use paper cutter to cut each piece of cardstock into 2 horizontally.


c.     Fold each page in half to form a ‘booklet’, use boning tool along fold line.


d.    Sort each single ‘booklet’ into required order

e.     Continually check the book pages are facing correctly … pencil mark the word top and back when you decide which way the paper will sit when bounded together.

f.      Cut and secure double side tape to the back off one ‘booklet’, be sure to place tape as close as possible to the edges (DO NOT REMOVE the top protective film just yet.

g.    Pick up next ‘booklet’, remove one of the protective film layers from first ‘booklet’, be sure to line up carefully before pressing down properly.  Remove other protective film pieces and press down in turn.


h.    Repeat steps ‘F’ and ‘G’ until all ‘booklet’ pages … IMPORTANT: be sure to check the spines of each booklet line up exactly so the journal doesn’t fan out.

i.      Once all booklets are adhered together cut off a piece of Kraft book tape, place along the spine of the journal book to bind all the pages together.  A second layer can be adhered along the spine if desired but not necessary.


Your journal book is now ready for adding lots of cool elements such as Stencils, Stamps then add bits of papers and ephemera from your stash to decorate your new Art Journal.

 The following images provide some inspiration for decorating your own mini journal using bits and pieces from your own stash.


Together

White Gesso

Chit Chat - Metal Dies - Peeps

Chit Chat - Clear Stamps - Happy Stamp, Scrabble

Chit Chat - Stencils OXOXO A5

Untangle -  Flowers Metal die

Checkered washi tape

Aqua shimmer card

Colour Spray -  Caribbean, Bubble gum,

Focal elements -  photo frame, chit chat ephemera cut outs


Look around


White Gesso

Electric Dreams paper collection

Untangle -  Flowers Metal die

Fearless Brave and Free - Girl card cut out card

Abstract circles

Focal elements - Ephemera – own stash, Photos, title


Choose calm 

Untangle collection - flower cut out

Colour Spray -  sunflower

Fearless Brave and Free - Girl card cut out card

Beehive stencil

Focal elements -  I choose calm and follow your bliss stamps own stash, Photo frame, Photos


Party

Fireworks collection

Washi tape – own stash

Focal elements – pocket, celebration photo tags, supporting ephemera cut outs


Earth Angels


 Beehive stencil

Spread your wings collection  Elegant tags cut out page

Chit Chat collection kit - Clear Stamps - Happy Stamp

Versamark Ink pad

Charcoal embossing powder

Corrugated Board

Washi tape – own stash

Focal elements -  Pocket, Photos, Tags for photos, Mini photo book


My Happy Place

Gridlock stencil

Spread your wings collection  Elegant tags cut out page

Chit Chat collection kit - Clear Stamps – Scrabble

Leaping cut out page

Chit Chat collection kit Marked stencil

Washi tape – own stash

Focal elements – Flip out photo tag, Journal tag , Handwritten title, Studio photos


A Moment to Love

Circulate stencil Arty Farty collection

Bohemian Bliss paper collection – large pocket, cut out cards and ephemera

Washi tape – own stash

Focal elements - Mini photo/journal notebook, Finch bookmark


Journal Cover

Gridlock stencil

Black archival ink pad apply ink through stencil to the kraft paper tape using a blending tool.

Add a title to the front cover of the mini journal.


Thank you for joining me today … I hope you are inspired to create your own mini journal using up odd papers from collections you have in your stash.


Cheers from Linda


linda@yourcreativepalette.com.au


Friday, 14 January 2022

Love Us by Charmane Koch


Happy Friday Everyone! OOHHH it's one month until Valentines Day... so this layout is kind of perfect to get into the swing of things - hahah!

I decided to have yet another play with the Chit Chat Collection - wow how many layouts I have created using this fantastic collection now? Is it 4 or 5 maybe?


I started my layout off with a background I created recently using the Boxed In Stencil, some Heavy White Gesso and sprinkling on some Aquamarine Embossing Powder. I have then dried it with a heat gun.


How therapeutic is it watching the Embossing Powder bubble away??? Or it just me?


So I did that background back in December - as I did it on my "Mask On" layout and wanted to recreate the background and maybe show you how I did it? Who knows... that was sooo last year! heheh...

I decided that it was time to use it and the Aquamarine colour matched perfectly with the Chit Chat Collection Papers... 

The other night, I wanted to scrap but had no mojo, so instead I got out this piece of paper and did some fussy cutting....


and yay.... {PS - I am not normally a fussy cutter, so don't look too close!}


So to put the page together it was all about layering & playing around with the bits and pieces I cut out. I also cut out the Grungy Filmstrip Metal Die  using Black Cardstock


It's perfect for a frame around photos, and also ripping the smaller filmstrip in half I have tucked underneath the other layouts on my page.


I then got out the fabulous Scrabble Stamp - how awesome are the alphas? 


I stamped US onto one of the Chit Chat patterned papers to create my title...


I also used the cute Male/Female stamp on the Charms Creations DIY flag, and you will see I have stamped it all over the background. To create a different effect I have used a mix of Gel Medium & Slipper Artist Ink!


I also used the Happy Clear Stamp "Together is my favourite place to be" - this will be IN STOCK SOON!

How cute is this "love"?


And the FULL layout! Really had fun playing with this!


Thanks for popping by and I hope that I have inspired you to have a play with the Chit Chat Collection! It is a LOT OF FUN!


XO Charm

Friday, 19 November 2021

Smile by Charmane Koch

 Happy Friday Everyone!

Today is a quick share from me, as it's getting to silly season - ALREADY! I have so many things happening kid wise it is NOT FUNNY!

Anyway, I have only had a chance to play with the Chit Chat Collection based on and inspired by Karyn Schultz's awesome Facebook Live the other week - FIND IT HERE ON THE BEE ARTY HIVE!!

I used all of the different tips, tricks and techniques that Karyn shows us on her Live.  Including stencilling with Bee Arty Artist Inks, stamping on tissue paper 


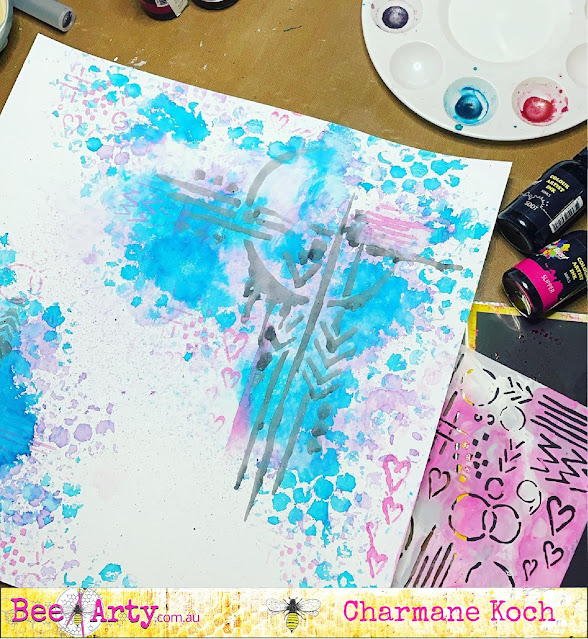
This is what the background looked like just with the stencilling... I also used bubble wrap to add extra interest. I just LOVE the stencilling technique! How fabulous does it look?


I also loved the tip of doing a few batches of the Chit Chat Dies using Black & White Cardstock and also Kraft. I decided to go with a mix of Black & White Chit Chat Dies.

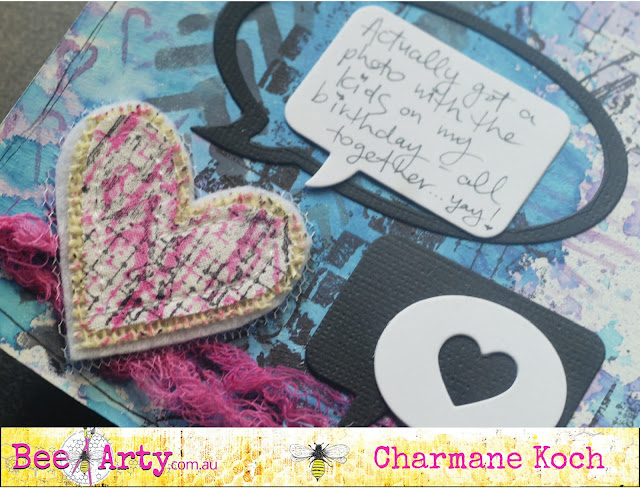
And as you can see I have used my Inking & stamping technique again on the DIY Hearts.

I also coloured some muslin with the leftover Ink that I had and add it to my page too.


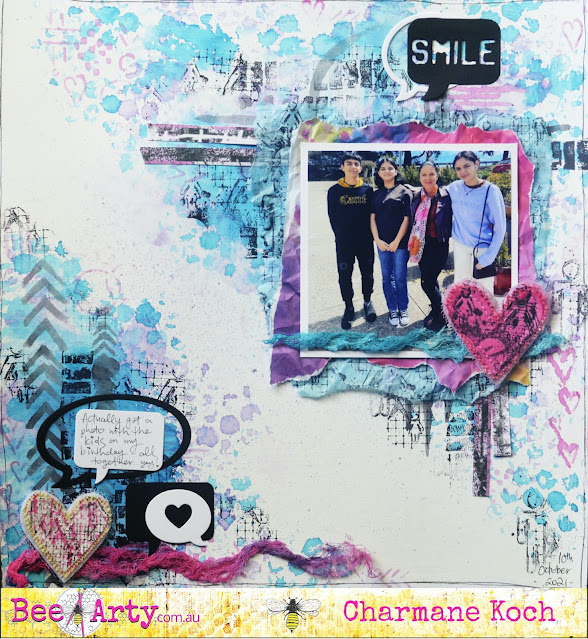
This is my version of Karyn's Live and I really love how it turned out!

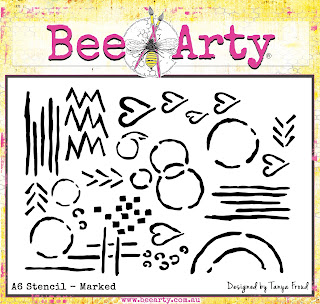
I just LOVE the Chit Chat Stencils, Metal Dies & Stamps - these will be used many many times!


Anyway, I hope you will go and give Karyn's Techniques a go & I hope that I've inspired you even more to give it a try! So much FUN!

Thanks for stopping by & hope you all have a fabulous weekend!


Take Care & STAY SAFE!

XO Charm

Sunday, 7 November 2021

Blah Blah Blah by Tracey Campbell

 Hello Bee Arty people, it's Tracey Campbell here today to share my latest creation using the newest collection Chit Chat, designed by Tanya Frond. A fun and funky range with pretty pinks, greens and purples with black grungy accents perfect for males and females.

I've used it to great a layout about how when Bronte was smaller she loved chatting on the phone to her Dad or Grammy.... doesn't happen much anymore. Teenagers!! 

To start this layout I used the XOXO Stencil and spread some clear gesso on to white cardstock . I placed some Os and hearts in rows across the base.

Once dry apply lines of Artist Inks in Slipper and Mermaid across the page, with a thick paint brush.The clear gesso will resist the Artist Ink. 

Use a paint brush to flick some watered down white gesso across the base. Then repeat with the Mermaid Artist Ink and splatter fine splotches over the base. 

Cut three strips of paper from the She patterned paper, roughly the width of 3.5 cm. Tear off the ends and tear them in half so that you have 6 paper strips. Adhere them across the base, use both sides of the pattern paper.

Using the Road Base Colour Spray flick some liquid over the top of the base.


Using some black Stazon use the rectangular piller stamp form the Scrabble stamp set and press it across the base, over lapping the Artist Ink and She pattern paper. 


Cut 4 rectangles from the She and Chat patterned papers, just slightly larger than a 4x6 inch photo. Distress the edges and angle mat them around the photo. Adhere tot he base, slightly off center, see the final layout for the position.


Fussy cut the two spike speech bubbles from the Speak patterned paper. As I knew I wanted three spiky speech bubbles I drew another one on white cardstock with a black Sharpie pen and then cut it out.


Adhere the spiky speech bubbles around the top right hand corner of the photo. Use the Scrabble piece letters from the Scrabble stamp set and use black Stazon to stamp a title onto one of the speech bubbles. Fussy cut the words Blah, Blah, Blah from the Love Letter title pattern paper and adhere them to the other two speech bubbles.


Use the metal die to cut out a pink and teal female person from the Peeps metal die set and adhere them to the bottom right hand corner. Finish off the page by stamping some heats from the Scrabble stamp set.

Well I hope that you have enjoyed my layout that I have created today with the Chit Chat collection, it is really a versatile range.

Hugs
Tracey