Thursday 31 March 2016

Art Journal - by Lynn Good

Good morning - well it is the last day of March - hard to believe that Easter is over and the year is flying by.  Today I have created an art journal page:


I started by covering the entire page with an assortment of Dylusion Paints and blending them together


I then applied a The Crafters Workshop stencil - Cosmic Swirl and Lipstick Colour Paste over the top


Once dried I used the Colour Paste - Bling and Snow White with a Finnabair Bubbles stencil randomly on the page.


I stamped and embosssed  two crazy cats and a title using Colour Embossing Powder - Dusty Charcoal.


I then coloured the cats with Shimmer Spray - Apple of my eye and Sunshine.  I applied two coats to get a shaded effect.


here are some close ups:


Thanks for stopping by,


Wednesday 30 March 2016

Tags & tips! by Tina Connolly

Hi there, hope you're able to find some time today to get crafty!  If I only have a small amount of time spare I love to experiment with different techniques on some tags.  Here's a few tips and tricks I discovered along the way....


Colour Blast Embossing Powders - depending what the colour is that you are embossing will effect the resulting embossed colour.  If you use Snow White over a white painted piece of chipboard the  effect is white...


but if you use it over natural chipboard the result is more silver coloured.  Used over natural wood, it gives a slightly golden, antique colour....pretty cool hey?  Three different effects from the one embossing powder!


You can create really cool effects by using two different embossing colours!  Ink the item, sprinkle part of it with one colour, shake off excess, and sprinkle with the second colour, and heat to melt.
I used this on some of the leaves, and the "happy" chipboard piece.


Colour white flowers with Colour Blast Shimmer Spray for co-ordinating blooms.


Products:


Tuesday 29 March 2016

Be Brave & Magic Wild by Lisa Oxley

Howdy BlogHoppers, Lisa here with a layout to share with you .
ok so when I am creating any piece of arty goodness the background is where its all at for me .
I love using texture and colour to create impact and attract attention, and then add extra details to draw the viewer into the piece even more.
Using a combination of different mixed media mediums
one can create seriously amazing unique visual backgrounds.
For this background, I have used a combo of plain white textured paste, Dylusions and Colour Blast Colour Sprays and Colour Blast Coloured Pastes.
Check out the shimmer in this paste , sooooo glorious 

After Drying time I've added a little drippy black housepaint, while that dries I spritz a little muslin with Deep Blue Colour Blast Coloured Spray and set aside to dry.
A spritz of "Bling" Colour Blast Coloured Spray give a shimmer all over your work.
Final Background details include a little grid stamping and doodling over the page.
Then various washi tapes that support the colours in my photo.
Extra elements include Sheet Music Paper, the Muslin and
 always for me, a black matt for my photo to support the black I use in every layout I create.
-------------------------------------------------------------------- 
To highlight and bring focus to the photo I have Embossed a 
Words or Whatever Chipboard Clock face with Deep Blue Embossing Powder.
I love the effect of the embossed frame over the photo.
A few more embellies and my layout is complete .
Thanks so much for dropping by the Colour Blast Blog,
Don't forget to Leave some love and share with us if you have used some Colour Blast Products.
We Love to Hear and See what you are creating.

Lisa xx

Monday 28 March 2016

Mixed media card for a good friend by Wilma Voermans

Hi, Wilma here today with a card 
I hardly make cards and never send them.
But a good friend of me can use a cheerup moment, so I decided to send her one.


I started with a leftover piece water colour paper.
Spread gesso random with a pallete knife, let dry, sprayed with Colour Shimmer Spray, let dry, gesso again etc
This way you get a very rough background.


I cut off the piece that was too big for the card .
Two rectangles, gave them some color and stamped a butterfly image parts on it.
Added  fluffy thread, a few chipboard negative leftovers .
I spread a little of the paste in the same colors on the chipboard.
A few little flowers, title and mounted it on black cardstock.

She sure can use a good day and hope she likes it.
Thanks for visiting the blog!


Sunday 27 March 2016

I believe.... by Kerry Fellowes

Hello again... Its me, Kerry.

Today I have a journal page to share with you, and for those of you that know me, it will be no surprise that it includes fairies.  I wanted to see how the pastes would work with my brayer and I LOVE the outcome.
First I stamped some lines on my page in Black archival ink.

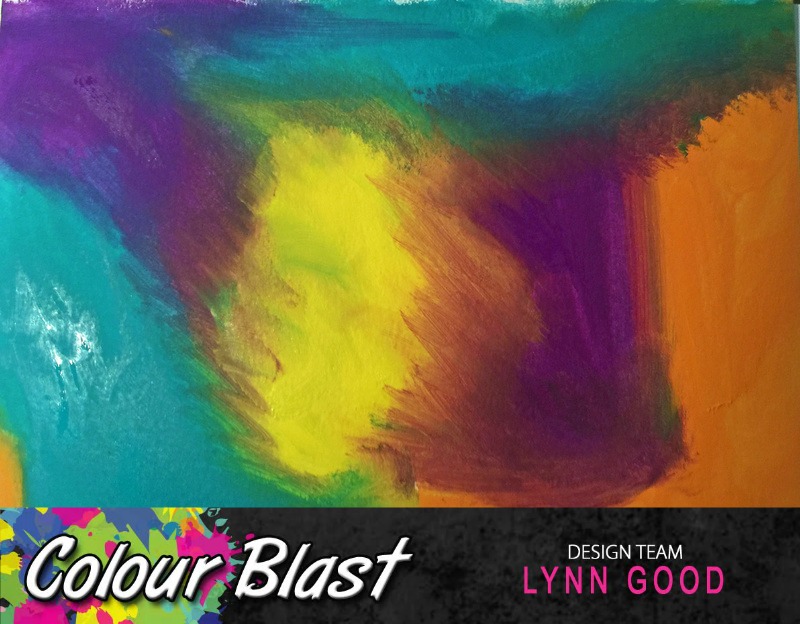
Then I scooped out a small amount of the paste in the colour 'Singin the Blues' onto my non stick craft mat and ran my brayer over the paste making sure to lift my brayer and coat it evenly in the paste.
 

I rolled the brayer randomly over my stamped area. 


Then I did the whole process again, this time using 'Deep Water' paste.


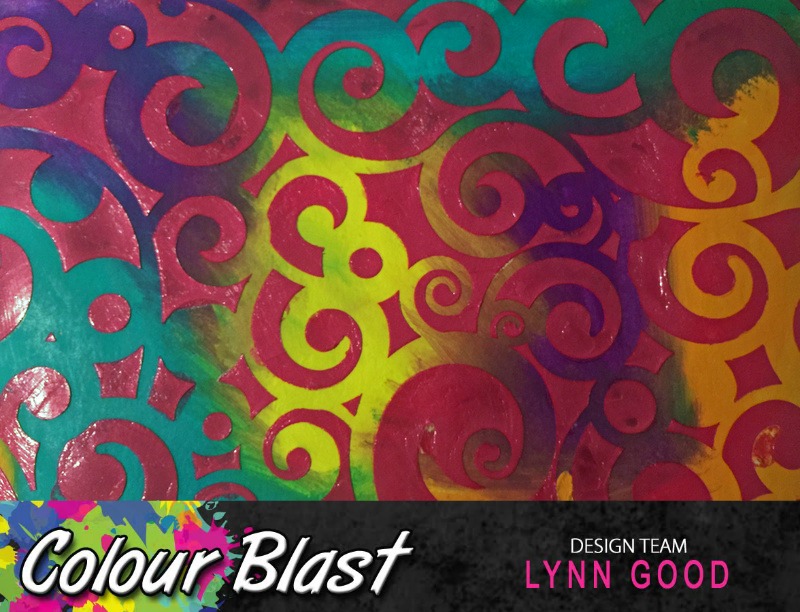
The pastes are so beautifully vibrant but sometimes you might want to mute them down as I did in this piece.  This was super easy and produced some lovely pastel tones.  I added a little gesso to my nonstick craft mat, just as I had done with the pastes, then rolled the gesso over the page with my brayer.


I added a little of the 'Royalty' paste, again in the same manner with my brayer to give a bit of a purple pop to my page.  Then, using the 'Flower Trail' stencil and the 'Snow White' paste I added some flowers to the page.


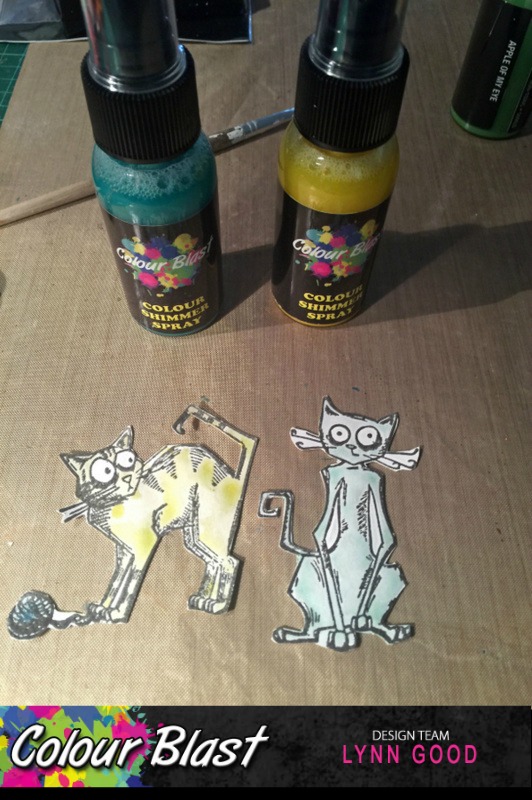
Once they were dry I sprayed the 'Deep Water' shimmer spray all over the flowers and let it dry again.  

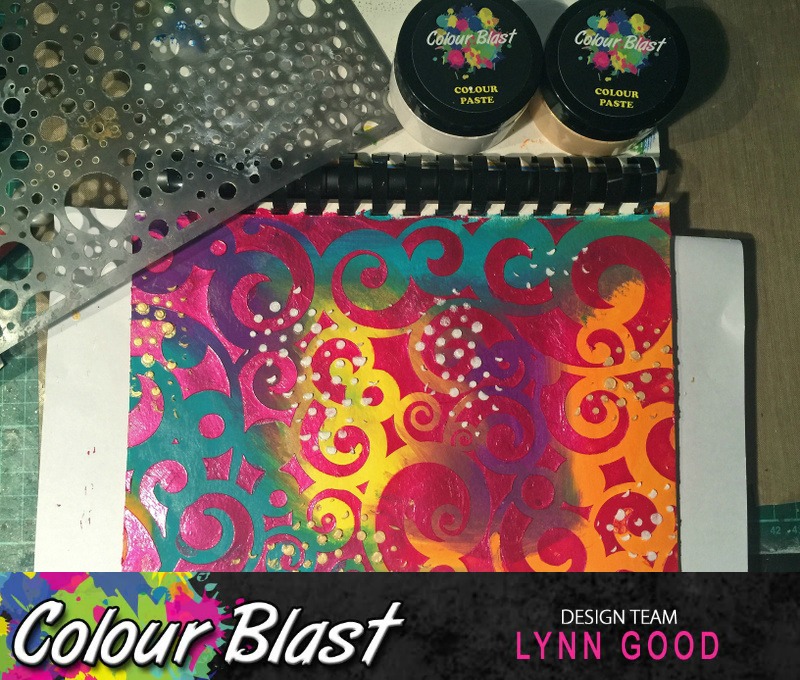
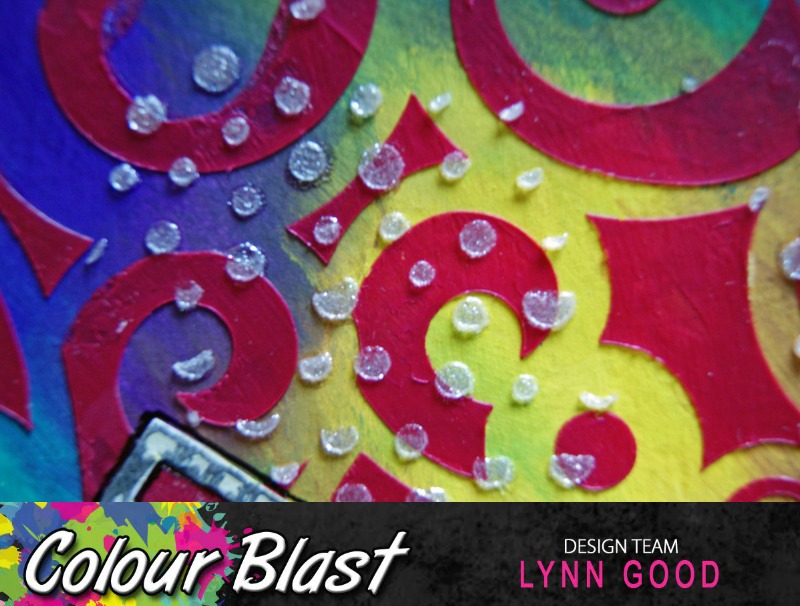
Next I took the 'Dusty Charcoal' paste and 3 different sized round lids.  I scooped a little of the paste into the lid of the 'dusty charcoal' tub and then used my other lids like stamps, dipping them into the paste and stamping them onto the page like bubbles.

I used  my 'Neocolor' crayons to add some highlights to the bubbles, then I used the 'Singin the Blues' paste through the 'Stardust' stencil.


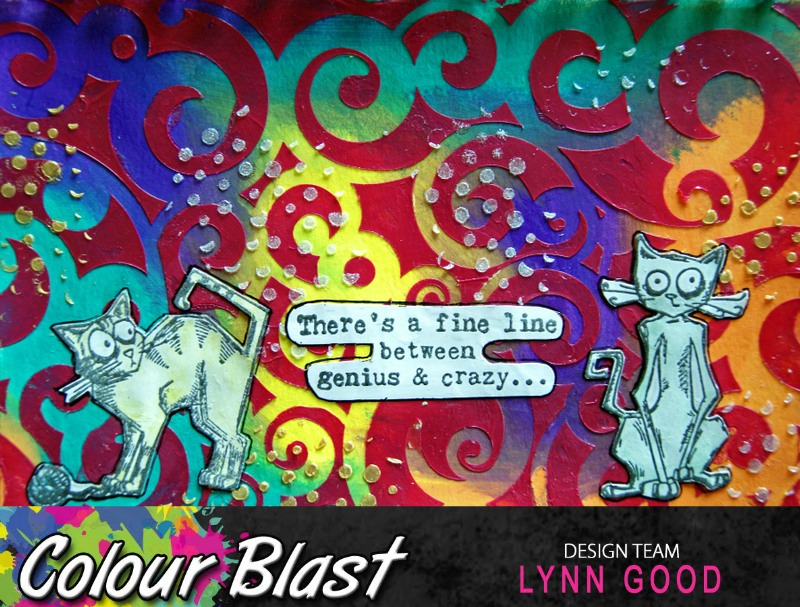
Finally I took the 'Fairy Dreamcatcher' and 'Fantasy Mushroom' chipboard embellishments and painted them with 'Black Soot' Distress paint and adhered them to my page.  I typed up the quote on the computer and printed it out, I love this quote and have it on a stamp, but I wanted it to be bigger for the page. 

You can find all the Colour Blast products HERE 

You can find the stencils and chipboard products HERE 


Thanks for dropping in and have a magical day xxx


Saturday 26 March 2016

Easter Fun by Danielle Vertigan

 Boy these weeks come around fast.
I have a layout to share with you and I will say it took a very unexpected turn....
Colours, theme you name it, it changed.....
This is not the layout I envisaged but don't you just love it when it all just falls into place!!
So I'll get into where it started....
I got 2 sheets of white cardstock and 1 sheet of blue.
Now because I am going to layer these I chose to cut the centres out to use later..
 I attached a white sheet first to my backing card. This sheet remains a 12x12
The blue sheet I removed .5cm off the top and 1 side edge.
I attached this as my second layer. With my last sheet of white I removed 1cm from the top and one side then layered, this as my final piece.
 I had some old chipboard letters I recently found and this is a great idea I picked up to use them.
Lay them out on your page randomly as you feel will best compliment your layout.
Don't worry about the colours. Glue them down once you are happy.
Once glued paint an even coverage using your gesso.
This will take two coats.

Allow to dry between coats. You can see the difference in the coverage on the second coat. I also dabbed in spots to avoid stroke lines.

 
 This is where my original plan took a whole new direction.
My colours changed, my image changed and the layout took on a life of its own.
Its time to add colour!
 I started by smearing with a palette knife and then added water with the paint brush. I rolled this around and continued adding depth to the colour by layering more product using my brush.
I smeared the paste directly to the letters for a solid coverage being careful not to loose the definition. I repeated the same with the lilac and any access smears where wiped in the bottom corner and left untouched.


This layout has it all and next I added a layer with the sprays.
I liberally spritzed with the pink in the bottom left section and the lilac in the top left whilst it was wet I sprinkled it with the matching embossing powders and took out the heat gun.


I used the same process in the bottom right using the Just Blue and took the same three steps with the Paste, Spritz and Embossing Powders
I also added a touch of pink to the top right on my photo corner.
I coated sections of letters with a crackle paint and allowed to dry.
Then it was time to embellish.
I cut some strips with the left over Cardstock to create my frame.
And smeared some pink and lilac on the white lapping the colour slightly.
I allowed this to dry then punched it out with an oval punch to create my Easter eggs!
I inked the edges in a dark blue and dipped them into the embossing powder to add another element.
I'm really happy with the results.


I love the results and as you can see my little Bunnies are the perfect layout for this fabulous Easter Weekend!!!
This shot was by the beautiful Murray River on our annual Camping trip and one of those rear moments when they all co-operate!
So from my bunnies to yours have a very Happy Easter!!!