There is nothing more masculine than the Steel and Leather in the Colour Blast product line, they are wonderful neutral colours but what would they look like together? It is very true that we all love our stencils and our chipboard but this week I have taken to another of my go-to embellishments...metals.


Using a 'Steel' shimmer spray on my harlequin chipboard pieces, I applied a heavy spray and before it soaked in, then applied a heavy coating of the matching embossing powder.

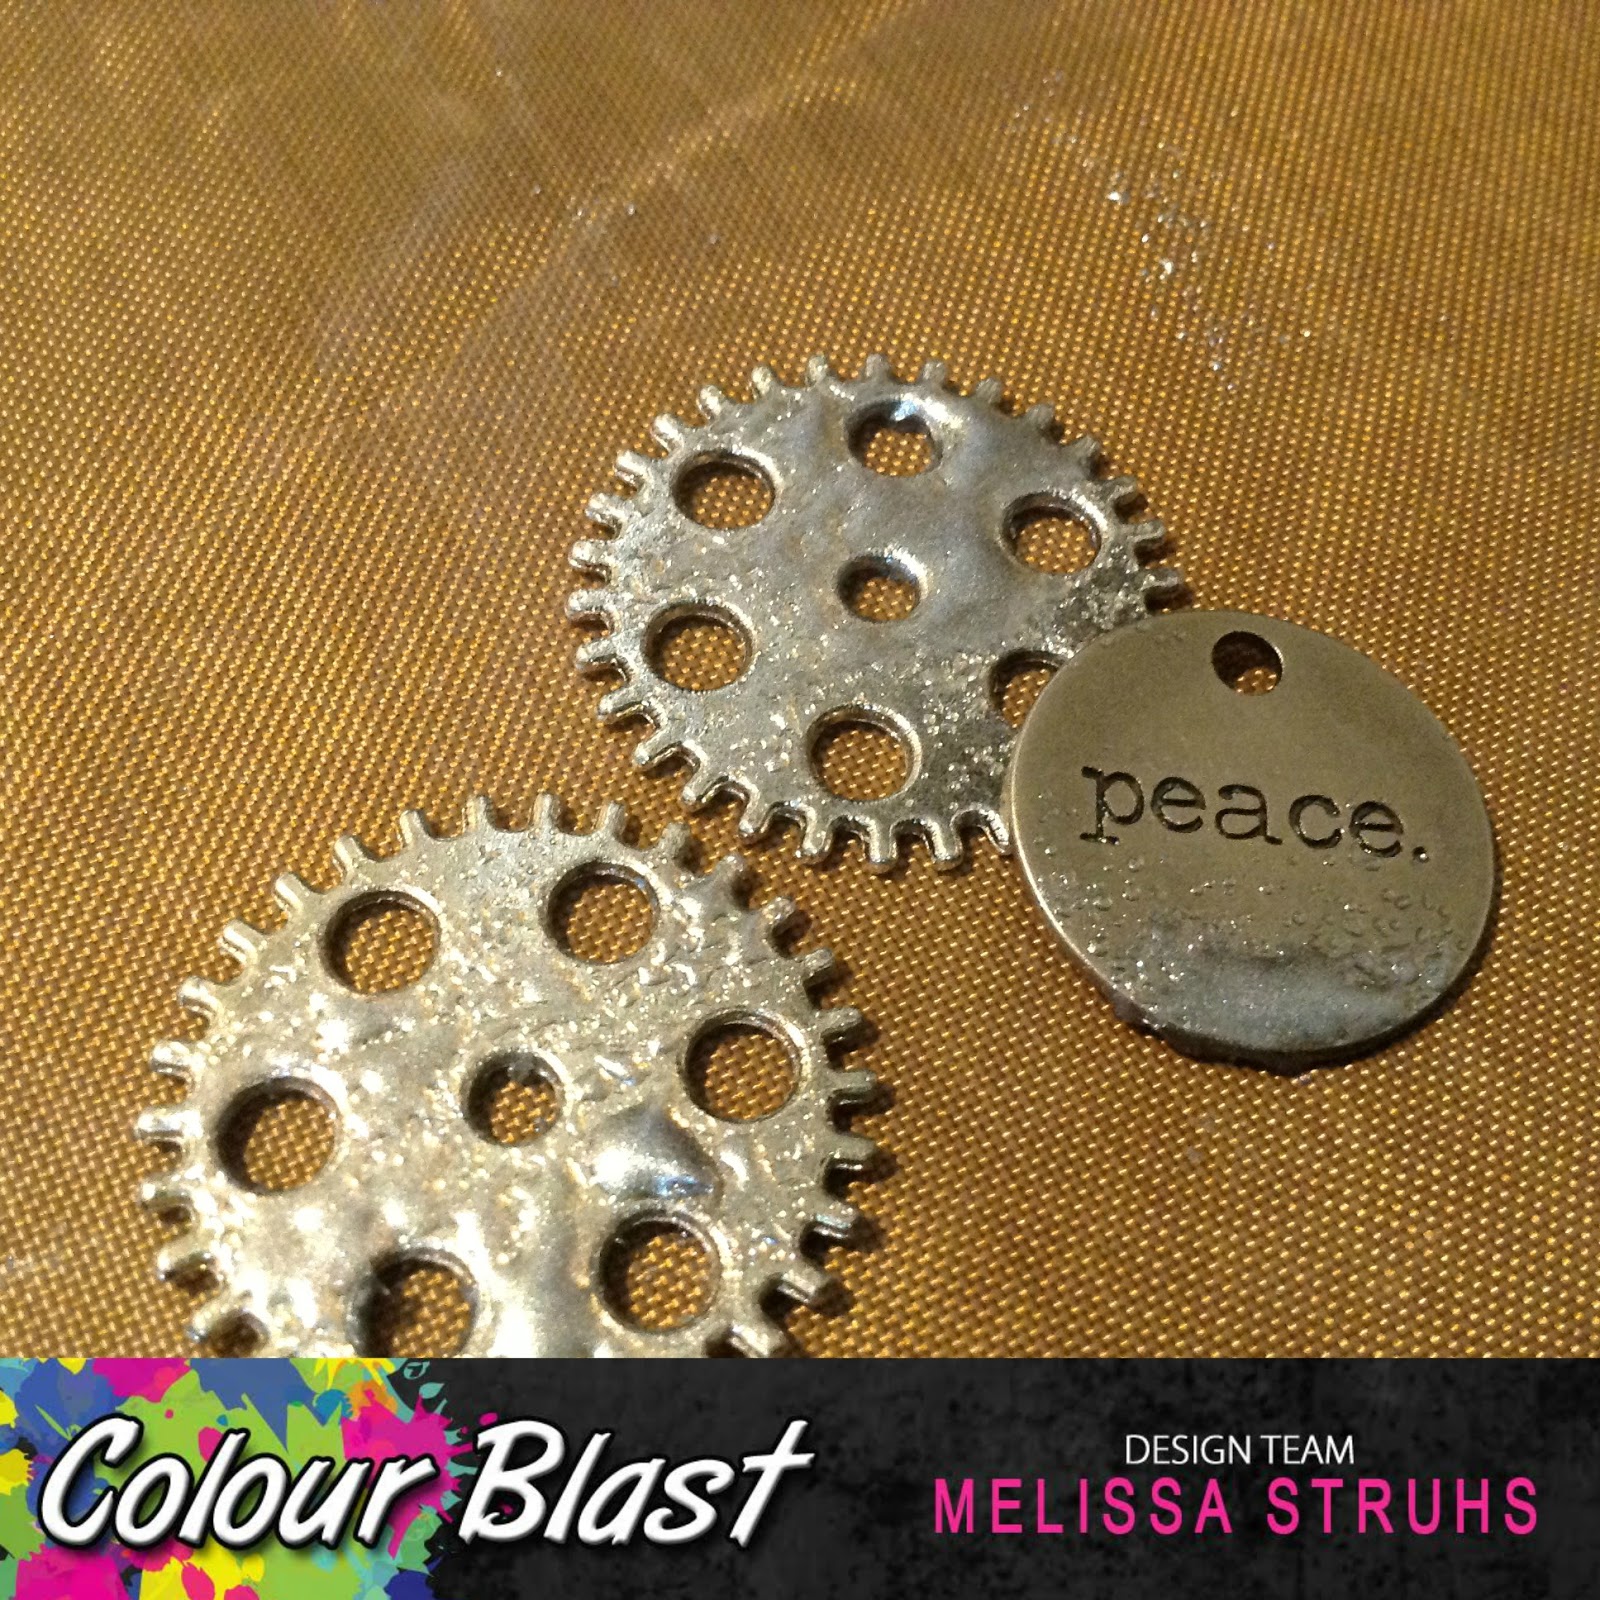
I have also applied the same look to random sections of metal cogs and charms with the shimmer sprays and embossing powders. If you would like a thicker coating, a second layer of powder really highlights and some loads of gorgeous texture.

As all of the metals and chipboard pieces were done, and I had an idea of where I was going to put them, I applied the 'Leather' paste on my background paper through a chevron stencil. While it is still wet I lightly pressed a mesh trim and a sprinkling of sequins in to embed them. (You can see a small overhang for wrapping around the back of the layout later and the raw edge will be overlapped by the next layer).

On the piece of grey cardstock, a "Steel" paste and script stencil were used, sequins embedded and then attached to the previous layer when dry.

I have continued upwards with a black cardstock, 'Leather' paste, chevron stencil, sequins and a different trim.

This is always the fun part, and that's putting together all of those customised embellishment pieces. I loved all of the layers as they started overlapping and underlapping with the trims and finally the photo mat. The design itself may look simple but it has major impact for that super sized photo. Have fun playing with your Colour Blast this weekend or be sure to drop by the Colour Blast website to stock up on the colours you are still missing.
See you all soon.
Melissa.

No comments:
Post a Comment