Showing posts with label Stamping. Show all posts

Saturday, 16 March 2024

You Will.... By Rikki G

 Good afternoon how are you all ? Its been a while.... got to love computers blue screens of death... to kill mojo and creative sharing. Now comes the task of getting back into the groove and reinstalling everything that was on the computer ... arrggghhhh !! 

But enough of that its time to share my lastest creation using a little bit of ink.... in combination with Bee Arty stamps and stencils.


I used the Bee Arty Fushsia Fantasy Stamp set. I stamped in an archive in first then went over with a white gel pen this also allowed me to add dots and highlight the leaves in my background.


For the background I used the Bee Arty Sunrays A4 stencil.


If you add glass cabochons, they high light different details in your background. 


Fuchsia Fantasy - Clear Stamp Set


White Cardstock


Till next time have a creative day.


Sunday, 25 June 2023

Fresh Air by Rikki G

  Good evening how are you all? Busy, busy here myself with getting creative and also prepping for an up and coming retreat, let me tell you my fingers are burnt from the hot glue.

So today I am sharing with you one of my processes when it comes to working out my mixed media backgrounds. 


I work and play in my art journal.....


My art journals tend to be where I work out colour combos, techniques and other things before I start playing with my scrap pages, especially when  I am lacking ideas, or not to sure how it will work out.

So then my art journals become a how to guide so I dont forget how I did it.


This is also a good time to crack out the old washi tapes and add them into your backgrounds, who doesnt love washi tapes.


When you layer your inks you end up with a nice Bokeh effect.


Adding some fussy cutting pieces you can create a finished journal page.


Its all about the layers, washi, stamping , inking, stenciling, splatting ink, and ephemera.


So why dont you create your own journal as a go to guide.


Honeycomb Spray- A5 Stencil


Bokeh - Clear Stamp Set


Vamp - Clear Stamp Set


Kind Heart - Clear Stamp Set


Till next time have a creative day.


Sunday, 11 September 2022

Happy Little Moments By Tracey Campbell

 Hello Bee Arty friends. 

Today I have a layout to share with you that has stamping, stencilling and the magic of Shimmer Dust.... what more could you want?

I started off by blocking out around the Dusk stencil with some plastic and placing it roughly in the centre of some heavy white cardstock.

I then spraying three different shades of  purple Shimmer Spray; Rose Petal, Royalty and Indigo through the stencil onto white cardstock. 

I then moved the stencil to the left, lining up the print and strayed again.

The photo above is how the sprayed stencilling turned out. 

Next I sprinkled two colours of Shimmer Dust; Velvet and Duke, across the bottom of the cardstock,

I then activated it with water.


As the Duke Shimmer Dusk was move bolder than colour than the Velvet I decided to sprinkle a bit more Velvet on and sprayed more water to make the coloured area bigger.


On the bottom of the cardstock I used the excess Shimmer Dust fluid that had run off the page and my finger to spread it over the bottom edge.


Here is how the base turned out, I love how vivid and bright the Shimmer Dust is compared to the muted Shimmer Sprays.


Once dry I used some waterproof black ink and stamped various images; Kind Heart, Heartfelt, and Meridian, around the bottom edge and half way up the left and right edges of the cardstock.


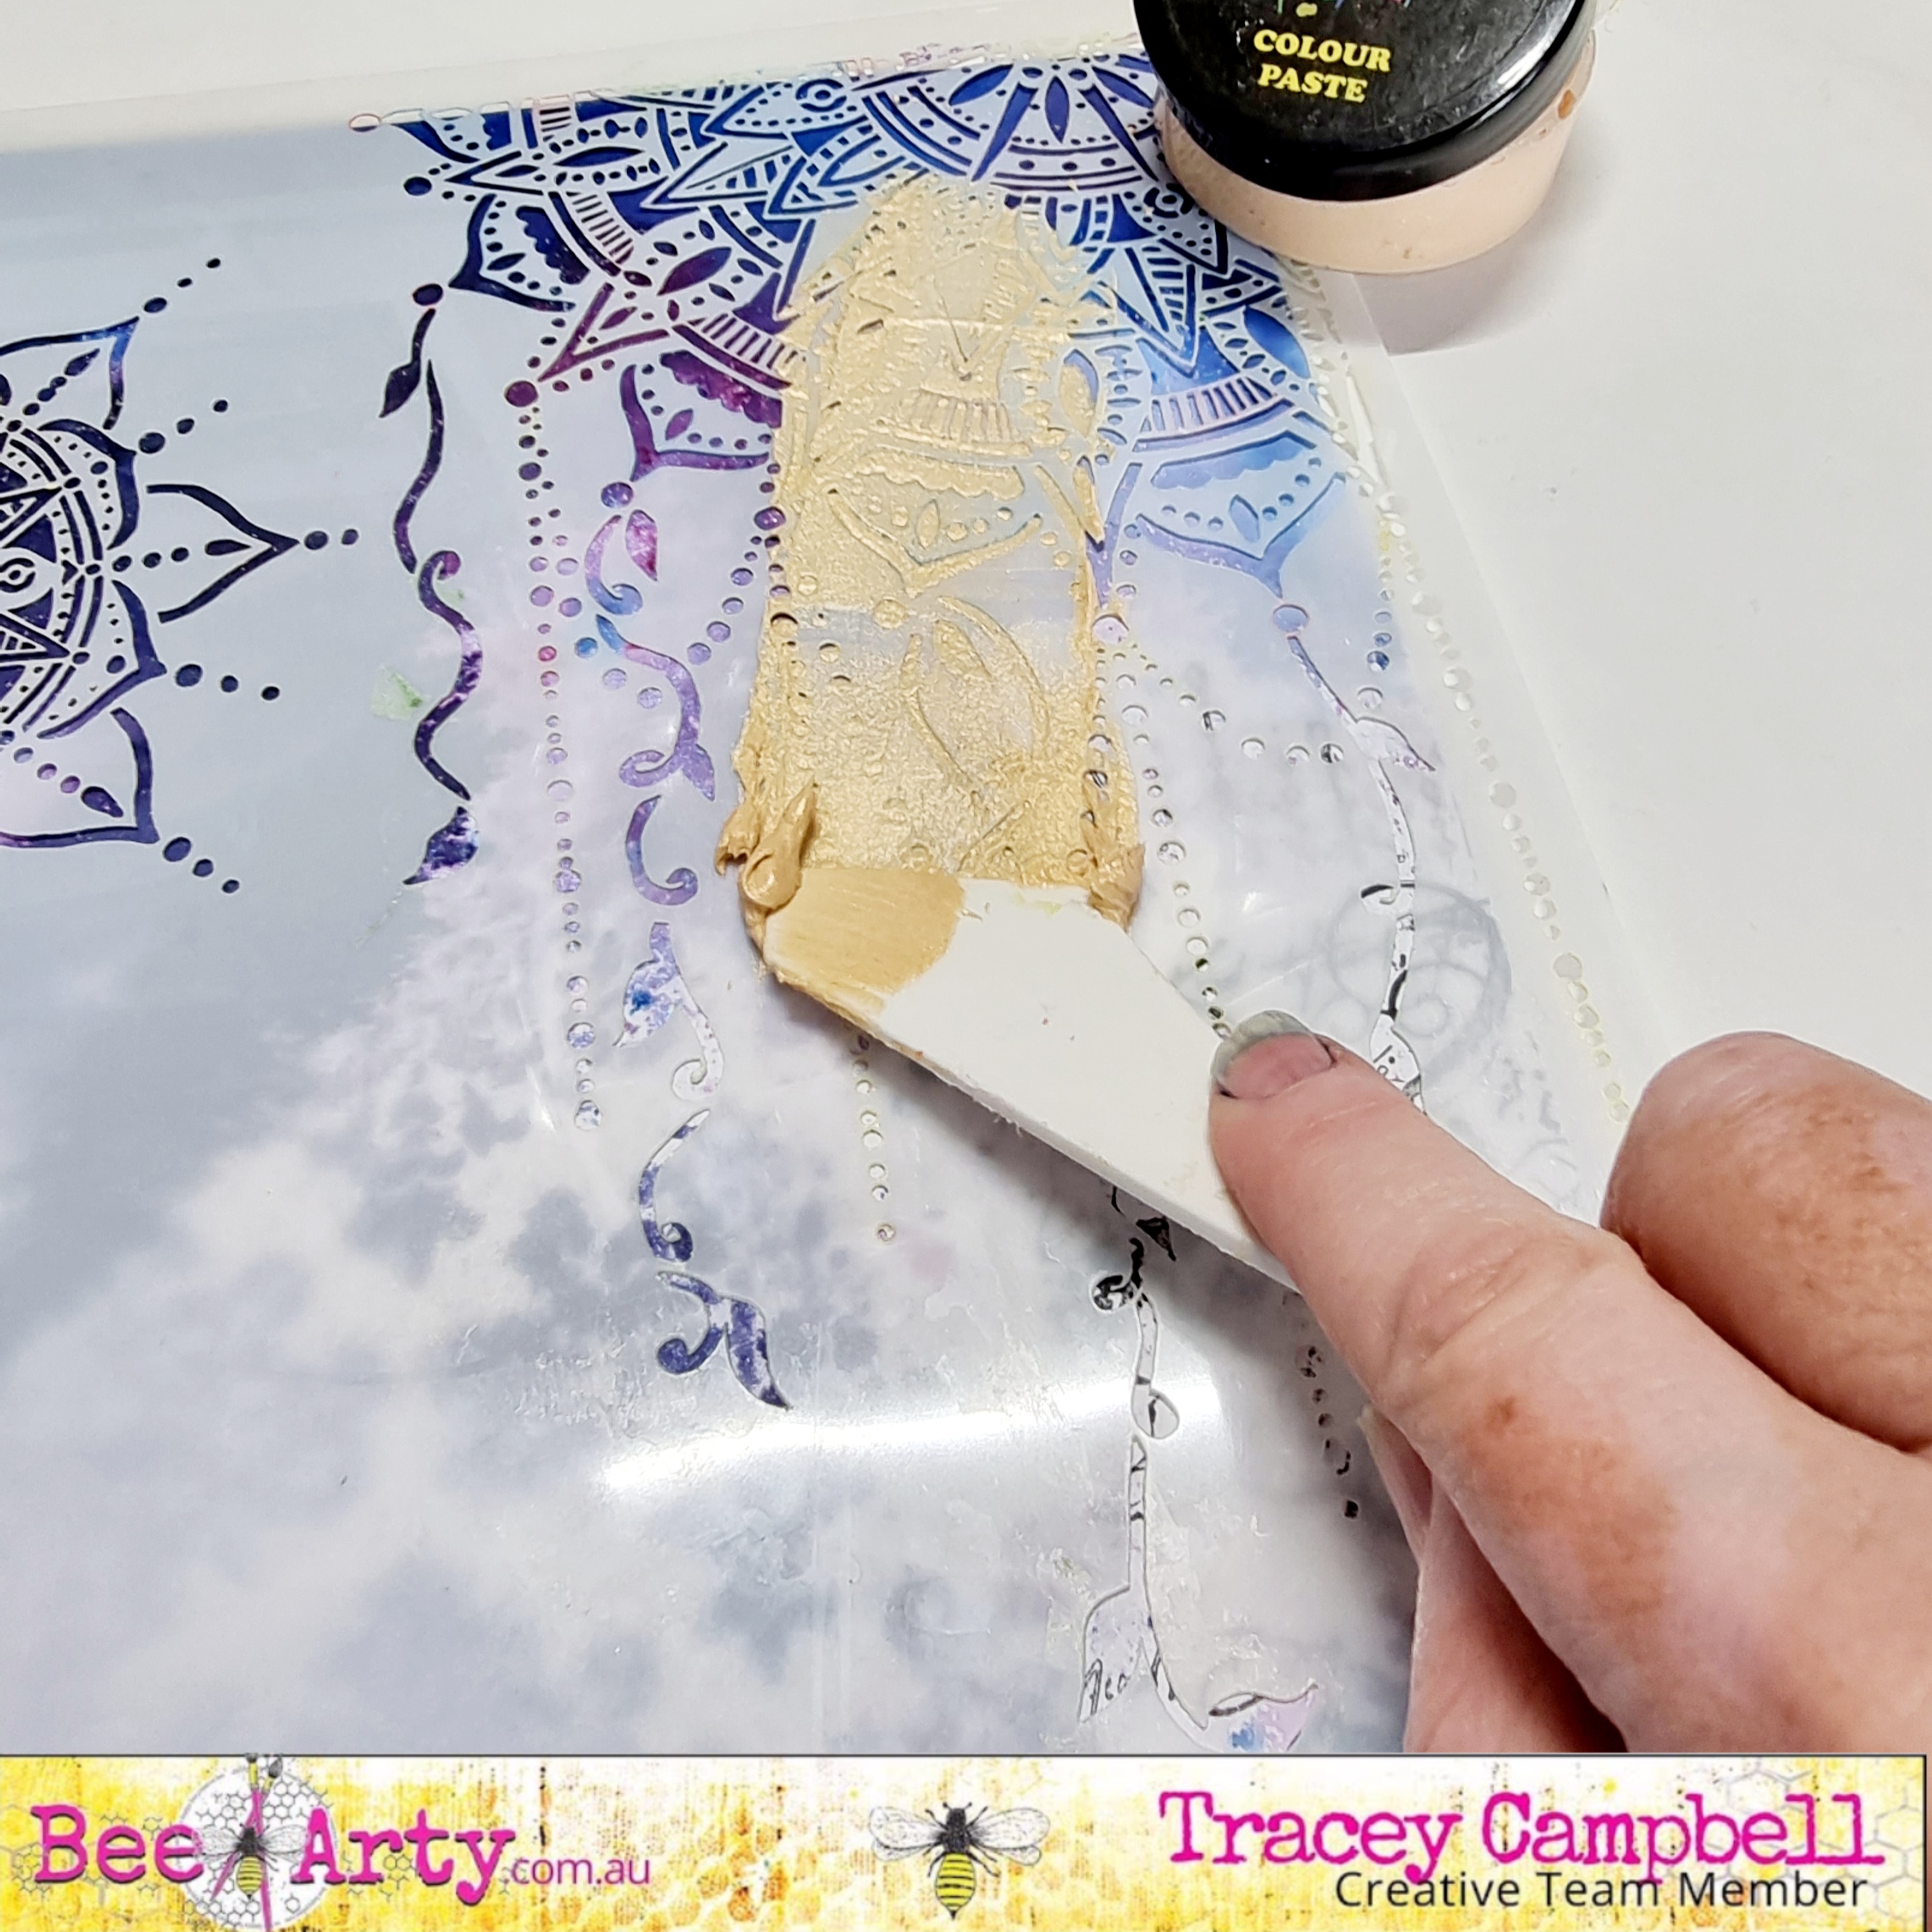
I then use Bling Colour Paste through the Mandala stencil.


Here is how the base turned out.


Next I backed a 6x4 photo with some vellum paper and gold foil cardstock and adhered it to the centre of the base.


Next fussy cut some flowers from the Tea Time in Wonderland Collection. 


Adhere the flowers around the photo, using some tacky glue in the centre and some 3 dimensional tape around the edges. Use a pen to press the centre of the flower down to the stick it to the cardstock. Use you finder to turn the flower pedals up to give them some dimension. 


I used the end of a paint brush to add some Bling Colour Paste to the centre of the flowers to give them a touch of shimmer. 


Using some Black waterproof ink I stamped the title "Happy Little Moments" from the Happy Stamp Set to the bottom left hand corner of the photo. 


Wanting a bit more dimension in the flowers I used the Flower Stems metal dies and cut out four of each stem from the green coloured papers in the Embrace Change Collection. 


I then adhered the die cuts around the fussy cut flowers. 


Here is how the final layout turned out. I love creating my own back ground with a bit of stamping and stencilling with the magic of Shimmer Dust, you never really know how it will turn out but it always looks stunning.

Thanks for popping in.


Hugs
Tracey

Tuesday, 19 January 2021
Grateful Heart by Anita Enright


Welcome back to the Bee Arty blog.

I finally did my first blind scrap the other weekend with Paige and loved it. I was stoked with my end result.  It was a great way to quickly do a layout given a list of requirements to gather together before hand.  My chosen requirement included a bundle of goodies from the Grateful Heart collection designed by Michelle Grant.  This was the first time I have created with the range and am looking forward to more play time soon.

 
If you want to do Paige's blind scrap you can find it on the Bee Arty Creative Hive on Facebook.  There you will find the list of items you need and the video to go with it.

 
I started with the HOPE patterned paper from the collection and then trimmed down a piece of white cardstock to mount on to it leaving the dark border.
 
I used the leaves from the A4 Party Lights stencil and the Leather and Bling Colour Pastes to add leaves to the lower right horizontal and vertical areas applying both colours over the stencil at the same time. Using the same colours in the Shimmer Sprays (only a few colours now available) I added some 'splotches' over the page up and along the dried Colour Paste.

 
I created a layered mat background for my photo using the 'b' side of the Together patterned paper and also cut out the doily from the 'a' side of the Heart patterned paper.

Using the Heartfelt stamp and a matching brown ink pad I stamped the heart along the same lines as the stenciling and then added just the scroll from the other stamp in the set.
 
Add the photo cluster on foam tape and then glue down.  This is to ensure it adheres properly over the Colour Pastes and won't lift off in the future. I fussy cut a couple of items from the Blessed Word Sheet and Gathers cut apart sheet
 
Finish by adding a title from the Blessed Word Sheet, mounted on foam tape, and some of the lace strip under the title from the Gathers cut apart sheet. Lastly using a black pen draw the lines to create your square to tie all the areas together.
 

 Thanks for stopping by.
Don't forget to drop on by Bee Arty to grab all your scrapping products and when you do don't forget to grab yourself some of the 350GSM White Cardstock.  It is amazing for use with all your mixed media projects.

Until next time.. happy creating

Anita