Showing posts with label Colour Blast Colour Paste. Show all posts

Saturday, 11 February 2023

Steampunk Art Journal I Tutorial I Mixed Media I Sunila Mahajan

 Hello Bee Arty Lovelies,


Hope you are all doing well! Today, I'm sharing a pictorial with you all. I'm creating a steampunk vibe journal page in my art journal . 

Here's a look at the page:


Let's dive right in into creating this!

Step 1- Choose a stencil and apply colour paste through it. This instantly adds colour and texture to the page. On such a page I usually like to have a big composition on one part of the page and little cluster opposite that. That's how I decide where I want the texture to begin within.


Step 2- To add more texture, pick a background stamp and stamp with ink. Now black ink always works, however since I had a steampunk page in mind, I used brown ink.


Step 3- Choose dies that'll go with the theme of the page, and die cut these to add as embellishments and layers to create the composition clusters.


Step 4- Fussy cut elements from the paper collection to go with the theme, and start arranging the elements to form the two clusters.


Step 5- As always, add words/phrases to add meaning to the page. I also added splatter with mica powders mixed with water and Artist Inks.


Here are some close ups of the completed page:


I hope you enjoyed this! Follow me on Instragram (@sunilamahajan) for more inspiration!

Supplies used:


Saturday, 24 September 2022

Adventure Folio by Sunila Mahajan


Hello Bee Arty Lovelies,

Hope you're all doing well! Sunila here and today I'm sharing an inspiration with you'll.

I've created a quick folio with a mixed media style cover.  This comes handy especially to carry a handy art journal/journal when travelling. It holds papers/notepad, and stationery. 

Here's a look at it:


For a project like this, all you need is a nice pattern paper. With some quick easy folds and cuts, this is an easy DIY project. 

I've added texture paste using a stencils, stamped with ink and added a stamped focal images on the cover to make it all stand out and look interesting. 


Products used:

Pattern Paper- Grateful Heart Collection

BeeArty Colour Paste

Rhythm Stencil

Geo Grunge Stamp

Hydrangea Basket Stamp


Hugs,

Sunila

Saturday, 2 July 2022

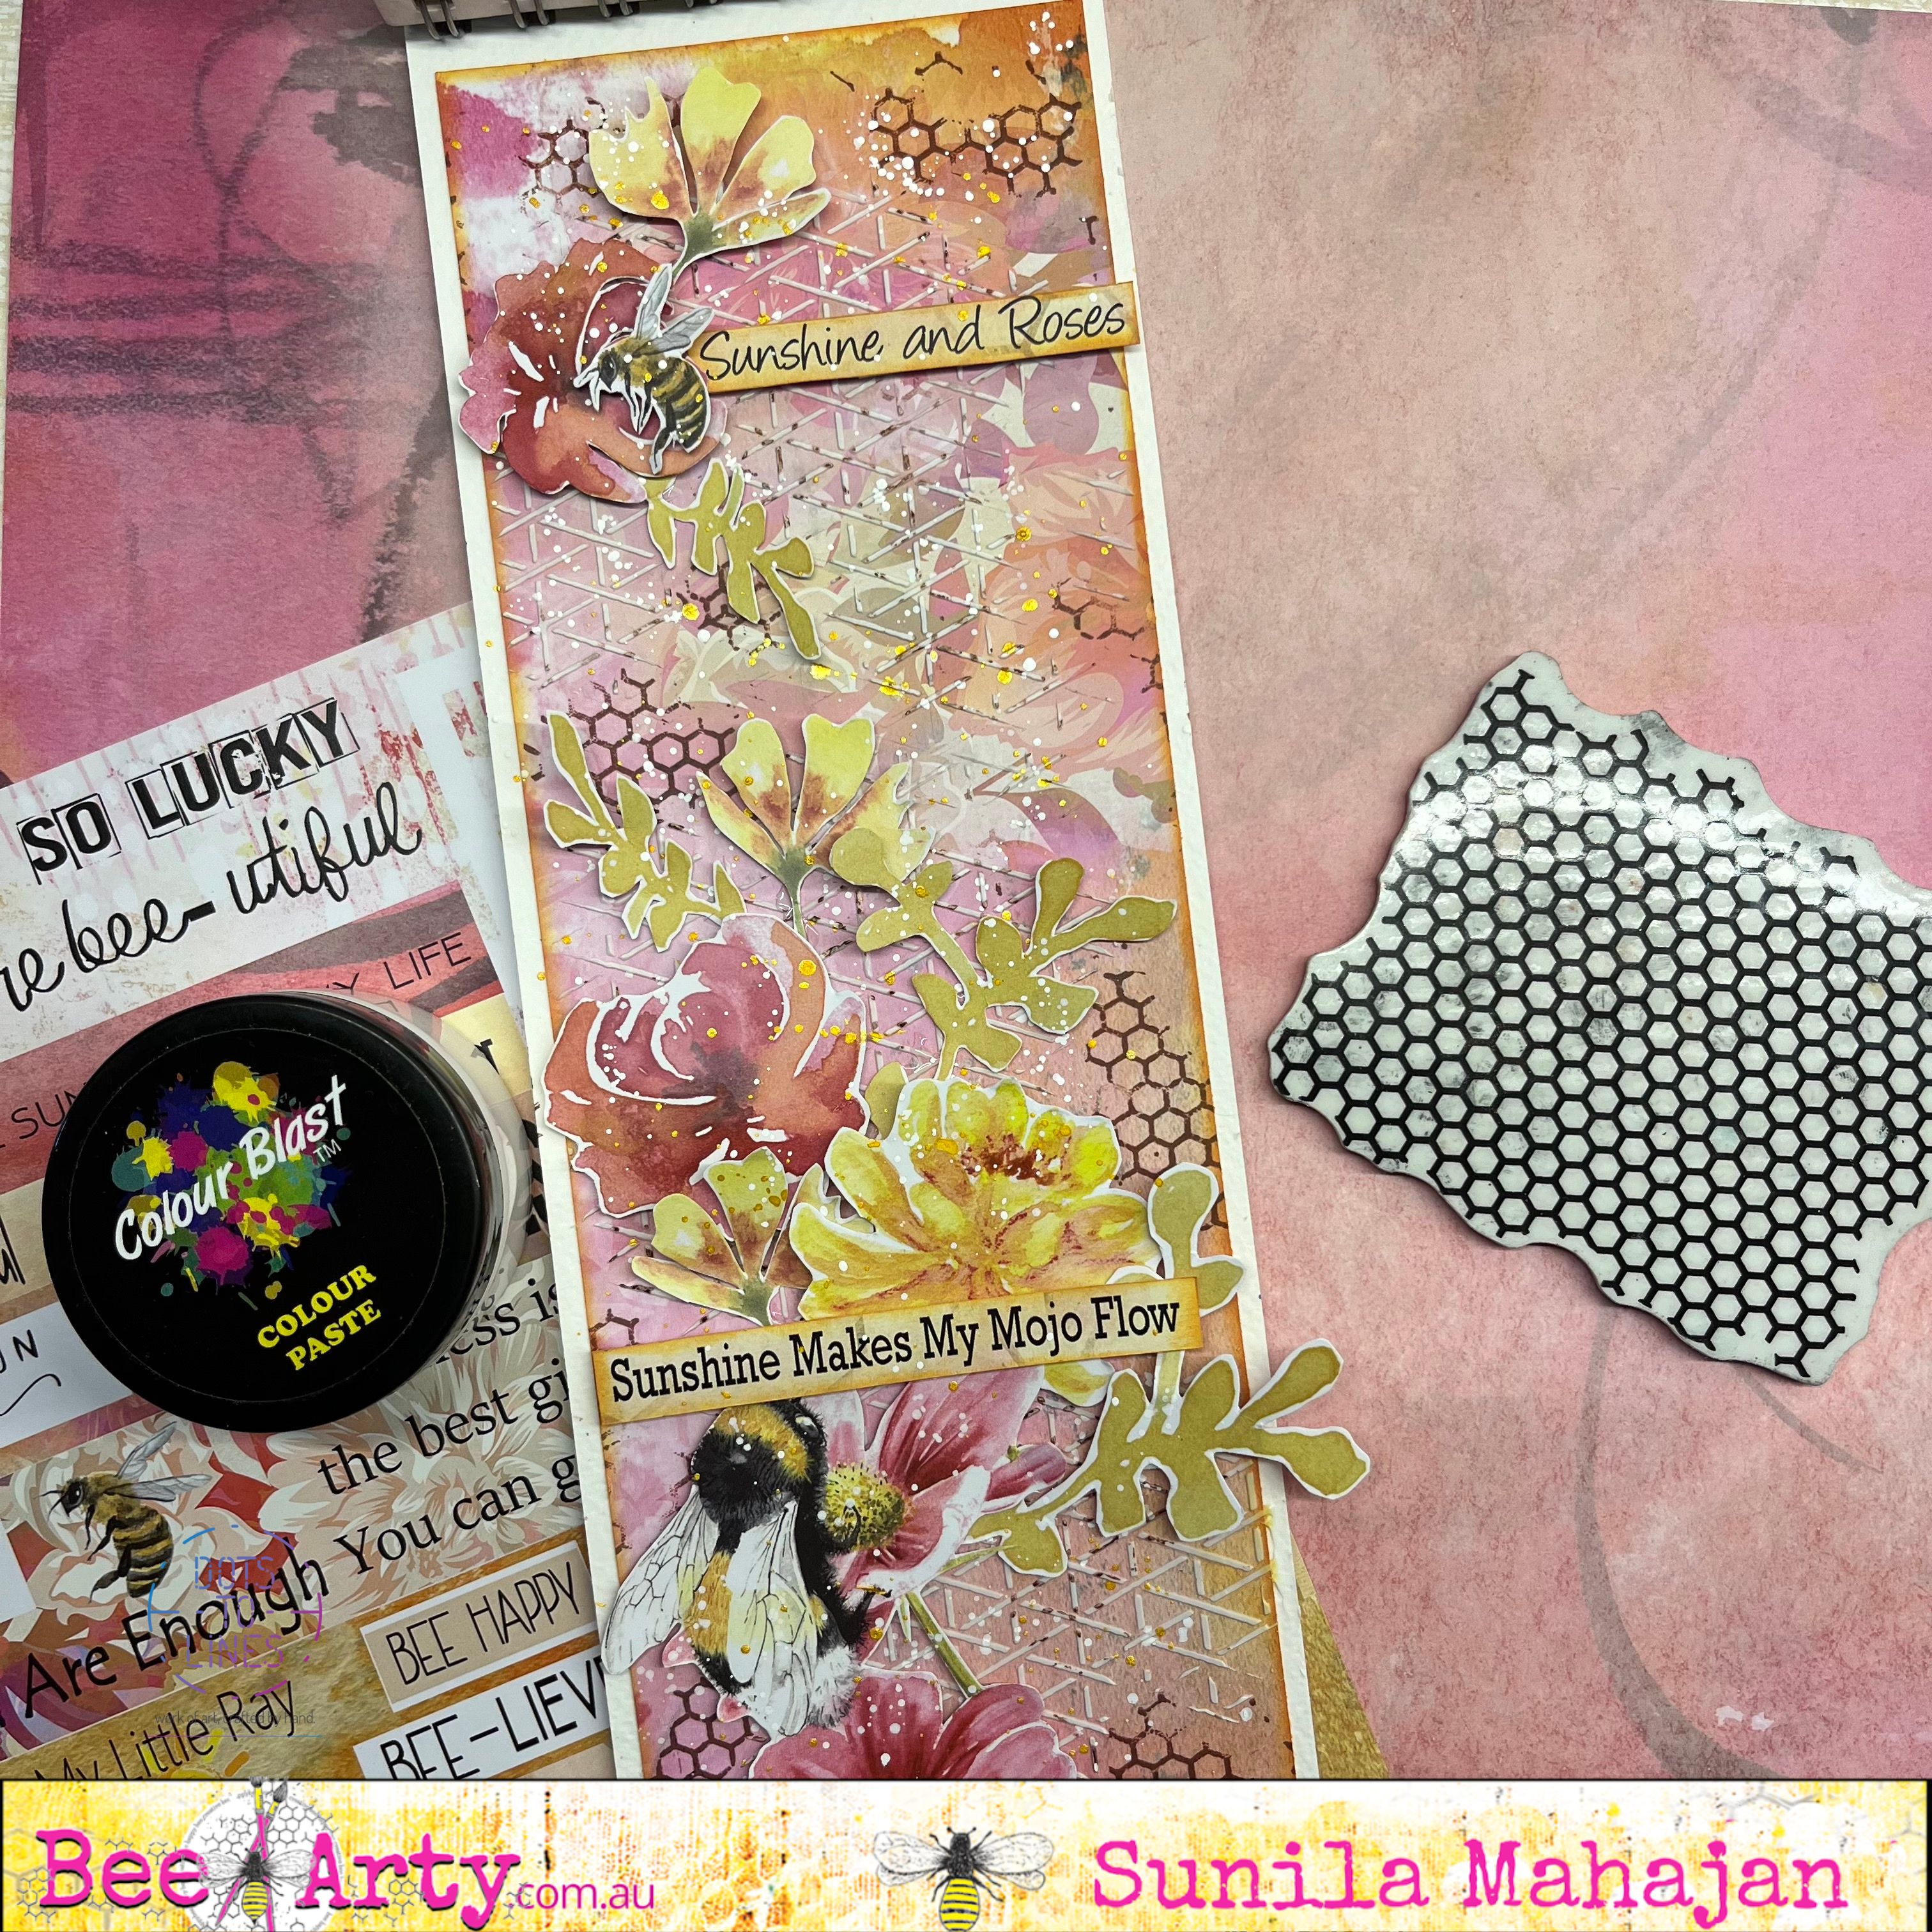
Sunshine and Roses Journal Page by Sunila

 Hello Bee Arty Lovelies,


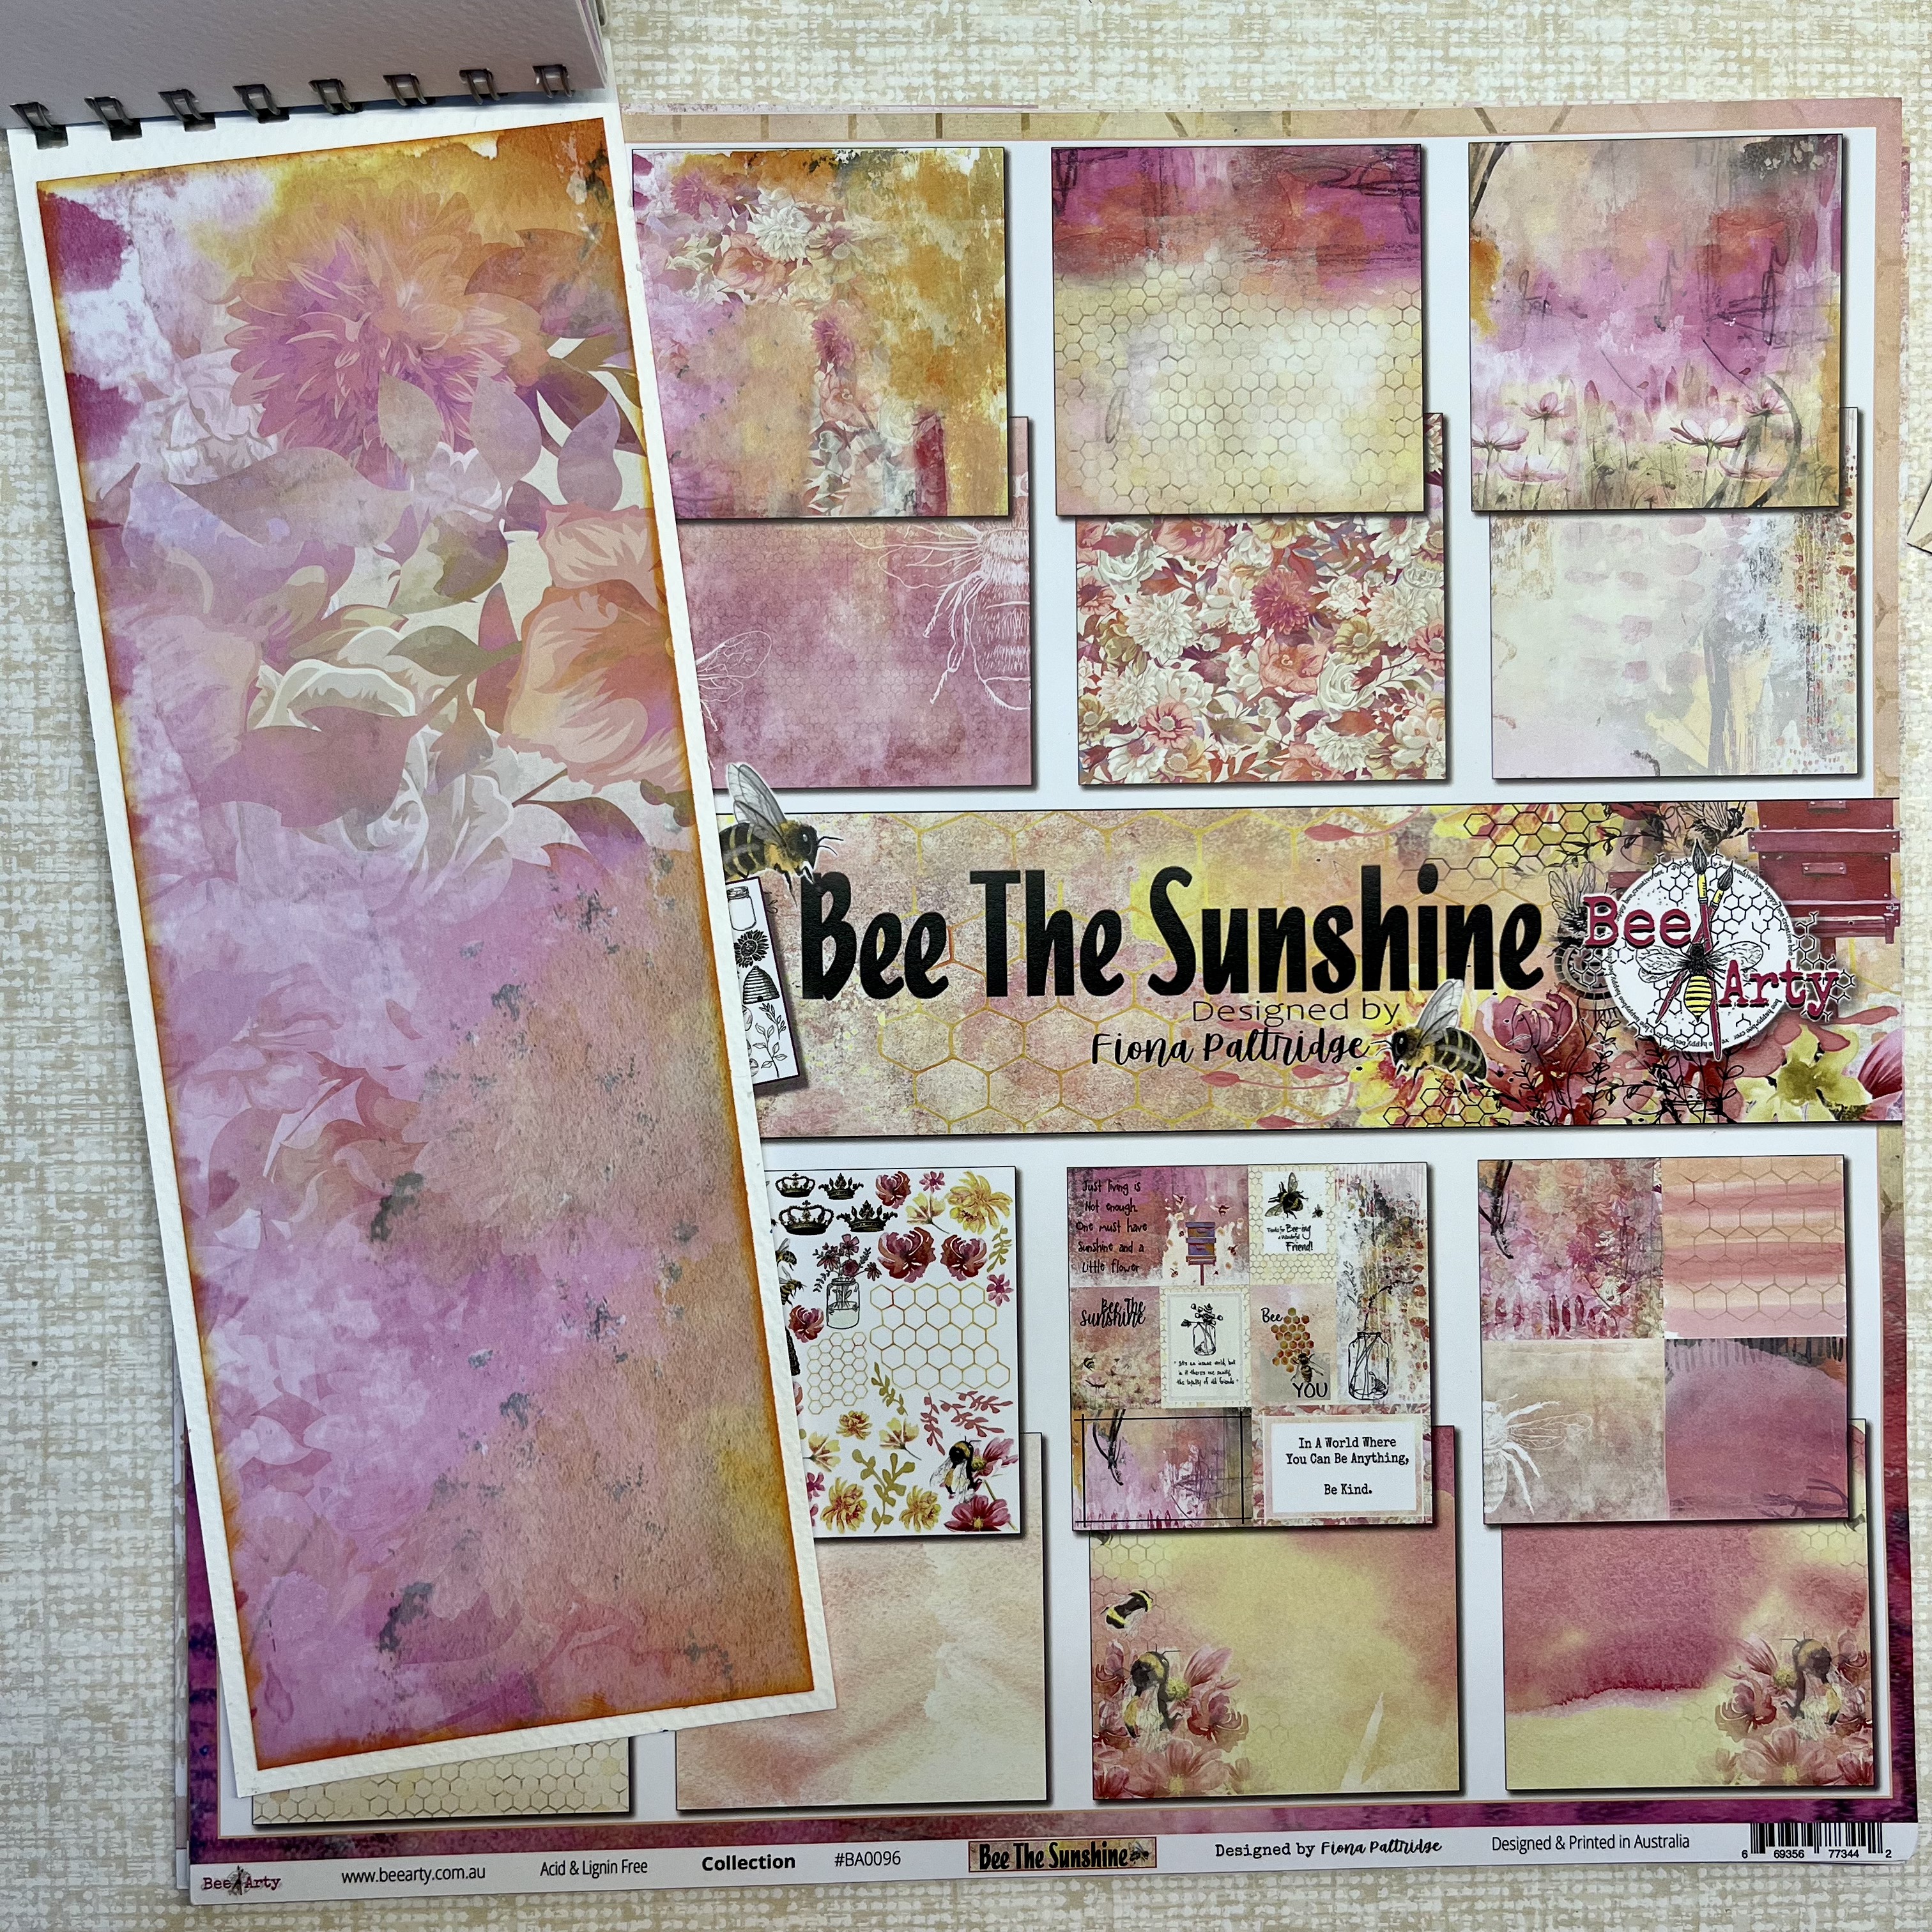
Today I'm back with a pictorial for you all! This time, I'm sharing a mixed media style journal page with simple easy steps using the Bee The Sunshine Collection. 

This collection is fun and vibrant, just what I enjoy when creating. So get your scissors out, and start fussy cutting all the lovely elements.

Here's a look at the page.


Step 1- Cut a piece of pattern paper from the collection depending on the size of your journal. I usually like to leave an 1/2 inch border on all sides. Distress the edges of the paper and adhere it down in the book. 


Step 2- Apply White Paste through a stencil randomly on the page.


Step 3- Add texture, with a background stamp and inks. Black inks and coloured inks that go with the existing colours, work well for this. I've used a shade of Brown. 


Step 4- Pick out all the fussy cut elements from the collection, and layer them on the page. Stick some flat down and some with foam tape, bringing in dimension,


Here's a look at some close-ups:


Supplies used:
Bee Arty Collection- Bee The Sunshine

Rhythm Stencil

Memories Rubber Stamp

Snow White Colour Paste


Hope you enjoyed this tutorial!

Hugs,

Sunila


Saturday, 21 May 2022

Romantic Layout by Sunila Mahajan

 Hello everyone,


Sunila here, and today I'm sharing a mixed media style layout with you all. I was inspired by this month's sketch for the challenge and I thought I'll inspire you all with a layout. 

I've used the chit chat collection for my fun layout today. 

Here's a look at the layout:


 The collection helped me create a cute, romantic layout. I've added texture with background stamping, colour paste with a stencil, and then layered die cut and fussy cut elements for complete the composition.


To balance out my main photo composition in the centre right, I've added a small cluster of elements on the bottom left. This creates a sense of movement and balance in the entire layout, still keeping the focus on the main cluster. 


Products used:

Bee Arty Chit Chat Collection

Stamps- Memories, Wonderful

Stencil- Interwoven

Colour Blast Colour Paste

Die Cuts- Polaroid Butterfly


Have a great weekend!

Hugs,

Sunila

Sunday, 20 March 2022

Ponies - With Karyn Schultz!

 Hi Bee Arty Lovelies!

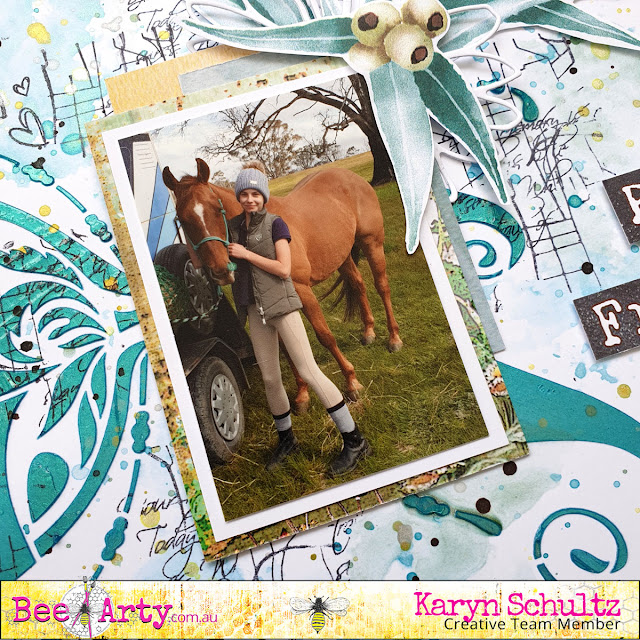
It's Karyn here and today I have a scrapbook page to share with you made using lots of fabulous arty products from Bee Arty. 
 
 
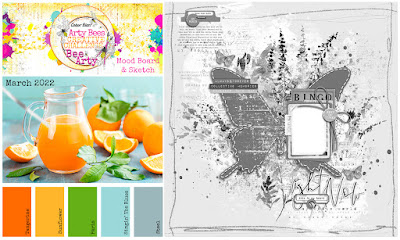
I'm playing along with the March mood-sketch challenge. We would love for you to join in with this challenge and be in the running to win a Bee Arty online voucher. You have until March 30th and you need to upload your challenge here (please follow challenge rules). 

 
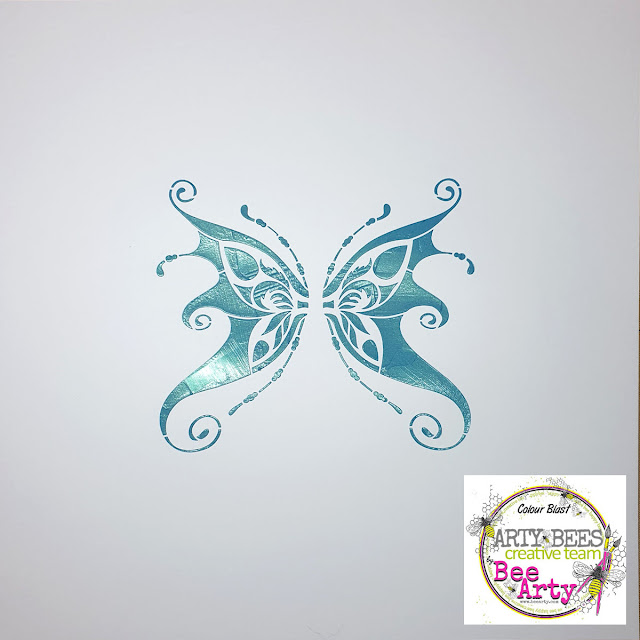
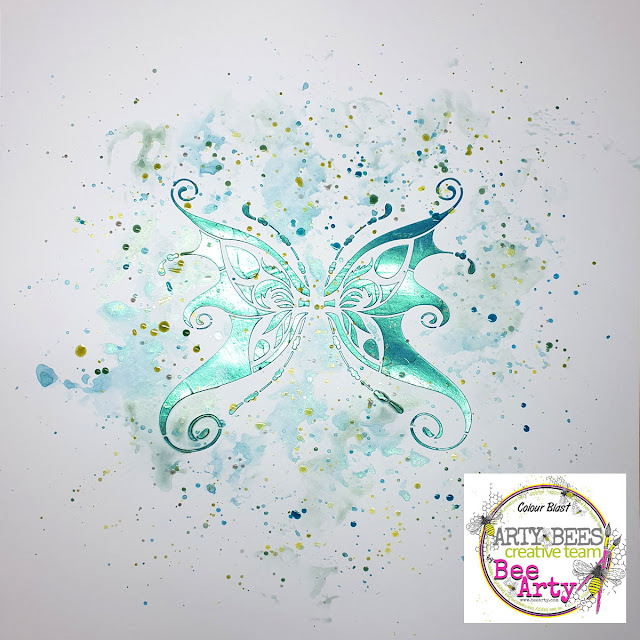
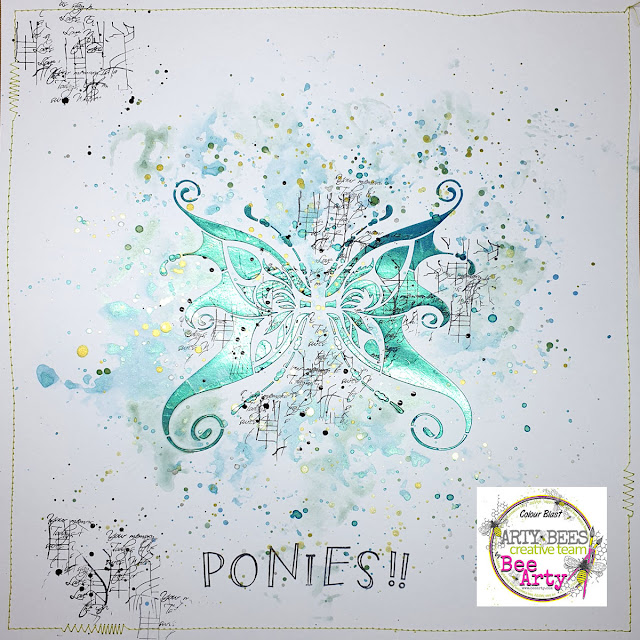
I was initially inspired by the butterfly in the sketch so I took a sheet of 350gsm Heavy White Cardstock and used the Fairy Wings A5 stencil (from the Whispering Woods collection) and some Deep Water  Colour Paste.

 
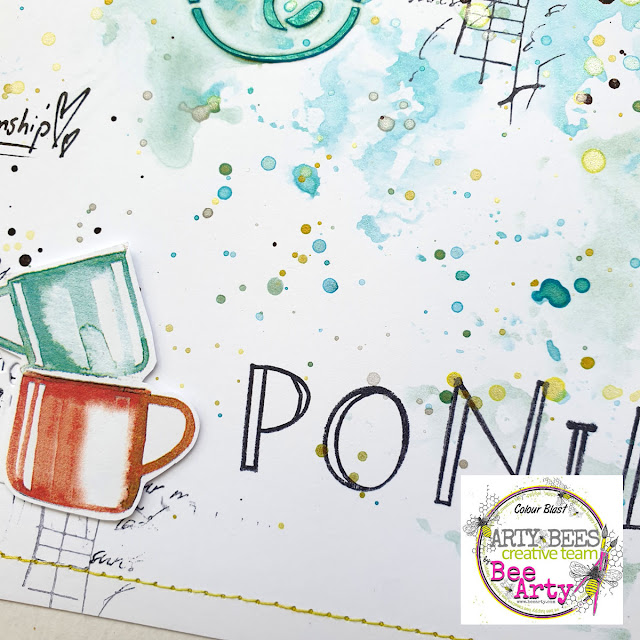
I used a painting with plastic technique to add Deep Water and Jungle Mica powders.

 
Then I added splatters of Deep Water, Jungle, Lemon Zing, Steel, Polar and Olive Grove Mica powders. The colours were inspired by the moodboard and the pattern was inspired by the sketch.


I added stamping using the Mapped stamp from the Road Trip collection, and the Memories (script) stamp and Black Archival ink. I created a title using the Uppercase stamp set from the Fireworks collection. I also added splatters of Midnight Shimmer Dust. Then I used my sewing machine to add stitching around the edge of the page.
 
 
Here is my completed page. 

 
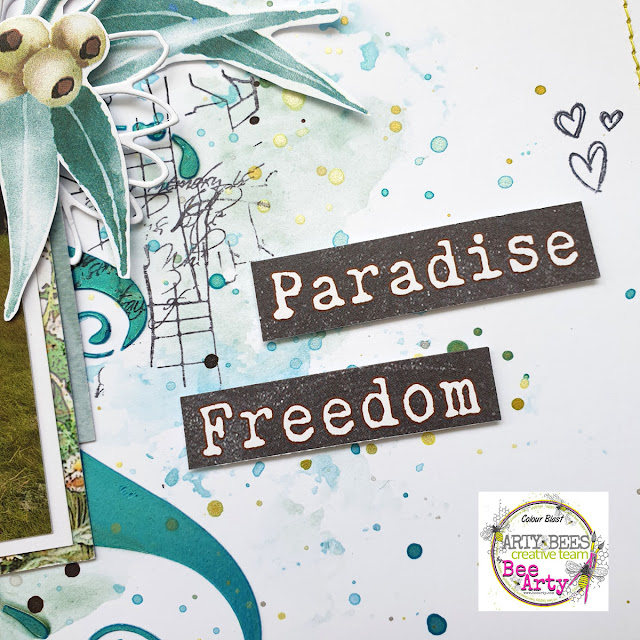
I've matted my photo on layers of paper offcuts from the the Road Trip collection. The leaves and cups are fussy cut from the Road Trip Collection Cover paper. The words are cut from the Vacay paper, also from the Road Trip Collection. I've added a flower diecut from the Calendula metal die set (Bohemian Bliss collection).


Lastly I've added journalling using a fine black Life of Colour paint pen.


Thanks so much for stopping by

Crafty Hugs xx


Saturday, 26 February 2022

Altered stationary box by Sunila Mahajan

 Hello friends,

Sunila, here and I'm back with some quick inspiration for you all. I have an eye for altering and upcycling objects. At home, everyone checks with me before discarding anything, just in case I can upcycle it. 

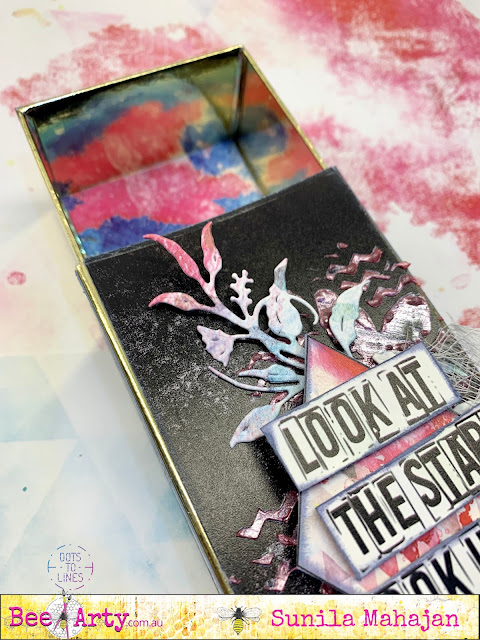
Today, I've upcycled an incense stick box, to create a stationary holder. It makes for a perfect gift, as well as utility item to hold pens, pencils, brushes, etc. in place. 

Here's a look at it:


I've used the Fearless. Brave and Free Collection. 


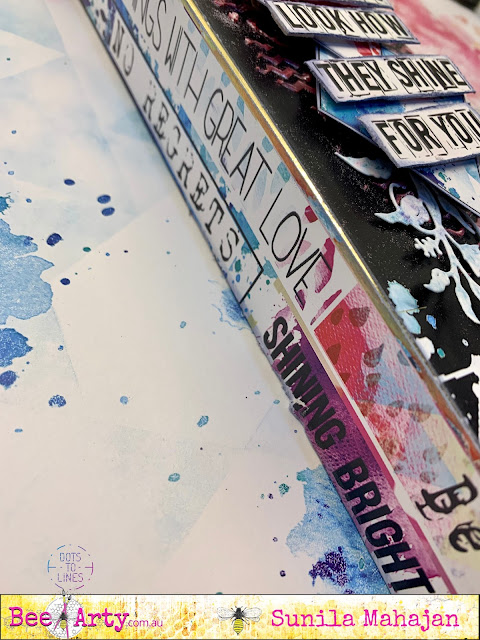
I trimmed pieces of paper to glue on the inside as well as outside front and sides of my box.


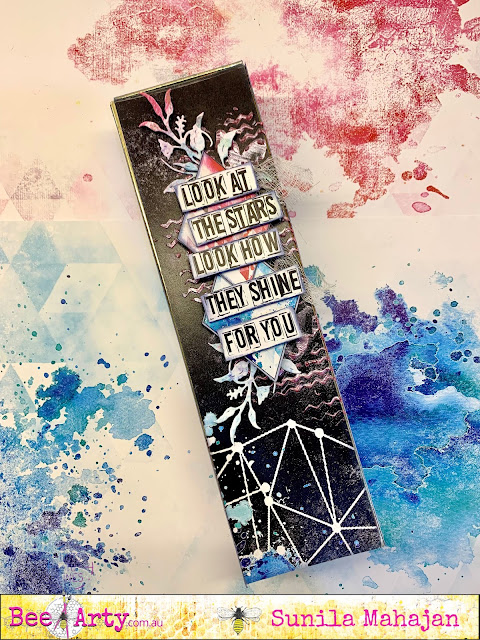
After gluing these, I used a stencil and colour paste to add texture on the top, and added some elements from the same paper pack to create a focal point.


I cut out a phrase and added that to add more  meaning to my box. I particularly loves the sides with all these optimistic words, that I'm bound to read every time I pick it up. 

Saturday, 29 January 2022

Mixed Media Card by Sunila Mahajan

 Hello lovelies,

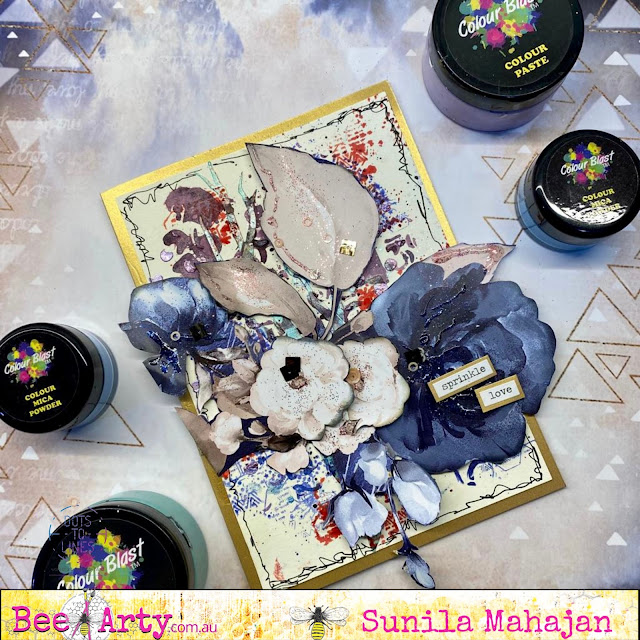
Sunila, here and I'm sharing with you all a mixed media layered card today. I show you how I created my background with all the layers in a few steps.

Before we begin, here's a look at the card:


Steps to creating the background:

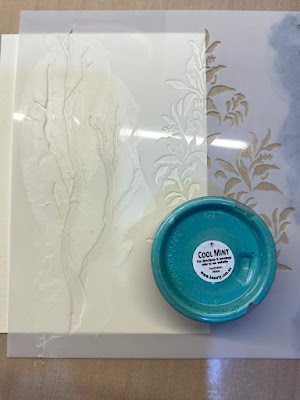
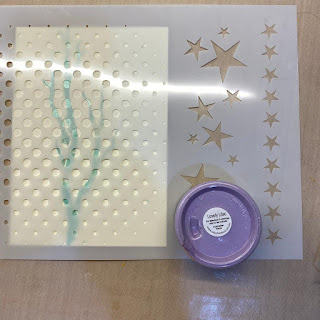
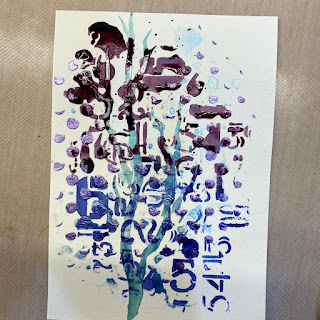
Step 1- I started with a white 5"x7" water colour paper. I added texture using colour paste and a stencil.


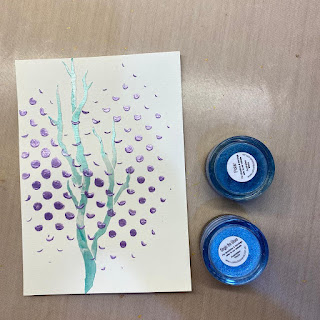
Step 2: I added another colour through a different stencil.


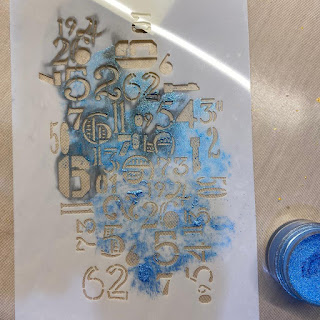
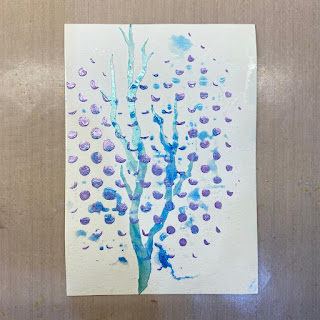
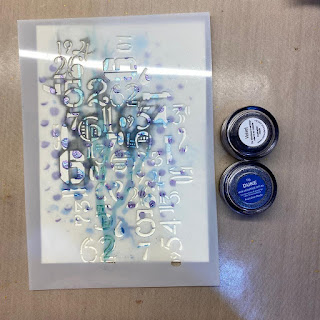
Step3: I sprinkled mica powders on a stencil, misted them with water and took a reverse print on my base. 


Step 4: Using the same stencil, but now placing it on my base I sponged shimmer dust mixed with water. 


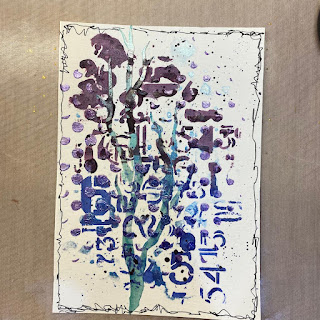
Step 5: I added some black doodling along the border. 


Step 6: I used a stamp with the shimmer dust colours and added that as a final step to my background. I then layered some fussy cut elements, sprinkled glitter and completed my card with a sentiment.


Supplies used:
Colour blast Colour paste- Cool Mint, Lovely Lilac

Bee Arty Stencils- Distance, That Way, Party Lights

Bee Arty Mica Powders- Singin the Blues, Polar

Bee Arty Shimmer Dust- Duke, Velvet, Candy

Bee Arty Stamps- Geo grunge

Paper collection- Forever My Always


I hope you've enjoyed today's tutorial and project! Hugs!