Showing posts with label string leaves metal die. Show all posts

Saturday, 27 August 2022

Sunshine Altered Hoop by Sunila Mahajan

 Hello Bee Arty Lovelies,

Hope you're all doing well! Sunila here, and today I'm sharing a pictorial on altering an embroidery hoop. 

I enjoy  mixed media because it opens up plenty of opportunities to play with. Layers, elements, textures all come together beautifully in a single piece. The altered hoop makes for a great home decor piece as well as a gift for someone special.  

Here's a look at the hoop:


Let's begin creating it!


Step 1- I've chosen the Bee The Sunshine Collection for my Hoop. Fussy cut elements, pick out papers for the base and to die cut some elements. Paint the rim of the hoop with Bling Colour Paste. 


Step 2- Die cut elements for the hoop. The round frame makes for a great shaker element. Die cut it several times, adhere together for a thicker layer. Cut a circle on a transparent sheet and white cardstock to back it up for the shaker. I've used a piece from the collection with the quote to back my shaker. 


Step 3: On the base paper, stencil with colour pastes. 


Step 4: Add black stamping on the dried stenciled base.


Step 5- Adhere the hoop onto the base paper. Stamp on the rim of the hoop.


Step 6-  Glue the fussy cut elements, the die cut pieces and the focal shaker element to complete the composition. 


Hope you enjoyed this creation!

Hugs,

Sunila


Supplies used:

Bee The Sunshine Collection

Colour Paste- Bling, Rosewood

Stencil- Stardust

Stamp- Memories

Die- String Leaves


Saturday, 26 February 2022

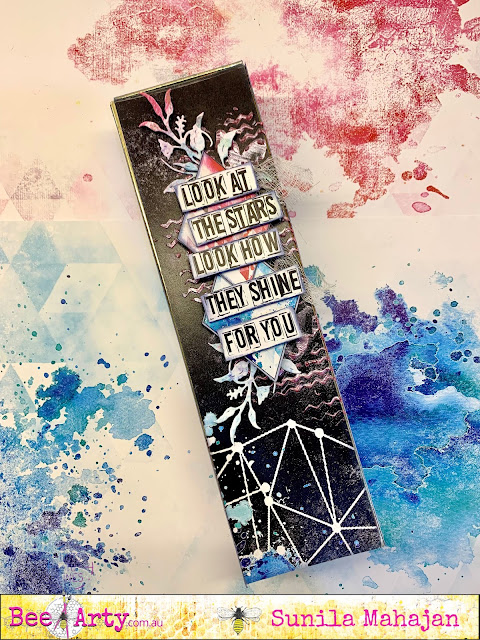
Altered stationary box by Sunila Mahajan

 Hello friends,

Sunila, here and I'm back with some quick inspiration for you all. I have an eye for altering and upcycling objects. At home, everyone checks with me before discarding anything, just in case I can upcycle it. 

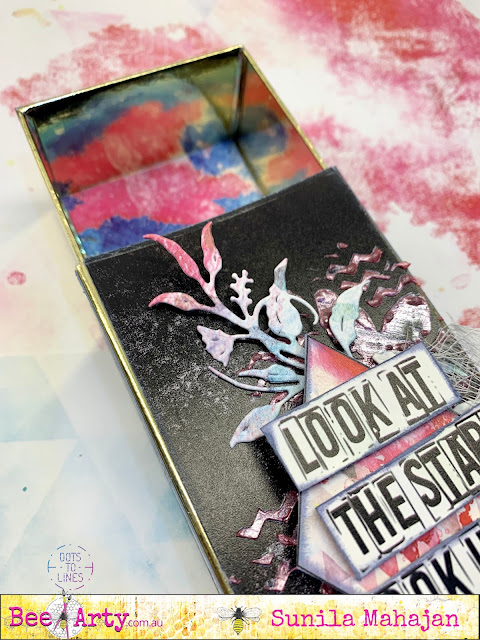
Today, I've upcycled an incense stick box, to create a stationary holder. It makes for a perfect gift, as well as utility item to hold pens, pencils, brushes, etc. in place. 

Here's a look at it:


I've used the Fearless. Brave and Free Collection. 


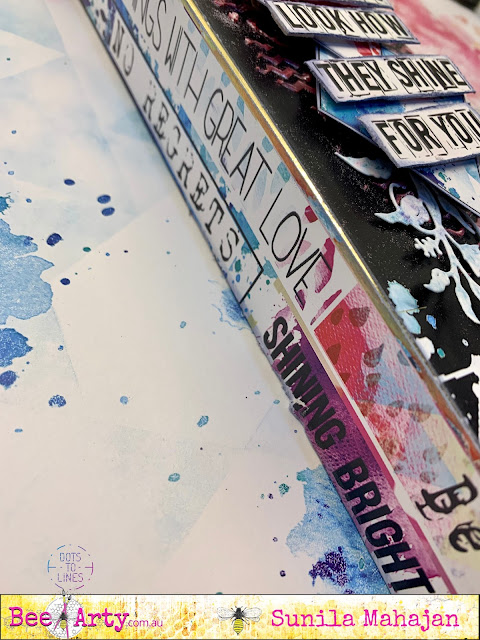
I trimmed pieces of paper to glue on the inside as well as outside front and sides of my box.


After gluing these, I used a stencil and colour paste to add texture on the top, and added some elements from the same paper pack to create a focal point.


I cut out a phrase and added that to add more  meaning to my box. I particularly loves the sides with all these optimistic words, that I'm bound to read every time I pick it up. 

Saturday, 17 July 2021

This Moment by Tracey Campbell

 Happy Saturday, today I am sharing my latest creation with you using the Embrace Change Collection. This collection is lovely to work with, from the delicate foliage to the earthy tones, it all works together to make any layout look awesome. 

For this layout I actually did a bit more planning then I usually do, I decided that I wanted to challenge myself by using something old out of my stash of supplies. I found these old paper flowers in a variety of shades of colour that complimented the colours in  the Embrace Change collection. I also planned that I would to do some stencilling so pulled out Rose Reveal and Sparkle stencils as I felt that I wanted to use more flowers. Next I grabbed the String Leaves metal die once again tying in with the foliage / flora theme I have going.

Next planning was the photo, I knew I had this photo of Bronte and I giving Paige a kiss on her bald little head, I thought that it would be perfect, particularly because it was printed in a sepia tone, which would look awesome on this collection. I even decided on a title, which is so unlike me, the title is always a last minute decision for me. So right from the very start I knew how this layout was going to go..... or so I thought!

I used the "B" side of Gathering Patterned paper as my base of my layout and prepared it by applying a coat of clear gesso and letting it dry.

Next I used the packaging technique to apply some Stormy Weather Colour Shimmer Spray to the base. The packaging techniques is a simple techniques that creates an interesting spread of mixed media, it is done by simply spraying some colour spray to a piece of plastic packaging and then flipping it over onto the paper and patting it down. Repeat this a couple of times until you get a base of colour that you like. 

To add some more interest to the base I took the spray head out of the bottle of the Stormy Weather Colour Shimmer Spray and used the straw to flick some splats over the Gathering Patterned paper. The photo below is the what my base looked like prior to me building the rest of the layout on it.

Grabbing a pot of Peach Nectar Colour Paste, a pallet knife and the Rose Reveal stencil I spread the paste through the stencil and let it dry. 

In the photo below you can see the positioning of where I placed the stencilled images. Note that I only spread the paste through a portion of the Rose Reveal stencil in the bottom right hand corner. 

Next I matted a 6x4 inch portrait photo, I used some vellum and the "B" side of Poetry Patterned Paper to create a soft mat for the photo. I also cut out two slices from the left and right edges of the Gathering Patterned paper - you can see these cut out slice potions in the final layout. I then used a distressing tool to give the cut out edges a roughed up look. Adhere a strip of the Festival Patterned paper to the back of the cut out distressed edge, so that you can see the maroon colour peaking out from behind the edge. 

I used the String Leaves metal die to cut out four images from the Festival Patterned paper. I then layered three of the die cut images over pieces of doilies. See image two photos below for the positioning.  

With the fourth die cut image I cut it into two pieces and used a piece on each of the distressed edges, with a tiny piece of the lace from the doilies. 

In the photo below is what my back ground looks like after I added all the elements to it. 

I added the photo tot he background now - I used some 3 dimensional tape to give it some height. I also tucked the photo behind some of the leaves from the String Leaves die cut image. 

Right now it was time to add my old paper flowers to the layout. At this stage I decided that I need some flowers that were a touch darker than the shades of peach, pink, cream and white that I had so I made my own shade of maroon (purply) colour by mixing some Rust Artist Ink and Passion Shimmer Dust together. I experimented a bit with some spare flowers to make sure I got the tone right and ended up I sprayed the flowers with water prior to painting the mixture on as this diluted the mixture and gave me the perfect colour that I was after.

Next I build up the flowers in layers and glued a bronze metal enamel dot to the centre of the flower clusters.

I then adhered them to my page - see the final layout for the positioning. 


For the finishing touches I fussy two of the butterflies from the extra sheet of cut a parts (on the back of the Embrace Change Product sheet, when you buy the whole paper collection) and adhered them to the page.


When I planned the page I decided that I would use the title "To the Moon" as this is what I say to the girls when I tell them I love them.... but the words were just a bit too big for where I wanted to place them, so I cut out "This Moment" from the Poetry Cut - A - Part Sheet. I then used a distressing tool to distress the edges of the title and adhered it to the page.


A close up view of one of the flower clusters.


The final layout - it really didn't turn out how I had planned in my mine, but I do love how it looks so soft and feminine. 

Well I hope that I have given you some ideas for how to use the lovely Embrace Change collection, not that it is hard to use. It is such a lovely and fun collection that would suit a lot of different themed photos.

Take care for now.

Hugs

Tracey

Monday, 28 June 2021

Remember by Charmane Koch

 Happy Monday Everyone! I hope it is anyway, in this craziness we call LIFE these days!

Hoping you are all well & able to cope with all the restrictions we all have and it isn't too confusing???? 

Anyway, I am here to bring you some INSPIRATION... this time using the BRAND SPANKING NEW "Embrace Change" Collection designed by the lovely Fiona Partridge!


I started off with using the Pavement Stencil, however, from the Destination Anywhere range, as it totally matched the photos I was using. The Embrace Change "Festival" & "Change" papers were the perfect colours to use though.

I matted all 4 photos I had using the "Change" paper. Then distressed the edges, and with Leather Mica Powder watered down I coloured the edges.

I used the gorgeous NEW Rosewood Colour Paste - this colours is just magnificent! I scraped it through the stencil onto the "Change" paper, a little at the top left of the paper, then on the bottom right.


I coloured the String Leaves Die Cut  & "Remember" wood veneer title using the Pine Embossing Powder  {in the Northern Lights Embossing Bundle} & Versamark Watermark Ink.


I also decided to use the "Change" paper to create a one of a kind Charms Creations Heart... of course this means it matches perfectly with the whole layout!


And after fussy cutting 3 of the gorgeous butterflies from the Embrace Change Collection, I stuck these on my layout to finish it off... 


They finished off the page nicely!


I am sure you love this collection as much as I do! It's just beautiful! If you haven't ordered it already NOW is the time! You can ORDER IT HERE!


Thanks for stopping by!

XO Charm


Monday, 24 May 2021

You have my Heart by Charmane Koch

 Happy Monday Everyone!

Hoping your week will be a wonderful one!

Today I wanted to share with you one of the layouts I created based on a Challenge that we had at the AMAZING Bee Arty Retreat!

Here's a closeup...


We had to use the Love & Grace Elmore paper - which is gorgeous just by itself...


Sorry I don't have any step-by-steps as I didn't take any on retreat! {silly me!}

I however started off by stencilling the gorgeous Rose Reveal stencil from the Love & Grace Range using some modelling paste to the top left & bottom right of the gorgeous designs on the page... I have then quickly dried with a heat gun.


Using Apple of my Eye & Blush Mica Powder I have added water to colour the Rose Reveal stencil, & the White Doily that I have tucked behind the photo.

Before sticking everything down, I also lightly stamped the Memories Stamp which was another requirement for the challenge!

I cut out a few dies using the 350gsm White Cardstock - Runway, String Leaves & String Wreath and then embossed them using Key Lime & Baby Pink from the Mermaid Embossing bundle! Such beautiful colours!


Here are the Dies, Stamp & Stencil I used for this layout:


To finish off my layout I have trimmed the edges and distressed and backed with the fabulous nice and thick 350gsm White Cardstock.

I really love how this page turned out using so many of the AWESOME products at Bee Arty!


Thanks for stopping by and I hope I have inspired you to play today!


XO Charm