Showing posts with label flux stencil. Show all posts

Monday, 28 March 2022

The flowers and the butterfly - natures true love affair… by Linda Pearson


For today's blog I let my imagination take me to a place of fantasy and beauty.  Using the Flux and Foliage stencils to create some fantasy flowers to attract its winged lover.  The Bee Arty stencils provide a wonderful avenue for challenging your creative mind to produce wonder journal pages or photo layouts.  Enjoy the process.


Colour Spray  – Bubblegum, Caribbean Colourblast colour sprays

Gesso – Bee Arty heavy primer 250ml  white

Flux A6 stencil

Cascading leaves A5 stencil

Butterfly A4 stencil

Sparkles 12”x12” cardstock paper (Fireworks collection)

Mica powder –  sunflower, cobalt, lollipop Colourblast mica powder

Catalyst silicone mini blades tool

Dina Wakley Acrylic paint - (Lemon, Orchid, Syrup, Green, Olive, White, Orchid, Magenta, Fuschia)

Modge Podge Dimensional Magic

Nuvo Crystal Drops white

Silver Rhinestones

Moulding Paste (texture paste)

Makeup sponges, Paint brushes,

Silicone Spreader Tool


Apply 2 coats of Gesso.  Dry off.


First background layer -  2-3 green colours into paste through the Cascading leaves A5 stencil over the entire page by tapping the paste with a silicone sponge.  Can add some white Gesso to lighten the green paint.


Second background layer – Apply a second spread of green colours through the   Cascading leaves A5 stencil – this time turn the stencil on angles over the entire page again.  Dry off.


Third background layer – For this layer apply Gesso through the Cascading leaves A5 stencil again changing the direction of the stencil to cover some of the gaps in the previous layers.  Dry off.


        Flowers – Create 3 flowers on left hand side of page. 

Using the Flux A6 stencil to create abstract flowers, mix quantities of  DW orchid (light shade), Magenta (medium shade) and Fushcia (dark shade) into the moulding paste.  Pounce the light shade through the stencil using a makeup sponge.  Repeat this process using the medium shade then the darker shade in turn to add depth to the petals.  Dry off between each pass.


Stamens – Mix some DW lemon paint into a small amount of moulding paste.  Swipe a good amount of paint through the berry shapes on the Foliage A4 stencil to resemble flower stamens.  Add one stamen to the centre of each flower.  Dry off.

Use a stipple brush to tap some textured lemon paste into the centre of each flower.


Add white dots around the stamens and on some of the petals using the Nuvo crystal drops.


Add silver rhinestones to the stamens and on some of the smaller petals using dimensional magic.  Use a paint pen to highlight around the textured shapes.


Add spatters of paint in DW fuschia and olive over the entire paint (not flowers).  Dry off.
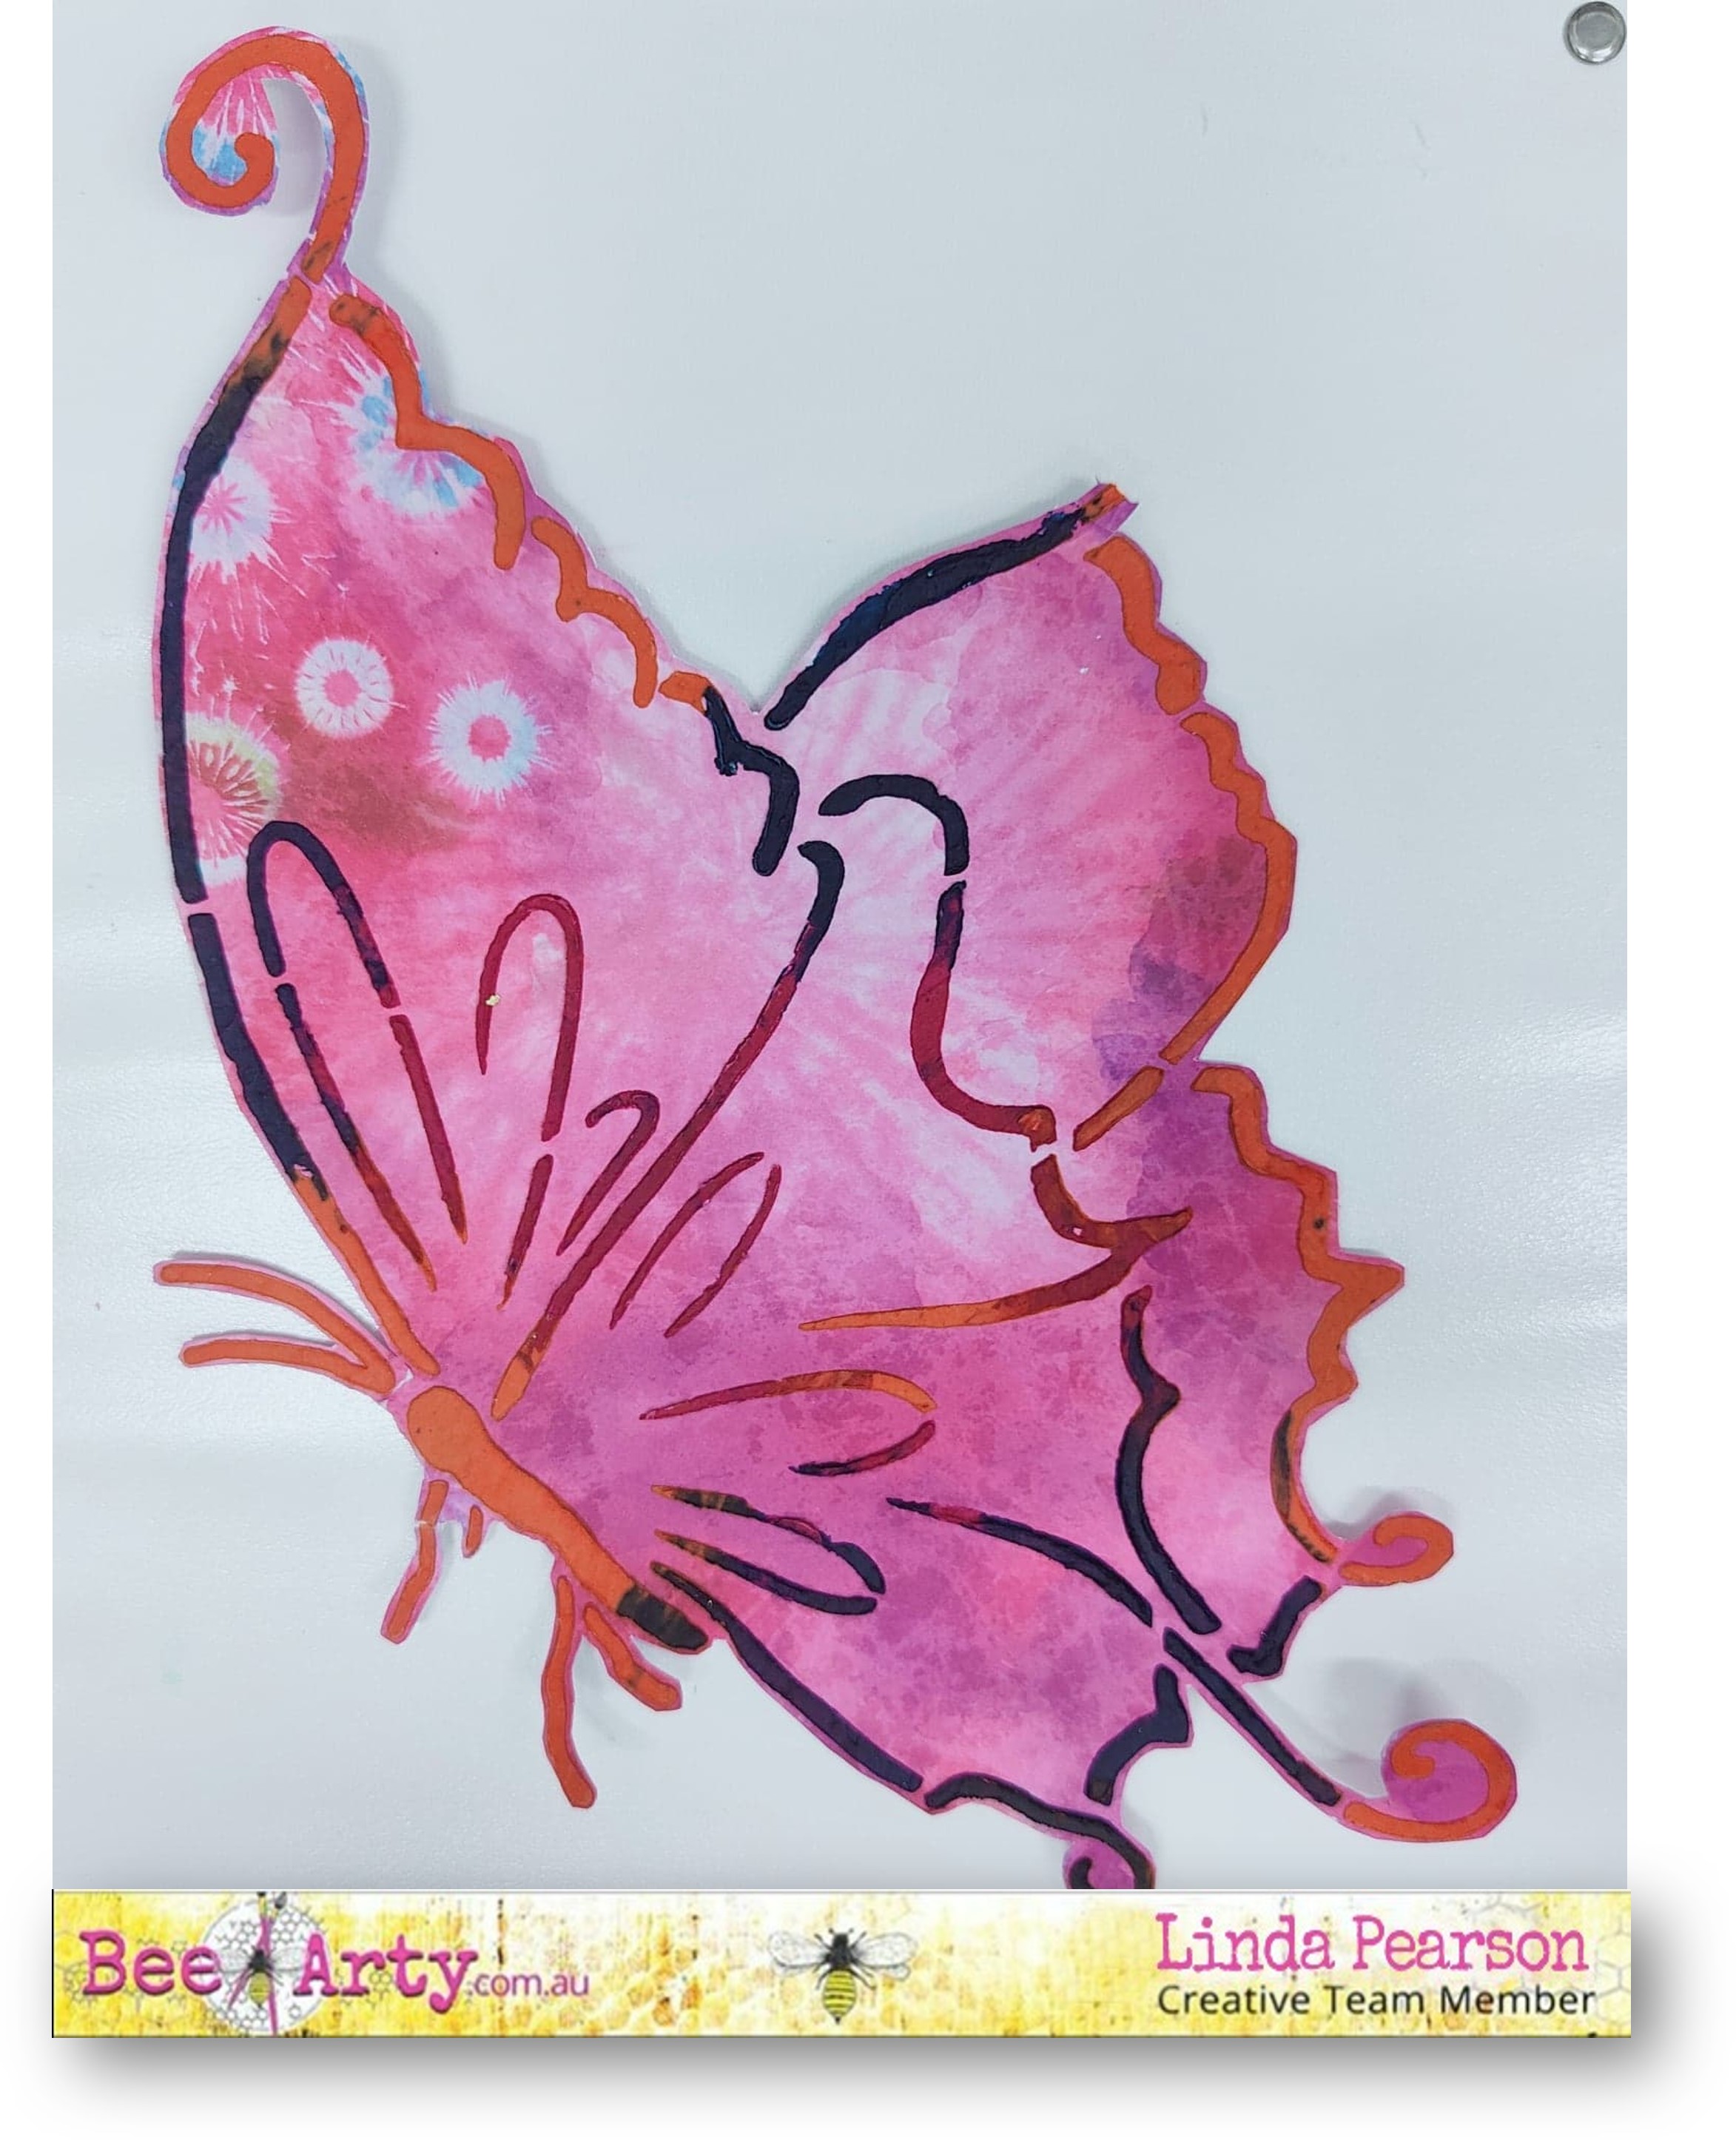


Butterfly – Use a sheet of Sparkles 12”x12” cardstock paper as a coloured base to add Butterfly A4 stencil. Mix small quantities of moulding paste, adding Mica powder –  sunflower, cobalt and lollipop.  Spread the 3 colours through the Butterfly A4 stencil.  Allow to dry. 

Spray some Colour Spray in bubblegum and Caribbean to the butterfly shape, spray with water to spread (Note:  some of the colour in the moulding paste outline will move also).  Cut out the shape from the paper when completely dry.


Add dimensional magic and silver rhinestones over the textured shape to add shine and dimension.


Adhere the butterfly to the right-hand side of the page using mounting tape. 

Add silver rhinestones to the butterfly with dimensional magic adhesive.

  Outline the butterfly with fine black paint pen.

Add the sentiment to the page and border to the page with paint pen.


Thank you for stopping by and hope this project has triggered your imagination to create your own fantasy page.

Bye for now from Linda

linda@yourcreativepalette.com.au


Tuesday, 30 March 2021

COLLAGE GIRL CANVAS by Linda Pearson

 Hi Bee Arty friends ....  We are now in lockdown again but let's make the time to create some amazing art.

Today I am sharing a canvas I did last year using lots of mixed media products.  


Bee Arty Products used in this project:

Other products used:
  • Collage papers - Assorted Gel print papers, coloured photo of myself 
  • permanent water colour pencil in dark blue
  • Fiber paste
  • texture paste
  • gel matt medium
  • pink paint
  • plastic bag
   
   
Tear the gel print and photo paper into similar width strips.


Glue torn strips of paper to cover the whole canvas.  Cover the page with a coat of white paint or Gesso to a translucent finish.


Mix the Colour paste - Licorice paste with some Shimmer dust –  Duke.  I also added some fiber paste to the mixed to make a heavily textured paste, but this can be omitted if you haven't any.  Apply the mix thickly through the Face Side Profile 2 - A4 Stencil.  


Mix a  good quantity of texture paste with black Gesso, add some black paint if the colour isn't dark enough for you.  Spoon the paste into the plastic bag, snip a corner of the bag then pipe the texture paste to form the hair line and strands of hair.
Pipe a lace trim along the bottom edge of the portrait silhouette.

Mix some pink paint with texture paint then apply paste through the Flux A6 stencil stencil around the outer edge of the canvas.  Outline around the edges with permanent water colour pencil (dark blue), then add some water to the pencil outline to blend some shading to the stencil.


Thank you for stopping by and hope you are inspired to have a go at creating a canvas for yourself .... enjoy the Easter break 
linda@yourcreativepalette.com.au 
Your Creative Palette


Tuesday, 26 January 2021

Tip In Flourishes

 Good morning Bee Arters! 

Hope you are enjoying your Australia Day holiday ... why not celebrate by creating a journal page by supporting a proud Aussie based company https://beearty.com.au/ 

In this Blog entry I have added a tip in lace flourish to the page.  Enjoy the process and have some fun. 


List of materials used in this project


The finished product of this journal page is A4 size, I used a piece of White Cardstock 350gsm 10 pack - 12"x12".  I made a crease at the A4 measurement to create a 'tip in' fold using a boning tool.


Firstly, mask off the crease line to keep the 'tip in' clear of base coat paint on main page.  Apply small blocks of colour over the A4 background using your finger in 'figure 8' fashion.  Add each colour in turn leaving the yellow and magenta last.  You may wish to dry off in between to eliminate muddying of colours.
N.B.  I did not gesso this paper in this instance, but you could if you prefer too.


Be sure to cover the whole of this A4 section of paper.  Completely dry off.


Using the 
Boxed in stencil A5, choose one of the background colours (not the pop colours e.g. yellow, magenta),  add a little white beside, blend using the silicone sponge then apply randomly over the stencil (don't have to use whole stencil).  Dry off.


Continue this process in same colour over the entire surface of the page.  Dry off.


Select another colour from your palette 
(not the pop colours e.g. yellow, magenta), again apply the focal stencil Flux A6 stencil randomly over the page, apply stencil in different directions. Dry off.


Remove the masking tape from the 'tip in' section.  In this project I opted to hand draw a similar 'flourish' design using the stencil as a guide only (see below).  If you are an accomplished craft knife user feel free to use the 
Flux A6 stencil to draw a pattern over the white area for your design.


I drew this design on a spare piece of card and adjusted until I was happy with the design then transferred this over to the 'tip in' page.


Before cutting out the shapes I marked in the areas to be cut out with a X to ensure I removed the correct sections.
N.B.  please use caution when using craft knives always place the non dominant hand well away (behind the cutting area) and always turn the page to make curves do not twist your arm.


After cutting apply more masking tape along the coloured background area along crease.


Select a 'pop' colour, Magenta, colour the cutout sections, may require two coats on both sides of the 'tip in'. Dry off and remove tape.


Mix 
Colour paste - Rose Petal with texture paste apply through Flux A6 stencil over the stenciled surface, allow to dry.


Add some intensity and dimension over the focal stenciled area using 
Colour Spray - Bubblegum.  Cover the page with power towel so the page is protected from over spray of ink.


Add some paint spatters in light yellow colour to add contrast and to soften the page and including both sides of the 'tip in' flourish also.


Add highlights to the pink flourishes using 
Life of colour pens - yellow around all of the stencilled areas.


On the underside of the 'tip in' highlight the cutout design shapes with the yellow pen.


On the upper side of the 'tip in' I chose to use a dashed line to highlight the cutout shapes.


In this project I also drew around the tip in cutouts, in yellow pen, onto the back page to create bubbles for the stamped sentiments.
Add small word / sentiment stamps that fit in the size of the cut out shapes.  In this project I included; Heartfelt clear stamp, Live your art clear stamp set, Kind heart clear stamp set with archival ink.


I hope you have enjoyed this fun project and you are inspired to create your own.  


Thank you and see you next time for more creating fun!


linda@yourcreativepalette.com.au