Showing posts with label Cascading Leaves Stencil. Show all posts

Monday, 28 March 2022

The flowers and the butterfly - natures true love affair… by Linda Pearson


For today's blog I let my imagination take me to a place of fantasy and beauty.  Using the Flux and Foliage stencils to create some fantasy flowers to attract its winged lover.  The Bee Arty stencils provide a wonderful avenue for challenging your creative mind to produce wonder journal pages or photo layouts.  Enjoy the process.


Colour Spray  – Bubblegum, Caribbean Colourblast colour sprays

Gesso – Bee Arty heavy primer 250ml  white

Flux A6 stencil

Cascading leaves A5 stencil

Butterfly A4 stencil

Sparkles 12”x12” cardstock paper (Fireworks collection)

Mica powder –  sunflower, cobalt, lollipop Colourblast mica powder

Catalyst silicone mini blades tool

Dina Wakley Acrylic paint - (Lemon, Orchid, Syrup, Green, Olive, White, Orchid, Magenta, Fuschia)

Modge Podge Dimensional Magic

Nuvo Crystal Drops white

Silver Rhinestones

Moulding Paste (texture paste)

Makeup sponges, Paint brushes,

Silicone Spreader Tool


Apply 2 coats of Gesso.  Dry off.


First background layer -  2-3 green colours into paste through the Cascading leaves A5 stencil over the entire page by tapping the paste with a silicone sponge.  Can add some white Gesso to lighten the green paint.


Second background layer – Apply a second spread of green colours through the   Cascading leaves A5 stencil – this time turn the stencil on angles over the entire page again.  Dry off.


Third background layer – For this layer apply Gesso through the Cascading leaves A5 stencil again changing the direction of the stencil to cover some of the gaps in the previous layers.  Dry off.


        Flowers – Create 3 flowers on left hand side of page. 

Using the Flux A6 stencil to create abstract flowers, mix quantities of  DW orchid (light shade), Magenta (medium shade) and Fushcia (dark shade) into the moulding paste.  Pounce the light shade through the stencil using a makeup sponge.  Repeat this process using the medium shade then the darker shade in turn to add depth to the petals.  Dry off between each pass.


Stamens – Mix some DW lemon paint into a small amount of moulding paste.  Swipe a good amount of paint through the berry shapes on the Foliage A4 stencil to resemble flower stamens.  Add one stamen to the centre of each flower.  Dry off.

Use a stipple brush to tap some textured lemon paste into the centre of each flower.


Add white dots around the stamens and on some of the petals using the Nuvo crystal drops.


Add silver rhinestones to the stamens and on some of the smaller petals using dimensional magic.  Use a paint pen to highlight around the textured shapes.


Add spatters of paint in DW fuschia and olive over the entire paint (not flowers).  Dry off.
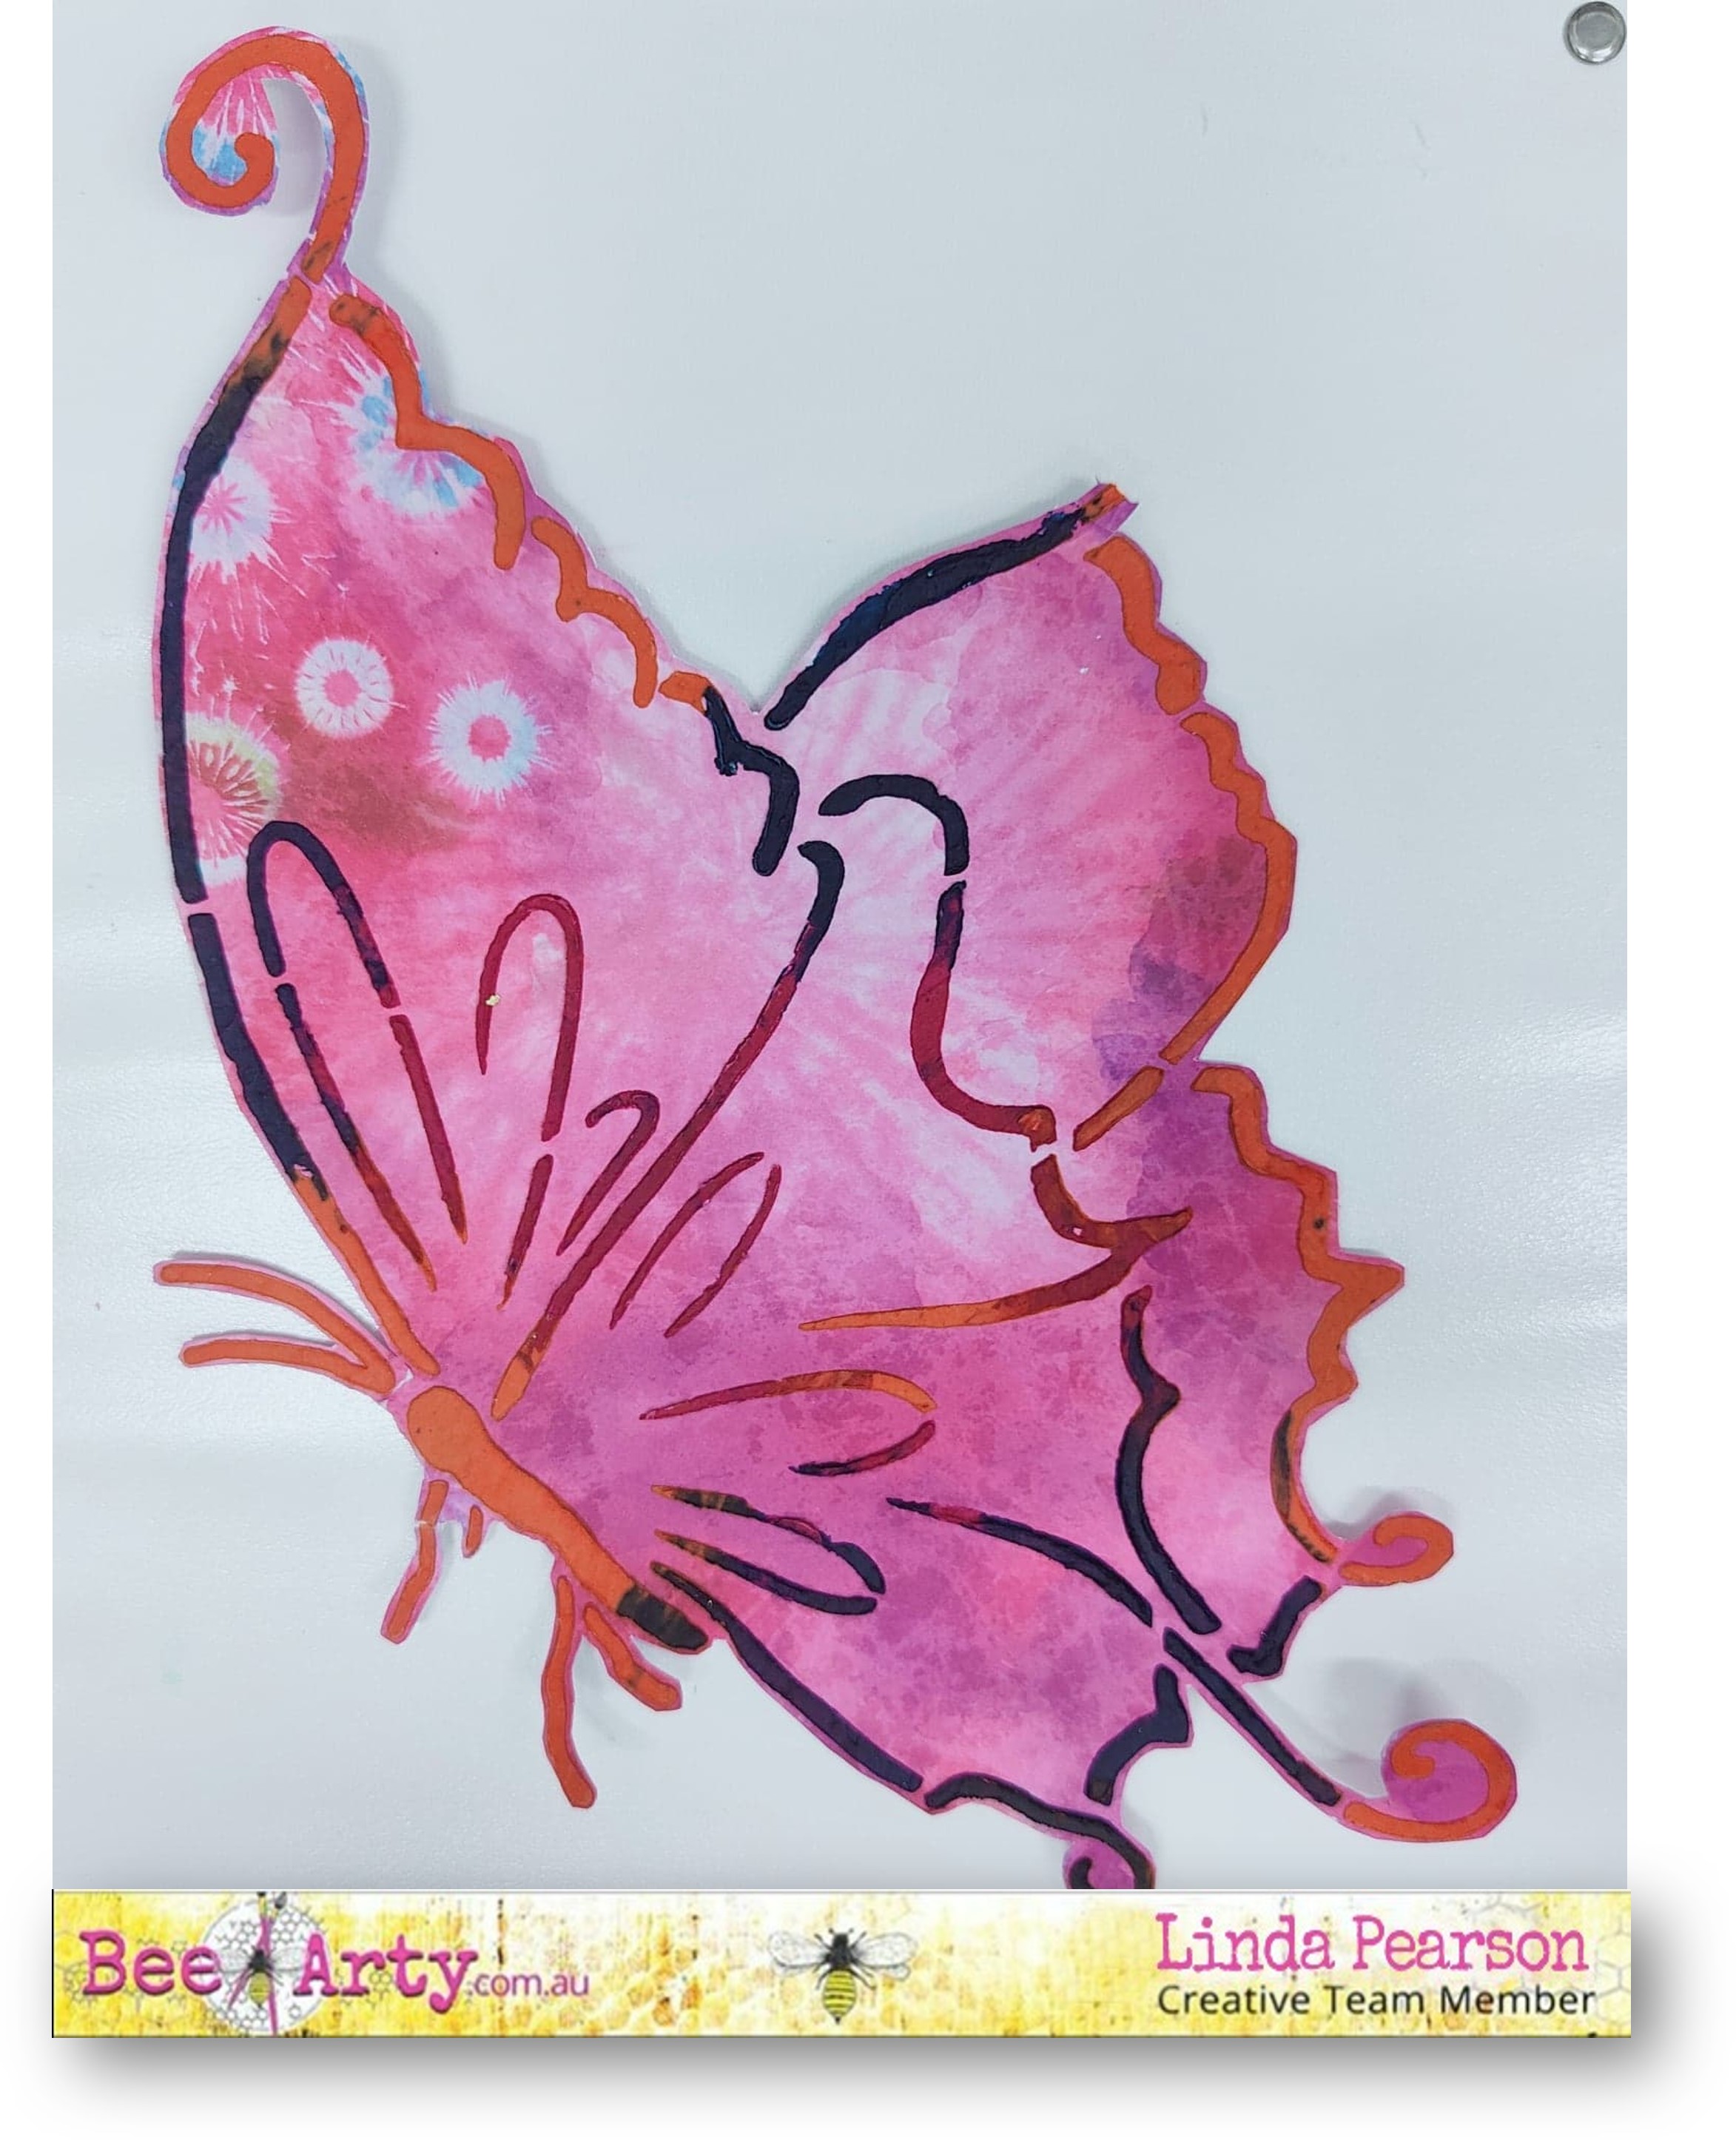


Butterfly – Use a sheet of Sparkles 12”x12” cardstock paper as a coloured base to add Butterfly A4 stencil. Mix small quantities of moulding paste, adding Mica powder –  sunflower, cobalt and lollipop.  Spread the 3 colours through the Butterfly A4 stencil.  Allow to dry. 

Spray some Colour Spray in bubblegum and Caribbean to the butterfly shape, spray with water to spread (Note:  some of the colour in the moulding paste outline will move also).  Cut out the shape from the paper when completely dry.


Add dimensional magic and silver rhinestones over the textured shape to add shine and dimension.


Adhere the butterfly to the right-hand side of the page using mounting tape. 

Add silver rhinestones to the butterfly with dimensional magic adhesive.

  Outline the butterfly with fine black paint pen.

Add the sentiment to the page and border to the page with paint pen.


Thank you for stopping by and hope this project has triggered your imagination to create your own fantasy page.

Bye for now from Linda

linda@yourcreativepalette.com.au


Tuesday, 22 February 2022

Adventure by Charmane Koch

Happy 22/02/2022! We won't see that again will we?

Hope everyone is getting into the swing of things for 2022! Can't believe it's going to be MARCH next WEEK! How does that even happen?

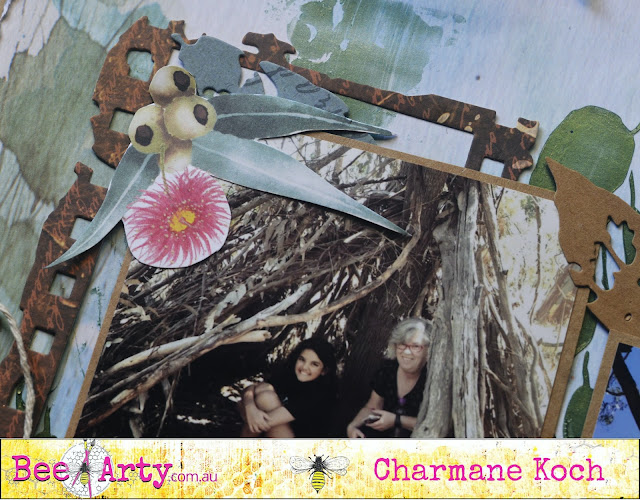
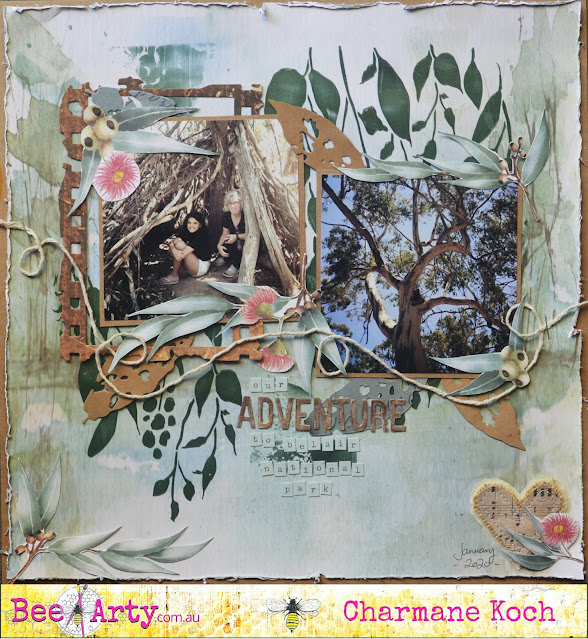
Anyway, today I am sharing with you a layout I created combining Road Trip & Embrace Change Collections - as they can blend in together really well - as you can see with this layout!


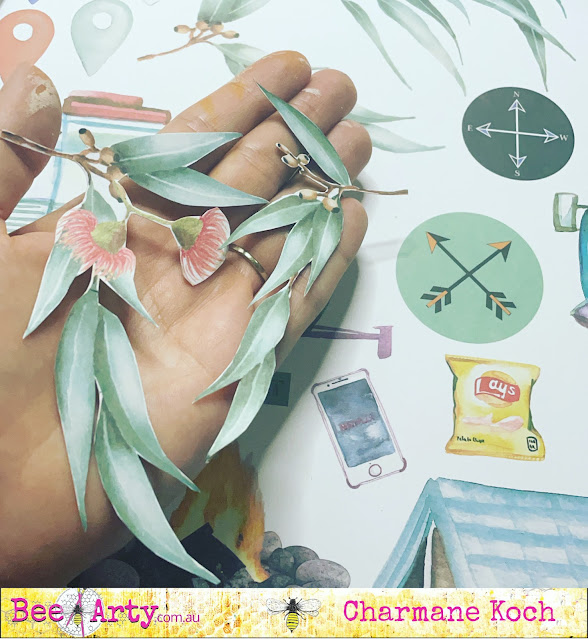
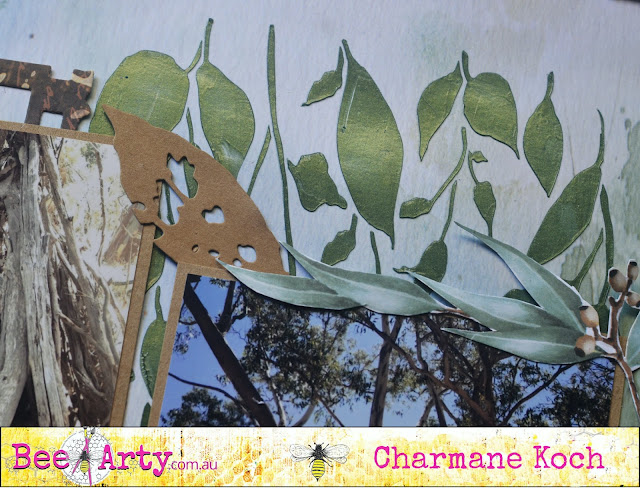
I thought the Exclusive cutouts from the Road Trip Collection were cute, so cut some of the leaves out, as I had in my head an Australian gum tree themed layout.


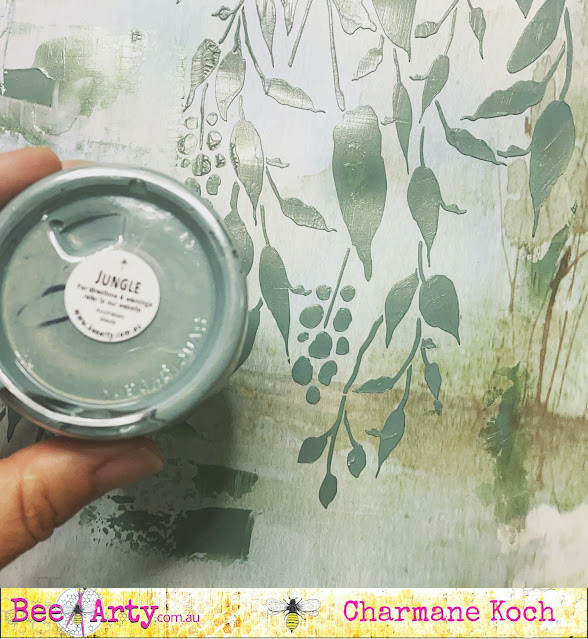
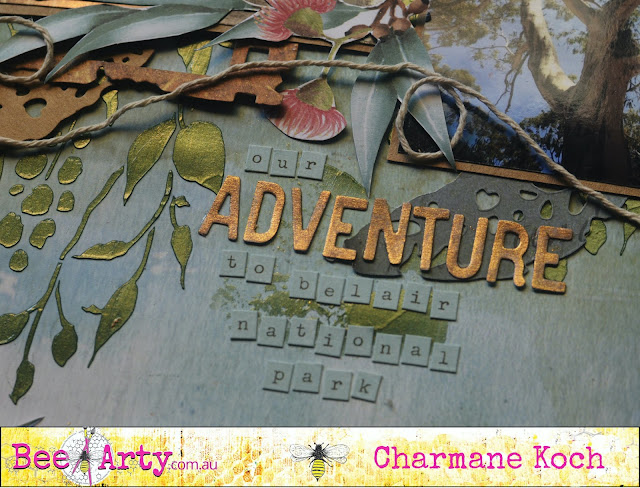
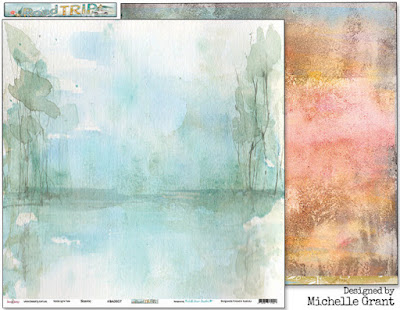
Using the Road Trip - Scenic paper as my base, I scraped some Jungle Colour Paste using a spatula over the top of the Cascading Leaves Stencil...


Once dried with a Heat Gun, Jungle is such a gorgeous colour!


This layout was quite easy to put together! All I did was matte my photos with Kraft cardstock and layer the cut out gum leaves, and also some "Old Leaves" Die cut outs using Kraft cardstock. I also had cut out a Grungy Film Strip


To create my title I used the Road Trip Words "Adventure" colouring it with Bling Mica Powder & Water.

I added my trademark swirly kitchen twine with a few staples... and of course a Charms Creations Heart to finish off the layout! 


Here's what I have used...


Thanks for stopping by & hope I have inspired you to create an Australian themed layout!


Take Care & Stay Safe!

XO Charm

Friday, 3 September 2021

Happy Days by Charmane Koch

Happy Friday Everyone! As happy as it can be! It is Spring, so it can only get better from here I say! I love the warmer weather!

Today I want to share with you a layout I created using the Embrace Change Collection!

I started off with cutting out a whole heap of leaves from the Autumn Trio & Old Leaves Dies using Embrace Change Gathering & Festival paper & also some Kraft paper - how satisfying and fun it is! I couldn't stop! Ha ha!


I have created a full video of this, but as an Amateur Video Creator I am still trying to figure out how to make it a bit more exciting...

So I will give you the basics of how I created it...

I started off with using Modelling paste and positioned the Wreath Stencil to the middle right of the page, then I have used the Cascading Leaves stencil on the left hand side of the page.

Once dried I have used a few different Mica Powders & Soot Artist Ink to colour the wreath and the leaves.


After colouring the stencilled images I played around with the positioning of my leaves...
I also coloured some Muslin with Leather Shimmer Dust & also the Title with the same colour too.

Here are some closeups to show the shimmer on the leaves...


And the cute little butterfly I've cut out! How cute is that?


Thanks for stopping by! I hope I've inspired you to use the Wreath & Cascading Leaves & the rest of the Embrace Change Collection! It's gorgeous!


Happy Creating! XO Charm