Showing posts with label Colour Blast gesso. Show all posts

Monday, 28 March 2022

The flowers and the butterfly - natures true love affair… by Linda Pearson


For today's blog I let my imagination take me to a place of fantasy and beauty.  Using the Flux and Foliage stencils to create some fantasy flowers to attract its winged lover.  The Bee Arty stencils provide a wonderful avenue for challenging your creative mind to produce wonder journal pages or photo layouts.  Enjoy the process.


Colour Spray  – Bubblegum, Caribbean Colourblast colour sprays

Gesso – Bee Arty heavy primer 250ml  white

Flux A6 stencil

Cascading leaves A5 stencil

Butterfly A4 stencil

Sparkles 12”x12” cardstock paper (Fireworks collection)

Mica powder –  sunflower, cobalt, lollipop Colourblast mica powder

Catalyst silicone mini blades tool

Dina Wakley Acrylic paint - (Lemon, Orchid, Syrup, Green, Olive, White, Orchid, Magenta, Fuschia)

Modge Podge Dimensional Magic

Nuvo Crystal Drops white

Silver Rhinestones

Moulding Paste (texture paste)

Makeup sponges, Paint brushes,

Silicone Spreader Tool


Apply 2 coats of Gesso.  Dry off.


First background layer -  2-3 green colours into paste through the Cascading leaves A5 stencil over the entire page by tapping the paste with a silicone sponge.  Can add some white Gesso to lighten the green paint.


Second background layer – Apply a second spread of green colours through the   Cascading leaves A5 stencil – this time turn the stencil on angles over the entire page again.  Dry off.


Third background layer – For this layer apply Gesso through the Cascading leaves A5 stencil again changing the direction of the stencil to cover some of the gaps in the previous layers.  Dry off.


        Flowers – Create 3 flowers on left hand side of page. 

Using the Flux A6 stencil to create abstract flowers, mix quantities of  DW orchid (light shade), Magenta (medium shade) and Fushcia (dark shade) into the moulding paste.  Pounce the light shade through the stencil using a makeup sponge.  Repeat this process using the medium shade then the darker shade in turn to add depth to the petals.  Dry off between each pass.


Stamens – Mix some DW lemon paint into a small amount of moulding paste.  Swipe a good amount of paint through the berry shapes on the Foliage A4 stencil to resemble flower stamens.  Add one stamen to the centre of each flower.  Dry off.

Use a stipple brush to tap some textured lemon paste into the centre of each flower.


Add white dots around the stamens and on some of the petals using the Nuvo crystal drops.


Add silver rhinestones to the stamens and on some of the smaller petals using dimensional magic.  Use a paint pen to highlight around the textured shapes.


Add spatters of paint in DW fuschia and olive over the entire paint (not flowers).  Dry off.
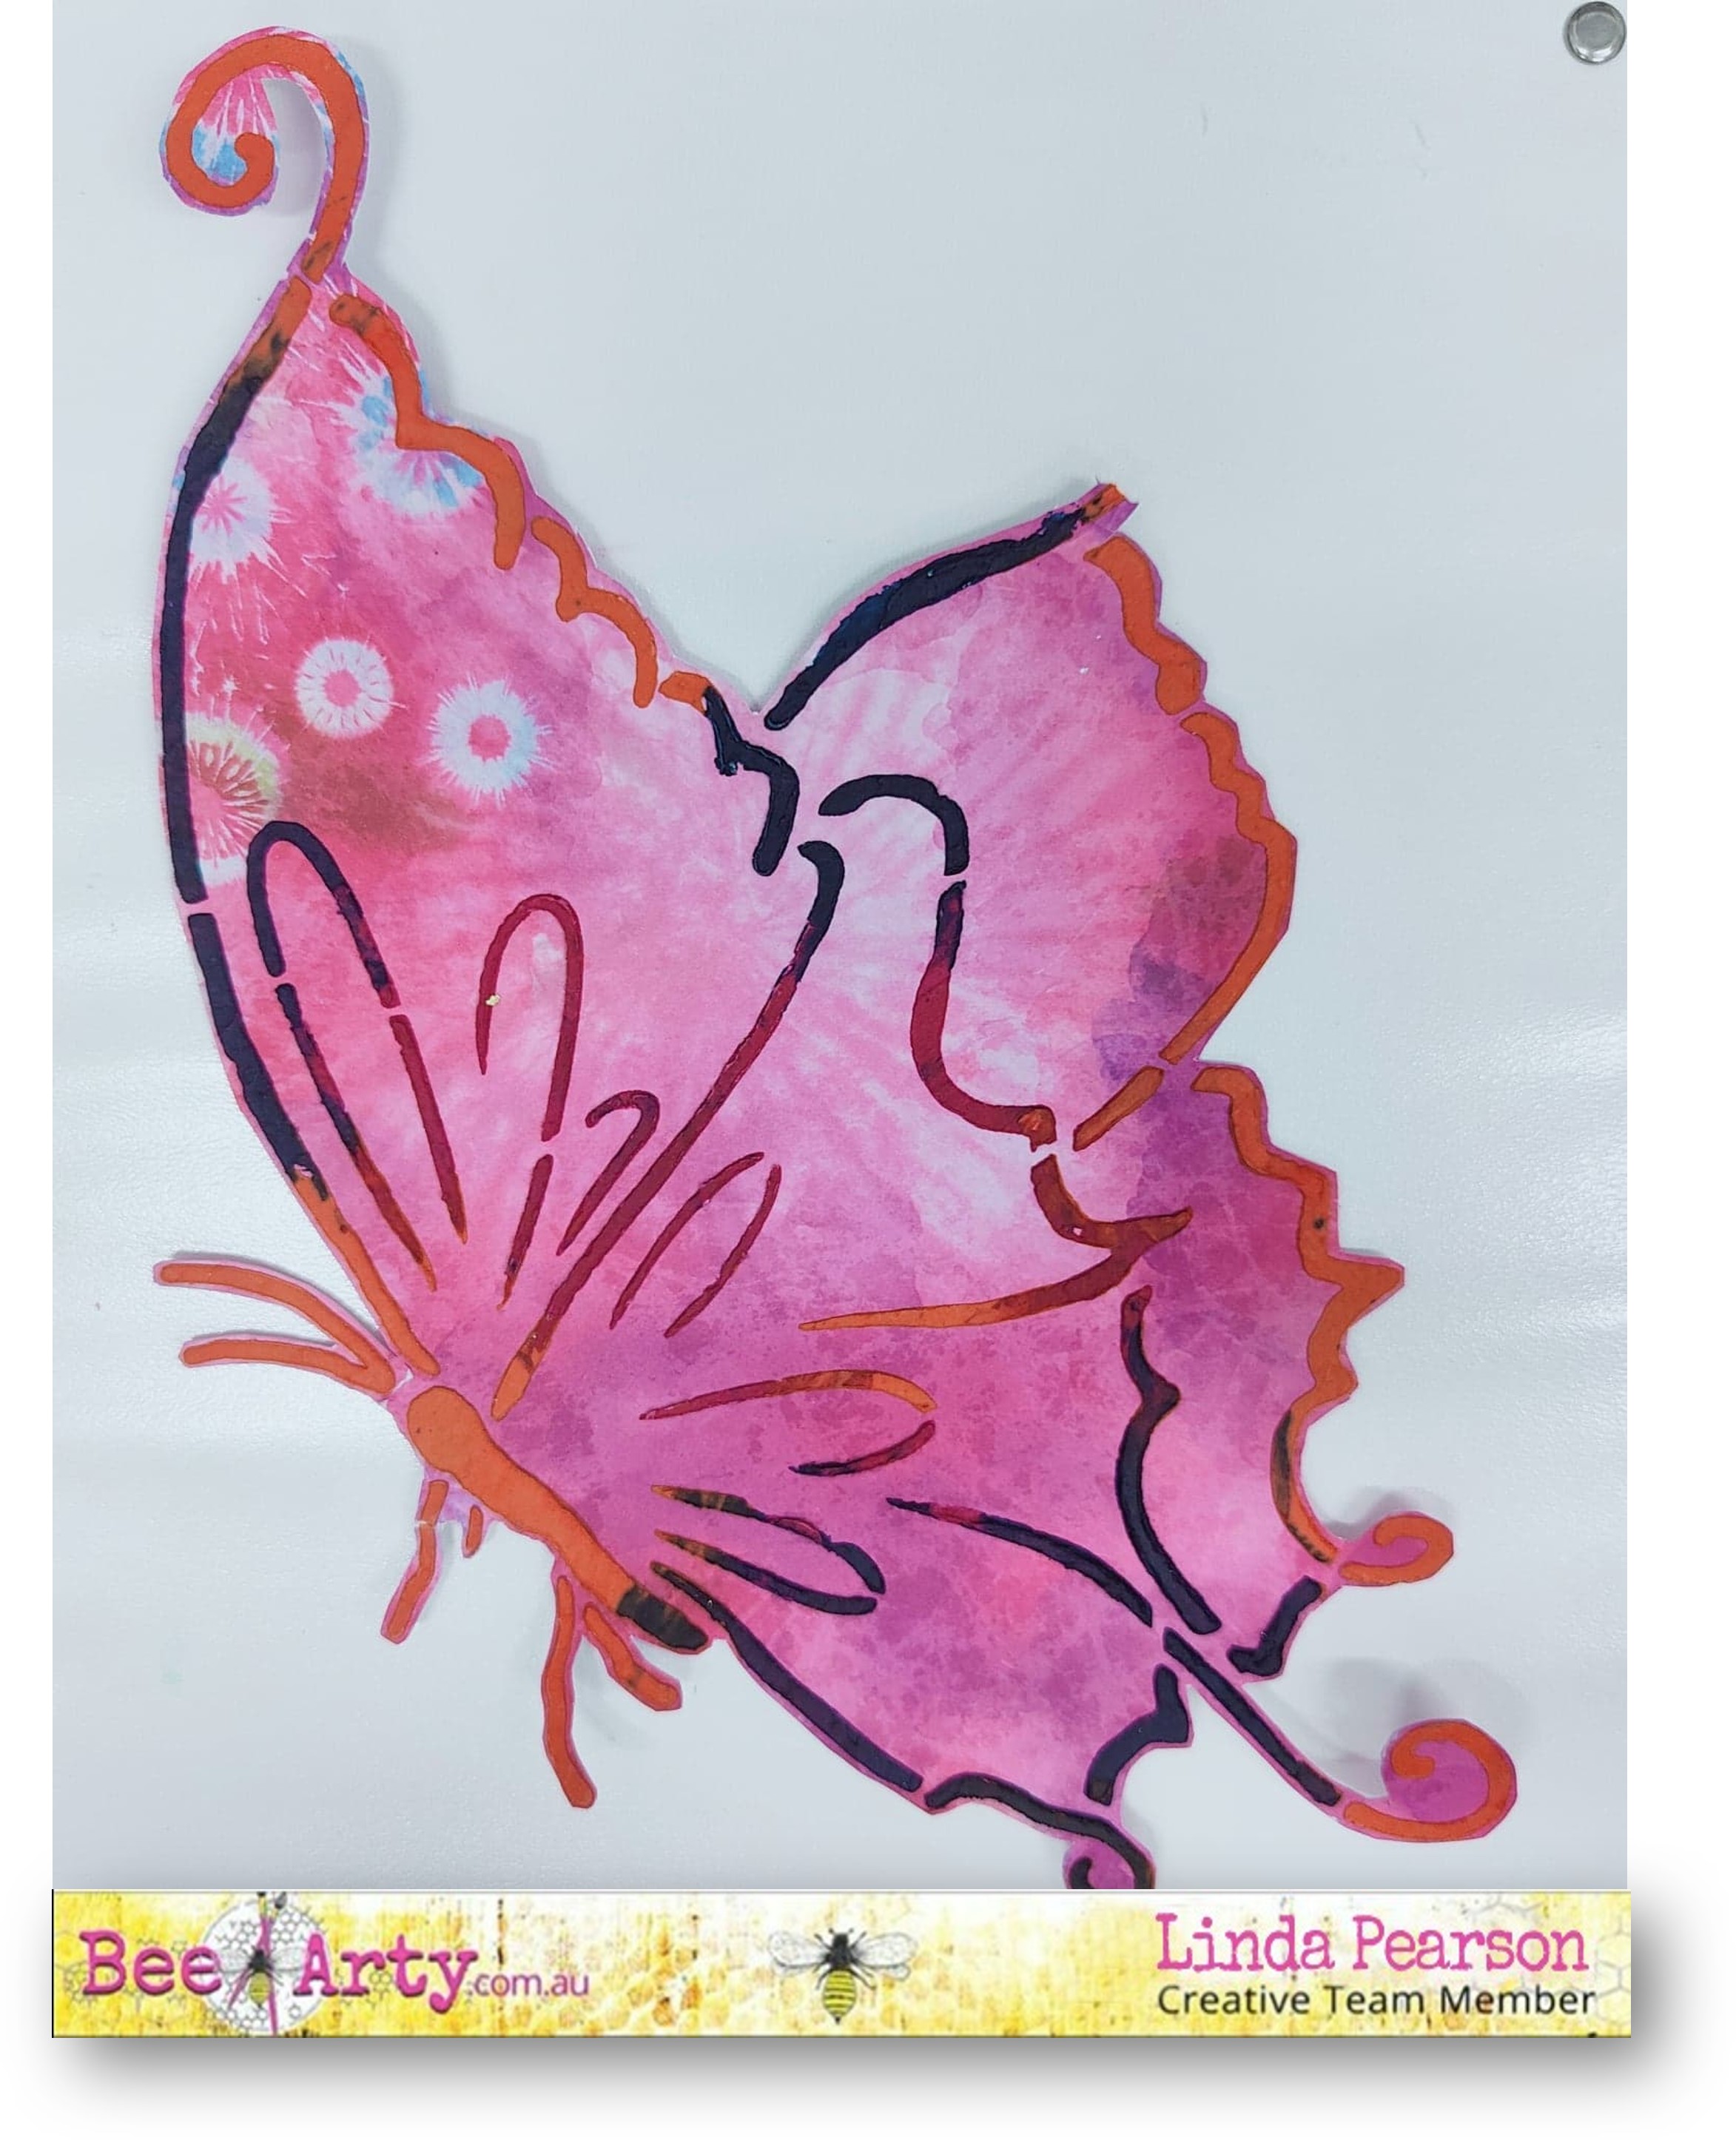


Butterfly – Use a sheet of Sparkles 12”x12” cardstock paper as a coloured base to add Butterfly A4 stencil. Mix small quantities of moulding paste, adding Mica powder –  sunflower, cobalt and lollipop.  Spread the 3 colours through the Butterfly A4 stencil.  Allow to dry. 

Spray some Colour Spray in bubblegum and Caribbean to the butterfly shape, spray with water to spread (Note:  some of the colour in the moulding paste outline will move also).  Cut out the shape from the paper when completely dry.


Add dimensional magic and silver rhinestones over the textured shape to add shine and dimension.


Adhere the butterfly to the right-hand side of the page using mounting tape. 

Add silver rhinestones to the butterfly with dimensional magic adhesive.

  Outline the butterfly with fine black paint pen.

Add the sentiment to the page and border to the page with paint pen.


Thank you for stopping by and hope this project has triggered your imagination to create your own fantasy page.

Bye for now from Linda

linda@yourcreativepalette.com.au


Monday, 6 September 2021

Hopes and DREAMS! by Linda Pearson

Hopes and DREAMS!  we all have them... 

Today I have used some of my favourite stamps and stencils from the Bee Arty range to create a journal page.  As always these journal pages can be adapted to become a scrapbook layout if preferred.


Gesso – Bee Arty heavy primer 250ml
Mica powder – Denim, Eggplant and Forest
 
Black archival ink
Corrugated kraft card
Tissue paper
Off cut scrapbook paper
Word or sentiment (photo image for scrapbook layout)


Apply 2 coats of white Gesso to an A4 journal page.  Dry off.


In the jar (2 jars) add some matt medium enough to cover the whole page, add several scoops Mica powder, eggplant and denim to make a mix.  Brush over the whole page with the Eggplant mix then while still wet use a wet wipe rubbed through the City Nights A6 stencil, dry off.


Using the Denim Mica powder mix randomly brush the blue mix over areas of the page, then while still wet, use a wet wipe rubbed through the Distance A5 stencil.  Dry off.


Mix more of the Egg Plant Mica powder apply through the boxed in stencil randomly around the edges of the page, dry off.


Add random track marks using the  Making tracks clear stamp set with the black archival ink.  Also add some tracks around the border of the page.


Roughly tear a section of Kraft corrugated card.  Roughly paint over some of the left over Eggplant matt medium mix to add colour the card.  In a mist bottle add some Forest Mica powder with water to make a shimmer mist spray, spray over the card.  Dry off.


To create the focal point I used a variety of bits from my stash, adhere together;
·       muslin (coloured in Forest shimmer spray),
·       fussy cut flowers from embrace change cut out sheet,
·       black and white scrapbook paper
·       Title from the electric dreams cover page
·       Craft string
·       Tissue Paper stamped with the numbers stamp from the  Making tracks clear stamp set in black archival ink
·       Add black splatters over the focal piece
·       Tie some craft string around the focal piece.


On a piece of White Cardstock 350gsm apply a mix of Denim and matt medium through the Untangirl A5 stencil.  Allow to dry.


Spray some Forest and Eggplant shimmer mist sprays over the stencilled girl.


Cover some White Cardstock 350gsm with the Distance A5 stencil in black archival ink. Cut a backing shape using the stencilled girl as a guide. Adhere the two pieces together.
Apply more Eggplant  and matt medium mix through the Distance A5 stencil  then add some black scribbles around some of the numbers/letters as well as some of the squares around the page.


Thank you for checking out my journal page and hope you are inspired to create your own interpretation.


Cheers from Linda ...
www.yourcreativepalette.com.au


Tuesday, 19 February 2019

Sunkissed Summer Days by Kristy Abela

Hi everybody. 
I had so much fun with the pink grunge that I tried to do something similar, with a twist. I love this one as it has a real comic book feel to it, check it out! Lots of watery effects and Black & White + One.

 Here is the full layout!

To start with I used a large stamp and stamped half the page filling in gaps and using the part of the stamp that appealed to me the most. Those eyes!! I'm in love...  Make sure you use Archival ink for this step. If you don't you will have colour runs later. 

I had a stamping fail the first time I tried to create the background! As it goes in Mixed Media though... There are no mistakes, only Opportunities! Ephemera, I hear you say.. stay tuned!


Time for some colouring in!! I grabbed a handful of blues and greens. In the end I felt that the Green wasn't the look for this page and in settled on Colour Artist Inks - Calypso and  Colour Shimmer Dust in Peacock, Cobalt, Duke and Midnight. 
TIP: I made some misters - so much easier for me when working on my Glass craft mat.

 
Using Colour Blast Heavy Gesso in Black I coloured in some of my favorite Dusty Attic Chipboard!! 

TIP: Use a makeup sponge.. Perfect application!
 For the final product I used a little bit of Wax to highlight them. I wanted to keep the background neutral so it would give the Colour Blast Colour Shimmer Paste the focus... You will see that coming up.


I used three different shades of Colour Paste. I put Stormy Weather and Steel side by side on my palette to create some colour variation in the bricks. I used Colour Paste Dusty Charcoal for the numbers. 
I used a graduated hand when applying through my stencil for variation.
I love the way that the stamping came through in some areas.


Look at how cool this turned out!!
I added some extra stamping in an script and some checkers to bring the brickwork closer to the action. 
You can see that in the final image.


And what project is complete without Splatters!! I added some in an earthy tone. We were saturated with Blues and Blacks. I used my Colour Blast Colour Spray in Coffee.


 Here is a close up of the final layout with all the elements blended together. I used a pigment pen to highlight some of the features in the ephemera I created and DONE!!
 

Make sure that you check out the new release collection from Michelle Grant if you are a Grunge Fan!! 
Her February release is AMAZING!! Graffiti Grunge. 
If i have inspired you pop your project onto Facebook!  
Abela Artistry