Showing posts with label Bee Arty White Card. Show all posts

Monday, 31 January 2022

Kindness is Key by Linda Pearson


Welcome everyone to the blog.  Today I am pleased to share with you the process for creating a journal page using a range of Bee Arty products including; stamps, stencils, dies on Bee Arty Limited Edition scrapbook paper, a collection designed by Michelle Grant, Colourblast Shimmer Dusts, embossing powder and metal embellishment detailing.


Bee Arty Products used:

Darice 6 well paint palette

x-press it double sided tape 6mm

Craft Powder Spoon

Versamark Stamp pad translucent

Embossing powder – Steel (mix some bling embossing powder with Steel)

Shimmer dust – Passion, Peacock, Fern and Tan

Pipettes

Mini Mister bottles

Time Flies clear stamp set

Time flies metal plates stamp

Limited Edition clear stamp set

Limited Edition scrapbook paper collection designed by Michelle Grant

Alphabet metal die

White Cardstock – Bee Arty – 250gsm A4  x 2 sheets


Metal embellishments (own stash)

Adhesive

Mounting Tape

Golden Fiber Paste

Palette knife


Firstly, as I work in an A4 Journal I cut down the Limited Edition scrapbook paper collection  paper to suit A4 dimensions but you could easily work on the whole 12”x12” scrapbooking paper as a photo layout with a few modifications to the composition of the elements.

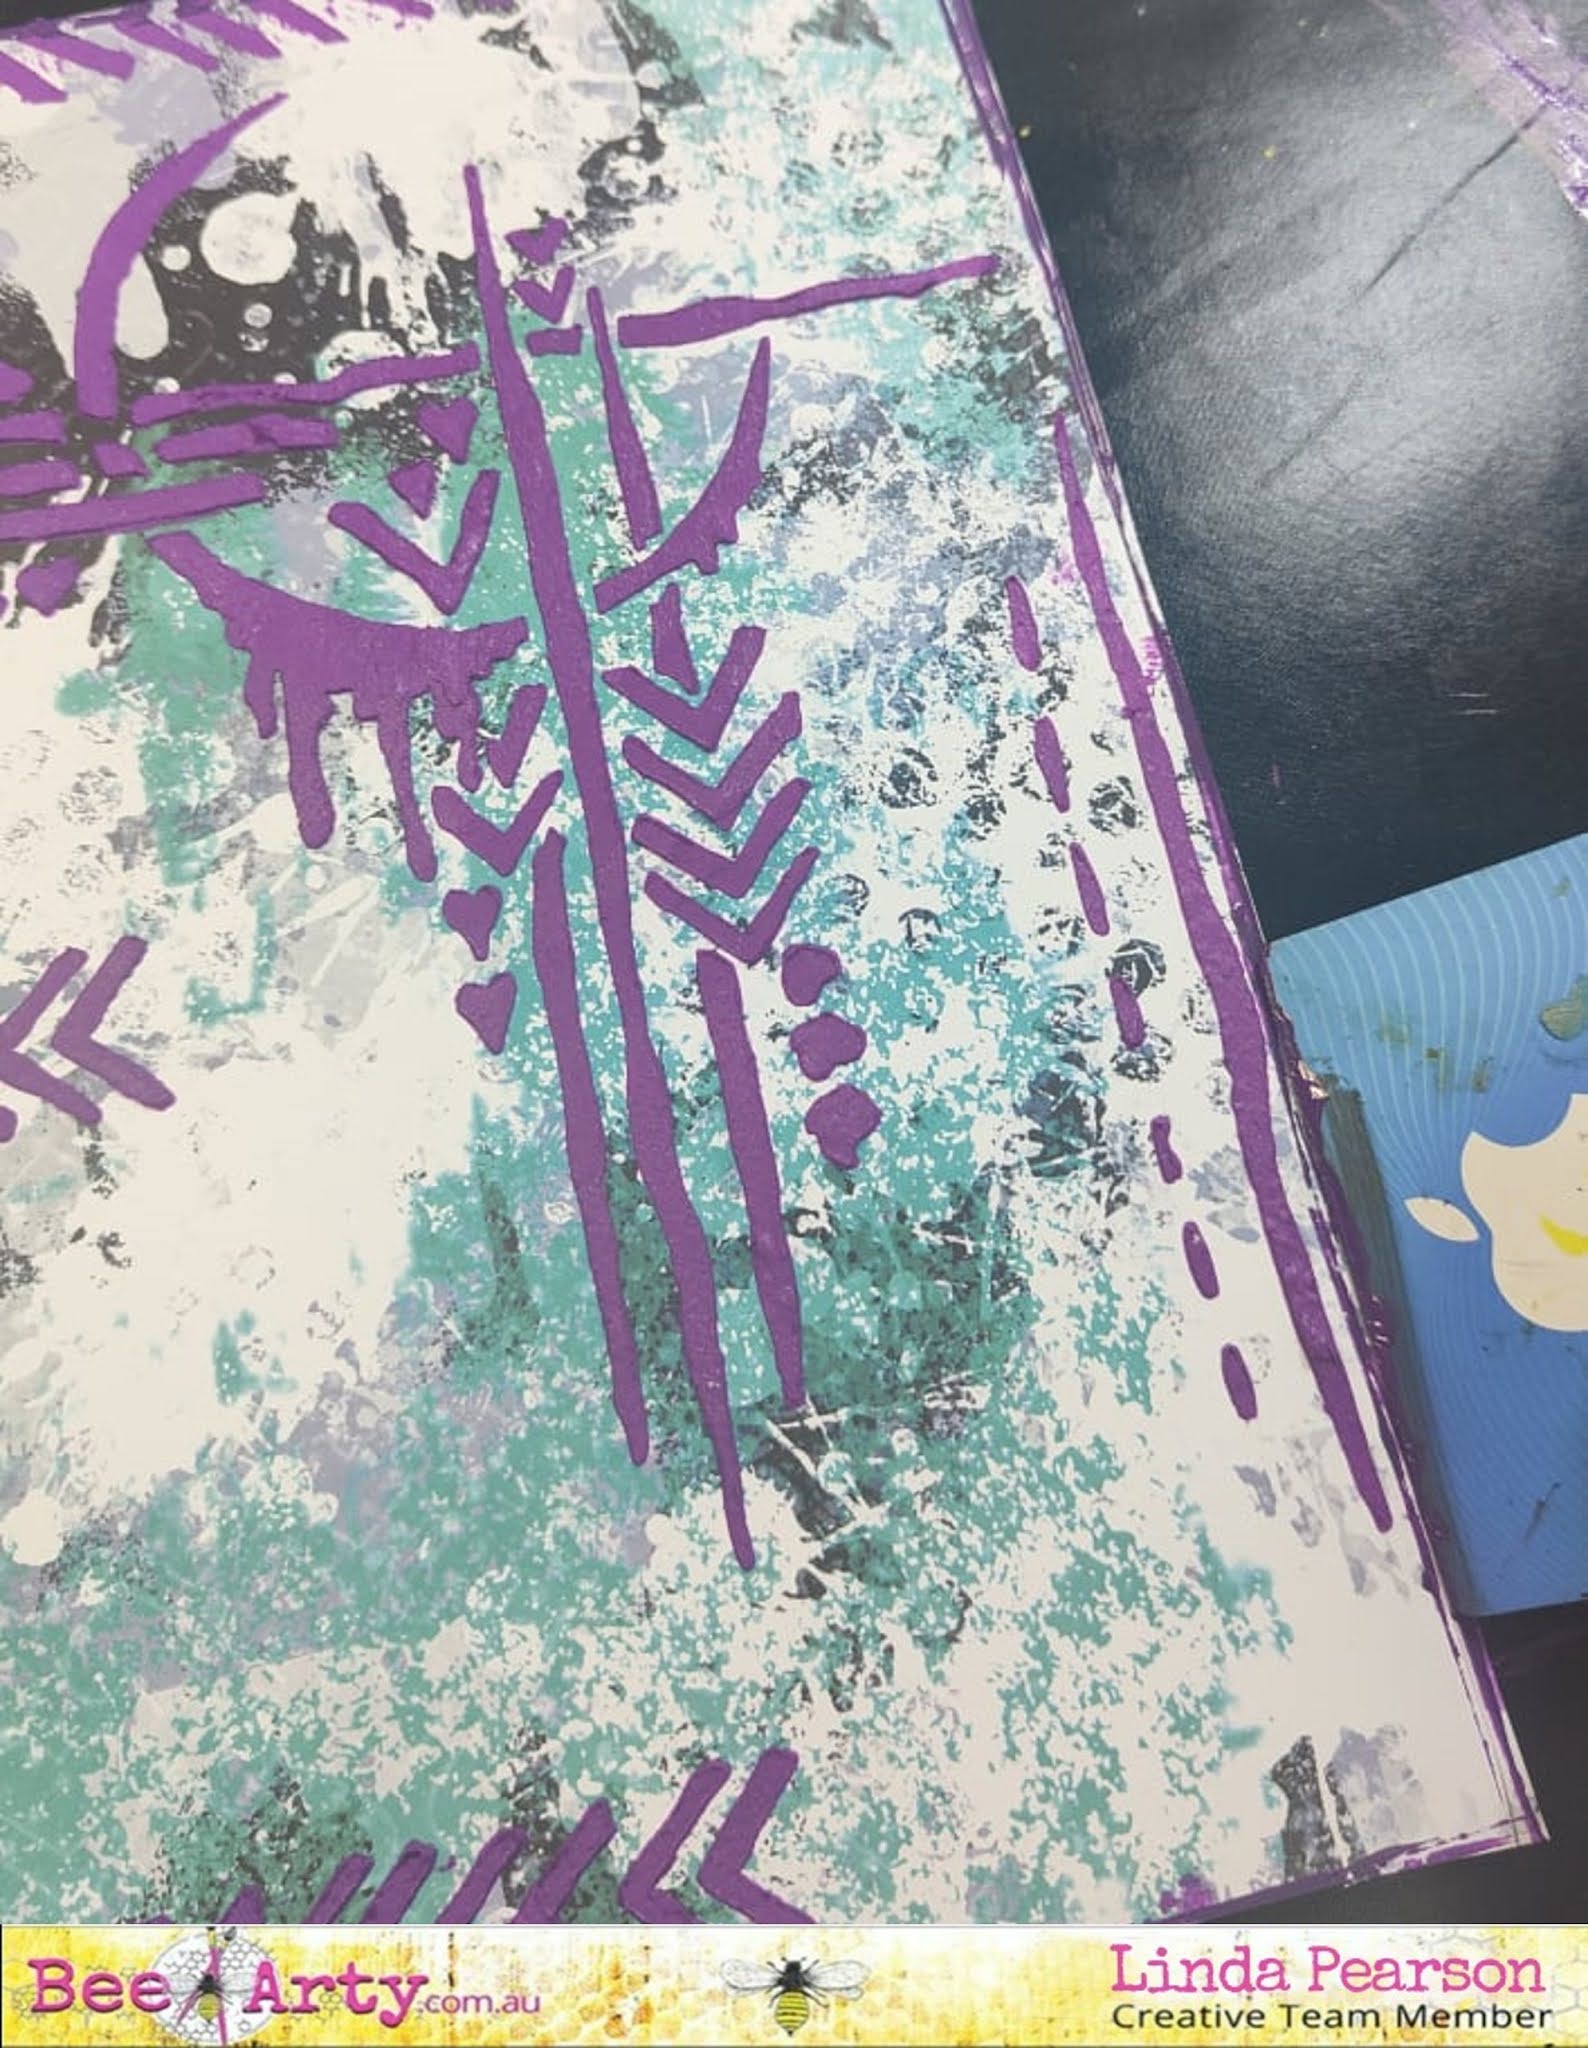
Using the  apply the Golden Fiber Paste through the stencil liberally.  Allow to dry thoroughtly.

(Note: Texture or modelling paste can be used, for gritty textured effect add some clean white sand to the texture paste mix.)


In a Darice 6 well paint palette  add a small separate quantities of Shimmer dust colours – Passion, Peacock and Fern using a Craft Powder Spoon.  Add some water using a Pipettes then stir very carefully until mixed.  Using a paint brush dribble each of the mixes in turn over the textured area, dry off thoroughly after applying each colour.  Repeat this step until satisfied with depth of colours.


Stamp the Time flies metal plates stamp, the bird and the eye/clock hands stamp (no image supplied here) from the Time Flies clear stamp set and the chain from the Limited Edition clear stamp set stamps onto a piece of White Cardstock – Bee Arty – 250gsm A4 using the Versamark Stamp pad translucent .  Sprinkle the embossing powders mix Embossing powder – Steel (mix some bling embossing powder with Steel), then with a heat tool until the powder changes and sets.

Next using the shimmer dust mixes from before, carefully fill in the embossed shapes with  a small paint brush.

Fussy cut all of these elements when dry.

On a second sheet of White Cardstock – Bee Arty – 250gsm A4 colour the card slightly bigger than the stamped metal plate to create a matt for behind using Shimmer dust colours – Tan/ Fern (strong mix). 


When dry adhere the matt to the metal plate element.


On a separate sheet White Cardstock – Bee Arty – 250gsm A4 mix up Shimmer dust colour – Tan in a Mini Mister bottles spray liberally over the cardstock, spray with extra water to spread if necessary.     I had run the cardstock through the printer previously to add the sentiment (see below). Dry off.

The sentiment I used in this project:

TREAT EVERYONE WITH POLITENESS AND KINDNESS, NOT BECAUSE THEY ARE NICE, BUT BECAUSE …

Using a small paint brush add some splattering of Fern and Tan Shimmer dust liberally all over the cardstock, allow to dry.  Cut out the sentiment from he top of card.

Run the remaining splattered cardstock through the Die cut machine using the Alphabet metal die with the letters  -   Y O U   A R E.  These words lead on from the sentiment adhered to the top of the page.


Detailing adhere:

-        the letters -  Y O U  A R E   to the bottom of the metal plate card

-        the eye/clock hands element to the top right of the metal plate card, add a metal shape over the eye, then mount the bird over the top of the metal embellishment.

-        Adhere the chains to the left hand side of the page in an almost cross shape to connect the all the elements on the page.  Before gluing the horizontal cross section thread a metal key to link the meaning of the sentiment to the page.

-        Adhere the sentiment card, mounted to the top of the page. 

-        Add other metal embellishments to the clock and a small cog onto the bird.

-        Add detailing with a permanent pen around the stencilled shapes to highlight detail.

-        Add a distressed border to the page.


Thank you for stopping by and hope you have been inspired to create your own journal page or photo layout using these amazing products.


Cheers for now and happy creating from Linda 
linda@yourcreativepalette.com.au


Monday, 1 November 2021

Attitude is everything .... by Linda Pearson


Today I am creating a journal page using the latest release from Bee Arty ... Chit Chat designed by Tanya Froud.  You can of course transform this to a scrapbooking layout by adding a photo if preferred.  Enjoy and happy creating...

BEE ARTY products used in this project …

Chit Chat collection designed by Tanya Froud  Whole collection weblink

My heart 12x12” paper

‘Attitude is Everything’ Wording Chit Chat collection pack word sheet

White Cardstock 350gsm

Marked A6 stencil

OXOXO A5 stencil

Happy Clear Stamp

Linked in diecut    

Colour artist inks – slipper, oasis, peacock and soot

Embossing powder – singing the blues and lipstick

Versamark Stamp pad translucent

Black archival ink pad and blender

Pipette

Adhesive

Mounting tape


Cut the My heart 12x12” paper to suit an A4 journal page.

Place a line of Colour artist inks – slipper across the top of the page, spritz the ink with water to create ‘drippages’ down the page.  Dry off. 

Repeat this drippage process using the Colour artist inks – oasis.  Dry off.


Using the lined portion of the OXOXO A5 stencil apply the stencil across the tope of the inked section with black archival ink.  Then add the line of circles to this area also.

Add stamped marks around the page using a section of the Marked A6 stencil (mask off using masking tape). 


In a small palette add a small account of Colour artist inks – slipper with some water, fill in some of the circles and hearts that had been stamped.


 Run the Linked in diecut through a diecut machine imprinting onto a section of White Cardstock 350gsm , then chop the wire shape in half lengthways.  Sprinkle Embossing powder – lipstick (I added a little lollipop shimmer dust to the powder) over the die cut piece then heat set the powder.


Apply Versamark Stamp pad translucent to the Happy Clear Stamp on another piece of White Cardstock 350gsm.  Sprinkle Embossing powder – singing the blues over the stamped image then heat set the powder. 

Add some splattering to the page using a watery mix of  Colour artist inks – Soot around the page.  Dry off.

Fussy cut the stamped image and paint in a little Colour artist inks – slipper with some water mix to the heart and 2 people images.  Fill in the stamped card with a small mix of Colour artist inks – peacock with some water. 

Glue down the 2 pieces of Linked in diecut to the page.


Cut out the ‘Attitude is Everything’ Wording from the Chit Chat collection pack word sheet.  Add mounting tape to the back of the words and the stamped image and adhere to the page.


Thank you for stopping by and hope you enjoy this pretty new collection 

Linda Pearson

linda@yourcreativepalette.com.au

Monday, 4 October 2021

LOVE THIS! Art Journal page by Linda Pearson


Hi Bee Arty friends! 
Today I have created another art journal page, this time using the upcoming new collection ‘Chit Chat’ designed by the talented Tanya Froud.  
This page could easily be adapted to become a photo layout for scrapbooking.
 
 
Bee Arty products used in this project:
-      ‘Chit Chat’ collection designed by Tanya Froud – available mid-October https://beearty.com.au/pages/page
-      Alpha cardstock paper (cut to suit an A4 journal)
-      People Metal Die
-      Love sentiment from cut out sheet
-      Marked A6 Stencil
-      White Cardstock 350gsm
 
Other products used:
-      Fiber Paste (could SUB texture paste or modelling paste)
-      Violet acrylic paint
-      Turquoise Foil Card
-      Black string
-      Old credit card or palette knife
-      Fine black pen permanent
-      Black Archival Ink and blender
-      Mounting Tape


Alpha cardstock paper from the Chit Chat collection designed by Tanya Froud, I cut this sheet down to suit my A4 journal.


Mix the violet paint into the fiber paste (or texture/modelling paste) then apply through the Linear A4 Stencil (Chit Chat collection).  All to dry.


Apply borders to the page edges using violet paint with an old credit card or palette knife.
Add random lines around the page again using the violet paint and credit card.


Add random stamping using the Marked A6 stamp around the page with a blending tool and black archival ink.


Run the People Metal Die through a die-cut machine using the turquoise foil card card.  Keep the heart and the cut out of people card.(set aside the people for another project)


Using an off-cut of White Cardstock 350gsm, paint the off cut with violet acrylic paint.  Dry off.  Cut the violet card slightly larger than the foil cut out shape. 
Adhere the foil to the violet card.
Add black spatters around the page over the stencilled paste as well.
Cut out the LOVE word from the cut out sheet in the ‘Chit Chat’ collection by Tanya Froud.
Add the LOVE word to the foil card using mounting tape.  Then add mounting tape to the back of the card to adhere to the page.
Mount the three foil card hearts to the stencilled area at the top right part of the page.  Outline the hearts in black pen.


I had some fun creating with new and fresh range of papers, stamps and stencils and you can too when this new collection becomes available around the middle of October.  Click on the link below to pre order your kit today.
 
Queen Bee kit
https://beearty.com.au/collections/kit-club/products/kit-club-deluxe


Thank you all for stopping by and hope you enjoy creating this journal page too!


Bye for now from Linda
linda@yourcreativepalette.com.au 


Monday, 20 September 2021

Change is beautiful by Linda Pearson


Hi there Bee Arters!  For this entry I have included lots of die cut elements along with a beautiful butterfly embossed image that glistens from the amazing Colour Blast inks and mica powders.  Unfortunately photos don't show just how gorgeous these products can look.  I hope you give the Bee Arty Mica Powders a try, they are a very versatile product.

White Cardstock 350gsm
Gesso
Craft Powder Spoon
Archival Ink Pad Jet Black
Versamark Stamp pad translucent
Colour artist inks
Mica powder –
Serendipity clear stamp set
Flowers Metal Die
Frame Metal Die
black and white stripe paper (offcut strips)  – Electric Dreams Mini Collection designed by Tanya Froud and Elisa Ablett
Butterfly Effect metal die
Memories red rubber stamp set - Love and Grace designed by Michelle Grant Designs
 
Black and white paint pens
Black Archival Ink Pad
Paint colours used: Dina Wakely Carnation, Ocean, Lemon, Lime and black
Black cardstock


Gesso, White - cover journal page with 2 coats of gesso.  N.B. the colour on this page is left over paint from another page.  Dry off.


Roughly and loosely draw out ‘cross like’ lines with small amounts of paint (pink and blue) and small paint brush.  Could add some white to add more depth of colour. 

Add organic lines using small amounts of black paint and credit card or palette knife through the paint.  Add some black ‘splotches’ on several spots on the cross and to top and bottom edges with a small brush (loose strokes). Add some watery paint (Lime and Lemon) loosely along the painted areas.  Dry off.

Using the Memories red rubber stamp set and black archival ink stamp randomly around the painted sections, leaving as much white space as possible.

Add splatters of purple paint, lime and lemon.


Tear small strips of black and white stripe paper, then adhere small strips along the painted cross sections across the page.  Dry off.


Close up images showing detailing of the painted sections and stamping.  With a white paint pen add dots to the black ‘splotches’ of paint and blending in with the paper off cuts.


In a paint well add the Colour artist inks (Grass and Citrus), add a couple of scoops of (cool mint and sunshine) Mica powder  mix thoroughly.  

Emboss (Versamark Stamp pad translucent) the butterfly (Serendipity clear stamp set) onto White Cardstock 350gsm, sprinkle Royalty Embossing powder then set with heat gun. 

Use a small paint brush to carefully add the two artist ink mixes to colour the butterfly.


Spread left over Colour artist inks a sheet of White Cardstock 350gsm.  Drip some of the green ink on the page.   Allow to dry.

Prepare the elements for detailing page. 

Run the coloured cardstock through a die cut machine cutting several shapes (Butterfly Effect metal die.

Run the (Flowers Metal Die and Frame Metal Die).

Add some detailing to the leaves, butterflies and flowers with coloured paint pen.


Adhere all the elements to the page, draw a border around the edge of the page to complete.

I hope you find some inspiration from this journal page and look forward to another blog soon.  Add the sentiment to the page with black paint pen.


Cheers from Linda Pearson

linda@yourcreativepalette.com.au


Monday, 6 September 2021

Hopes and DREAMS! by Linda Pearson

Hopes and DREAMS!  we all have them... 

Today I have used some of my favourite stamps and stencils from the Bee Arty range to create a journal page.  As always these journal pages can be adapted to become a scrapbook layout if preferred.


Gesso – Bee Arty heavy primer 250ml
Mica powder – Denim, Eggplant and Forest
 
Black archival ink
Corrugated kraft card
Tissue paper
Off cut scrapbook paper
Word or sentiment (photo image for scrapbook layout)


Apply 2 coats of white Gesso to an A4 journal page.  Dry off.


In the jar (2 jars) add some matt medium enough to cover the whole page, add several scoops Mica powder, eggplant and denim to make a mix.  Brush over the whole page with the Eggplant mix then while still wet use a wet wipe rubbed through the City Nights A6 stencil, dry off.


Using the Denim Mica powder mix randomly brush the blue mix over areas of the page, then while still wet, use a wet wipe rubbed through the Distance A5 stencil.  Dry off.


Mix more of the Egg Plant Mica powder apply through the boxed in stencil randomly around the edges of the page, dry off.


Add random track marks using the  Making tracks clear stamp set with the black archival ink.  Also add some tracks around the border of the page.


Roughly tear a section of Kraft corrugated card.  Roughly paint over some of the left over Eggplant matt medium mix to add colour the card.  In a mist bottle add some Forest Mica powder with water to make a shimmer mist spray, spray over the card.  Dry off.


To create the focal point I used a variety of bits from my stash, adhere together;
·       muslin (coloured in Forest shimmer spray),
·       fussy cut flowers from embrace change cut out sheet,
·       black and white scrapbook paper
·       Title from the electric dreams cover page
·       Craft string
·       Tissue Paper stamped with the numbers stamp from the  Making tracks clear stamp set in black archival ink
·       Add black splatters over the focal piece
·       Tie some craft string around the focal piece.


On a piece of White Cardstock 350gsm apply a mix of Denim and matt medium through the Untangirl A5 stencil.  Allow to dry.


Spray some Forest and Eggplant shimmer mist sprays over the stencilled girl.


Cover some White Cardstock 350gsm with the Distance A5 stencil in black archival ink. Cut a backing shape using the stencilled girl as a guide. Adhere the two pieces together.
Apply more Eggplant  and matt medium mix through the Distance A5 stencil  then add some black scribbles around some of the numbers/letters as well as some of the squares around the page.


Thank you for checking out my journal page and hope you are inspired to create your own interpretation.


Cheers from Linda ...
www.yourcreativepalette.com.au