Hello and happy Saturday Colour Blast fans! Today I am here sharing my take on the December 2017 challenge! Yep, I said December!! Can you believe it is already that time of year?!
Here is a little sneak peek of my "metal pieces"

And here again is this months challenge.

This really did challenge me as I don't really have metal embellishments. I had to think outside of the box and I came up with making my own using some awesome dies and some metal sheets I have in my stash!

Here is my completed page. You can see my whole process in the link below or pop on over to the Colour Blast YT channel!
And here are my step-by-steps
For this page I have used a piece of the Bazzill Marshmallow cardstock for my base as it means I don't need to use gesso and I really prefer the way the packaging technique dries off on paper. I grabbed my Sunshine Colour Shimmer Cube, activated with water and simply added some colour and extra water to my packaging and got to smooshing. Yep, that's the technical term ;) You could also use the Colour Shimmer Sprays if you don't have the Colour Shimmer Cubes!
Just a side note too, if you own some of these little pots of awesomeness - make sure they are completely dry before you pop the lid back on. I actually store mine without lids at all and only use the lids when travelling but as soon as I get home, the lids are removed again!

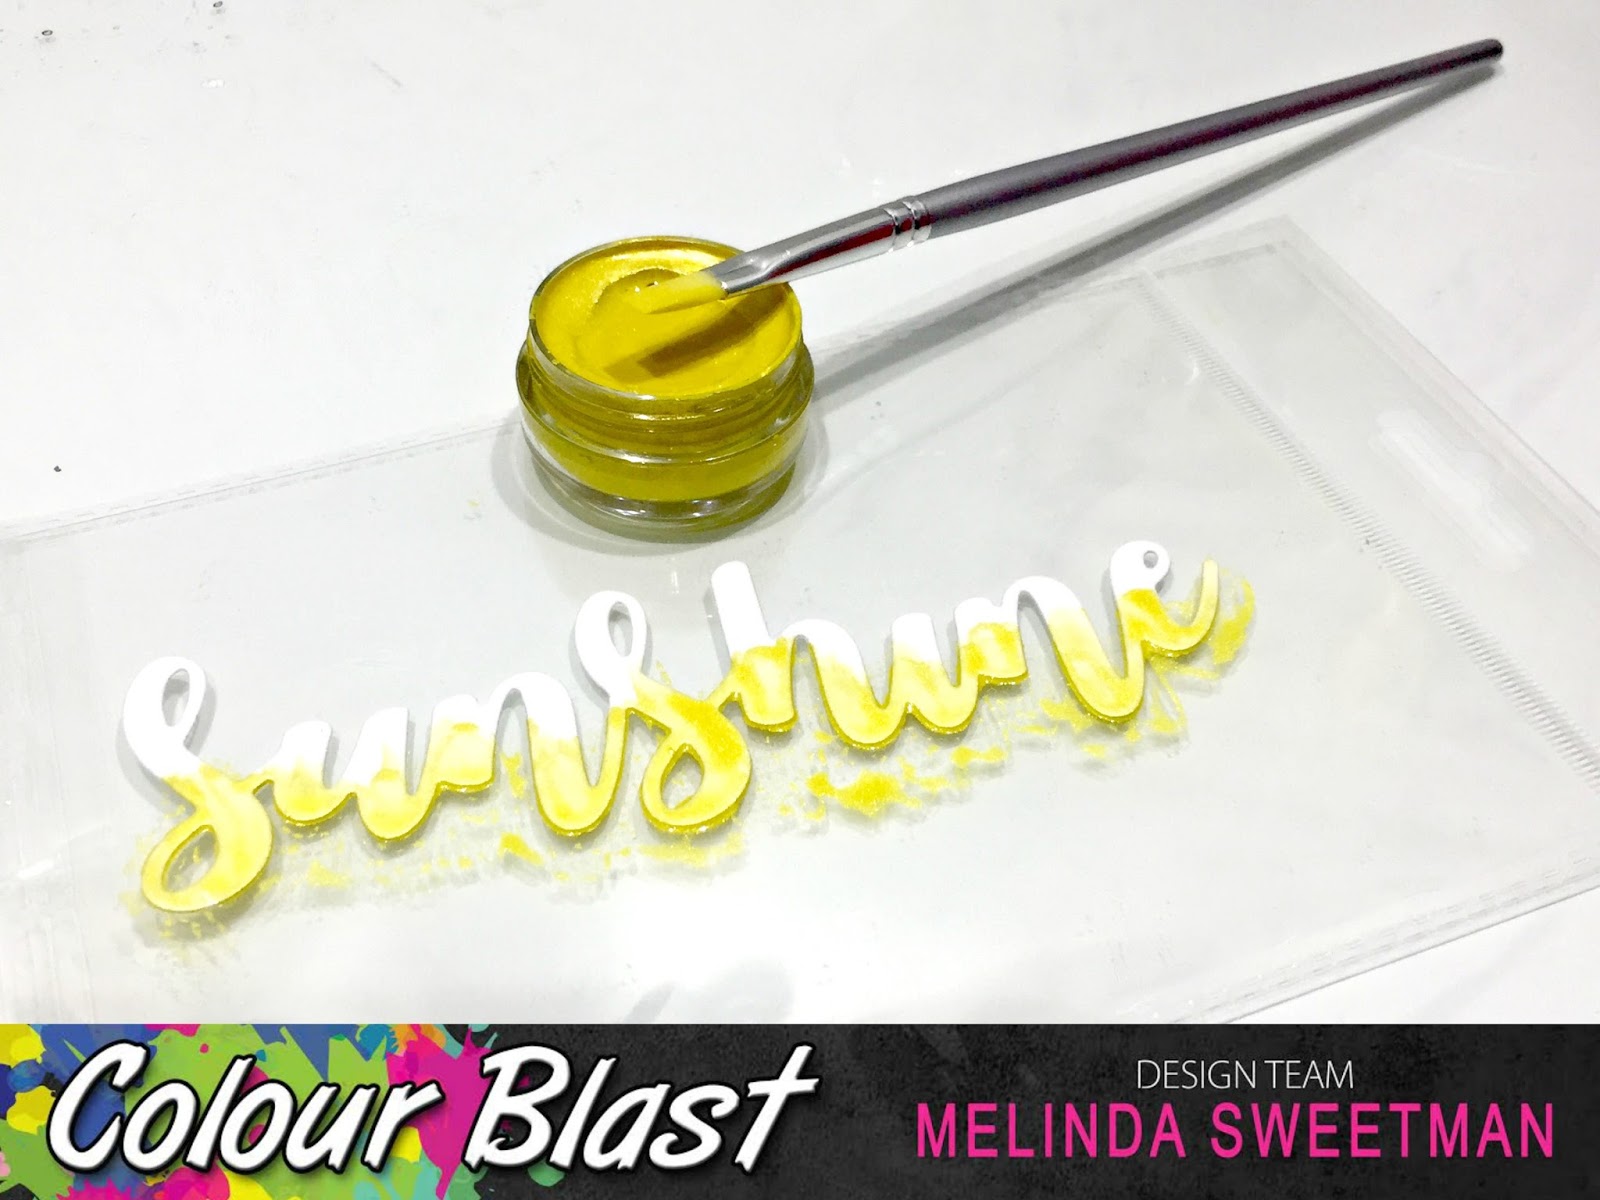
While I had my Shimmer Pot out I decided to colour my die cut title. I used a paintbrush and just painted to bottom of the word with the colour and then used a clean, wet paintbrush to blend the colour out a little.
Next for some texture. I grabbed a mini layering stencil and my Sunshine Colour Paste and randomly added some paste where I knew I was going to be working. I also added some to the "sunshine" title piece where the colour was already applied.

While that dried I stamped out the rest of my title "you are my" and coloured that a tiny paintbrush and again, my Sunshine Colour Shimmer Pot.

I next added some stamping using a grey archival ink and a couple of different texture stamps and love the extra dimension this gives to my layers.
When my paste was dry, time for some splatters. I have once again used my Sunshine Colour Shimmer Pot but I have added in the Saffron Colour Spray for a deeper yellow. I also activated my Stormy Weather Colour Shimmer Cube and added splatters of that, with a paintbrush also.

When I put all my bits and pieces together I decided I needed a little more texture and another pop of colour so decided to pull out some chipboard. I grabbed these filmstrip pieces and embossed them with my Story Weather Colour Embossing Powder.

Time to put all the bits together. A couple of layers behind my photo using some paper scraps in yellows and greys and also a glassine bag where I can pop in a tag and add some extra journalling. I used my Saffron Colour Spray to colour the
re-enforcer for the tag.

I really love this colour combo - yellow and grey - and love the fun whimsy those die cuts bring to the page, especially using metal which is not something I would have done without the prompt of this challenge!

If this is a little outside of your norm, give it a go! Think outside of the box, make your own metal embellishment. You can colour them with gesso and then add ANYTHING from the Colour Blast range. Or leave them the white or black from the gesso. You can dry emboss if you have the same metal sheets I do. You can leave them plain because they fit your page PERFECTLY just the way they are!


Have a bit of fun and play along, making sure you load up your take on the challenge over here in the FB Group - Colour Blast Creative Corner!
Until next time, happy scrapping!

Melinda
xx
How do I purchase some of these inks. Do you have an information site/page. Cheers Terri
ReplyDelete