Hi Creative Friends,
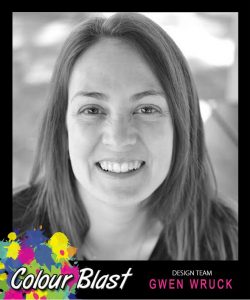
Gwen with you on the blog today with my final share as part of the Colour Blast design team. I have really loved pushing myself out of my comfort zone as part of the team and creating in my clean mixed media style, the time on the team has flown by! It seems this last project is quite fitting as I would say it is one of my "messiest" pages ever and I so love it!

For this project, I knew I wanted to use the Bohemian Dreams collection by Cocoa Vanilla with its lovely pink and purple tones. I've pulled out colours that coordinate; I've gone with Colour Shimmer Sprays in Punch, Lovely Lilac and Rose Petal. I've also used Colour Shimmer Cubes in Rose Petal, Royalty, and Punch. These are not available online however many stockists carry these and they are in fact my favourite Colour Blast product so well worth trying to track down if you don't already have some.

I began the design of my page by drawing 2 lines down the centre of my page with a pencil, these were to mark where the rectangles would go that make up the design for the page. I then applied the Colour Shimmer Spray into the spaces alternating pink and purple tones using the packaging technique.
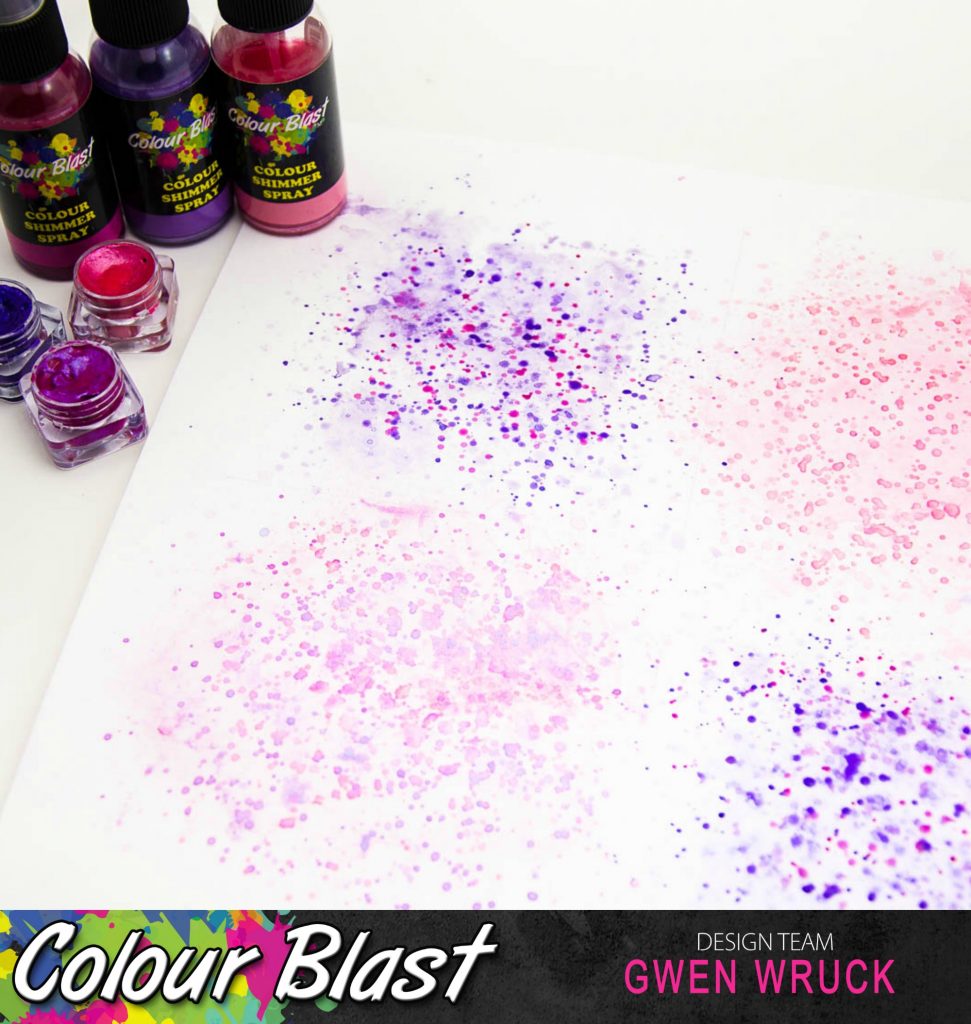
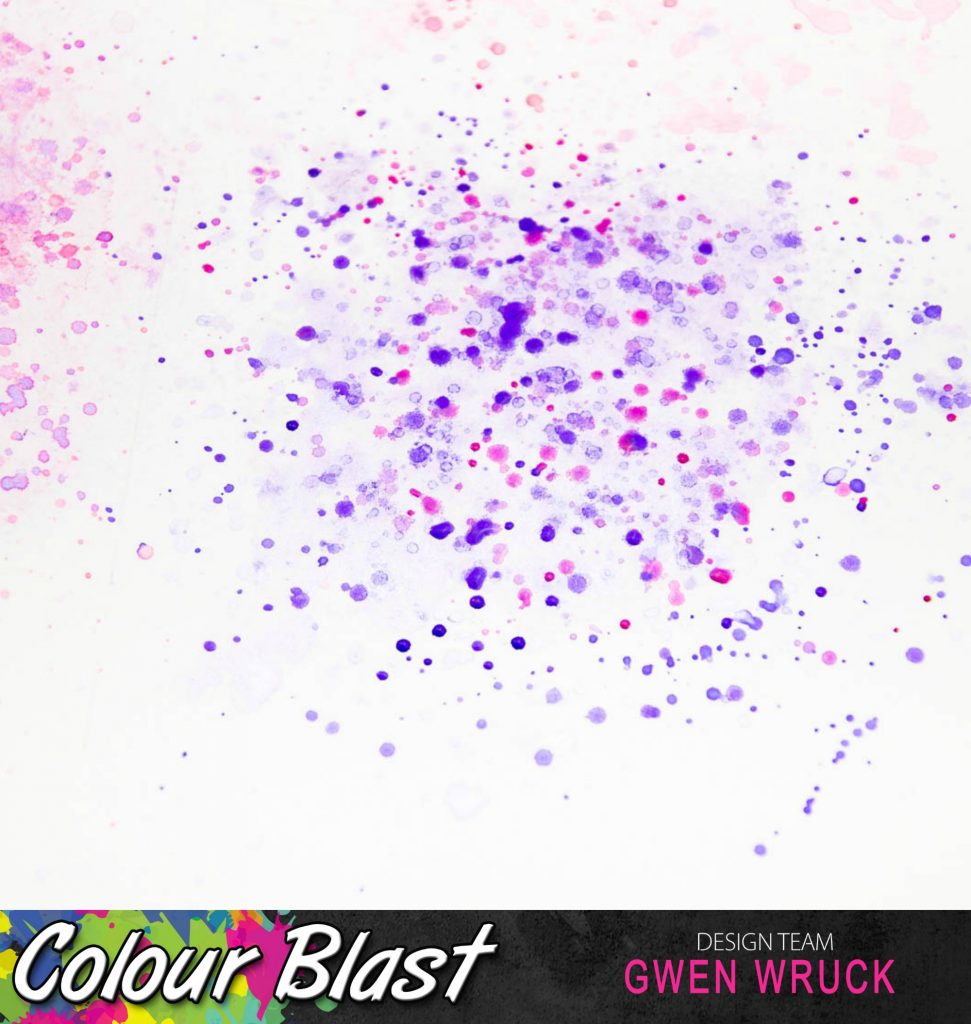
Once that had dried, I went about splattering on the colour from the Colour Shimmer Cubes. As this colour is more saturated, the splatters really stand out over the top of the mist. I love the tone on tone effect it has created. I did mix some of the pinks and purples, however, tried to keep the rectangles either mostly pink or mostly purple. I did also try and keep the colours contained, that is, leaving white space around the full edge of my page and also between the blocks of colour.
I did have a bit of a plan for this page, so I knew my title was going to be a chipboard piece. These come as plain white chipboard that you can colour any way you like. I took the Royalty Colour Shimmer Cube and painted it in a watercolour style. I wanted some areas to be darker than others and I also purposely left some areas around the edges white.

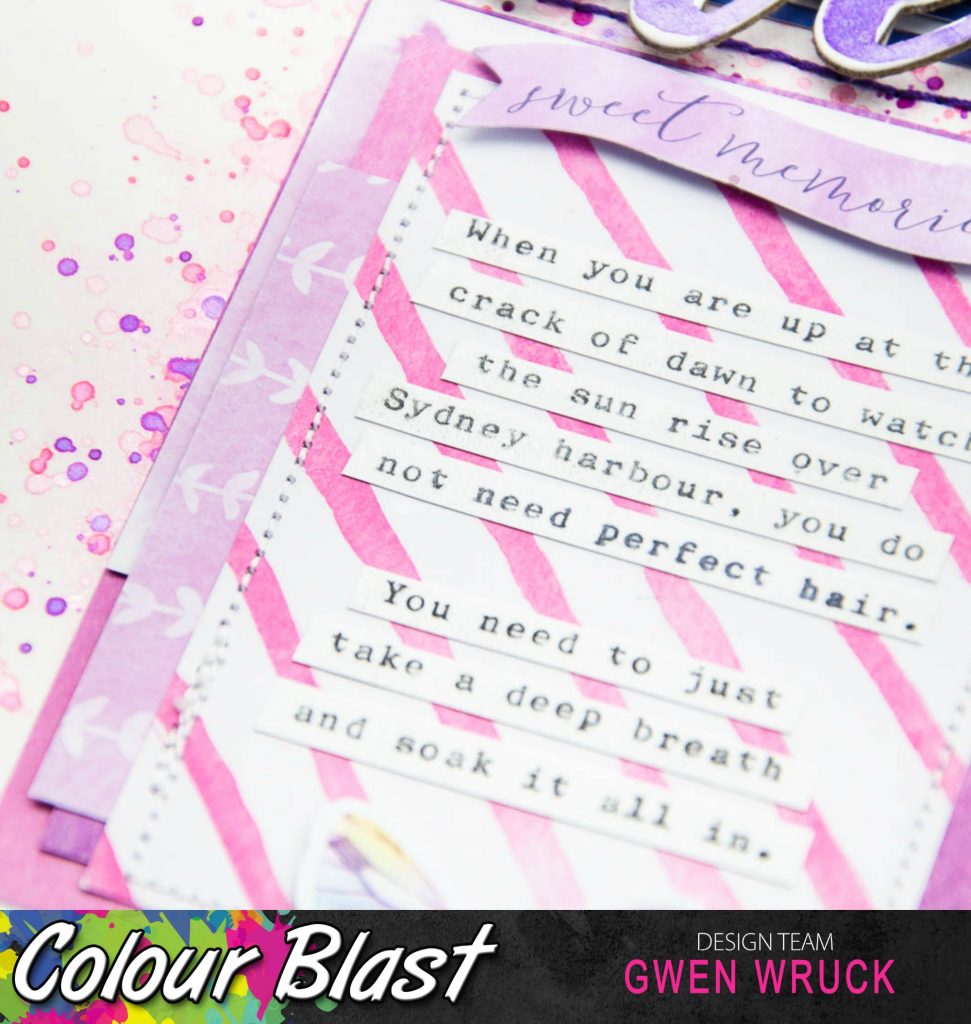
I then went about building my page. Essentially, it is 4 rectangles of paper layers mixed together and stacked onto each other. I kept with my colour theme, ensuring that the spaces stayed either mostly purple or mostly pink. One rectangle was for my photo and another was for my journaling. For the third rectangle, I wanted to use a die cut card, I just loved its message and felt it was the perfect fit for my photo.

Everyone knows I'm a perfectionist and normally there is no way I would put a photo like this out there, one with crazy hair and tired eyes, however, I'm learning of late to be more gentle with myself, and not so critical of myself or my abilities. I'm learning that not everything needs to be perfect, my best is enough and part of this crazy journey is the "imperfect".
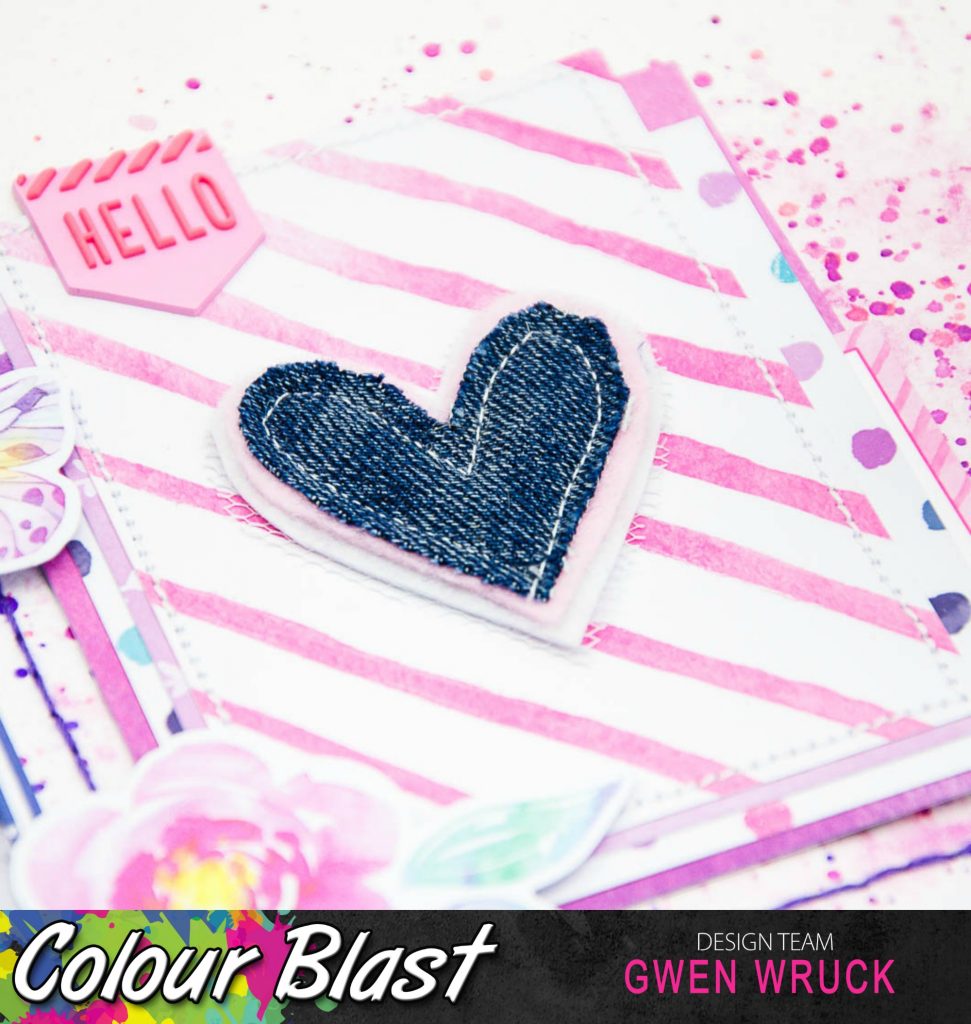
Once my three rectangle elements were all in place, I was left with the one on the top right-hand side of the page. I felt at this stage like the page needed a little 'white space' so I kept this rectangle very simple. A handmade heart right in the centre and a Rubber tab for the top.
The bones of the page are well and truly done now. I've just added a few more little embellishments to finish off each of the rectangles. I also then went about hand stitching the verticle and horizontal lines with some thread in a dark purple tone to make them stand out.
I give this project a "mess level" of high. It is a messier style background for me and there is a lot of it! It was however super easy to create and not a lot to clean up and I think the colour blocking of the design and space around the outside of the page helps it to still fit into my clean mixed media style.
I wanted to take this opportunity to thank Tenisha for the opportunity to be on the team and letting me share my work with you all. While my time on the team is over, this won't be the last clean mixed media page you see for me as I so love creating these!
Thanks for popping by today,
Until next time,
Gwen
xox
No comments:
Post a Comment