Hi Creative Friends,
Gwen with you today on the blog. Quite often, I have a plan for a layout before I even begin. This really helps keep me focussed and get things stuck down more quickly.... because well, I have a tendency to do the embellishment dance and nothing actually gets glued into place. Sometimes it's colours that I start with, sometimes an idea from my picture and sometimes it's based on a product.
The idea for this page came from a pattern paper I had seen online and wasn't able to find locally. I love the circle elements in neat rows and the pastel colours. I had given up on being able to source it, so I went about recreating it.
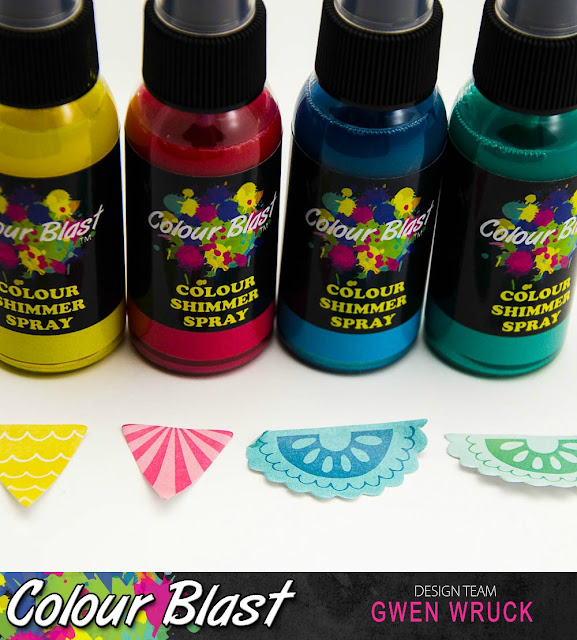
Firstly I wanted to lock in the colours for my page. I tried to loosely match the colours in the paper and also matching some of the other products I thought I might use in the page. I've gone with the combo of Colour Shimmer Sprays in Lipstick, Envy, Sunshine and Singin The Blues.
I didn't end up using the banners on the final page, but they definitely helped with narrowing down my colour choice. (Seems I have too many pretty Colour Blast colours to choose from!) Now that colours were locked in, I went about spraying sections of some white cardstock paper scraps. I didn't bother adding Gesso as I knew it would just be a fine mist I would be applying. I tried to make the sprays uneven for interest. I also add a few splatters using the nozzle of the sprayer while the colour was still wet. Doing it this way softens the splatters are they tend to blend into the background rather than sitting on top like they do when applied over dry spray.
Once my paper scraps were completely dry, I then went about punching out 2-inch circles in each of the colours.
Next, it was time to add them to my page. Using the paper as a bit of a guide, I lined them up across the top of the page. I used only a small amount of adhesive so that I could re-position if necessary. Once I was happy with their placement I continued down the page. Then, once I had placed all of my circles, I added a stack of machine stitching for added detail. I made sure not to stick everything down too much, I really love how the circles slightly lift off the page around the edges.
With the background finished, it was now time to add my photo mat and embellishments. I decided to try and stash bust a little on this one so I've used a lot of bits and pieces to build my clusters and even some packaging in my photo mat.
Here you can see a close up of the Envy sprayed circles and you can see the detail in them of the splatters. Below you can see the Lipstick circles.
and below you can see the colour of the Envy compared to the colour of the Singin The Blues. They really were the perfect match to the mint and blue tag I used which you can see on the left there.
I give this project a "mess level" of Low
No mess, easy process and something we can all try. New to mixed media? This is a great technique to start you off. More experienced? Why not try re-creating a more challenging pattern paper.
Thanks for popping by today, I hope this page inspires you to create your own pattern paper rather than buy one!
Gwen
xox


No comments:
Post a Comment