Hi Creative Friends,
By now you will all know I have quite the love affair with pink and mint so when I saw this pattern paper collection with the addition of Yellow, I knew it was time to pull out my Sunshine Colour Blast! Oh, such a happy colour to document these sweet selfies of me and my little Miss.
As I mentioned above, this page was all about the colours first, I really do love this combo of Colour Shimmer Cubes in Sunshine, Punch, Lipstick and Envy and they were the perfect match to the pattern papers I had in mind. Aren't they pretty!!
For this page, I really wanted to work with some florals with the idea to have a large one as a centre feature on my page. I wasn't completely sure where this idea would take me, so went about die cutting a stack in different sizes of florals and leaves all on white cardstock on my Silhouette. Next, it was time to colour them. I began with the packaging technique to get coverage as a first layer, and then went about adding more colour with splatters, tone on tone, and a paintbrush. I've added these while the base of colour was still wet. I did not want the splatters to sit on top of the background but bleed and blend in instead, this way, you get a pretty watercolour effect.
I used Envy for the leaves and simply painted that on with a paintbrush. For the florals, I've used a combination of Lipstick and Punch. I was careful to make the colour uneven, I wanted a water-colour look, not perfect coverage. I've also darkened sections of the floral for interest, by adding extra colour with a paintbrush.
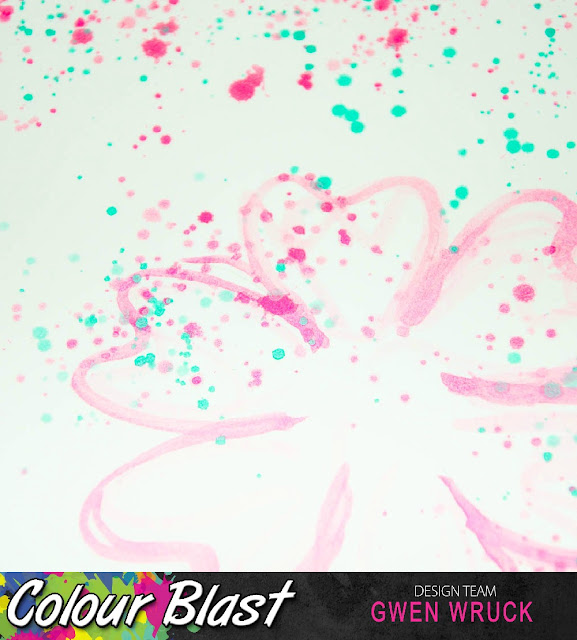
Next, it was time to work on my background. Once I had sorted out a basic plan for the design of the page, I knew where my large floral piece would be placed. From there, I went about very lightly drawing around it with a pencil. Next, I took my paintbrush and loosely painted over my pencil marks, working along the outer edge. Again, I wasn't after a perfect shape just a soft whimsy outline. It certainly does not have to be perfect and in fact, I think it looks better when it's not!
Now was the time for adding splatters. Lots of them, one colour at a time allowing each to dry in between to avoid them blending into each other. I just kept on splattering with my paintbrush until I was happy with the coverage.
Below you can see how all the colours look together. I just love the pop of the yellow in the Sunshine.
Now all of the mixed media elements were ready, it was time to assemble my page. First, I locked in the position of my paper layers, my photos and the large flower. I placed it so that you could see the edge of the drawn flower on my background poking through, it's subtle, but I love it.
I then went about adding the other floral and leaf pieces to create clusters. I was sure not to stick the entire piece down, I love how the edges are a little curled up from the mixed media. It adds such a pretty element to your page.
Here you can see the pretty splatters sticking out from the edges of all my layers. They really do soften everything so nicely.
I give this project a "mess level" of Low
A paintbrush and some packaging and you are good to go! The pots of Shimmer keep all your colour contained and adding your mixed media to die cut pieces makes for a clean feel to your design.
Thanks for popping by today, I hope this page inspires you to paint yourself some pretty die cut florals, I really had fun doing this!
Gwen
xox


No comments:
Post a Comment