Showing posts with label card making. Show all posts

Sunday, 25 April 2021

Layered Card by Aditi

 Hello everyone,

Today I was inspired to use a few paper layers and create a quick card. I love the Scrapbooking collections by Bee Arty and they were perfect for this idea today. Sometimes we want to create something quick and simple and I think this card is perfect for such times. 


Here's a look at the card


I started off by picking out a few papers and fussy cutting elements from them.


I next mounted my paper base onto white cardstock.


I now began arranging my abstract fussy cut pieces randomly. When I was happy I adhered them with some foam tape to add dimension.


I then glued my floral elements. 


To complete it, I added a sentiment and sequence. 


Supplies used:


Hope you've enjoyed this quick project share!
Hugs,
Aditi


Wednesday, 3 February 2021

Dream Big by Tracy Jackson

                                                                      Hello Bee Arty Fans

Today I want to share with you a card I made using Follow your Dreams collection


Card making is my number 1 passion and always will be, but based on what mood I'm in, and how much time I have, dictates how "busy" I make a card
This card I wanted to keep simple and not over think it. 

I selected a background from paper Embrace from Untangle collection and then fussy cut some feathers from Follow your Dreams collection ( I plan on making more cards from this cutout sheet)


I then mounted background paper onto cardstock hen onto card to make it nice and strong.
The feathers I matched the colours from the pages with copics 


 To add a bit of interest I added a foam dot under every second feather to raise it slightly


Hope your all having a great day... until next time..
Happy crafting

Saturday, 7 April 2018

Gel Press meets Colour Shimmer Dust with Melinda

Hello, hello and welcome to the blog today!!

I'm going to start this post will a little confession!! Last June I attended the Brisbane Craft Show and purchased a Gel Press plate - I couldn't wait to get home and PLAY!! When I finally did play, let's just say I was less than impressed with my end results so I put the press away with every intention of trying again "one day." Well, that one day is here so I grabbed said gel press, white acrylic paint, ALL of my Colour Shimmer Dusts, brayer, stencils and paper and off I went!

I started by mixing my paint with my first colour choice of Peacock Colour Shimmer Dust. I mixed this well with a palette knife and applied to my plate with my brayer. I then grabbed my first piece of cardstock and pressed that straight onto the top rubbing firmly to get an impression.


Depending on how thick you do the paint and how much you press you can get multiple prints from the same paint layer. 

Please remember, I was simply playing and I think I still have a long way to go!! I continued with the same technique a couple of times and then decided to add another colour for another layer.

Next up was Paris Colour Shimmer Dust. I did not clean my "palette" so got a deeper green than the Paris by itself would be. I was having so much fun brayering and pressing that I forgot to get a photo of that particular layer however you can see the colour in the next step.

I decided to try adding a completely different colour and this time grabbed the Sunflower Colour Shimmer Dust and white acrylic. You can see the left overs of the Paris on the plate to the left of the photo.


I added in some stencils using  the stencil almost like a stamp and impressing the stencil into the wet paint, removing the stencil and moving it all around the plate and then doing another impression for another layer of colour.


Each time I changed colour families I cleaned my gel plate. Also when I decided to add in the yellow I actually grabbed some old acetate/packaging to create a palette to mix the colour and apply to my brayer.

I couldn't resist trying some pink so grabbed my Lollipop Colour Shimmer Dust and got mixing. I applied a layer of that to my plate and then did a little experiment. I grabbed my Sunflower Dust and sprinkled that in couple of places on the wet paint on the gel plate, added a small blob of acrylic, brayered that and then did an impression. This gave an intesting, much more saturated, effect to the areas where the Dust hadn't completely mixed in.


By this stage I had done a number of prints and thought I should stop then and see what I had. I had also experimented yesterday to see if I could get my idea of Colour Shimmer Dust and acrylic to work so there a couple of extra book pages I did a couple of extra impressions on those. I chose some of the prints I thought I could work with and cut them down to card front size (10cm x 14.3cm) and here are the bases I cut. I also had enough from one of the prints to do 2 10cm square fronts as well. 


I picked 3 I wanted to work with added a couple of more layers! Starting with Colour Paste in Bling to 2 of the card fronts.


When that was dry (I did give it a bit of a head start with the heat gun!) I added in some stamping with gold ink and also black ink. I also inked around all of the edges of the cards to give them a little bit of a defining edge.


I grabbed a few embellishments from my stash - Charms Creations, D-lish Scraps and Funky Flair Studio's mostly - and stuck those on and mounted my card fronts onto cream card bases.


And a photo of each


If you know me well chances are you can pick my fave is the star one. Do you have a favourite??

I have filmed my process which will give you a better idea of the actual process (and just how messy I got ;) ) which you can see here. 

Now that I have broken the printing plate in I can't wait to do some more playing and printing!! Do you have a gel plate you've been "meaning to get to"? Have a play, it is FUN!!

I hope you enjoyed this and I'd love for you to share if you create something inspired by this so please head over the Colour Blast Creative Corner on FB and share away!!

Until next time, happy scrapping!!

Melinda


Friday, 22 December 2017

Painted Floral Cards with Kasia


Hello lovelies, Kasia here again with more Colour Artist Ink goodness. I am really enjoying playing with these inks and seeing how they work in different situations.


For painting I like to use a palette and drop in the into each little well and work from there. It saves my inks from getting contaminated and gives me freedom to play and mix the colours as I please. 

I also like when the ink dries in the palette as I can pick up the tiniest amount of colour on the tip of my brush.


The image left was painted with the Colour Artist Inks while they were still fluid and the image on the right was after a few more layers that were painted with the ink dry on the palette. 


I like to add many layers of colour to my paintings and these were no different. 


The above images are as previously, painted with fluid Colour Artist Inks first and then finished off with  the inks dry in the palette. 


The predominant colours of Colour Artist Inks used in these floral images were: Cranberry, Sunburnt, Spice, Citrus and Berry for the flowers and Grass, Walnut, Lime Oasis and Citrus.


I added a little white Gel Pen to one of the flowers and left the tulip just painted. I then cut down the images, added a little bling and created a couple of cards. 


Wishing you all a magical Christmas and I look forward to inspiring you more in 2018. 


xx 
Kasia
PS.. don't forget to have fun!

Thursday, 21 December 2017

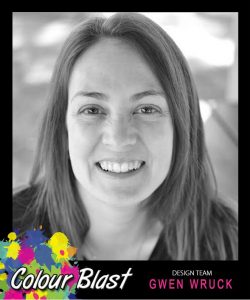
"Christmas Cards" by Gwen Wruck

Hi Creative Friends,

Gwen with you today on the blog.   With Christmas just around the corner, I thought I'd do some last minute Christmas card creating! I have not made many cards this year so this was a heap of fun :)


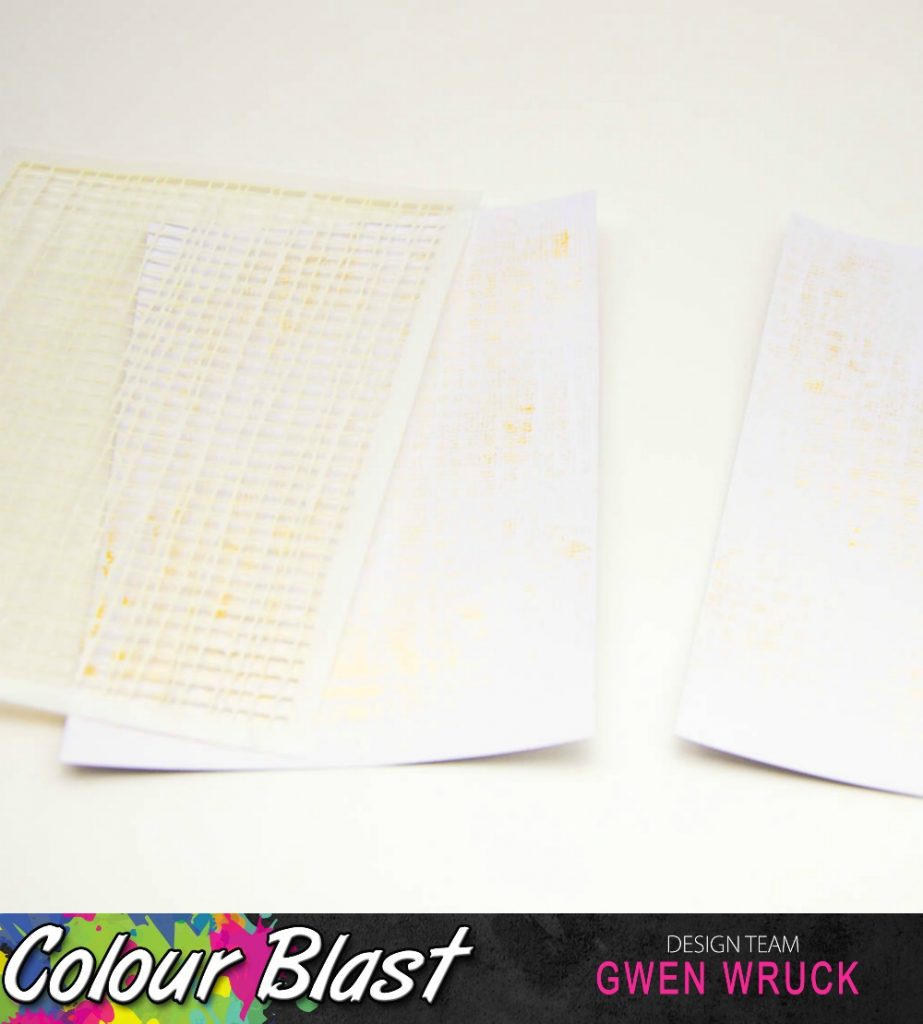
For this project, I started with my background.  I wanted a subtle look with all the shimmer so went with the Colour Shimmer Spray in Bling which I sprayed through a stencil.  It is a little difficult to see in the photo below but it is soft and sparkly and super pretty!


While I was waiting for that to dry, I cut some leaves with my Silhouette and embossed them using the Colour Embossing Powder, also in Bling.  This is a messy embossing powder so not the best for stamped images if you want a very clean look, however, it does an amazing job of chipboard and die-cut pieces like these, the shine is so so pretty and the coverage is excellent.  It is also very easy to get back into the generously sized jar which is a plus for you clean scrappers out there!


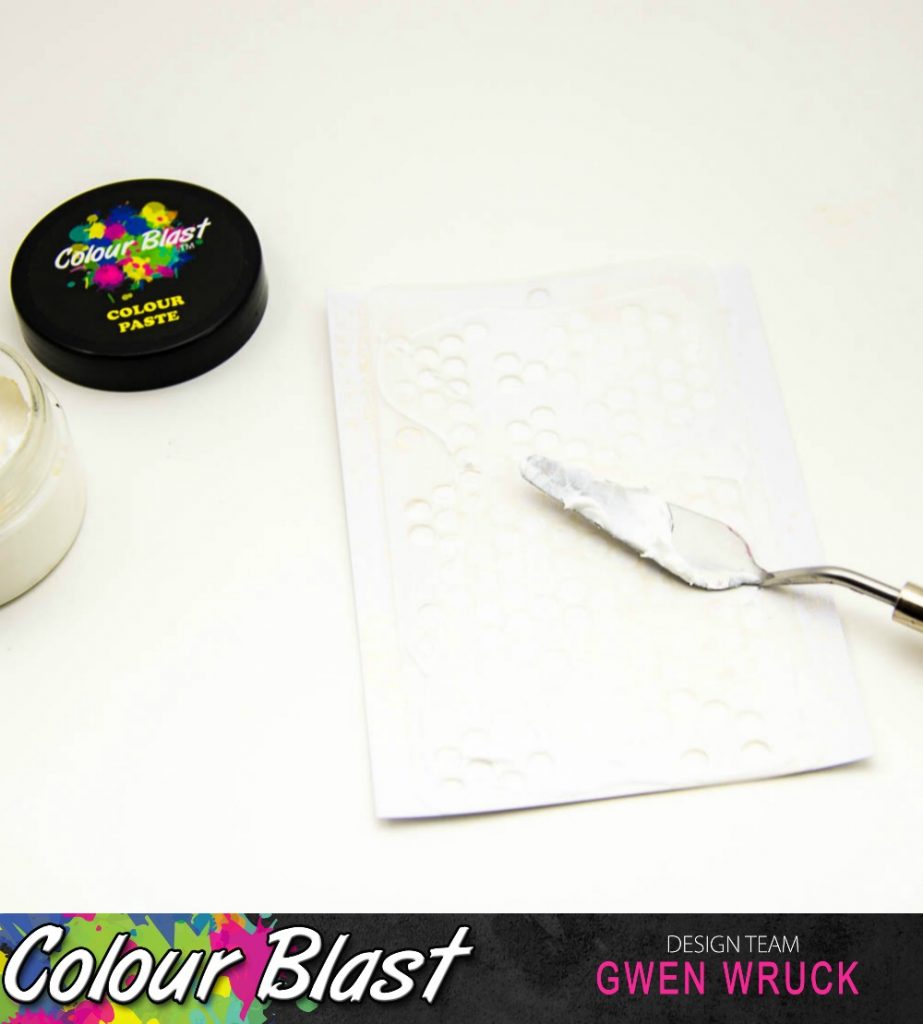
It was time to work on the second layer of my background.  Using a circle stencil, I added a layer of Colour Paste in Snow White.  I love this paste so much! It is super sparkly and adds a lovely texture to the background.  As I have mentioned in previous blog posts, you don't need a lot of this to go a long way, it spreads really nicely, like soft butter!


Next up, a couple of close-ups of the details, first, the 2 leaves die cuts, one in plain white, the other all embossed and looking pretty. I have applied only one layer, as I mentioned previously it has really great coverage!


and a close up of my finished background with the layer of Bling Shimmer spray followed by the layer of Snow White Colour Paste.  This photo really shows you the beautiful texture the paste gives you.


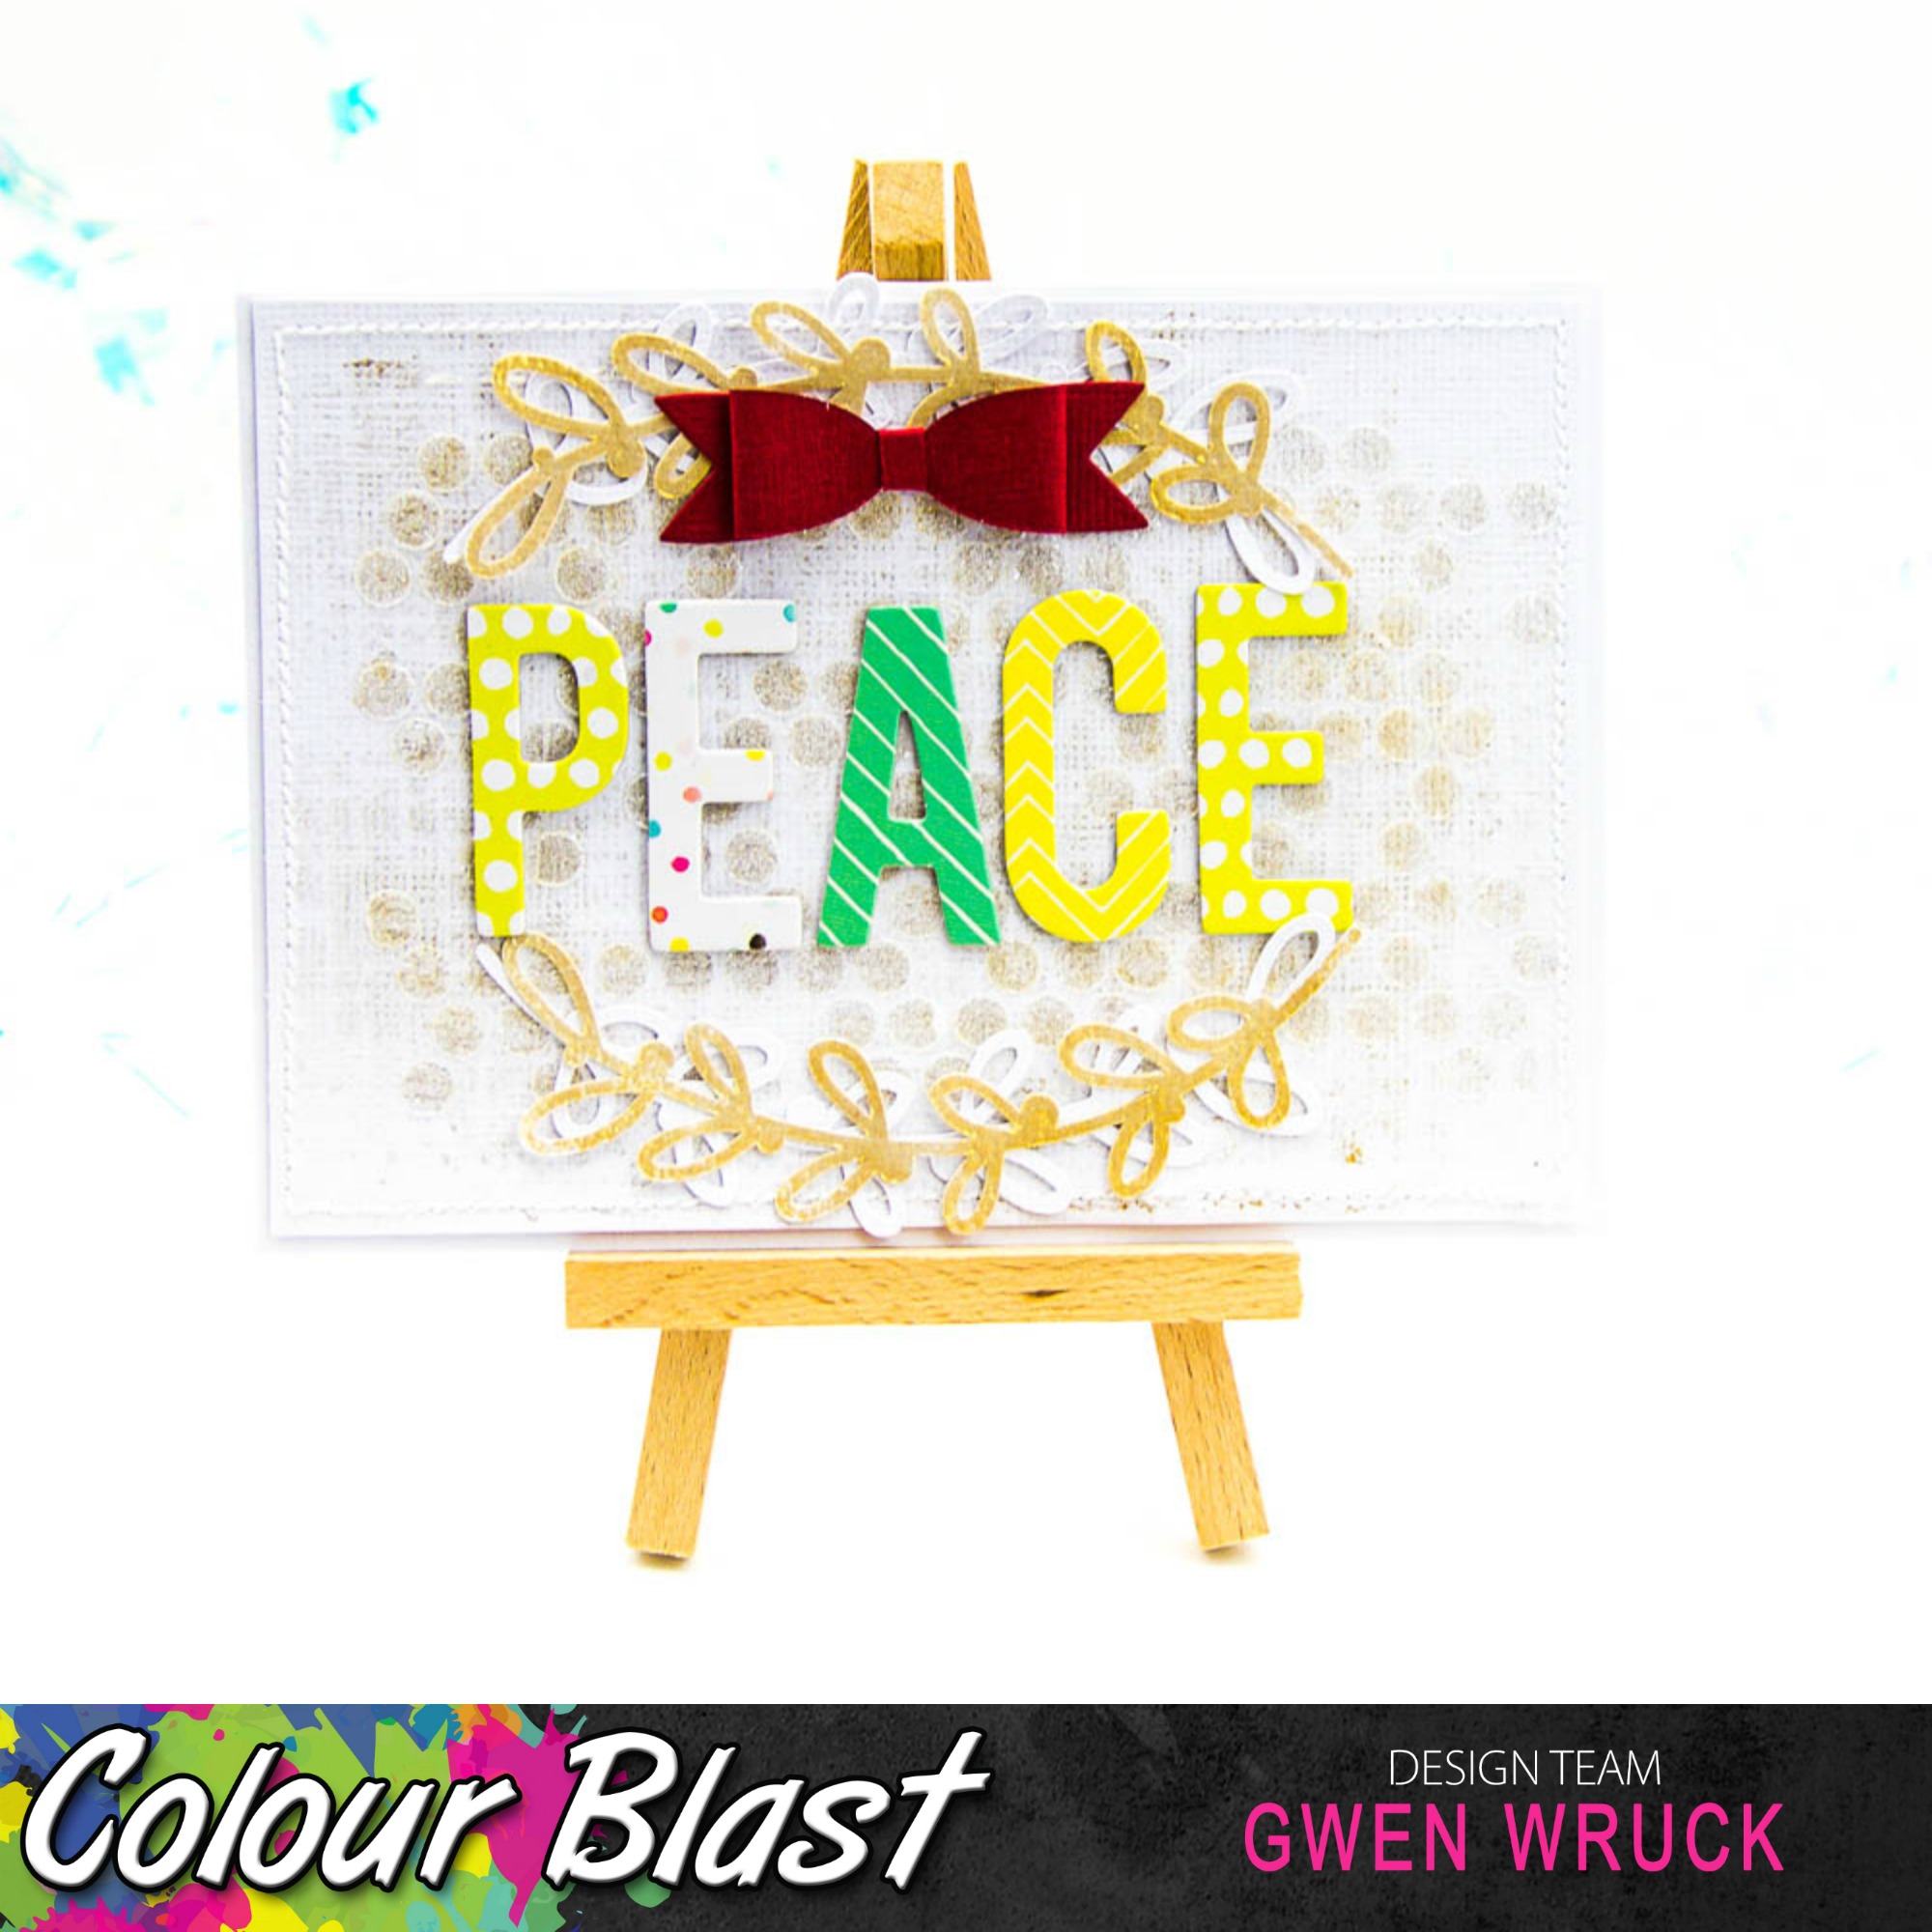
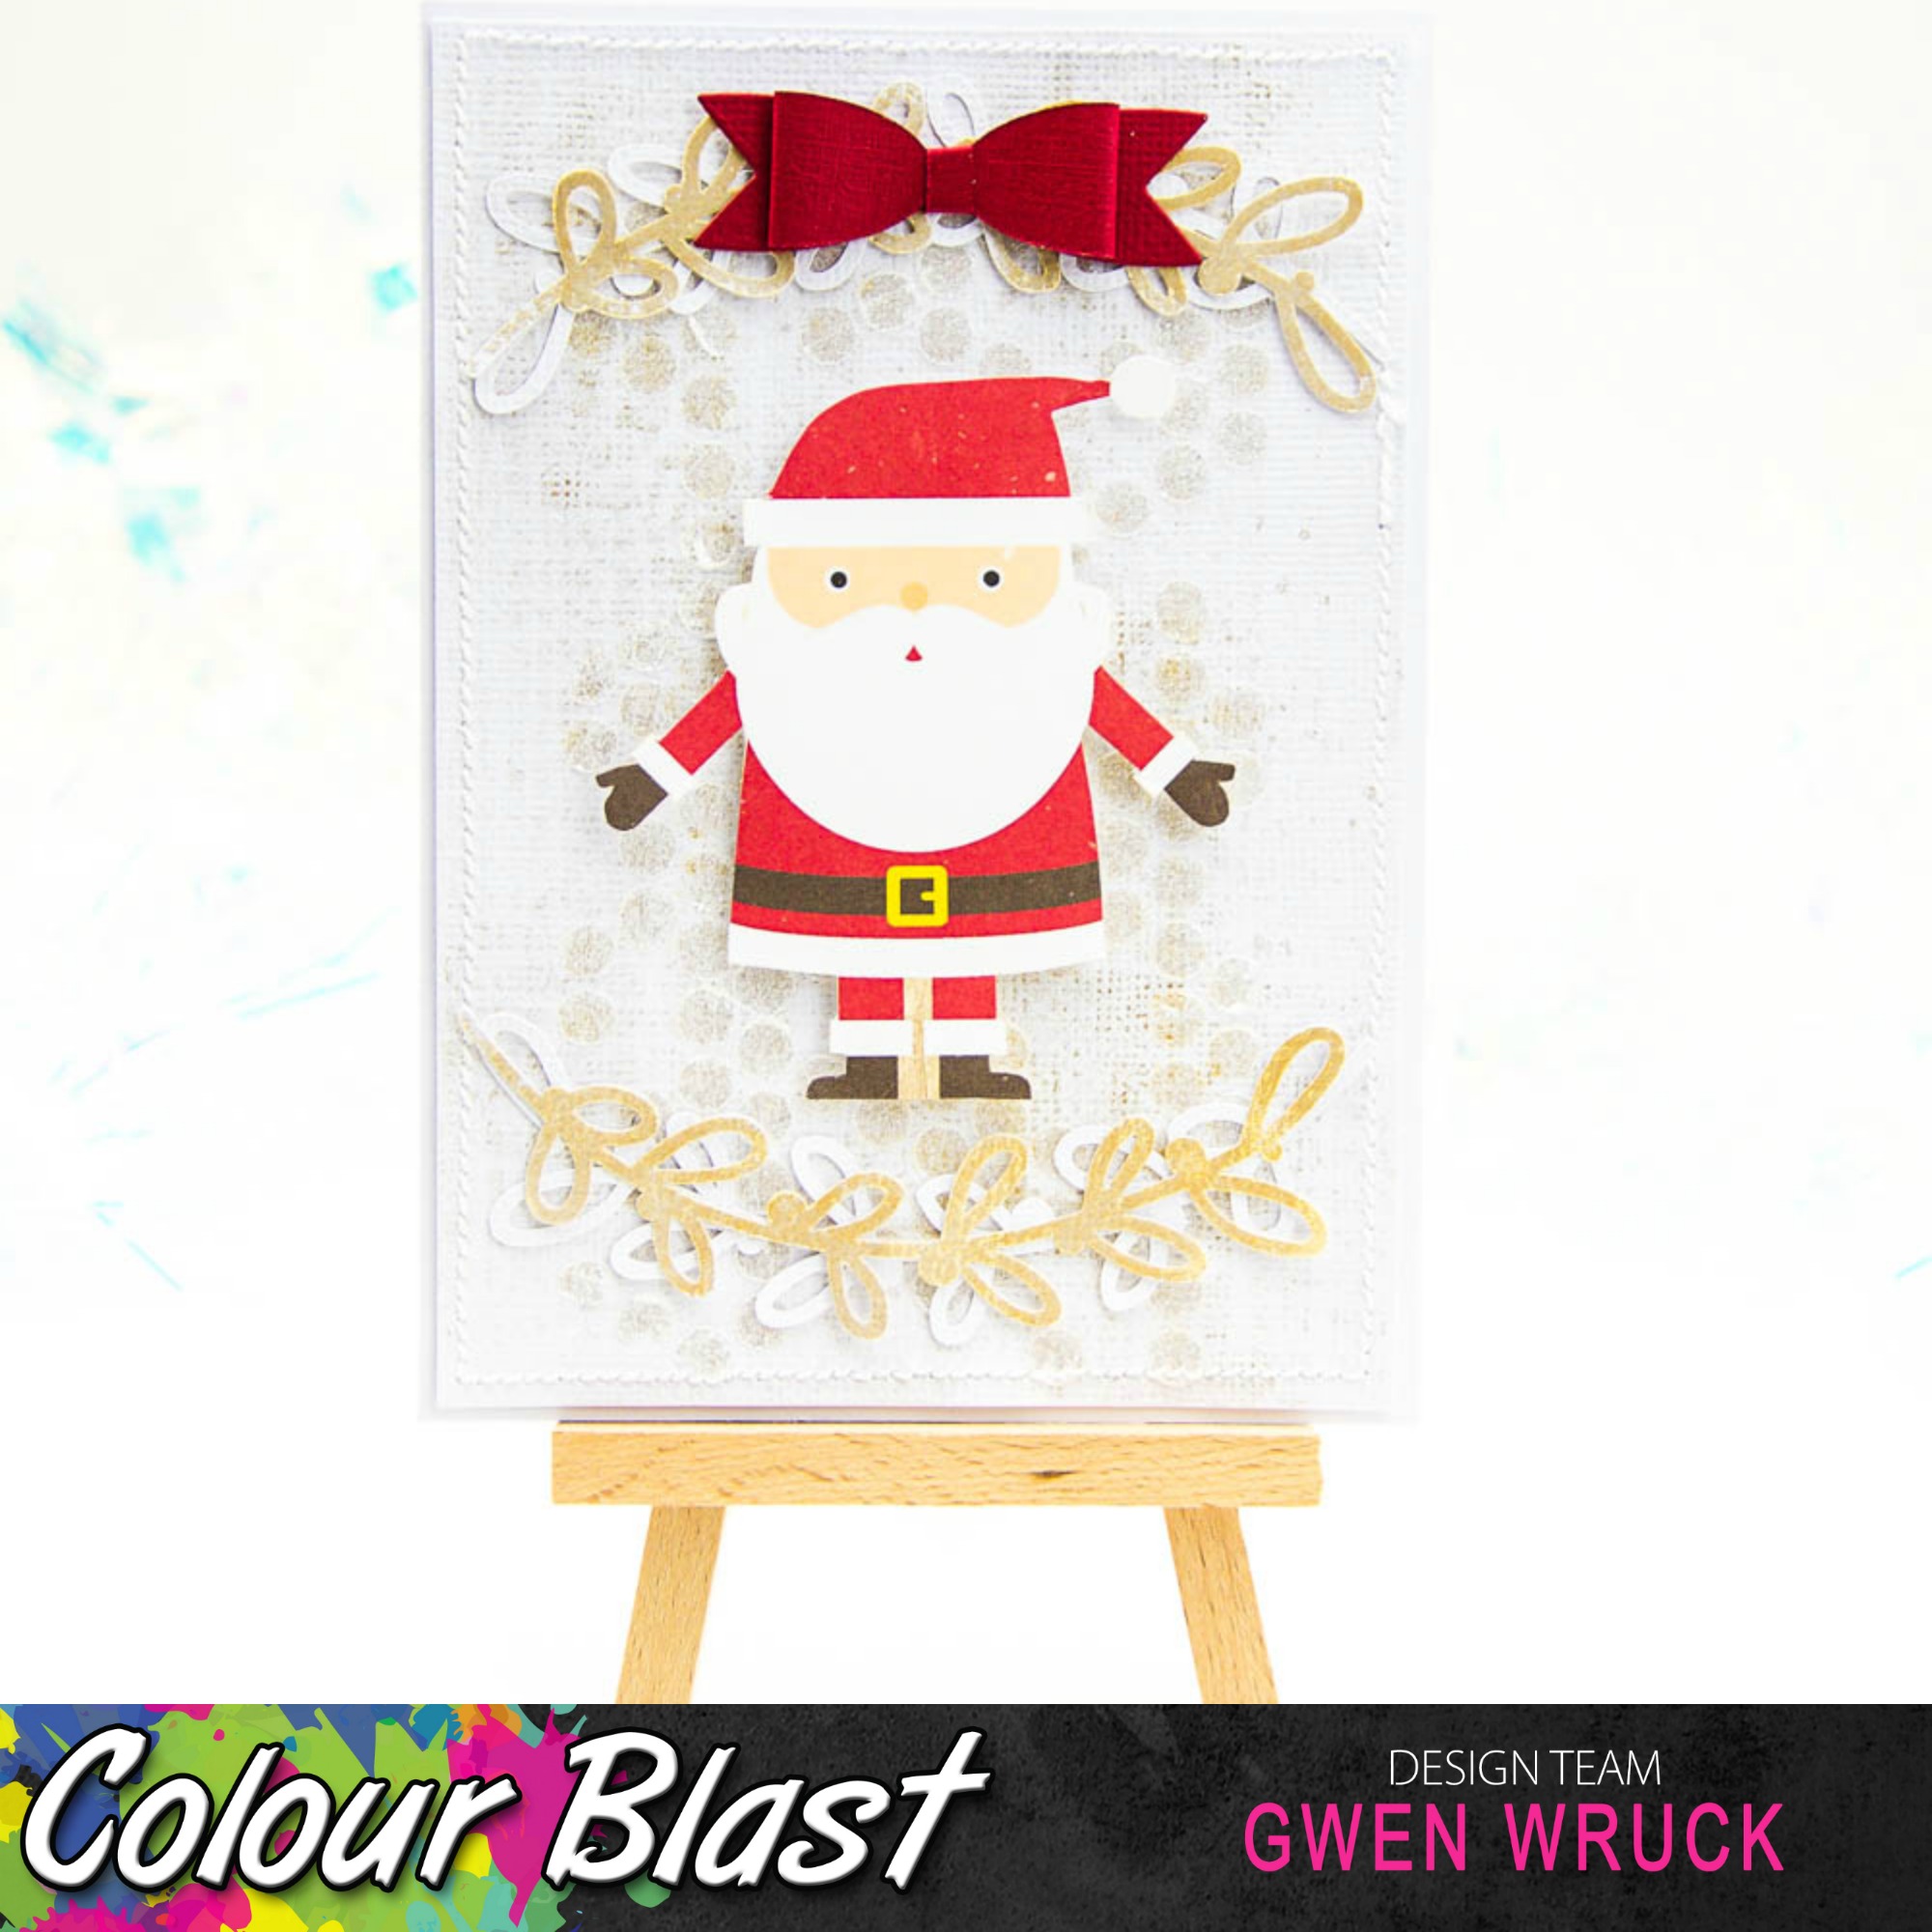
Once my background was complete, I added a few embellishments and the cards were complete.  I will add here that I have gone for a really subtle look with my cards, however, this technique would work so well with any colour combo, something darker such as Deep Water with the Snow White over the top would make the paste stand out more, and the shimmer of the Bling is stunning over a black cardstock.  So have a go at different combos, I'd love to see what you come up with. 


I kept these pretty simple so that they could be posted and so as not to distract from my pretty background.  There you have it, three simple and sparkly Christmas cards ready just in time for Christmas!  

I give this project a "mess level" of Medium/High.  It's high simply because of the Colour paste and Embossing Powder.  However, the paste does not stain your stencils and the embossing powder is super easy to pour back into the generous container so that brings it back to a medium rating from me!  Totally worth the mess!

Thanks for popping by today, and as this is my last post of the year, I'd love to wish you all a Happy Festive Season!

Until next time,
xo

Saturday, 18 November 2017

Spread Your Wings ~ Mixed Media Card with Melinda

Hi there, Melinda here with you today and I am sharing a card I made for a work friend who has left and started a new life for herself overseas!

Here's a little peeky....


Here is my process video if you are interested in seeing this card come together


And read on for my step-by-steps


First up, after I cut my card front to size (10cm x 14.3cm) I grabbed this very pretty stencil from my stash (it is a Dusty Attic one) and my Bling Colour Paste. I'll tell you a little secret here - I wasn't 100% certain of where I wanted this card to go so I took inspiration from my last DT project and ran with it!


I let that air dry and then came back and started to add colour. I had already picked some pieces I wanted to use to embellish with so grabbed my matching colours in Sunshine and Tangereen Dream in the Colour Shimmer Cubes and clean cup of water. I added a little water over the top of the stencilling and then added my colour, moving the card stock around to get the colour to move and adding water/more colour when necessary.


I did get impatient and used my heat tool to dry that off so I could move onto my next step. Splatters! Using the same colours and paint brushes I added in splatters - Sunshine to the Tangereen side mostly and Tangereen to the Sunshine side. 

When that was dry I grabbed a damp baby wipe and rubbed over my Colour Paste to get the Bling to pop once again without any additional colour on top! Did you know that you could do that?? 
It really makes the colours of the pastes pop once again!


Next up, I dumped all of my pretty things onto my base and decided I needed a dark pop of colour behind all the bits so I grabbed a mini doily from my stash and my Dusty Charcoal Colour Shimmer Cube. 

I love having white options because it makes it so easy to customise colours for any project. I just used a paint brush and painted over the doily - be careful if you are doing this that you are not too rough or you may rip/tear the doily! I almost did!! Again, I used my heat tool to dry this off and then applied a second coat in the same way.


One last step before bringing it all together - splatters in Dusty Charcoal. Again, same as above but with a different colour. I love the contrast it gives and that darker colour really makes the whole design just pop! 


And here is my finished card. I think my friend will love it - it is being hand delivered by another friend to Dubai next week! I added in some stamping in a dark grey ink and mounted my card front onto this fun and bright yellow card stock to finish it off!


Thanks as always for stopping by! I hope I have given you some inspiration for whatever you have currently sitting on your desk and I'll see you again in couple of weeks! Please make sure you head over to the FB group, Colour Blast Creative Corner, to share all of your projects using Colour Blast goodies, we love seeing them and being inspired by you all!


Melinda