I have noticed a lot of talk about how to store the Colour Shimmer Cubes, so today I will show you how I store mine. And at the end I will show you an art journal page I did with them.
This is a link to a time lapse video of when I put the Colour Shimmer Cube Storage together. Or click below
Lets begin...

I had a tin that contained tissues that was the perfect size for the storage of my Colour Shimmer Cubes.

I placed sticky velcro dots on the underside of the Colour Shimmer Cubes (Sunshine, Blush, Apple of My Eye, Rose Petal, Lovely Lilac, Sienna, Dusty Charcoal and Blush). These were then stuck to the tin.

Watercolour paper was cut to size and a grid drawn onto it corresponding with the number of colour Shimmer Cubes. The colour was painted onto the watercolour so that at a quick glance it is easy to see and sometimes colours dry lighter. This was also stuck on to the underside of the lid with sticky velcro dots.

Don't forget that the Colour Shimmer Cubes are best stored with their lids off so that they can dry out.
Now onto my art journal page...
Here is a link to a time-lapse video of this page. Or click below
I am going to predominantly be using the Colour Shimmer
Cubes to create an art journal page today.

To begin remove the top layer of the tissue with the design. These tissues were gifted to me from a
friend, the brand is Santoro. It is
glued onto my Strathmore Mixed Media Soft Cover Art Journal page with Matte Medium,
ensuring that all of the air bubbles are removed with an old credit card.

Aqua Primer is applied over the dried tissue paper in a thin
layer. As the photo shows above, the
tissue can still be seen through the medium and it has become textured in
places. Not only does this primer add
texture but it also helps with priming the page for watercolour use.

I extended the dress to the bottom of the page and using a
paintbrush I wet the area with a brush.
Colour Shimmer Cubes (Sunshine, Blush, Rose Petal and Lovely Lilac) were
added randomly to the dress by using a paintbrush and flicks, allow the colour
to spread into each other to cover the white area. While this area is wet a stencil (Brand
unknown) was applied until the area is dried.
Lift it off to have the pattern of the stencil left.
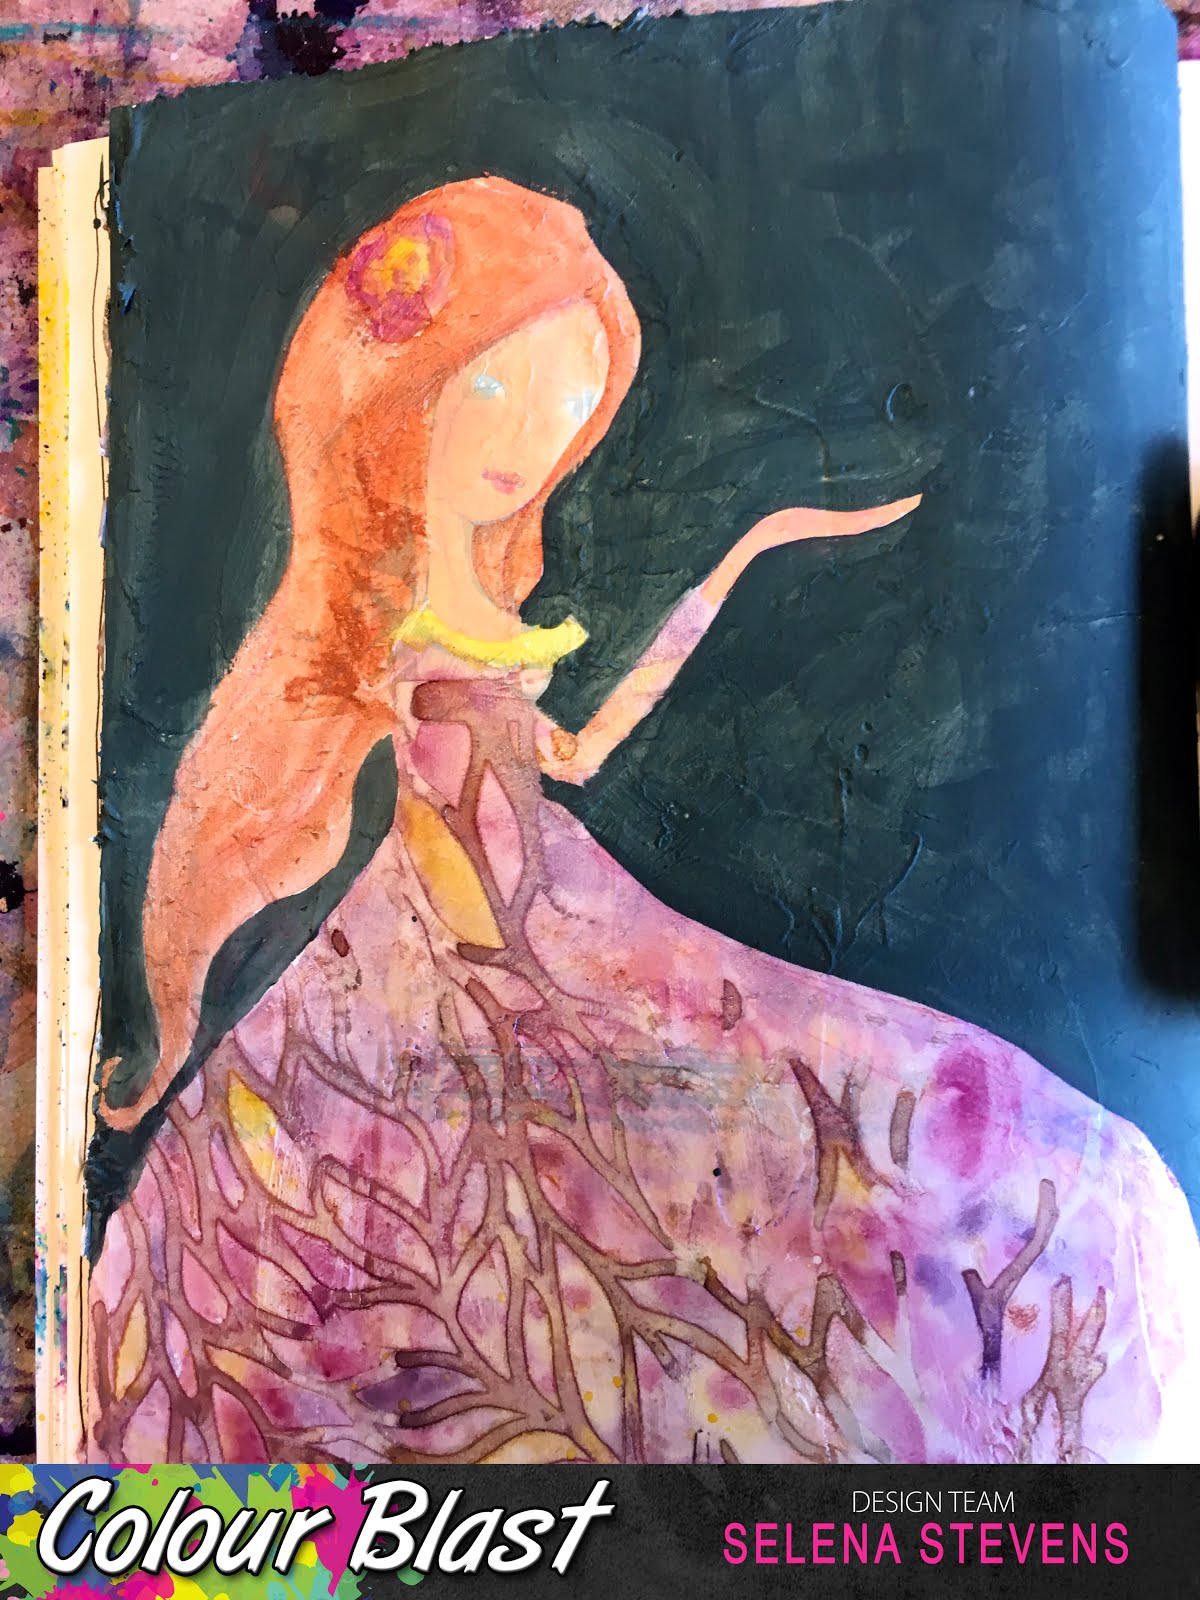
Colour Shimmer Cubes were used to add colour in the flower,
the same colours as the dress were used and Sienna was used to colour her
hair. I do love the Colour Shimmer Cube
Sienna colour – it’s so deep and rich!
While the Colour Shimmer Cubes are drying, Ceramcoat Acrylic Paint
(Santa’s Flesh) was added to the girls face and hand. Ceramcoat Acrylic Paint (Dark Victorian Teal)
was painted onto the background.

The girls eye colour was added with Colour Shimmer Cubes (Apple of My eye). I painted a heart above her hand with Ceramcoat Acrylic Paint
(Hydrangea Pink). Shading was added to
the girl with Prismacolour coloured pencils (Dark Purple, Chestnut, Scarlet
Lake, Cream). Details and highlights
were added with a Uniball Insight black pen and a Posca white paint pen.

I also went back to the dress and added another layer of
Colour shimmer Cube in the same colours as previously and a stencil to get the
effect that was described above.


Happy creating
Selena
Follow me at:
Facebook: Selena
Stevens Art
Instagram:
selenajstevens
Youtube: Selena
Stevens Art

No comments:
Post a Comment