Hello Bee Arty Lovelies,
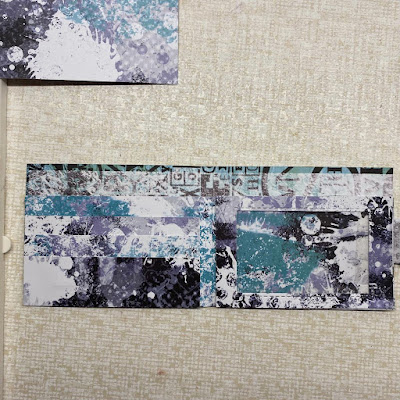
Sunila here, and I'm back with a fun pictorial for you'll. Today I'm using the Chit Chat collection for a paper crafting project. When it comes to making Masculine cards, it's a challenge for me. So today I thought of trying out a different idea, and I created a Wallet style card. This is a unique greeting card with space for a gift card/voucher/money.
Here's a look at it:
Let's dive in, into the process of creating this.
Step 1:
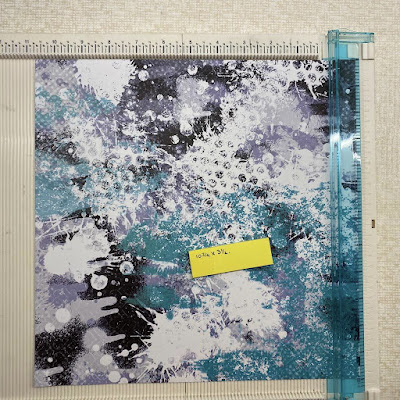
Cut a piece of pattern paper at 10 3/4" x 3 1/2"
Step 2:
Score on the long side at 4 1/2", 4 3/4", 9 1/4" and 9 1/2". Rotate to left and score on the shorter side at 1 1/4" and 2 1/4" until the second score line. This is our base piece.
Step 3:
Cut another piece at 9 3/4" x 3". Score on the long side 1/4", 4 3/4", 5" and 9 1/2". On the short side score at 2 3/4". This is our first pocket piece.
Step 4:
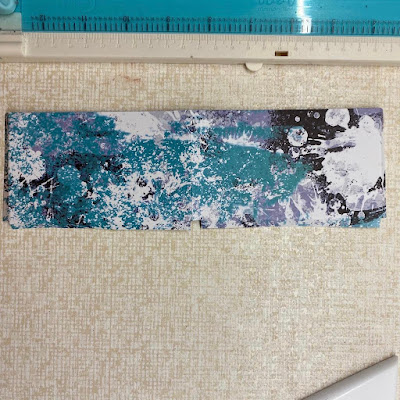
Score and burnish the base piece and trim off the two shorter squares along the side as shown in the image below.
Step 5:
On the first pocket piece, cut the smaller square along the middle score lines, and the 2 corner squares.
Step 6:
Time to glue the two pieces together. Place the pocket piece over the base. The middle score lines should align. Apply glue onto the side and bottom flaps and glue it to the base. This gives us a nice pocket for notes.
Step 7:
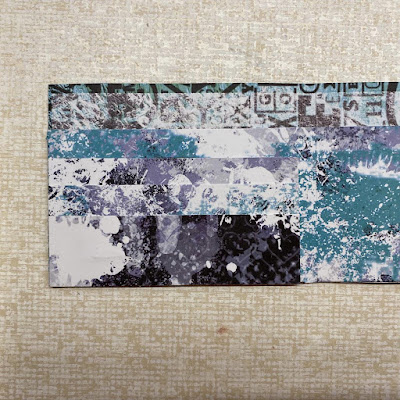
Cut three pieces for the inserts measuring- 2 1/4" x 4 3/8", 1 3/4" x 4 3/8" and 1 1/4" x 4 3/8"
Adhere tape along one long side and both shorter sides, stick them on top of each other to form the three pockets on the left inner side of the wallet.
Step 8:
Cut another piece measuring 2 3/4" x 4 3/8" . I then used a rectangle stitch die smaller than the piece to cut out a window. This creates a see through pocket for the inner right side of the wallet. Adhere tape on the bottom and the two sides and stick it on the wallet.

Step 9:
Fussy cut elements from the paper pack, and decorate the front. For the closure, you can use magnets, or velcro. I simply created a slit and inserted the flap in. Cut out elements and insert in the pockets, along with the gift card or a photo.

.jpg)


.jpg)
.jpg)
.jpg)
No comments:
Post a Comment