Welcome Crafty Bees to my blog entry today again showcasing the
Bee the Shine collection by Fiona Paltridge.

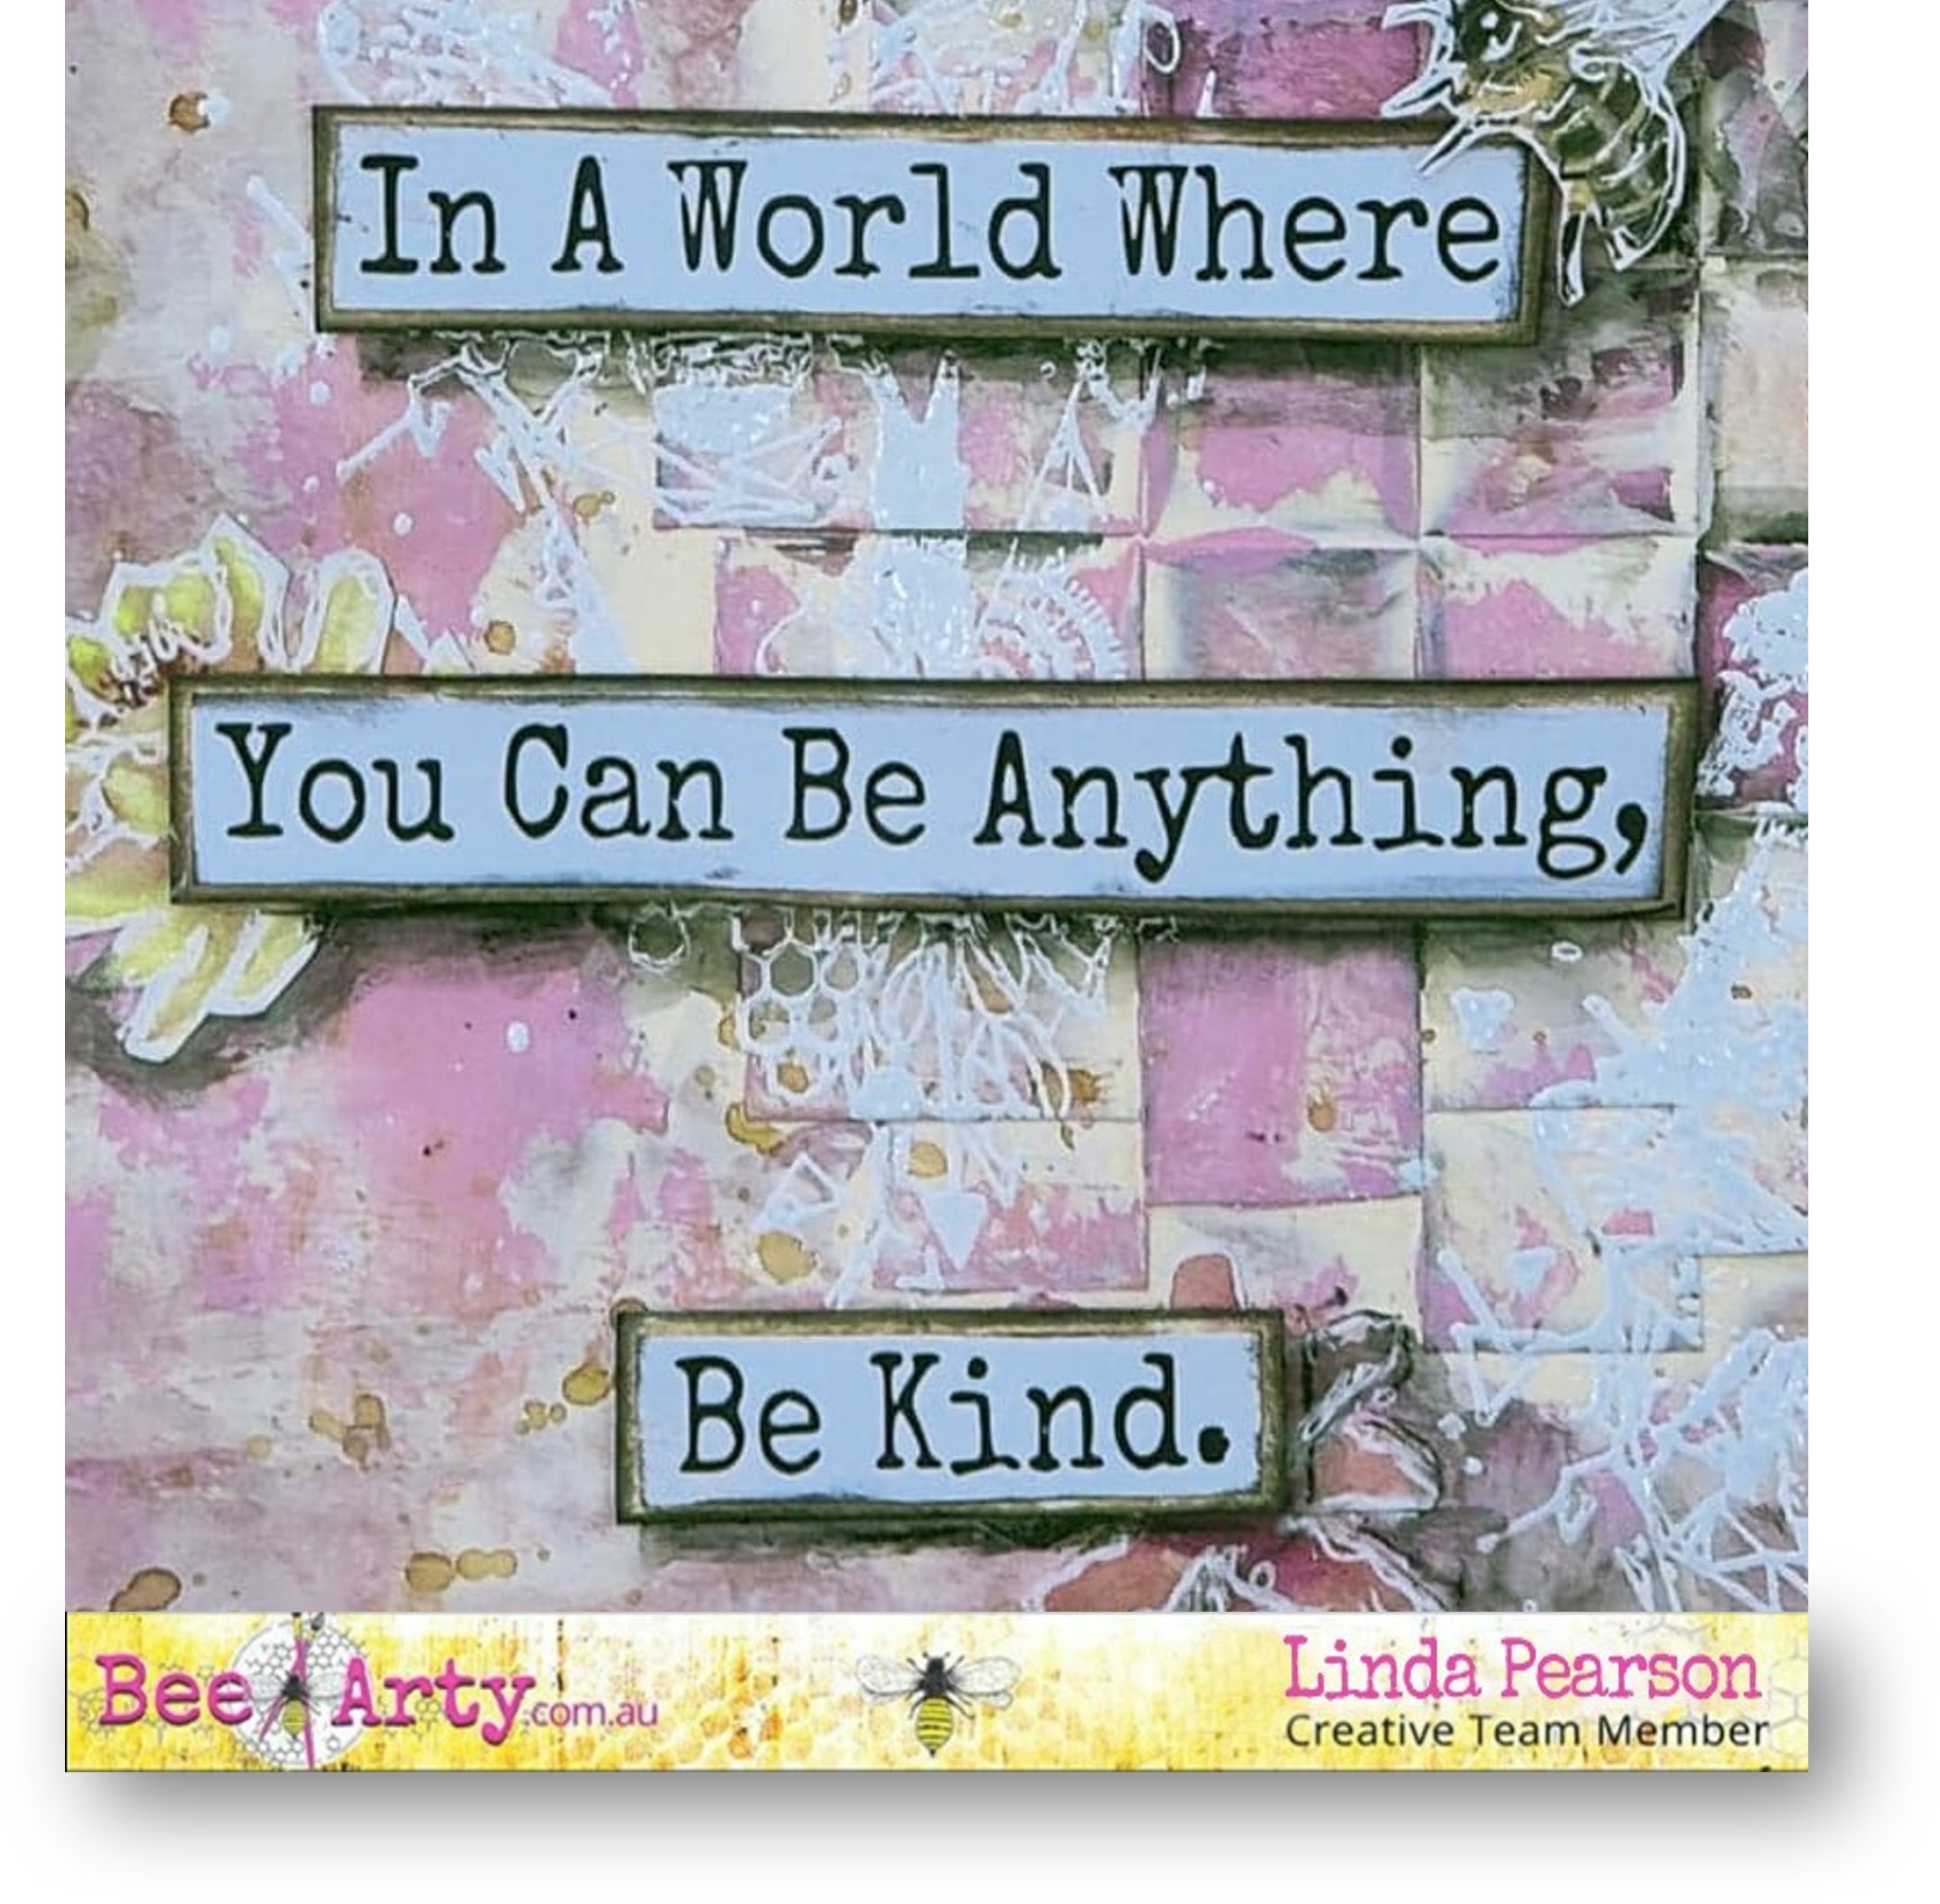
Today I am presenting another journal page highlighting cutting and weaving techniques in a creative way.
Bee
the sunshine collection by Fiona Paltridge.
Bee Garden 12x12
scrapbook paper (weaving)
Honey 12x12
scrapbook paper (B side of word sheet)
Kindness 12x12 scrapbook
paper (tag sheet)
Sunny days 12x12
scrapbook paper (coloured cut out sheet)
CB
Embossing Powder – snow white
CB Heavy
White Gesso (preferred)
Versamark Stamp pad translucent
Catalyst
Silicone tool or palette knife
Carnation Pink acrylic paint
Craft Knife with sharp blade / self-mending cutting mat
Mounting Tape, double sided tape and liquid adhesive
White gel pen or paint pen
Weaving card paper


Cut the Bee Garden paper in half vertically.
Cut vertical lines on one of the cut pieces leaving a
border of approx 15mm around the edges.
On other piece cut into strips 15mm wide all the way
through horizontally (B side paper).
Weave the shorter strips into the main vertical strip (A
side of paper) as tightly as possible.
Add masking tape to back-side of weaving to secure.
Distress the weaving by adding Stabilo ALL pencil then
blend pencil marks using wet paint brush.

Using a sharp craft knife, carefully cut around the large (white) butterfly shape on the Honey (B side of word sheet), leaving a border 20-25mm along the right-hand side of the sheet.


Add double sided tape to the back of the weaving strip, then slide the woven strip under the cut section of the butterfly.
Adding texture to the background


Add a few drops of Barley CB artist ink to the CB Heavy
White Gesso and mix to a creamy colour.
Lift up the cut butterfly section (chock something to keep the
paper lifted), loosely spread the gesso mix over the background butting up and
over the weaving strip to anchor and blend into the background with a catalyst
silicone tool or palette knife.
Dry off thoroughly.


With Carnation pink acrylic paint and catalyst silicone
tool, again spread the paint over the background very loosely (to blend the
layers together).
Dry off.
Add detailing to the cut images using White Gel Pen or paint pen.

Add the Find Your Way stamp to several spots on the page
using Versamark embossing ink pad.
Sprinkle with CB Embossing powder – snowy white, then heat
set the powder.
N.B. the textured
surface may interfere with the preciseness of the stamped image.
Adding embellishments


Select appropriate tag from the Kindness (tag sheet) and determine
the sentiment to add to the page.
Cut out selected items.
Adhere some coordinating off cut piece as backing for the wording.
Distress the edges of the cut-outs with archival ink.
Cut out a range of flowers and bees from the Sunny Days
(coloured cut-out sheet).
Arrange these elements over the page (main flowers on the tag sheet).
Adhere these elements including the lettering to the page using
liquid glue or mounting tape.
Be sure to stagger the placement of these elements to add depth
to the page.
Final detailing of the layout

Add mounting tape behind the large butterfly cut-out section, press the image down.
Use the Stabilo pencil around the outer edge of the large butterfly,
Blend out the pencil using a wet paint brush to add shadow and
depth.
Repeat the ‘shadow’ process for all the other elements on
the page.
Add a border around the outer edge of the page with archival
ink and loosely drawn lines with white gel pen or paint pen.

No comments:
Post a Comment