Sunday, 9 April 2023

Beautiful just the way you are - Rikki G

  Good morning, how are you? Well if you from Australia no doubt the Easter Bunny has been and gone and left you some chocolatey goodness and hopefully your spending sometime with your nearest and dearest. 

Thats the plan today for my fam bam, just chilling and spending the day relaxing maybe a little bit of fussy cutting thrown in there for good measure......

Today I have a layout using the stunning Moon Shadows Collection, and as a added bonus I have a little process video so you can follow along.


You can follow along with a process video:


The Pretty Posy stamp is back in use again, stamped on 200gsm cardstock with archival ink. 

This will allow you to flood your work and not have any ink bleed out.


Once your flowers are dry, you can sculpted them into 3d flowers, curl them in your fingers, fold the petals and add some foam tape in the center and add a small one on the top. To give the center some more definition use the bottom side of a paint brush and give it a push, it will allow the petals to curl inwards more.


Now repeat the flooding effect with the Aussie leaves Die.

*** Handy tip: pre cut a heap of leaves in white and pop them into a bag that way your more likely to use them in your layouts more regularly, rather than pulling out your die cut machine every time you create.


Add silk flowers in with your paper flower clusters.


By flicking glue you will get a more splattered effect with your glitter, as you tap the excess off it will catch in other areas.


Hope this has inspired you.

Till next time have a creative day.


Moonburst - 12"x12" Scrapbooking Paper


Pretty Posy Clear Stamp Set


Thursday, 6 April 2023

I bend - created by Tracey Thorne

 Hello to all our favourite arty peeps new and old. I have a confession - I haven't created for a while so I am still finding my feet. I pulled a few of my Bee Arty stash out to dust off my creative cobwebs and came up with this 12 x 12 layout of my girl. 

I started the layout by using a base of 350gsm white cardstock. I mixed up a little of the Paris Shimmer dust with water and painted it on the page. I then added a little to some plastic and used the kiss technique to add more to the outer edges of the painted colour. The last step to this was picking up some of the colour and making large splashes and droplets around the edges.

I marked out with pencil where the majority of the design was going and then stamped the florals using BeeArty Floral Arrangement clear stamp set and the BeeArty Celebrate Nature clear stamp set. I have then added a stitched border over pencil marks and around the outer edge of the page. Next I added a little white texture paste using the Abstract Daisy A6 stencil.


The next step was to work out my layers - I have chosen to use Moonshadows - utilising the Moonslides printed cardstock and the Eclipse printed cardstock.


I have then cut out flowers and leaves using the Autumn Trio metal dieForest Favourties metal die and the  Flower Stems metal die using Whispering Woods Fairy Dell printed cardstock. I have also prepped some muslin by spraying it with ink. 


Time put the layers together - I adhered the small rectangles I cut from the Whispering Woods carstock across the page. I then added my photo on to some card which helped to build up the layers. Under this I glued some green and white muslin. I pre-cut all the flowers from the Moonshadows paper as well as a few of the butterflies and the dragonflies. These were layered under the photo and with the diecuts.  
I used my own title die cut to finish off the page as well as a few Tim Holtz word phrases.

Thanks for popping by


Sunday, 26 March 2023

Dont Cry - Rikki G

Good morning how are you? Rikki here today with my latest creation, this time based on this months challenge, and I have to say this was one of those ones which there was no plan and a one point I wasnt sure it would evolve into anything else.

Have you ever started a layout like that?


Enjoy and don't forget to upload your entries here:
https://www.facebook.com/media/set/?set=oa.737268101330316&type=3


To kick things off I need to make my paint colours, this time I want something shimmery, sparkly and to do that you need Colour Mica powder and Gum Arabic....

It doesnt matter if its is the powdered or liquid Gum Arabic but you do need it, its a binding agent for your mica, you will find if you do it with just water once dry it the micas will rub off, the Gum Arabic is like a glue keeping things in place. 

All shimmer based mists have this ingredient in them, to make sure your amazing colour just doenst rub off.


So the general rule of thumb is equal Gum Arabic to your mica powder and water - warm water works better when mixing your paint.


Now its time to get messy, and this process will take a while as I dont tend to use a heat gum to speed the process up as I find the shimmer from the powder comes up to the surface more and you dont see the under colours.

So I use this time a zen moment and work the paint around the page.


Now if your after more pigment in your mica paints you can add that using the Colour Artist Dye Ink like you can see in the orange section it was a little gold for my liking I wanted more of a orange tone, so I just added a couple of drops in my mica powder mix and it became a richer colour.


Once dry now the messing and arty bit happens, I used a light grey ink for the stamping, you could use black but I am after a ghosting effect rather than something heavy.


I havent mounted the larger Geo Grunge stamp for a reason I allows me when I am stamping to kind of roll it so I get little pockets of details rather than a big crisp image.


Now grab a Stabilo pencil or even a water colour pencil, this is the time to doddle over the top of details in the ghosted stamping.


You can add details in, more circles more crosses, add larger cirlces by tracing around different size circle objects.....

You can wet the pencil work to bleed it out or, just smug it with your finger.


Now you have your background, time to build the layout.....


Splash some Bling Shimmer spray and Black Artist Dye ink to tie your layers together, dont forget to cover your photo.


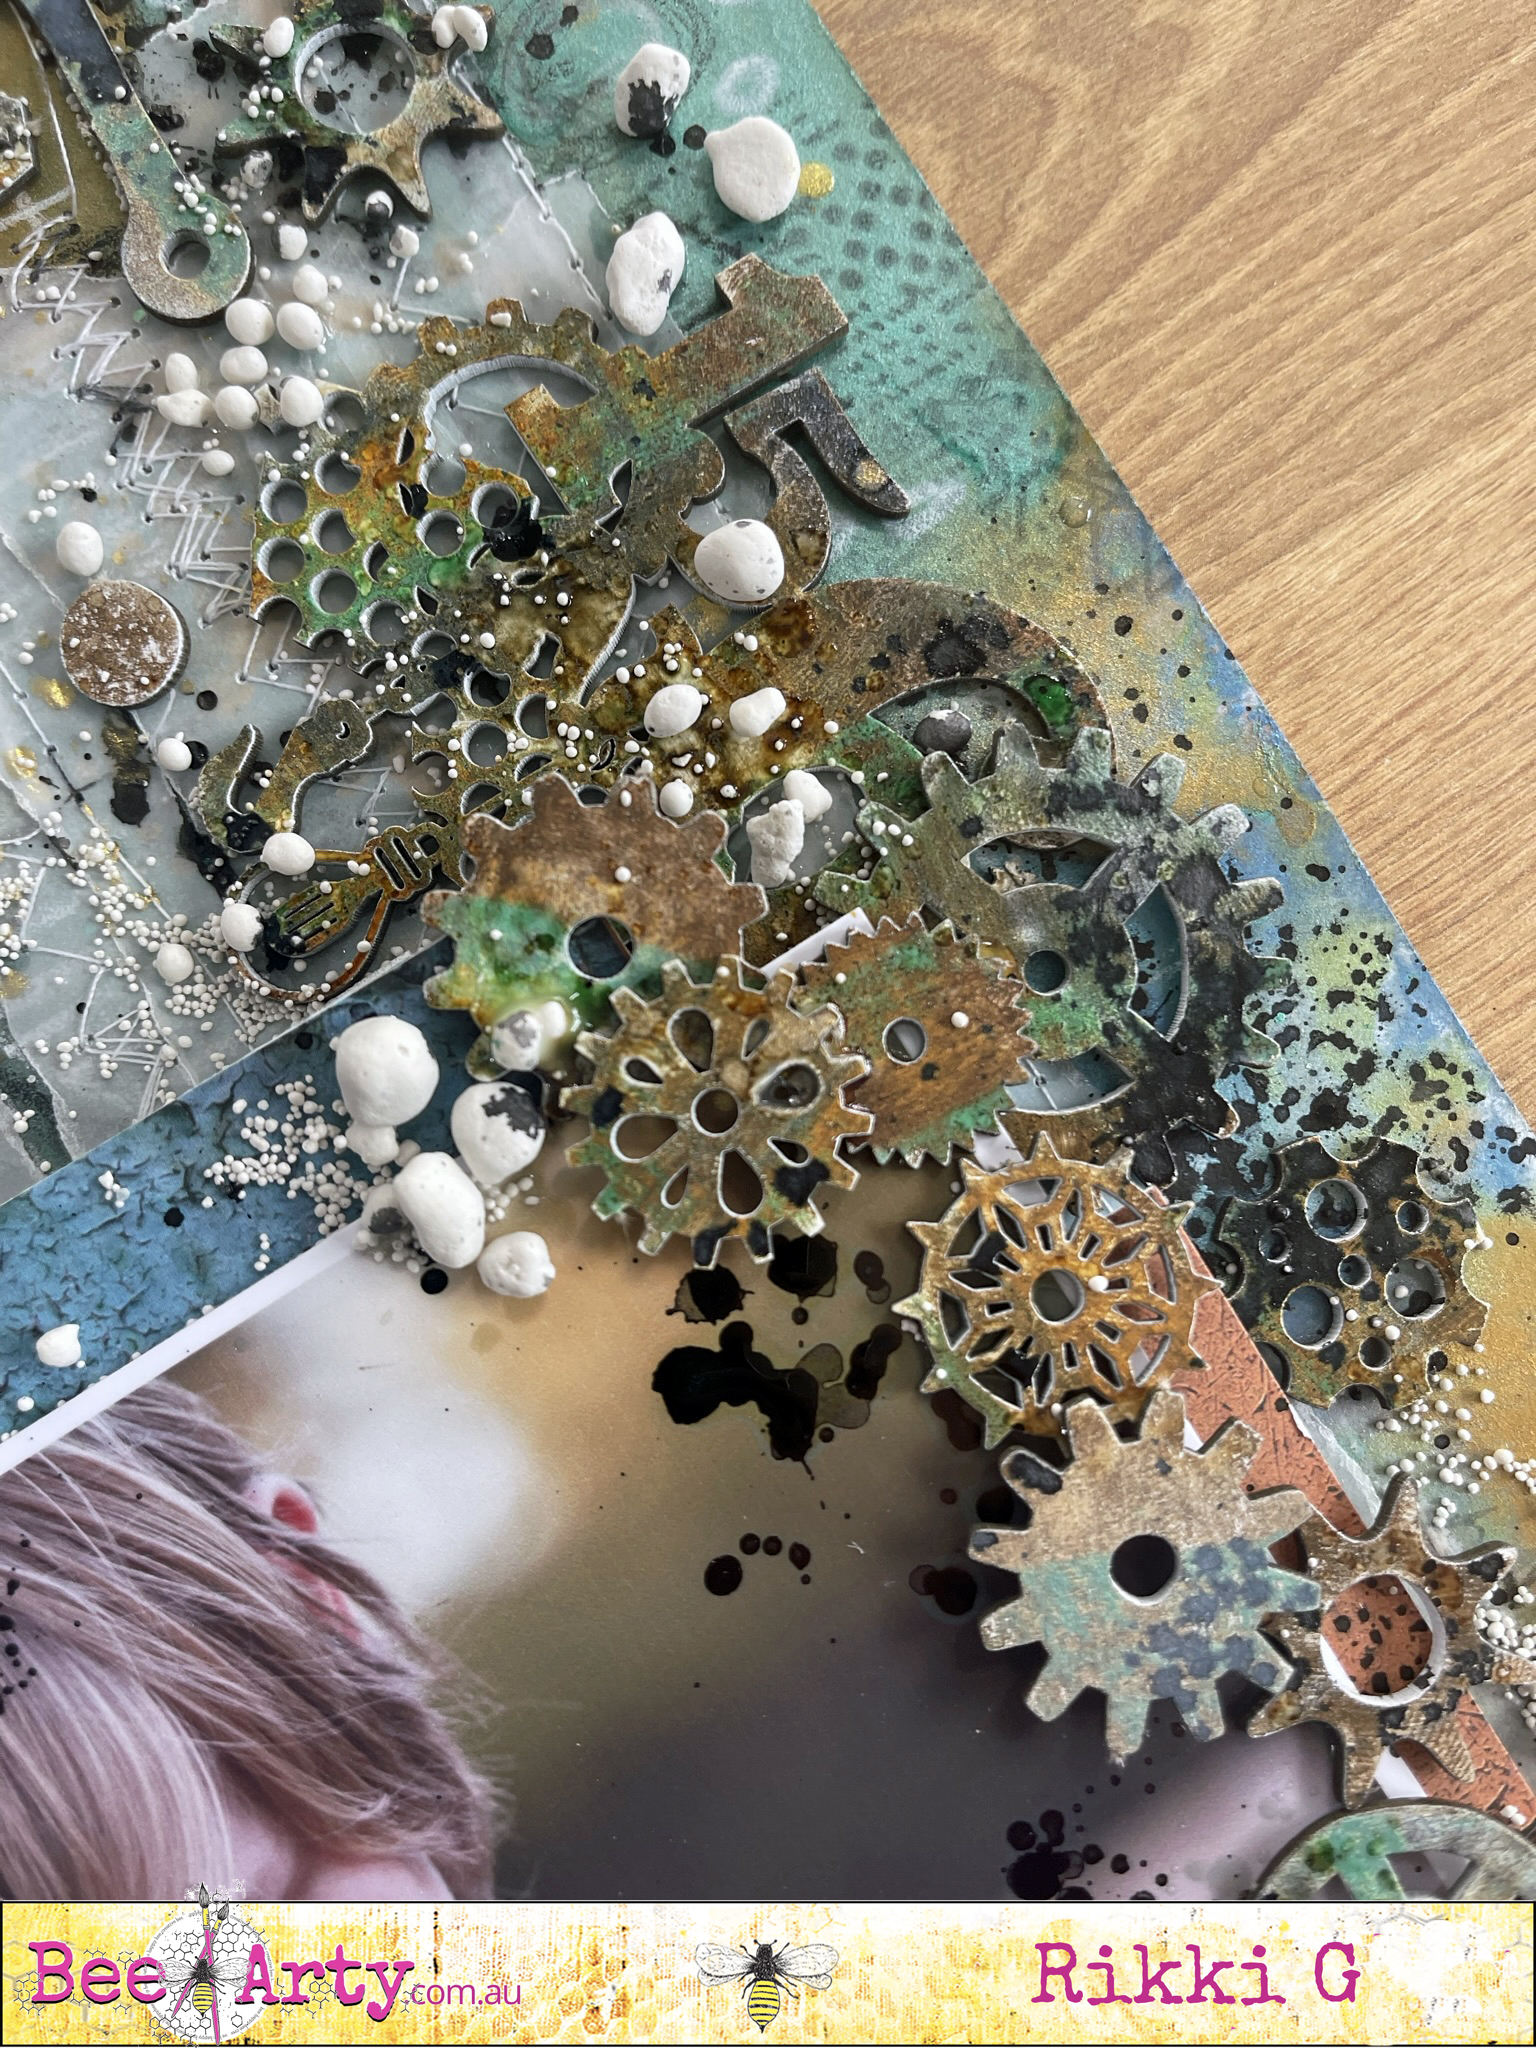
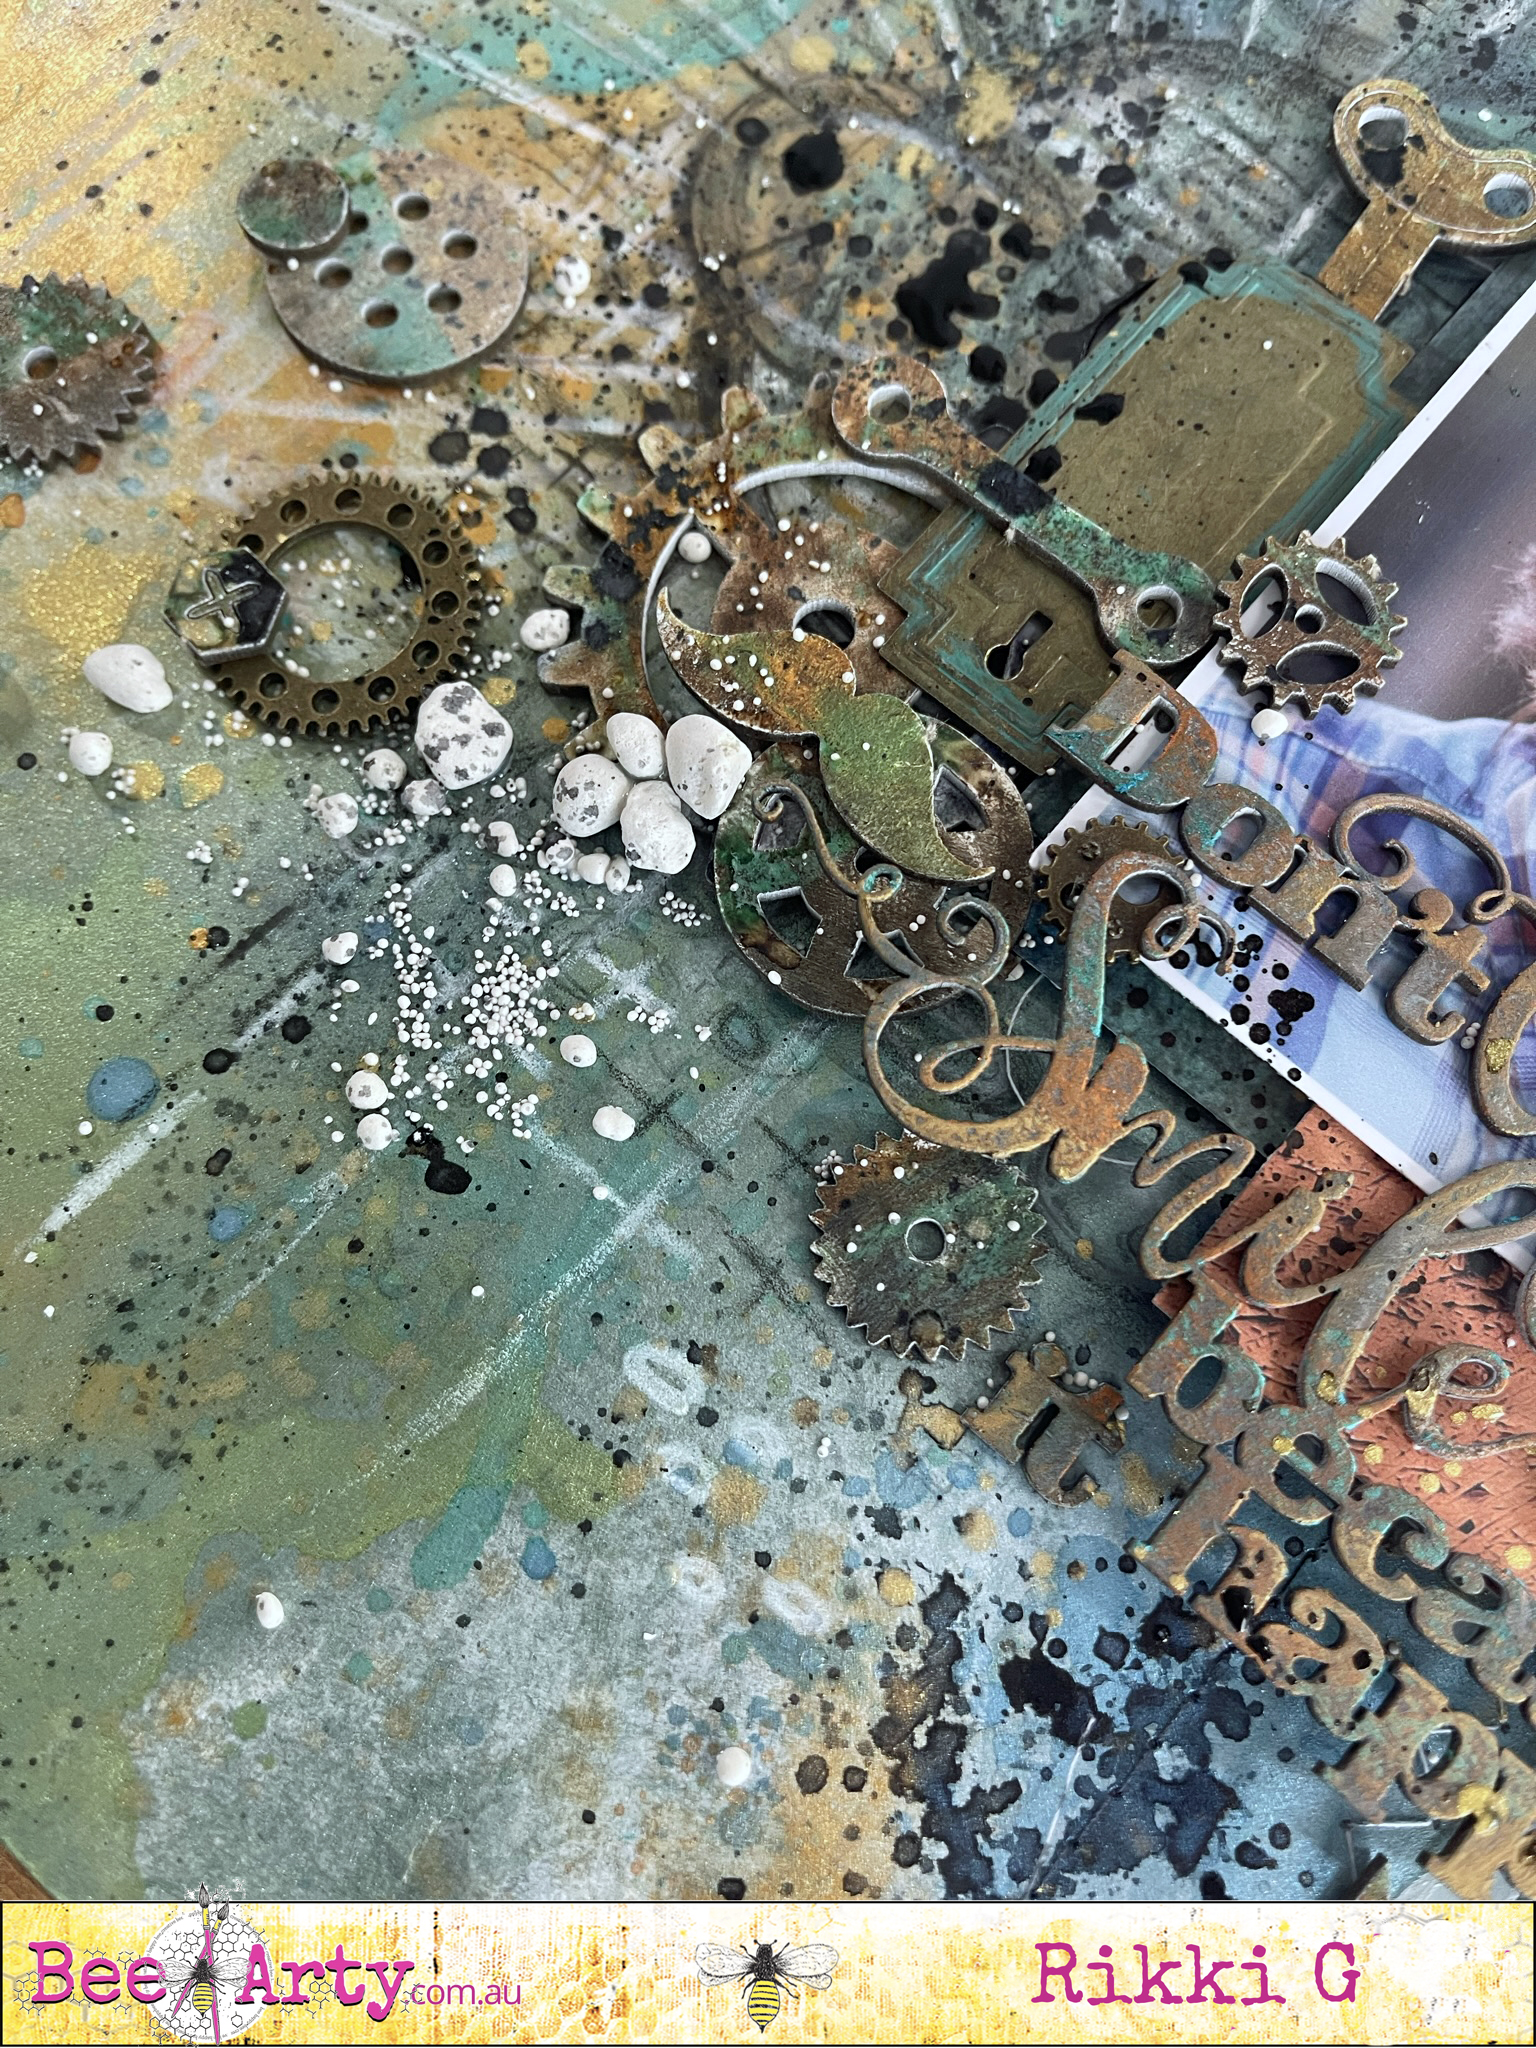
The rest of the layout is just chipboard, metal charms and art stones, I used Tim Holtz Oxides on the chipboard to make it look like rust and when you splatter with your Artist ink and Shimmer spray your get some amazing water bubble effects.


I hope this has inspired your to have a play and you still have time to enter our challenge....

Till next time have a creative day

Rikki G