Hello Bee Arty people, it is Tracey Campbell here again with another creation to share. My layout this time is a bit different for me. I started this layout when I was away on a work trip, with limited room in my luggage around my uniforms so had to restrict myself to easy to carry items. I ended not taking anything for the title and decided to finishing off the layout at home where I could raid my Bee Arty supplies to create the perfect title. Which was a nice way to finish as I had access to my mixed media and completed it whist doing an online crop with a bunch of lovely ladies from all over the world. Anyhoo let me take your through my process on how I created:
Love My Girls

I love the Embrace Change collection so decided to use the Falling pattern paper as my background, the colours and foliage reminds me of the Australian bush. The paper has a lovely image on it but I must admit I had trouble trying to work out how to use it at first as I didn't want to hide too much of the image, I wanted to include it in the design, so I thought less is more.

Working with limited space in my luggage I decided to pull a bit of a kit together for this layout and pre-cut some elements for my layout. I used the String Leaves metal die and two string wreaths and a few of the leave clusters from the maroon coloured paper in the Embrace Change collection. Next I fussy cut two of the grey tags from the Elegant Tags patterned paper in the Spread Your Wings Collection and some of the grey leaves and butterflies from the cut-apart-sheet in the Embrace Change Collection.

Using some of B side of the Living patterned paper in the Embrace Change collection I matted a 6x4 portrait photo with a 3mm boarder.
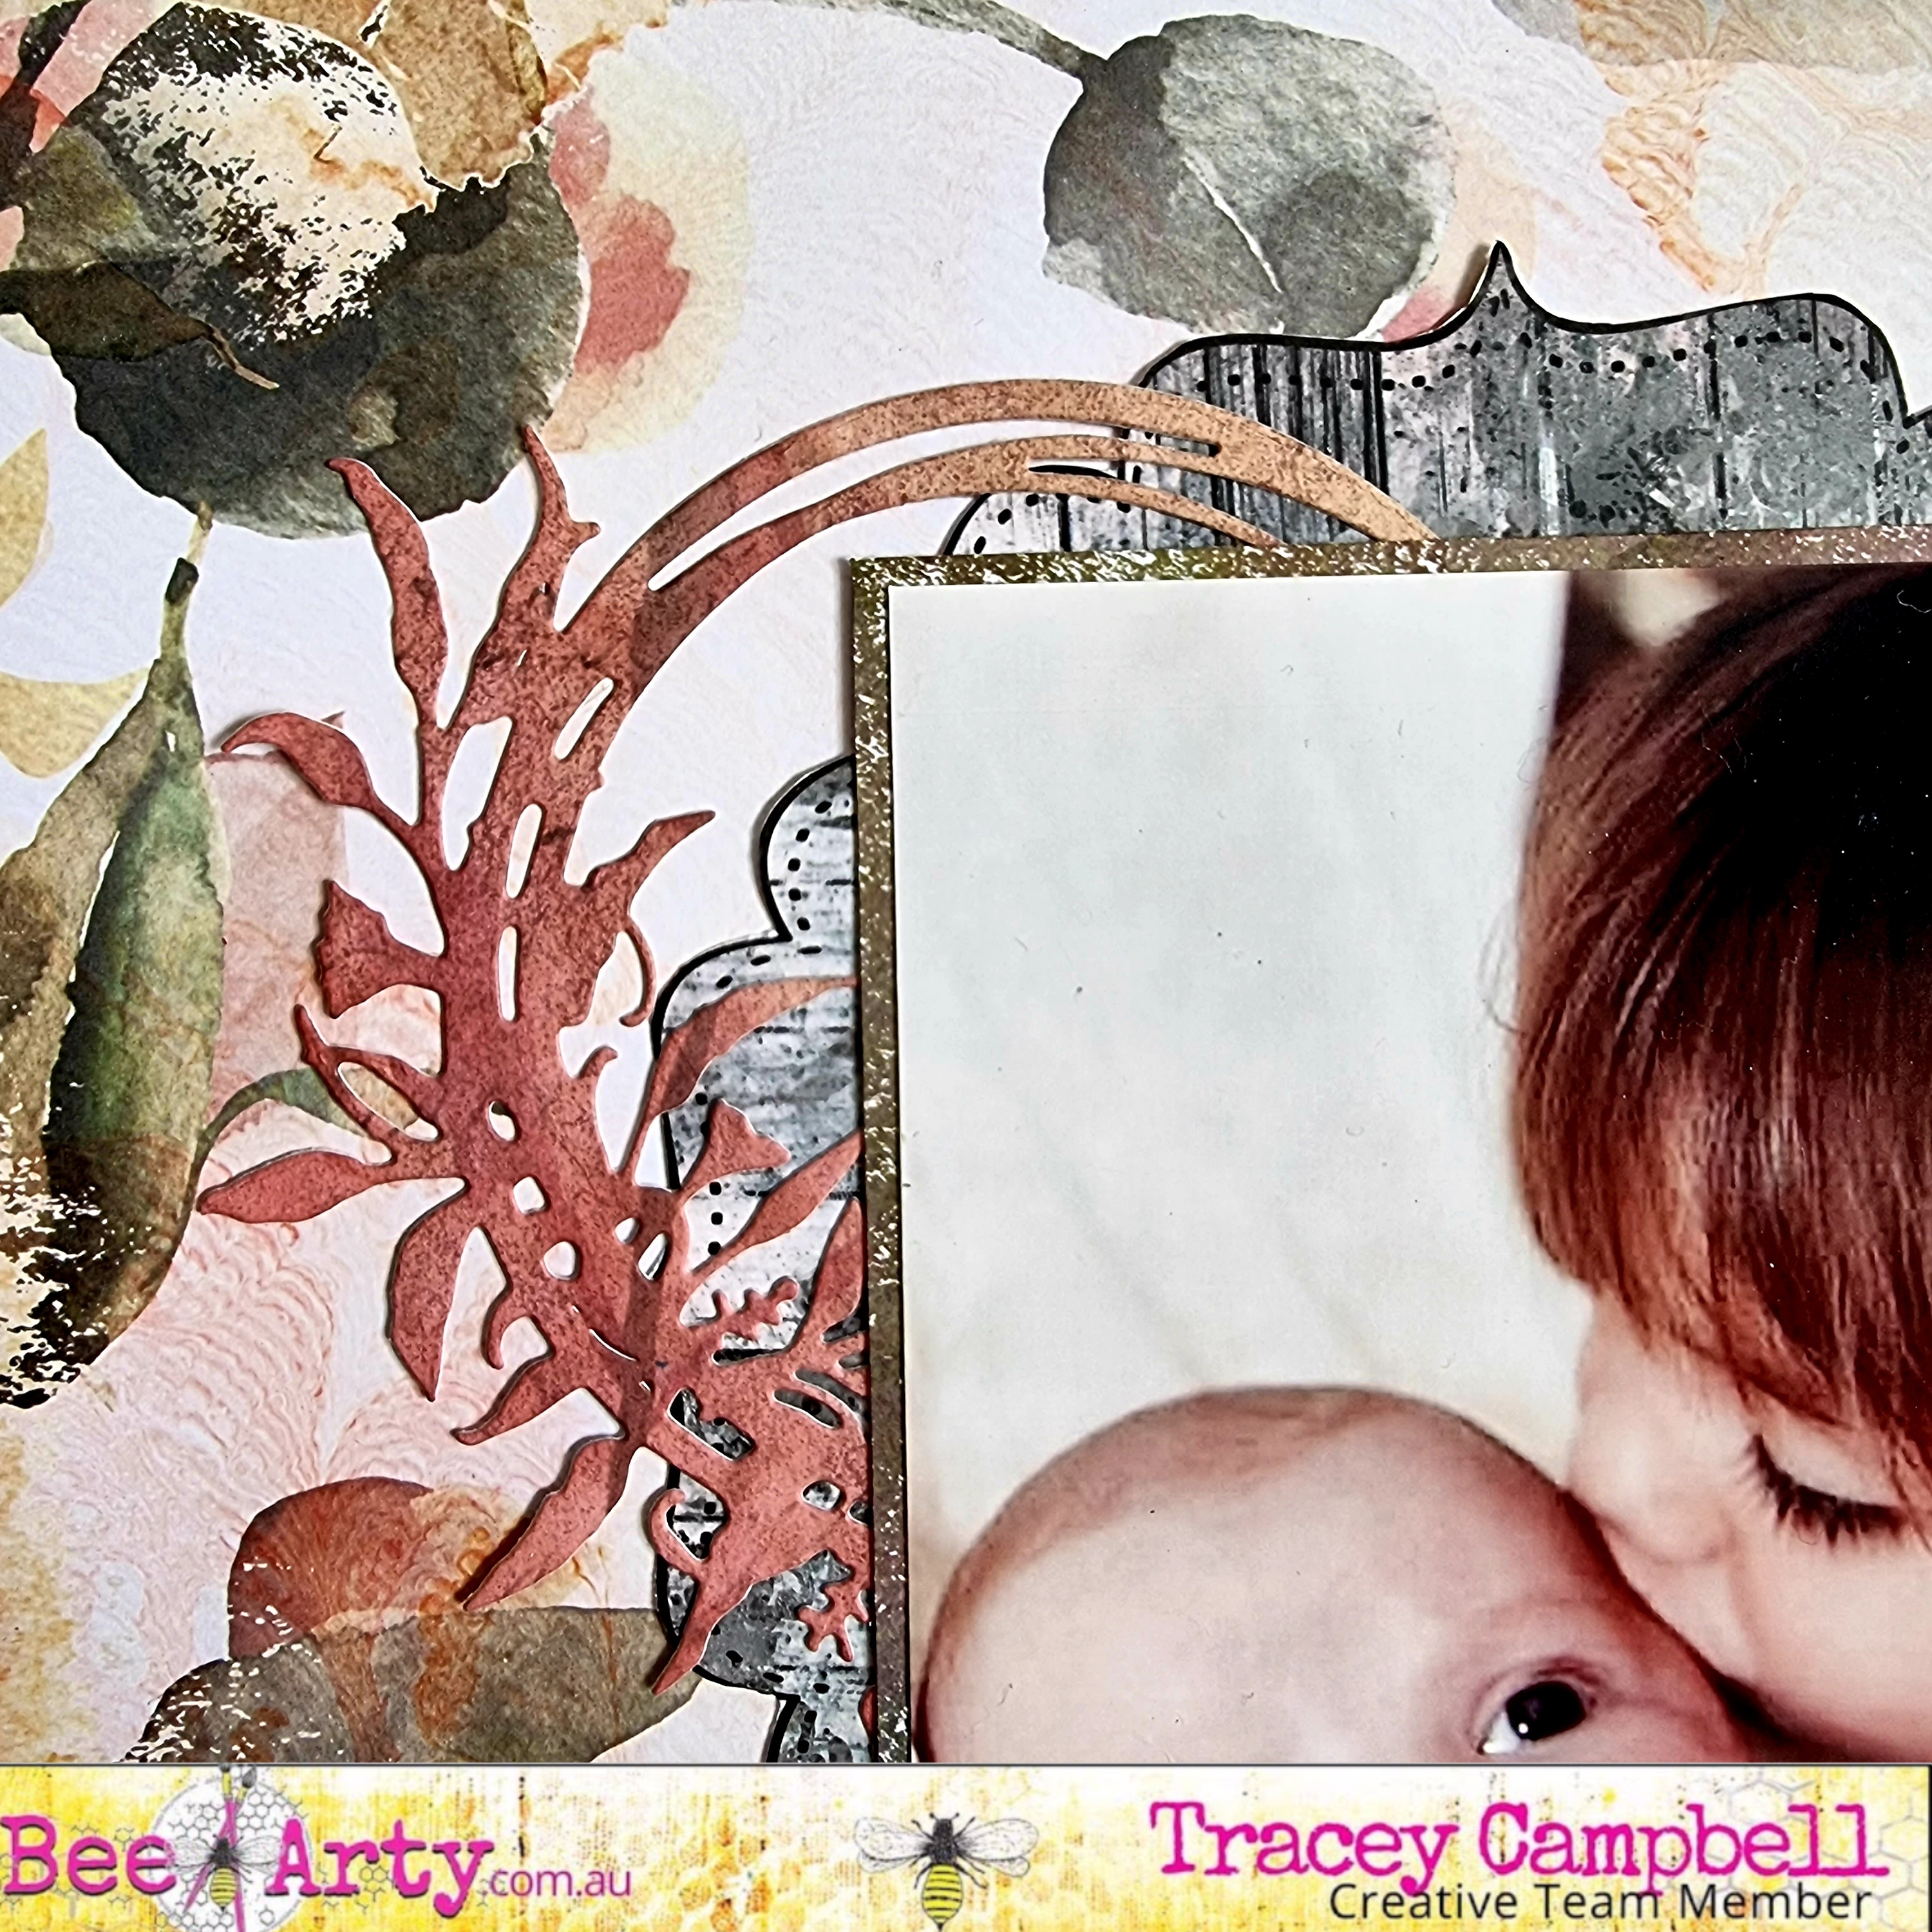
I adhered the matted photo to the centre of the Falling patterned paper and positioned all the elements around the photo. The string wreaths were tucked under the top left and bottom right corners first, I then cut one of the tags in half and positioned a piece under the op and left hand edge of the photos, making sure that the string leave was on top of the tag. You can see the positioning in the final layout.

At the bottom right hand corner of the photo I adhered the second tag in the centre of the string wreath and popped a fussy cut butterfly at the top. Here I was creating a space for the title.


Such a quick and easy layout but as the Falling patterned paper is such a stunning design it makes the layout interesting with a lot to look at.

This turned out beautifully, Tracey! It was just lovely to chat with you today while you worked on this!
ReplyDeleteSimply gorgeous!!!
ReplyDelete