Happy Mothers Day!! It is Tracey Campbell here again this morning with my latest Creative Team share, I decided that I would share a layout of myself today, seeing as it is Mothers Day.... so I thought why not me?? :) I love being a Mother and I love the newest collection from Bee Arty!!
Have you seen the newest collection to the Bee Arty Range? It is so divine! I have been scrapping up storm with it and let me tell you that it is one of the easiest collections ever that I have used..... and every layout has come so nice.
Let me take you through my first layout that I have created with the Bee The Sunshine Collection.
In Every Woman.

On a 11x11 inch sheet of white cardstock I sprinkled a fine layer of Sunshine Colour Shimmer Dust, focusing the distribution mainly in the middle and bottom right hand corner of the cardstock. Activate with a fine mist of water.

While wet gently tap a few grains of the Tan Shimmer Dust over the top. When the dry Shimmer Dust hits the wet Shimmer Dust it will activate and weep into the Sunshine colour base. I used a Stanley blade to pick up a few grains of the Shimmer Dust at a time.
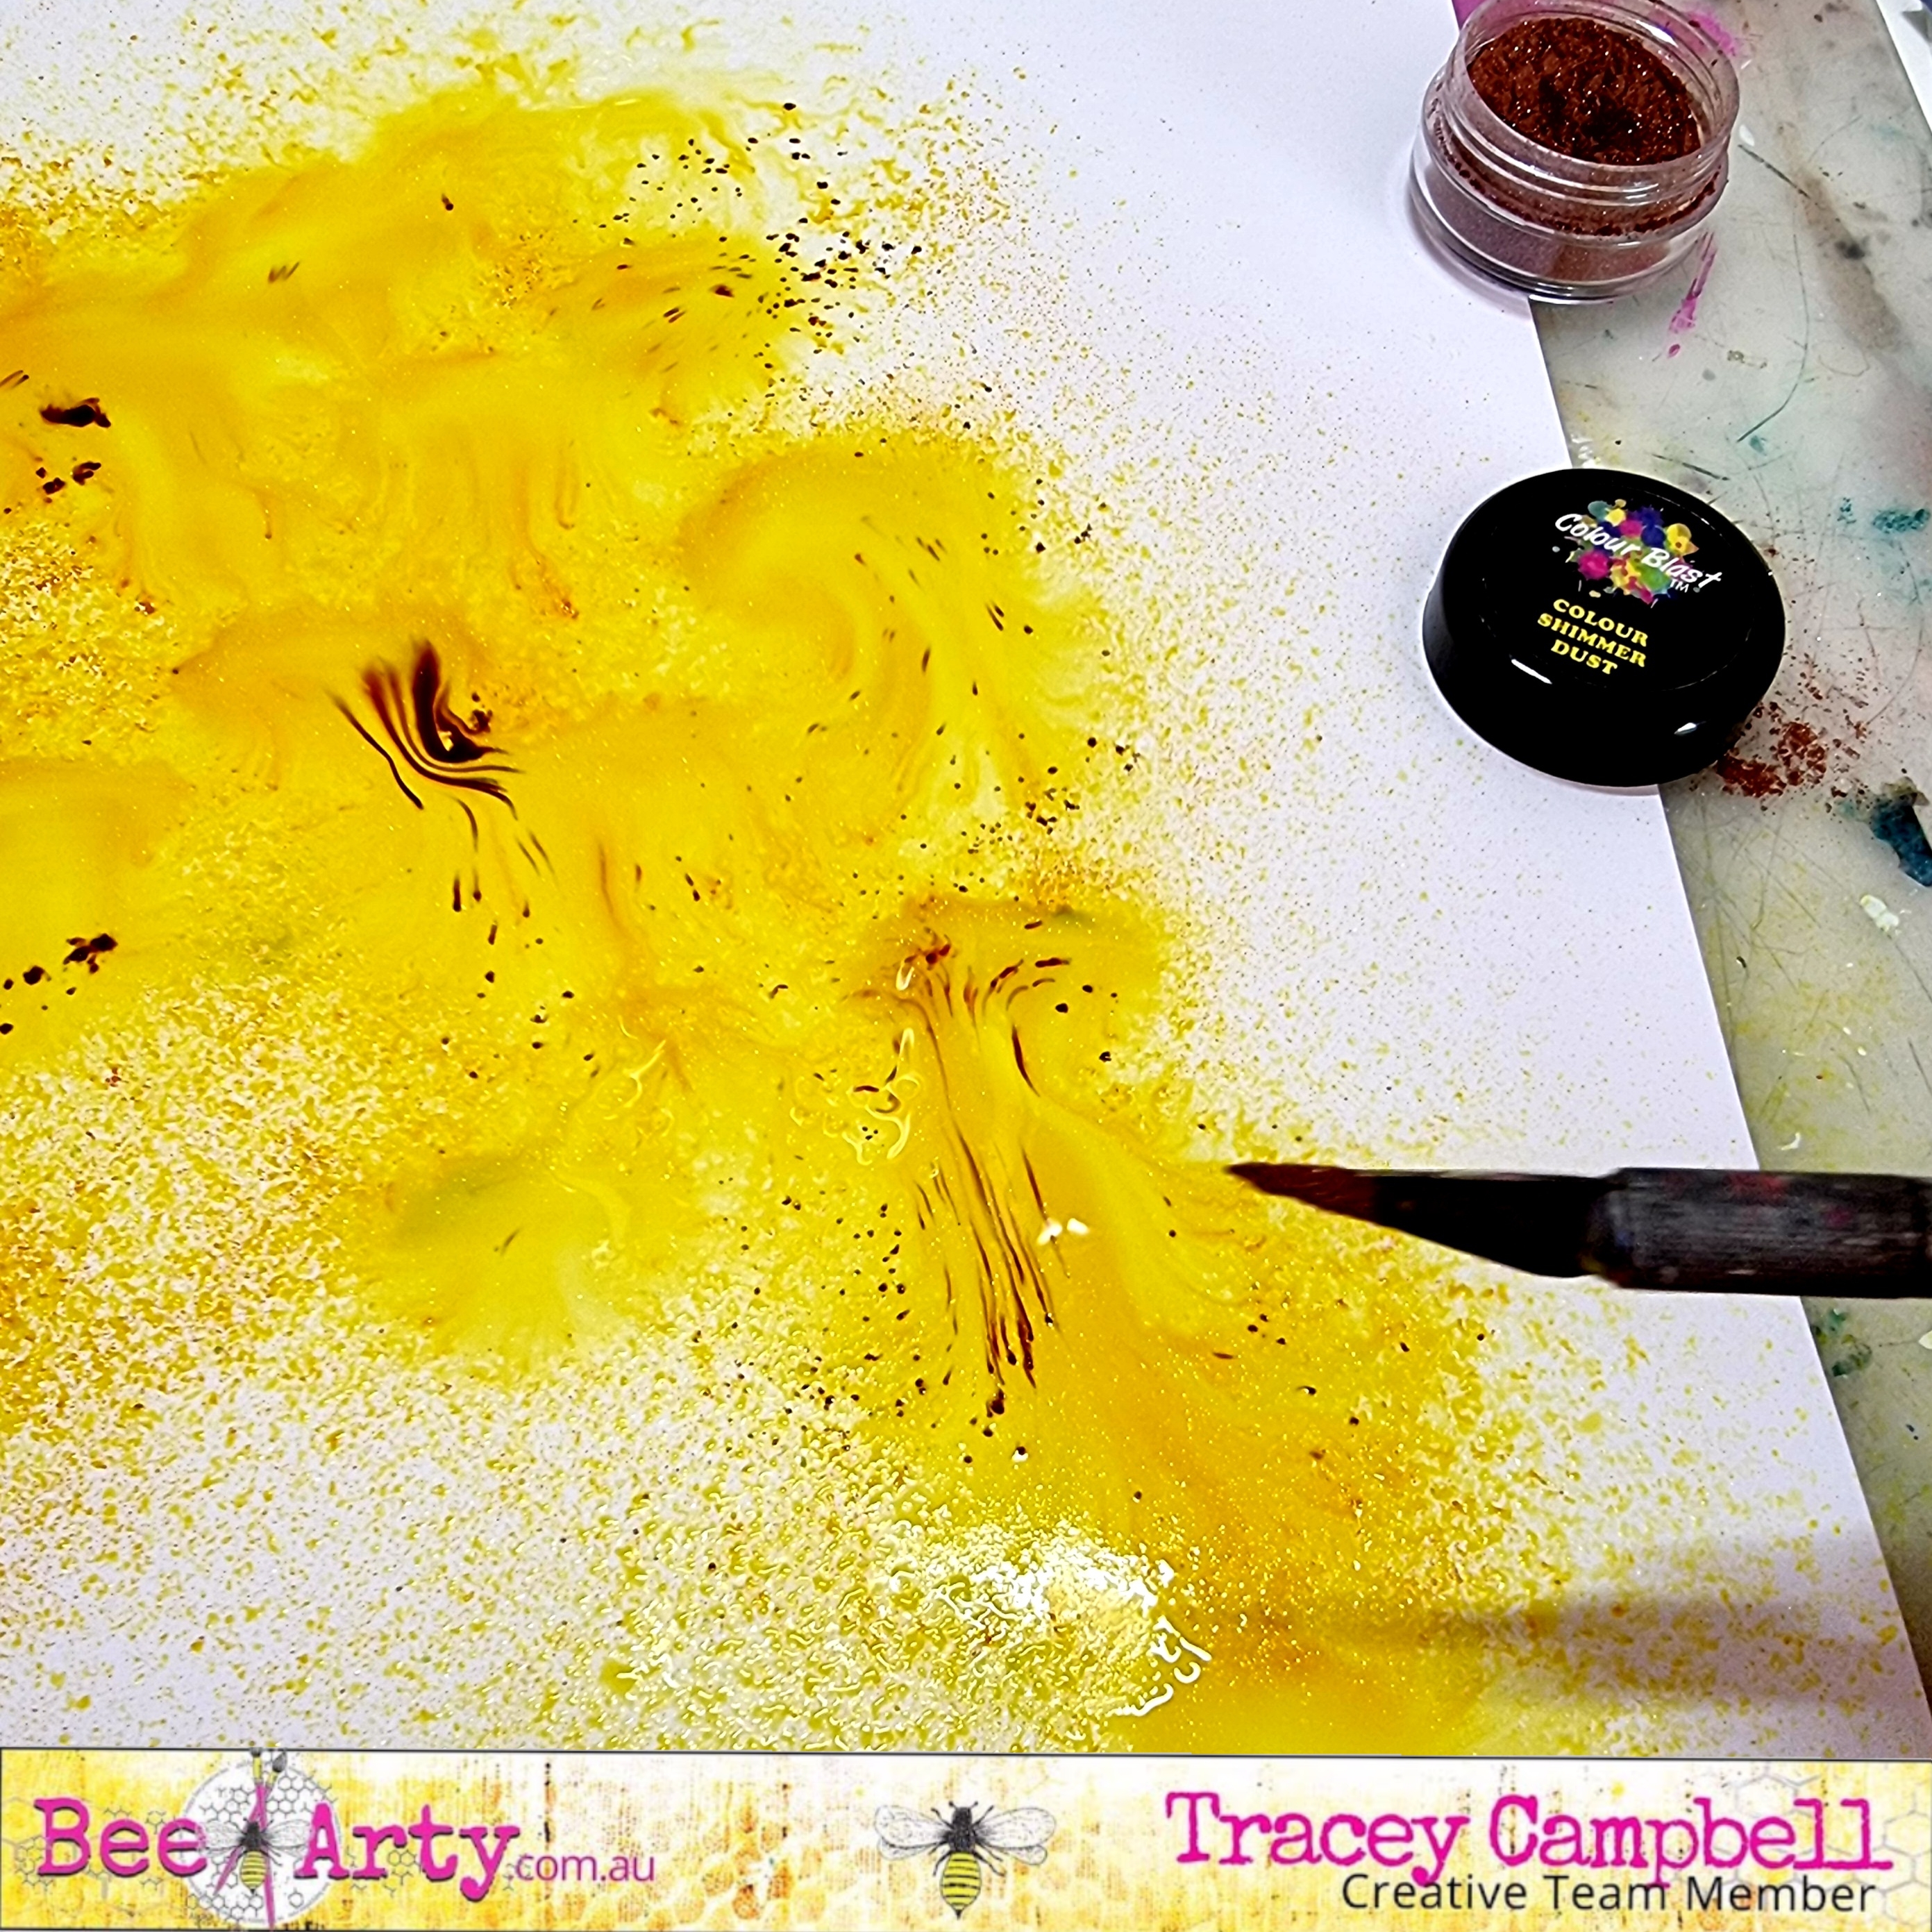
To speed up the drying process I rolled a roll of paper towel over the wet Shimmer dust. This leaves an interesting texture in the Shimmer Dust, but don't panic as it dries without this look.

Using the straw from the Bubblegum Colour Spray flick droplets of the liquid over the base.

Here is how the base looked when finished.

Using a palette knife and the Abstract Daisy stencil spread some Bling Colour Paste through the stencil over the base. Focusing mainly on the middle and right hand side of the base. The Abstract A6 Daisy stencil is becoming one of my favourite stencils to date. The tiny daisies are just so cute.

I wasn't 100% sure if I was going to stick with just the Bling Colour Paste so I tried a bit of Tangareen Dream Colour Paste on the base, where I knew I would cover it up. When looking at the Bling and Tangareen Dream Colour Pastes together I knew that I wanted to keep the back ground soft so I didn't go ahead with using any more Tangareen Dream, it will be reserved for me to play with on another Bee the Sunshine project. Below is the finished background.

Tear a sheet of Painted Honeycomb patterned paper on the diagonal, start the top tear roughly 7cm from the top right hand corner and tear to the bottom left hand corner leaving about 9 cm of the bottom straight edge. Distress the torn edge with a distressing tool and adhere with the B side facing up. See the final layout photo for what the tear looks like.

Fussy Cut flowers, leaves the big bee on the flower and a title from the Sunny Days and Honey Patterned Papers.

I decided to use "There is A Queen Bee in Every Woman" title but wanted it in two lines so I snipped it in half and finished off the drew the border back in with a black pen.

Used some yellow tissue paper and pieces of Bee to A Flower patterned paper to mat my 10x9cm photo. Tuck the words "Bee Happy" under the photo on the top left hand corner, cut from the Honey patterned paper.


No comments:
Post a Comment