Friday, 30 April 2021
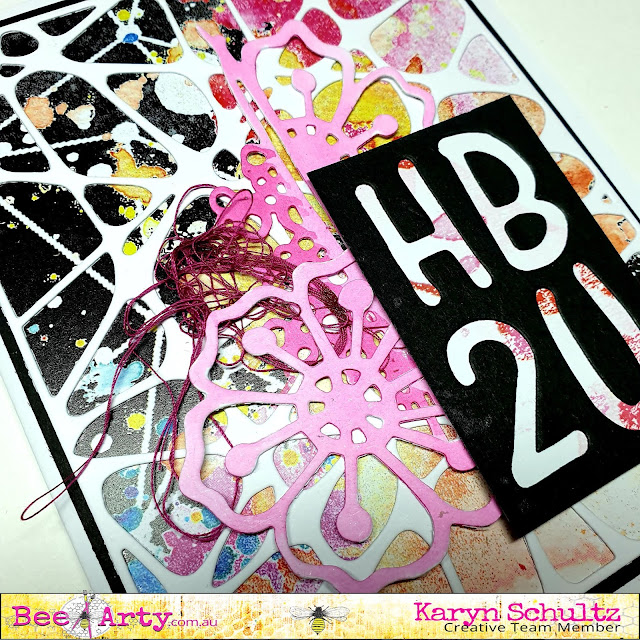
HB2U - With Karyn Schultz!
Thursday, 29 April 2021
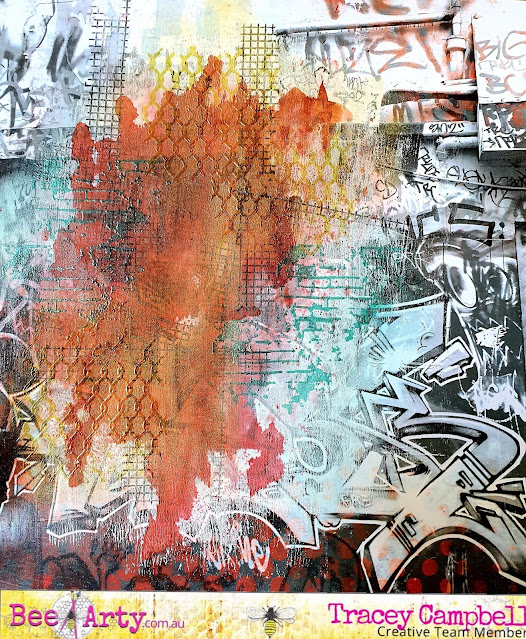
Be Fearless by Tracey Campbell
Hello wonderful people, Tracey Campbell here today to share my latest Creative Team member layout with you. I have been playing with a few of the older collections lately and wanted to show you how I used the different collections to create this fun page.
My first step was to go through my paper stash to see what patterns and colours would work well with this photo of my youngest daughter with one of her favourite characters at Movie World. I ended up pulling paper and wordsheets from the following collections: Graffiti Grunge, Trendsetter, Fearless Brave and Free, Follow Your Dreams and Covid Capers.
Wednesday, 28 April 2021
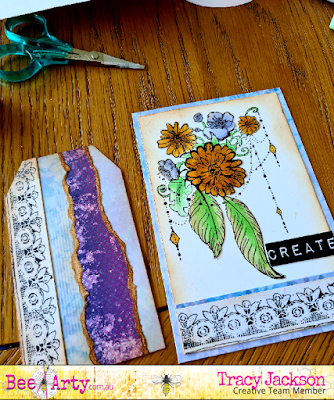
Wonderful card and tag by Tracy Jackson
Hello Bee Arty Fans
I'm back again to show you one of the newer stamps called Wonderful making a card and tag
Now bit of a confession here, I got so carried away colouring and making this project that I forgot to take photos... so only have a few to share!
I stamped off a few times as I like to layer my cards
Monday, 26 April 2021
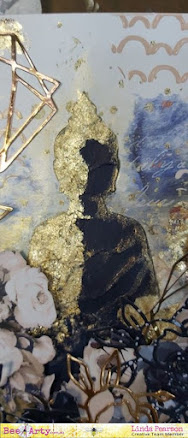
FOREVER OM! by Linda Pearson
The delightful ‘Forever My Always’ collection by Fiona Paltridge is a wonderful compliment to this golden buddha focal point. A cornacopia of FMA scrapbook papers, stencils, Colourblast pastes dies, and gold leaf embellishments along with my fav Buddha stencil make this a stunning layout or mixed media page for your journal.
Bee
Arty products used in this project:
Forever my always
Fiona Paltridge Whole collection weblink
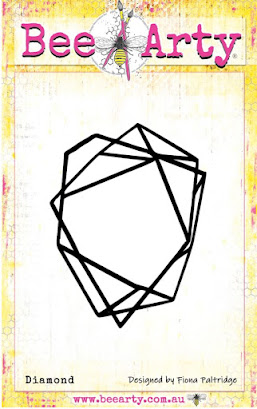
Diamond
– metal die
My
Flower – metal die
Humps
A6 stencil
White
Cardstock 350gsm 10 pack - 12"x12"Buddha
1 – A4 mask and stencil
Colour
paste – Bling, Sienna
Adhesive
- Art Glitter Designer
Adhesive
Payne's
grey heavy acrylic paint (blue/black)
Gold
leaf and sizing adhesive
Gold
foil card and an extra sheet of White
Cardstock 350gsm coloured with Payne’s grey acrylic paint (dry off) for die cutting
shapes.
Palette
knife (metal and silicone)
Paint
palette
Forever my always
Fiona Paltridge Whole collection weblink
Diamond – metal die
My Flower – metal die
Humps A6 stencil
White Cardstock 350gsm 10 pack - 12"x12"
Colour paste – Bling, Sienna
Adhesive - Art Glitter Designer Adhesive
Payne's grey heavy acrylic paint (blue/black)
Gold leaf and sizing adhesive
Gold foil card and an extra sheet of White Cardstock 350gsm coloured with Payne’s grey acrylic paint (dry off) for die cutting shapes.
Palette knife (metal and silicone)
Paint palette
Fussy
cut the flower sprays from the Always 30x30cm
scrapbooking paper and the Forever
30x30cm scrapbooking paper. Keep the Always offcut paper to be used as
your under paper for the project.

Adhere
the Always
off cut paper to the White
Cardstock 350gsm base. Dry off.
Using the Bling Colour paste add a small amount of Sienna Colour paste to the Bling … mix up an apricot/mushroom pink to match the paper colour way.
Spread the paste randomly over the cut out area continuing over the design
randomly.
Apply
thin coat of gold leaf sizing adhesive over several areas of the paper, allow to dry off to a tacky finish. Place the gold leaf over the tacky areas
brush away excess leaf.
Mix
a good amount texture paste with some sand (this helps to add grainy texture ..
good substitute if you don’t have Fiber paste).
Try to leave some ridges in the paste to provide depth. Allow to dry thoroughly.
Mix
more of the Apricot/Mushroom coloured Colour
paste (bling and
Sienna). Apply
the Humps
A6 stencil over several areas of
the page (white areas).
Apply
thin coat of gold leaf sizing adhesive over one side of the Buddha, allow to dry
off to a tacky finish. Place and pat
down the gold leaf over the tacky areas brush away excess leaf.
Cut several Diamond – metal die shapes from the gold foil card.
Cut lots of My Flower – metal die flowers from the gold foil card and from the painted cardstock.
Arrange the die-cut pieces around the paper focusing around the bottom of the Buddhas and edges of the page. Adhere the cut pieces to the page. Rub some gold paint around the shapes; Buddhas, leaves and other shapes.
I
hope you are inspired to engage with this amazing floral collection but most importantly, enjoy the process.
Bye
for now! … from Linda
linda@yourcreativepalette.com.au
Sunday, 25 April 2021
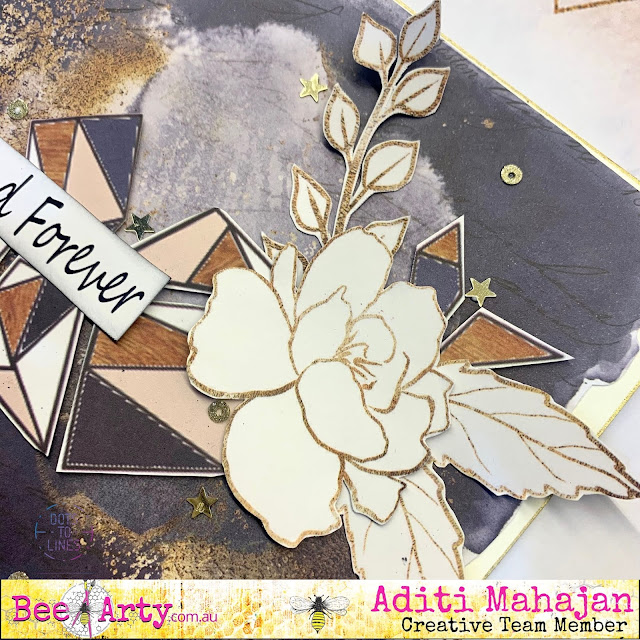
Layered Card by Aditi
Hello everyone,
Today I was inspired to use a few paper layers and create a quick card. I love the Scrapbooking collections by Bee Arty and they were perfect for this idea today. Sometimes we want to create something quick and simple and I think this card is perfect for such times.
Here's a look at the card
Supplies used:
Monday, 19 April 2021
Keep Going by Charmane Koch
Hey Everyone! Hoping your Monday is off to an AWESOME start! I'm guessing some of you will be getting those kids back to school? We still have a week to go, but I LOVE it when my kids are home! No school lunches to worry about, no drop offs & pick ups... just WORK! Ha, ha!
Anyway, today I wanted to share with you my most recent layout loosely based on the April Sketch this month...

